


Minecraft Coordinates: Quick Answer
- Java Edition: press F3 to see XYZ and Facing. On some laptops, use Fn + F3.
- Bedrock Edition: open Settings, choose Game, and enable Show Coordinates under World Options.
- Save the base: stand at the entrance and record the full X, Y, Z set plus the dimension.
- Return home: move so the difference between your current X/Z and the saved X/Z becomes smaller; match Y near the destination.
- Compass rule: a normal compass points to world spawn, not a bed. A lodestone compass points to a chosen block, while a recovery compass points to the latest death in the same dimension.
Before a first long trip, use the Minecraft survival checklist for new worlds to cover food, shelter, and a bed, then record the base entrance rather than a random interior block.
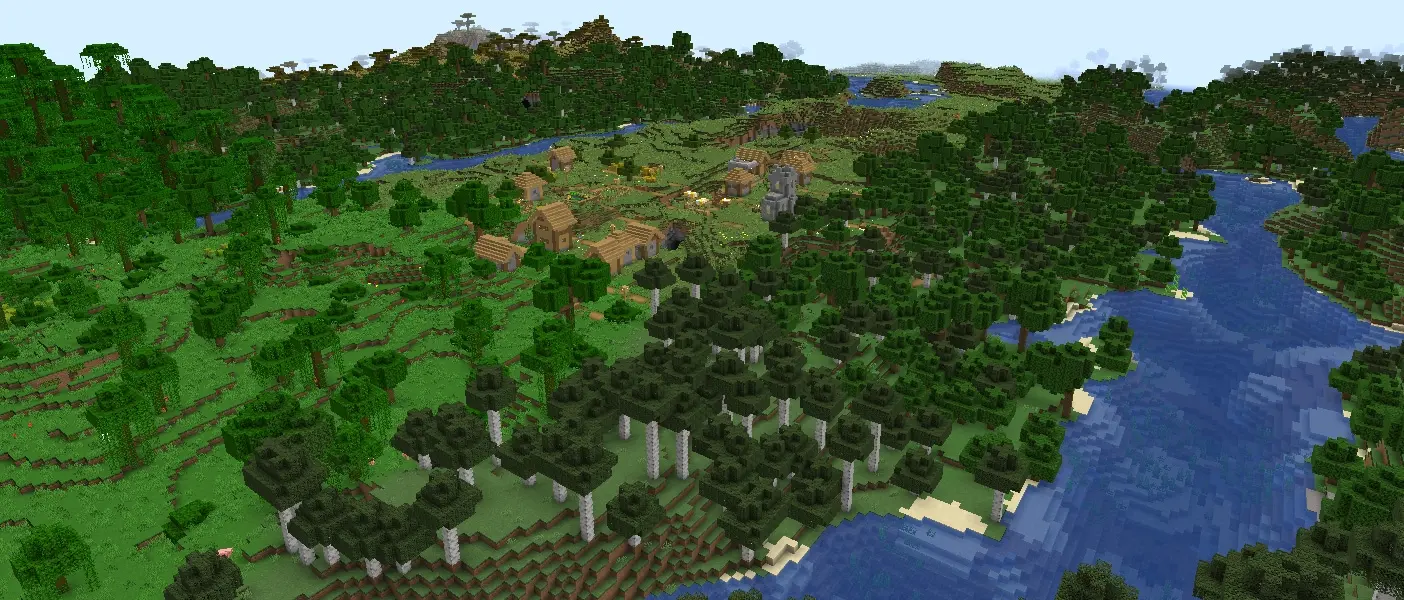
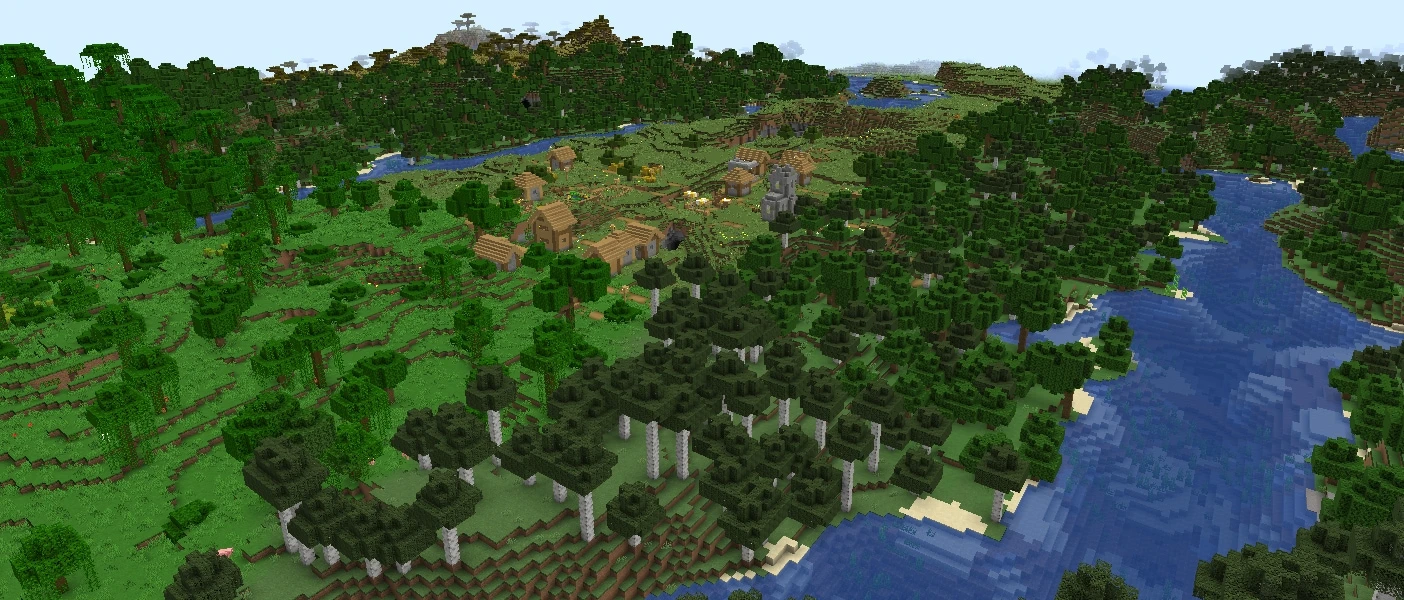
Getting lost in Minecraft usually starts with a harmless decision. You follow a river, spot a village beyond the trees, and keep walking because the trip home still feels obvious. Then night arrives, the mountains all look alike, and the base with every useful item is somewhere behind you.
Coordinates turn that problem into three numbers. They are not only for commands, speedruns, or players who know every technical detail. A new player can use them in a few minutes, and the habit makes long mining trips, Nether journeys, and multiplayer exploration much less stressful.
You do not need to stare at the numbers while playing. Record the places you care about, check your direction when the landscape becomes unfamiliar, and let the world stay visible instead of spending the whole trip watching a menu.
Turn Coordinates On Before You Leave
In Java Edition, press F3 to open the debug screen. The line marked XYZ shows your exact position. Some laptops use the function keys for brightness or volume, so Fn and F3 may be required together. The screen contains a lot of information, but most players only need XYZ and the direction shown beside Facing.
In Bedrock Edition, pause the game, open Settings, choose Game, scroll to World Options, and turn on Show Coordinates. The numbers then remain in the corner of the screen. If you are playing in somebody else's world or Realm and cannot change the option, ask the owner to enable it.
Check the display while standing at the base door. That gives you a location that is easy to recognize when you return. A coordinate from the middle of a large underground storage room may bring you home, but it can also leave you digging around beneath it.
What X, Y, and Z Mean
Minecraft writes a position as X, Y, Z. X measures east and west, Y measures height and depth, and Z measures north and south. Positive X goes east, negative X goes west, positive Z goes south, and negative Z goes north.
- X: your east or west position. If X increases while you walk, you are moving east. If it decreases, you are moving west.
- Y: your vertical position. It rises when you climb and falls when you go underground. The debug screen measures this from the player's feet.
- Z: your south or north position. If Z increases, you are moving south. If it decreases, you are moving north.
Suppose your base is at X -240, Y 70, Z 430. The minus sign belongs to X, so leaving it out sends you to the other side of zero. Write the full set exactly as it appears. A screenshot is often safer than trusting a note typed in a hurry.
Save the Base Location in More Than One Place
Write down the coordinates before the first serious trip, not after the base disappears behind the horizon. A phone note, screenshot, book and quill, or sign near a shared spawn area all work. Include the name and dimension: Main Base, Overworld, X -240, Y 70, Z 430.
Shared worlds need clearer labels. Base, village, trial chamber, stronghold, and Nether portal can become a messy list very quickly. Give every location a short name and keep the same X, Y, Z order. Adding the dimension prevents someone from walking toward Overworld numbers while standing in the Nether.
Keep a second record for a world that matters to you. A book stored inside the base is useful for visitors, but it cannot help while you are lost with the book sitting in a chest. A screenshot outside the game survives a lost inventory and is available even after a difficult death.
Follow One Number at a Time
Returning home is easier when you stop trying to understand all three numbers at once. Compare your current X with the base X and move until the difference becomes smaller. Then do the same with Z. You can also move diagonally and reduce both numbers together once the directions feel familiar.
If the base is at X -240 and your current X is 500, the number needs to fall. Keep walking in the direction that changes 500 to 499, 498, and so on. It will eventually cross zero and continue into negative numbers. If it changes to 501, turn around.
Y can usually wait until X and Z are close. A base on the surface may sit at Y 70 while you are crossing hills between Y 65 and Y 110. Trying to hold the exact height during the whole trip only creates awkward tunnels. Pay closer attention to Y when the destination is underground, inside a mountain, or built high in the air.
Use Landmarks Alongside the Numbers
Coordinates get you to the area. Landmarks tell you which door is yours. Tall pillars, lit paths, banners, bridges, and distinctive roofs are easier to notice than one more oak wall in a forest. Place them where they can be seen from the direction you usually travel.
Maps help with nearby terrain, especially around a large base or a group of villages. Torches and paths work well for regular routes. Coordinates remain the backup when a forest fire, new build, or long detour makes the visual route less clear.
Avoid leaving random pillars everywhere. After the fifth identical tower, none of them means home. Use one design for the base, another for a mine, and signs for routes that split. Navigation should reduce confusion, not add a new layer of it.
A Normal Compass Does Not Point to Your Bed
A regular compass points toward the world's original spawn point in the Overworld. Sleeping in a bed changes where your character respawns, but it does not turn the compass toward that bed. This catches players who expect the needle to lead straight back to the house.
The compass is still helpful when the base is near world spawn or when you have built a marked road from spawn to the base. It can also give a lost player a familiar starting area. In the Nether or the End, a normal compass spins and cannot guide you to Overworld spawn.
Treat it as a world-spawn tool, not a home finder. If the house is thousands of blocks from the starting area, coordinates or a lodestone compass will do the job you probably expected from the normal one.
Make a Lodestone Compass for Important Places
A lodestone gives a compass a chosen destination. Place the lodestone at the base, hold a compass, and use the compass on the block. The compass gains a visual shimmer and points toward that lodestone instead of world spawn.
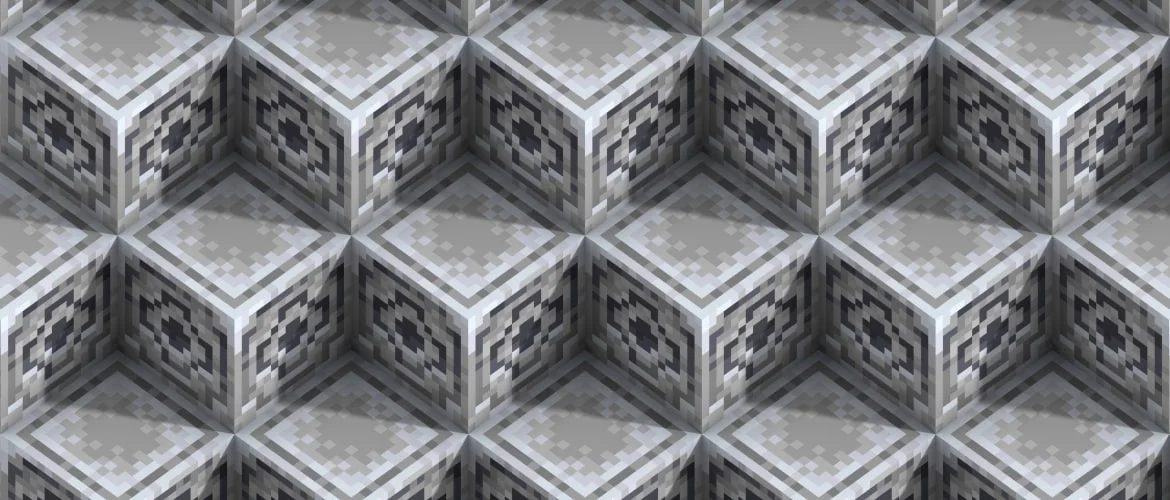
The current recipe uses one iron ingot surrounded by eight chiseled stone bricks. Older guides may still show a netherite ingot because the recipe changed in later Java and Bedrock updates. Lodestones can also appear in ruined portal chests.
Lodestones work in the Overworld, Nether, and End, but the compass and its lodestone must be in the same dimension. A compass linked to an Overworld base will spin while you are in the Nether. For a busy world, make separate compasses for the main base and major portal rooms, then name each one with an anvil.
Do not break or move the lodestone without updating the compass. Once its linked block is gone, the needle spins. Keep the block somewhere protected so a creeper, renovation, or curious server member does not quietly remove your navigation system.
A Recovery Compass Finds Your Last Death, Not Your Base
The recovery compass has one job: it points toward the place where you most recently died. It is useful after a bad fall, a cave fight, or an expedition that ended before you could write down the location. It does not remember older deaths, and it does not replace a saved base coordinate.
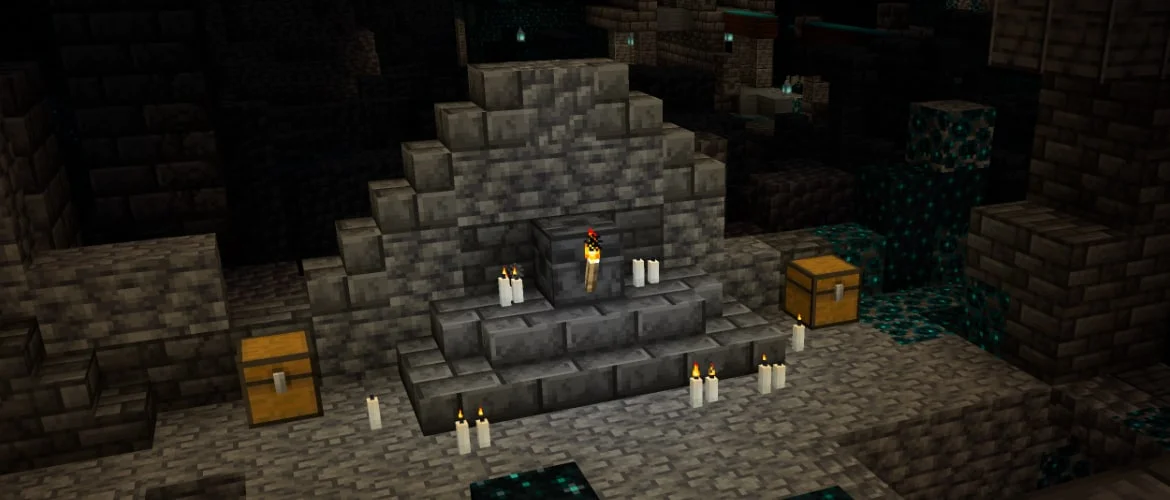
Craft one with a compass surrounded by eight echo shards. Echo shards are found in ancient city chests, so this is not an early-game rescue item. Many players keep the finished compass safely at home instead of carrying it into the trip where they may lose it.
The needle only works in the dimension where the death happened. If you died in the Nether while holding the compass in the Overworld, it spins until you enter the Nether. Move quickly once it starts pointing correctly because dropped items can disappear after their chunks have been loaded for long enough.
Record Both Sides of Every Nether Portal
The Nether needs its own coordinate list. Before leaving a portal room, record the portal's X, Y, and Z and label it Nether. Do the same on the Overworld side. If a new portal connects somewhere unexpected or the return trip creates another portal, you still have a location for both ends.
Build a small protected room around important Nether portals. Cobblestone or another block that ghast fireballs cannot easily destroy is much safer than an exposed frame beside a lava lake. Add signs showing which Overworld location the portal serves, and use different building colors when several tunnels meet.
Experienced players use the Nether to shorten long Overworld trips, but portal linking can become confusing when several portals are close together. Start with accurate records before trying to optimize a network. A slower tunnel with clear labels is more useful than a fast system nobody can follow.
What to Do When You Are Already Lost
Stop walking for a moment. Continuing in a random direction turns a manageable mistake into a much longer return trip. Write down your current coordinates, check the time of day, and find a safe place to read the numbers without being pushed off a hill or interrupted by mobs.
- Check old screenshots and notes: the base coordinate may already be sitting in a screenshot, group chat, or world-planning document.
- Look for a known route: climb to a safe viewpoint, raise the render distance if the device can handle it, and search for towers, paths, smoke, or familiar terrain.
- Use world spawn carefully: a normal compass can take you toward the original spawn, but only follow it if the base is there or a marked route begins there.
- Protect what you found: build a small shelter and chest if the inventory is valuable. Save those coordinates before risking another night of wandering.
- Ask another player for numbers: in multiplayer, a player at the base can read the coordinates while you adjust X and Z toward them.
Dying on purpose can return a player to a bed or spawn point, but it should be the last option. Store the inventory first, record the chest location, and remember that an obstructed or destroyed bed may send you somewhere else.
The Habit That Makes Exploration Easier
The useful habit takes a few seconds: stand at the entrance, record X and Z, add Y for underground or elevated places, and write the dimension. After that, leave the numbers alone until you need them.
Minecraft feels larger when players are willing to travel. Coordinates make that freedom practical without removing the surprise of finding a village, strange mountain, or cave far from home. You can follow the interesting path and still know how to return when the inventory is full.