










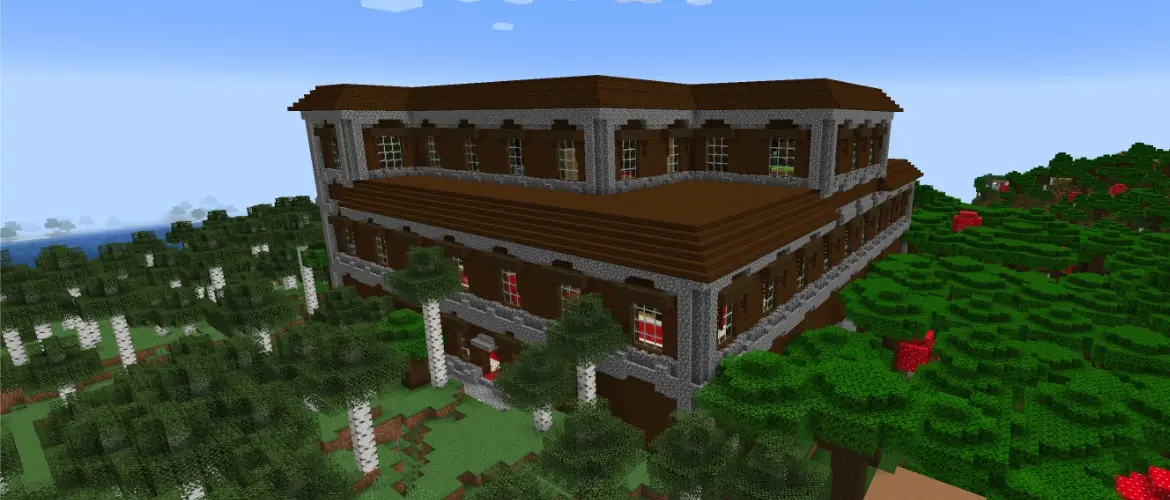

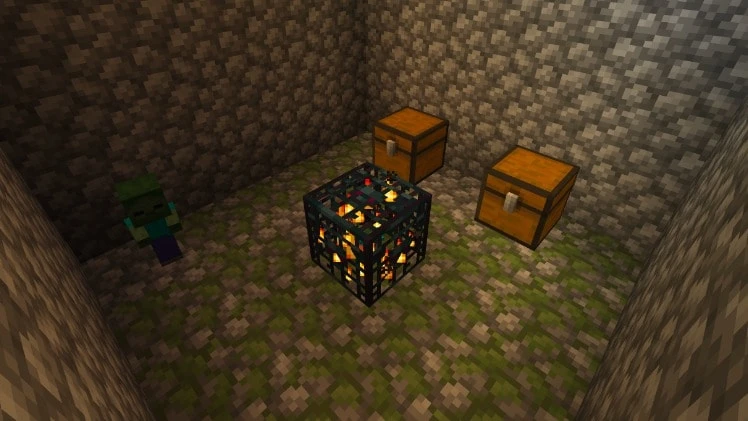
The simplest useful Minecraft mob farm has four dry spawning pads, water channels that meet at a central drop chute, and a safe collection room below. Build the spawning floor at least 24 blocks from the player, keep the inside completely dark, and use the correct AFK distance for Java or Bedrock.
This guide gives you the exact floor dimensions, drop height, player distance, and troubleshooting steps. It also explains when a monster-spawner farm is the better choice. Java and Bedrock use different spawning rules, so read the edition notes before copying the same AFK position into both versions.
If this is your first survival world, finish the Minecraft beginner guide before spending stacks of blocks on a tower. A mob farm is most useful after you already have food, iron, water buckets, and a safe way to reach the build height.
Minecraft Mob Farm: Quick Numbers
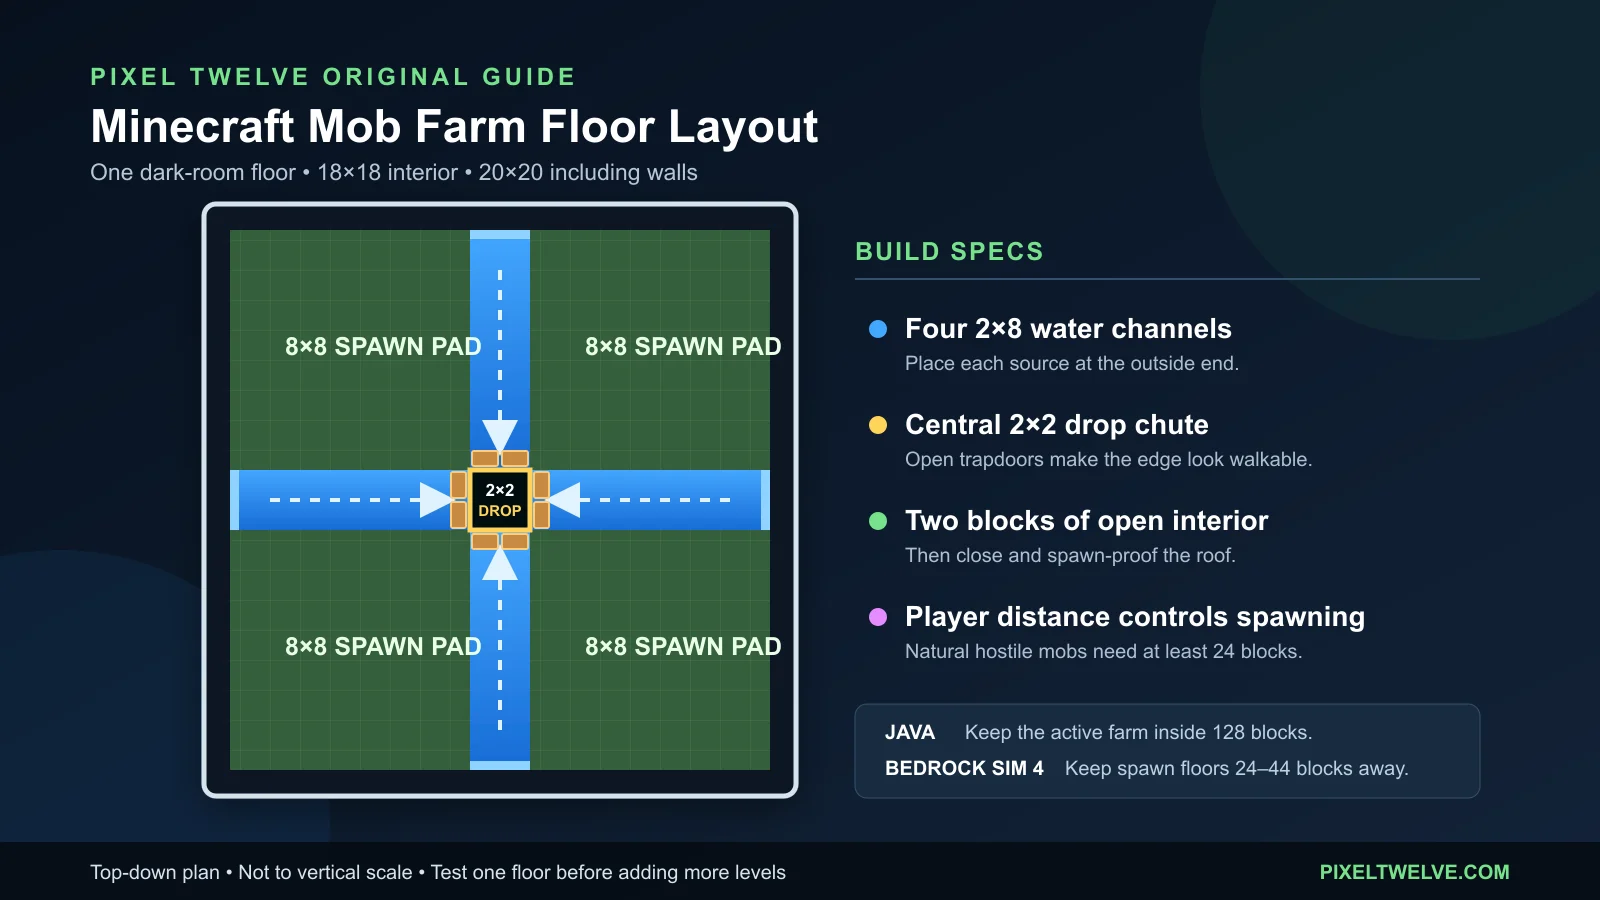
- Dark-room interior: 18×18 blocks for the floor plan below; 20×20 including the outer walls.
- Central hole: 2×2 blocks.
- Water channels: four channels, each 2 blocks wide and 8 blocks long.
- Interior height: two open blocks above the spawning floor, followed by a solid roof.
- Natural spawning distance: at least 24 blocks from the nearest player.
- Java active range: keep spawning floors within 128 blocks of the player.
- Bedrock at simulation distance 4: keep spawning floors roughly 24–44 blocks from the player.
- Automatic drop: 24 blocks kills most ordinary zombies, skeletons, and creepers; witches and armored mobs may survive.
- XP drop: start with 22 blocks, then test with a sword because armor and mob type change the final health.
- Spawner activation: stand within 16 blocks of a normal monster spawner.
Choose the Right Kind of Mob Farm
Use a Monster Spawner Farm for Easy XP
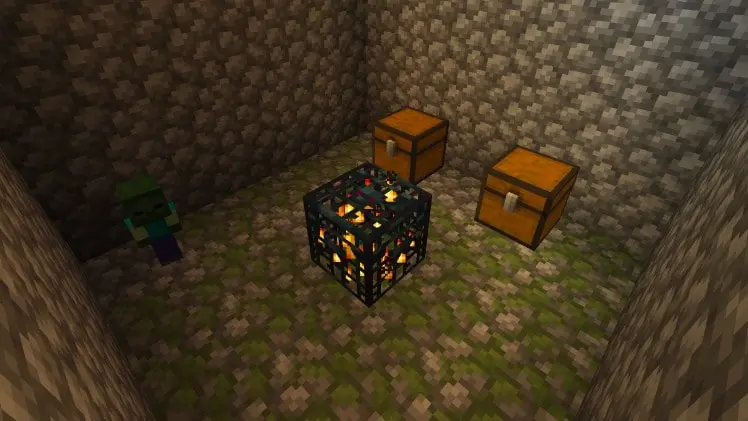
A zombie, skeleton, or spider spawner gives you one predictable mob type. It is compact, cheap, and easy to repair. A skeleton spawner is especially useful for bones and arrows, while a zombie spawner supplies rotten flesh for cleric trades. The downside is that the player must stay close to the spawner and the output is limited to that mob.
Use a Dark-Room Tower for Mixed Drops
A dark-room tower uses normal hostile spawning. It can collect bones, arrows, rotten flesh, string, and gunpowder in one place. It also competes with every active cave and dark surface around the player, which makes location and AFK distance much more important.
If you mainly want iron, build the separate Minecraft iron farm. General mob towers do not replace farms built around villagers, raids, creepers, slimes, or other special mechanics.
Materials for One Dark-Room Floor
The exact number changes with the tower height and kill chamber. For one 18×18 interior floor, a 22- to 24-block chute, walls, and roof, plan for roughly 1,000 solid blocks before decorative work. That is about 16 stacks. Bring extra blocks so the build does not stop halfway through the roof.
- About 16 stacks of solid, non-transparent building blocks.
- Extra bottom slabs, leaves, buttons, or lighting to spawn-proof the roof and ledges.
- Eight trapdoors for the four sides of the 2×2 drop chute.
- Two water buckets and a temporary infinite-water source to fill eight source blocks: two at the outer end of each channel.
- Four hoppers and two chests for a 2×2 collection floor.
- Ladders, scaffolding, or a water elevator for safe access.
- Temporary torches so the chamber stays safe while you build.
Do not use transparent blocks for the spawning pads. Use full solid blocks inside, then reserve slabs or other non-spawnable blocks for the exterior roof.
How to Build a Minecraft Mob Farm Step by Step
1. Pick the Location and Edition First
For a simple survival build, an ocean or a high platform is easier than a tower directly over a cave network. The goal is not to find a magic Y-level. The goal is to keep other valid spawn spaces out of the active area so the farm receives more of the hostile-mob limit.
Write down whether the world is Java or Bedrock and check the Bedrock simulation distance before placing the AFK platform. A Java tutorial can produce poor rates on Bedrock even when every block looks identical.
2. Build the Collection Chest and Kill Floor
Place two chests where you want to collect the drops. Feed four hoppers into the chests to make a 2×2 landing area. Enclose the chamber with solid blocks or glass and leave a safe half-block opening if you plan to kill the mobs yourself.
A small item line is enough at first. If rotten flesh, bows, and armor begin filling the chest, connect the farm to the Minecraft storage and item-sorting guide later.
3. Choose a 22- or 24-Block Drop Chute
Use a 22-block fall when you want to finish the mobs with a sword and collect experience. Treat 22 blocks as a starting point, not a promise that every mob will have exactly one hit point. Zombies have natural armor, some mobs wear equipment, and spiders can touch the chute walls.
Use a 24-block fall for an automatic item farm. It kills most normal zombies, skeletons, and creepers. Witches can survive longer falls by healing, and armored mobs can also change the result. Add a campfire, magma block, or manual finishing point if survivors begin blocking the chamber.
4. Build the 18×18 Spawning Floor
At the top of the chute, mark a 2×2 center hole. Extend a 2-block-wide line eight blocks in all four directions. Fill the four corners to create four 8×8 dry spawning pads. The interior is now 18×18: eight blocks of pad, two blocks of center channel, and another eight blocks of pad.
Add a one-block-thick wall around the outside. The complete footprint becomes 20×20. Keep the spawn pads flat and free of torches once testing begins.
5. Add Water Channels and Open Trapdoors
Place two water source blocks side by side at the outside end of each 2×8 channel, for eight source blocks across all four channels. Each source fills one lane. Water travels from the source through seven more level blocks and should stop at the edge of the central hole. If it stops early or spills into the chute, recount the channel before closing the chamber.
Place open trapdoors around the 2×2 hole. Mobs treat the trapdoor edge as a possible walking surface and can step into the chute. The trapdoors help pathfinding, but they do not force every mob to move immediately. A passive farm needs time; dispenser flushing is faster but requires more redstone.
6. Close the Walls and Spawn-Proof the Roof
Leave two full blocks of air above the spawning floor, then add the ceiling. This allows zombies, skeletons, creepers, and spiders while blocking the three-block height needed by endermen. Seal every gap because ordinary Overworld hostile mobs need block light level zero.
Cover the outside of the roof with bottom slabs, leaves, buttons, carpet, or strong lighting so mobs cannot spawn on top. Spawn-proof the outer wall ledges too. Do not place slabs on the inside floor unless the pattern is deliberately preventing spiders.
7. Put the AFK Spot at the Correct Distance
The nearest spawning pad must be at least 24 blocks from the player. In Java, the useful active area extends out to 128 blocks, so keep the complete farm inside that sphere. An ocean build can use the collection room as the waiting point when the first spawn floor is high enough and surrounding caves are outside the active range.
On Bedrock with simulation distance 4, natural hostile spawning happens in the much tighter 24–44 block shell. Put the player close enough that every spawning floor stays inside 44 blocks. Adding too many floors can push the top of the tower out of range and make the extra work useless.
8. Test One Floor Before Adding More
- Leave temporary lights inside and pour all four water channels.
- Drop a harmless item into both lanes of every channel and confirm that each one carries it to the 2×2 hole.
- Check that every hopper points into the chest or another hopper.
- Remove the interior lights, close the access opening, and move to the AFK spot.
- Wait several minutes, then inspect the chute and collection chest.
- Add a second floor only after the first floor produces reliably.
How to Turn a Monster Spawner Into an XP Farm
Clear a 9×9 Spawner Room
Light the monster room before changing anything and never break the spawner. Clear four blocks from the cage in every horizontal direction to make a 9×9 room. Leave enough vertical room for the mob to appear and move, with the floor below the spawner and at least two open blocks above it.
Stay within 16 blocks of the spawner. A normal spawner does not use the same 24-block minimum as natural hostile spawning. If the cage animation stops when you stand in the kill room, the final waiting position is too far away.
Move the Mobs Out of the Spawner Check Area
Slope the floor or use water sources to move every mob toward one exit. A 9×9 water tray works well for zombies and skeletons. Move the mobs into a channel, bubble elevator, or drop chute so they leave the space around the spawner quickly; too many nearby mobs can make new spawn attempts fail.
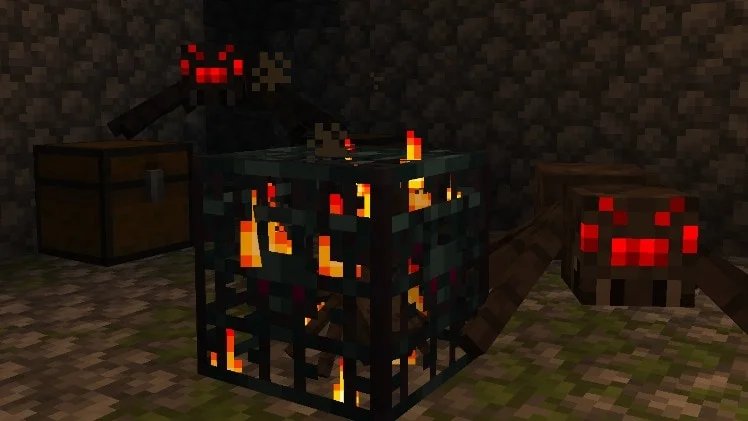
Spider spawners need a different shape because spiders climb walls and require a wider chute. Cave spiders also poison the player. Do not copy a zombie-spawner kill opening into a cave-spider farm without tightening every gap.
XP Farm or Automatic Drop Farm?
Minecraft awards experience when the player receives kill credit. A pure 24-block fall gives items but normally no experience. For XP, soften the mobs with a shorter fall and deliver the final hit from a protected opening.
Bedrock players can use a trident-killer design when the current version and server allow it. Java players normally use a manual sword chamber or a different XP source. If Mending is the main reason for the build, compare this farm with the faster options in the Minecraft Mending and XP guide. A basic spawner grinder is convenient, but it may not be the fastest late-game experience farm.
Java vs. Bedrock Mob Farm Differences
The same box can produce different results between editions. Java uses a wider 128-block active sphere around the player and rewards careful control of nearby caves. Bedrock relies heavily on simulation distance and local density rules. At simulation distance 4, the 24–44 block range leaves much less room for a tall stack of floors.
If you are unsure which edition you own, use the Minecraft Java vs. Bedrock guide before choosing a tutorial. Always test a design in a creative copy of the same edition and world settings before spending rare materials in survival.
What Y-Level Is Best for a Mob Farm?
There is no single best Y-level for every world. The distance between the player, the spawning platforms, and competing caves matters more than copying one coordinate. A high farm over an ocean is popular because it is easier to keep underground spawn spaces away from the active area.
An underground farm can still work, but every nearby cave becomes competition until it is lit or otherwise spawn-proofed. On Bedrock, the tight simulation-distance shell is more important than absolute altitude. Choose the AFK spot first, then place the floors inside the correct distance range.
Why Is My Minecraft Mob Farm Not Working?
- No mobs spawn: check difficulty, block light level zero, player distance, edition, simulation distance, and whether the roof is fully sealed.
- Only a few mobs spawn: light nearby caves and surfaces, move the AFK spot, and kill mobs faster so they leave the mob cap.
- Mobs stay on the pads: open the trapdoors, inspect dry water channels, and confirm that the central hole is reachable from every pad.
- Spiders jam the farm: use a 2×2 chute and add a spawn-blocking floor pattern if string is not important.
- Drops vanish: check hopper direction and make sure mobs do not die on ledges beside the collection floor.
- The farm works in Java but not Bedrock: use a Bedrock-tested AFK distance and design instead of assuming spawning rules are identical.
- The spawner stops: move the player within 16 blocks and transport mobs away from the cage more quickly.
How to Make the Farm More Efficient
- Build over an ocean or spawn-proof nearby caves and surface blocks.
- Keep the drop and transport path short so mobs leave the active cap quickly.
- Use a Looting sword for manual kills when you want more mob drops.
- Prevent spiders if gunpowder, bones, and arrows matter more than string.
- Add one floor at a time and measure the result instead of building a huge tower immediately.
- On multiplayer servers, remember that other players and server rules can reduce or change spawning.
A general mob tower is only one part of an efficient survival base. The best automatic farms guide helps decide whether food, iron, XP, storage, or mob drops should come next.
Minecraft Mob Farm FAQ
How tall does a Minecraft mob farm need to be?
The spawning floor must be at least 24 blocks from the player. For the drop itself, use about 24 blocks to kill most common hostile mobs automatically or start around 22 blocks when you want to finish them for XP. Test the chamber because armor and mob type can change the result.
Do mob farms need trapdoors?
A basic tower can work without them, but open trapdoors around the drop hole improve the chance that wandering mobs step off the edge. They do not replace correct darkness, distance, water flow, or mob-cap control.
Can a mob farm be built underground?
Yes. It will be slower if other caves inside the active area remain dark because those mobs compete with the farm. Underground builds need more lighting and spawn-proofing than a tower over an ocean.
Are there special mob chunks?
No special chunk is required for a general hostile mob farm. Slime chunks matter for slime farms, but an ordinary zombie, skeleton, creeper, and spider tower depends on valid spawning blocks, light level, distance, and mob caps.
What drops come from a general mob farm?
Common drops include bones, arrows, rotten flesh, string, spider eyes, and gunpowder. Rare equipment and player-kill drops depend on the mob, edition, kill method, and Looting enchantment.
What is the fastest Minecraft mob farm?
There is no single fastest design for every resource. A specialized creeper, raid, gold, guardian, or Enderman farm can beat a general tower for one target. Build the general farm for mixed early-game drops, then use a specialized design when you know which item you need in bulk.
Open the Minecraft game page for more survival guides, farms, progression help, and current updates.