










A cozy Minecraft base can look perfect from outside and become irritating five minutes after the player moves in. The roof is charming, the lanterns are warm, and the front path curves through flowers. Then every mining trip ends with six chests opened in the wrong order and a furnace hidden behind a decorative chair.
Good survival bases handle ordinary jobs without losing their personality. The bed is safe. Food and tools are easy to reach. Storage has room to grow. Farms sit close enough to use, while paths and lighting make the whole area feel like one place instead of a house surrounded by unfinished machines.
Start with function, shape it into a home, and leave enough space for the world to change.
Choose a Location That Helps the Base
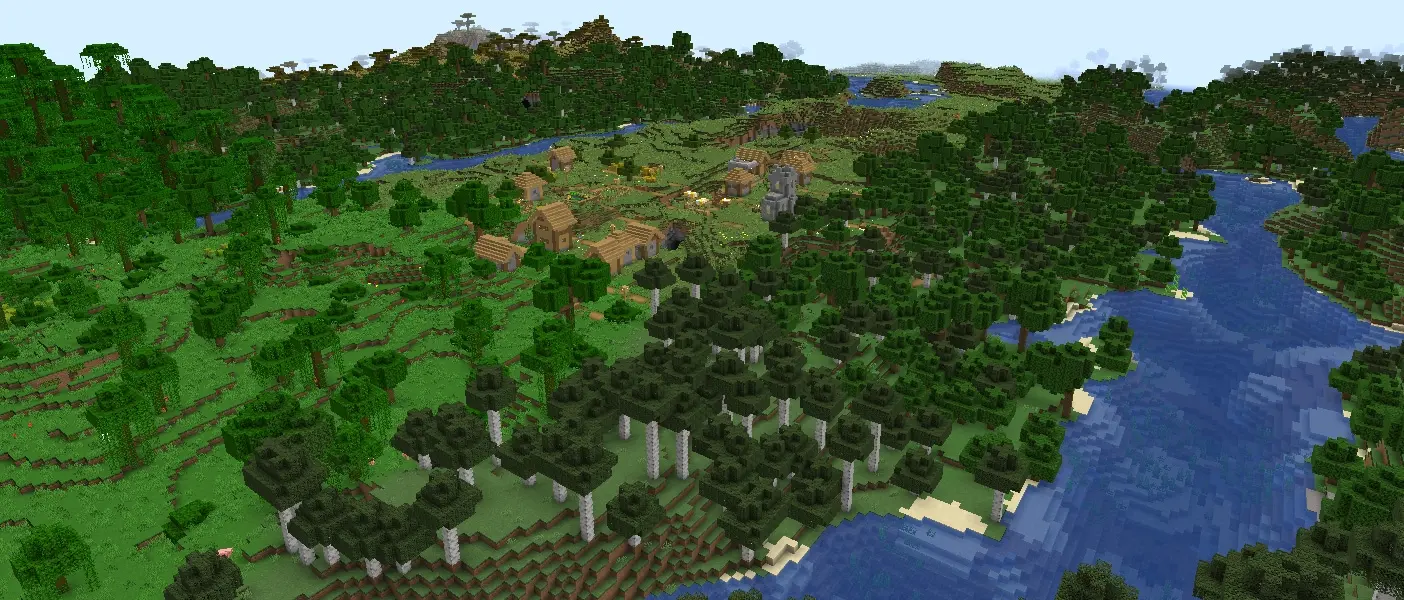
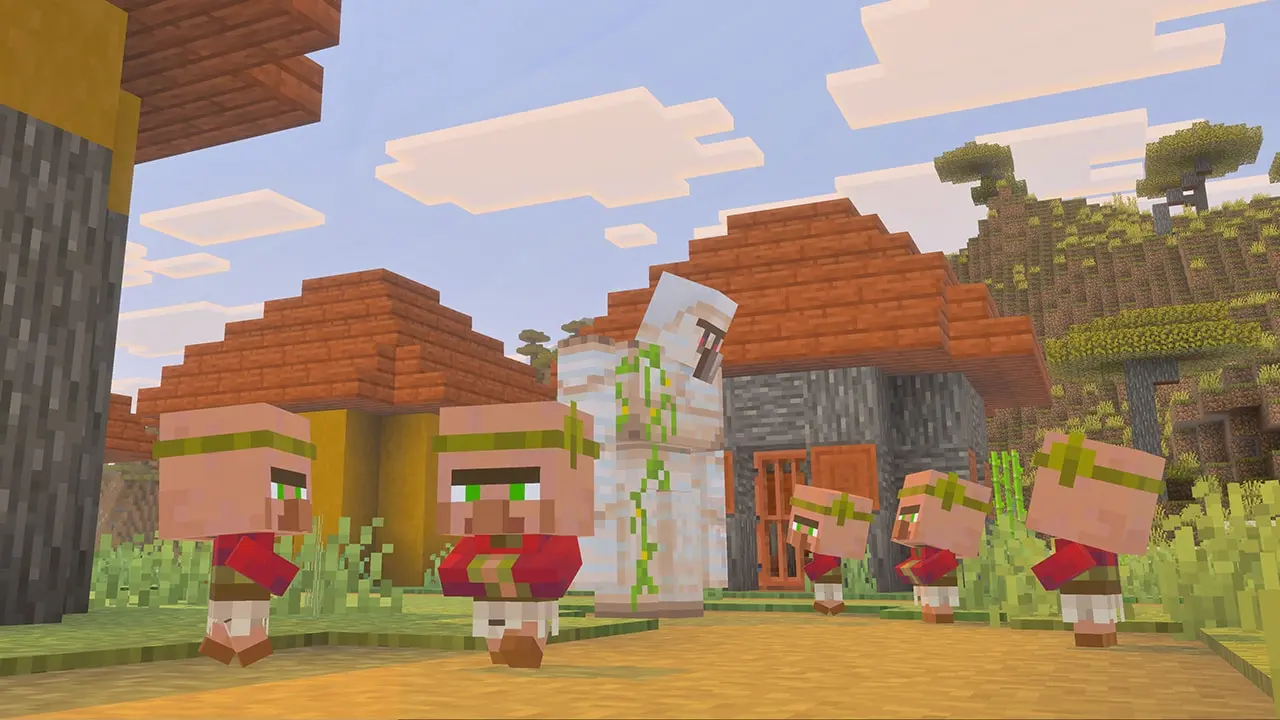
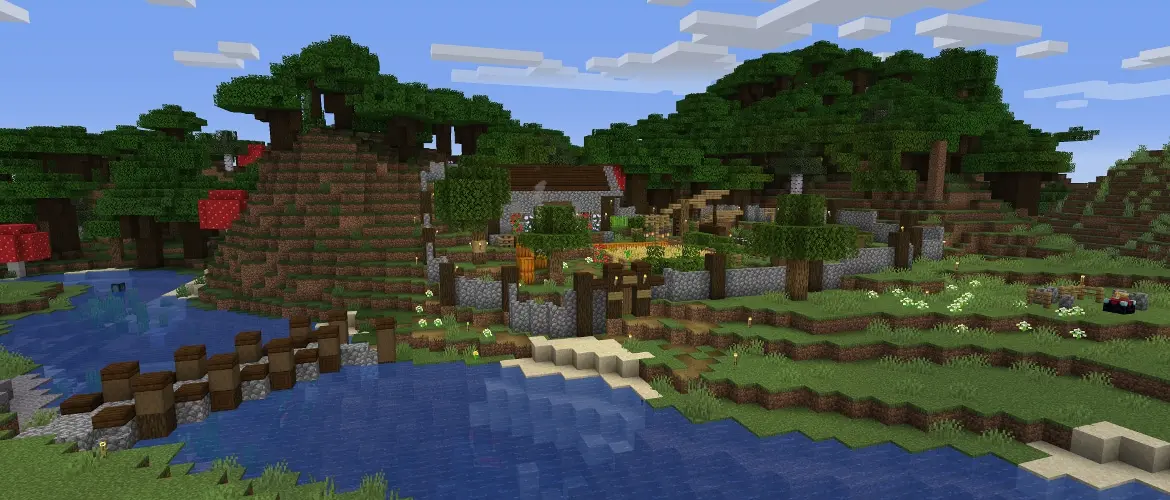
The landscape can provide half the design. A forest edge supplies wood and frames the property. A river creates a natural entrance and a place for a dock. A hill supports a basement or mine entrance. A nearby village offers trading, crops, and an existing road to connect.
- Water: Useful for farming, boats, fishing, decoration, and moving animals. Check that the shoreline has enough flat ground for expansion.
- Wood: A nearby forest keeps the main building material easy to replace. Replant saplings before the view turns into a stump field.
- Open ground: Farms, animal pens, paths, and later workshops need more space than the starter house.
- Useful landmarks: A mountain, village, coast, cherry grove, or unusual tree line gives the base an identity and makes it easier to find.
Avoid choosing a beautiful location that makes every survival job difficult. A tiny island can be cozy, but it needs a plan for animals, crops, wood, and travel. A mountain cabin needs stairs or a safe path before the height becomes enjoyable.
Plan the Rooms Before Building the Walls
A compact base works when the player can move through it without fighting the furniture. Sketch the floor with temporary blocks and walk through the route from the door to storage, furnaces, bed, and back outside.
- Entrance zone: Leave room for a chest or barrel where tools, boats, leads, and items from short trips can be dropped.
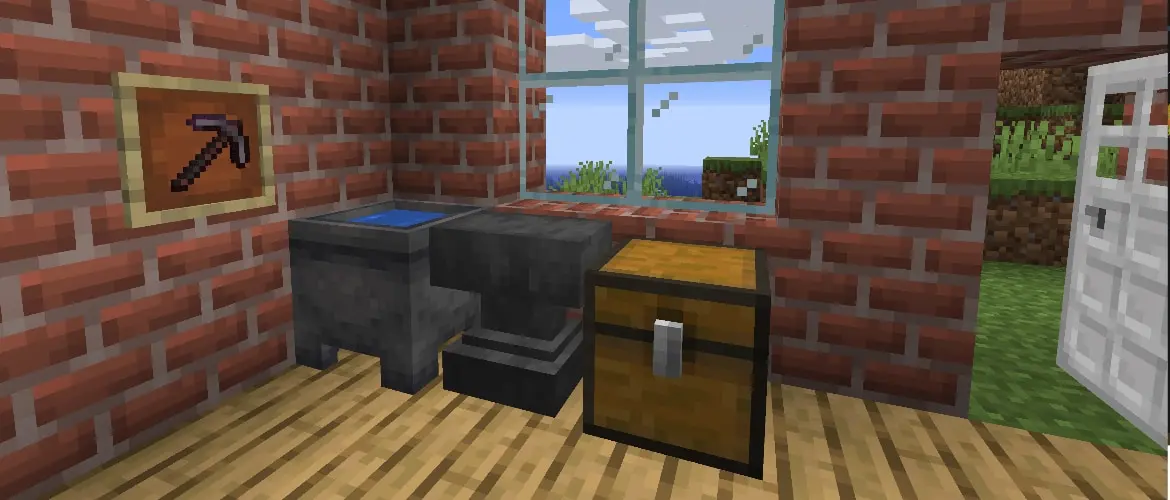
- Work wall: Keep crafting, stonecutting, smithing, repairing, and commonly used furnaces together instead of scattering them across decorative rooms.
- Storage wall: Begin with broad labels such as blocks, ores, plants, food, tools, and mob drops. Add rows or a second room before every chest is full.
- Sleep area: Protect the bed from open doors and dangerous respawns. Leave clear blocks around it so the game can place the player safely.
- Expansion point: One doorway, staircase, or unfinished wall should lead toward the future enchanting room, basement, map room, or workshop.
An early base does not need a separate room for every activity. It needs clear zones. A rug, ceiling beam, change in floor material, or row of shelves can separate functions without adding another hallway.
Give a Plain House More Shape
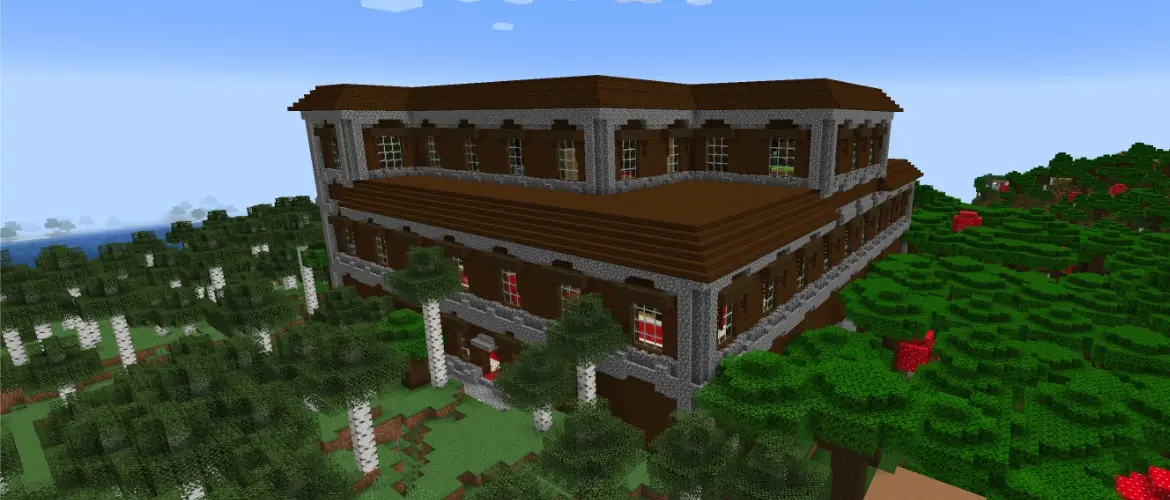
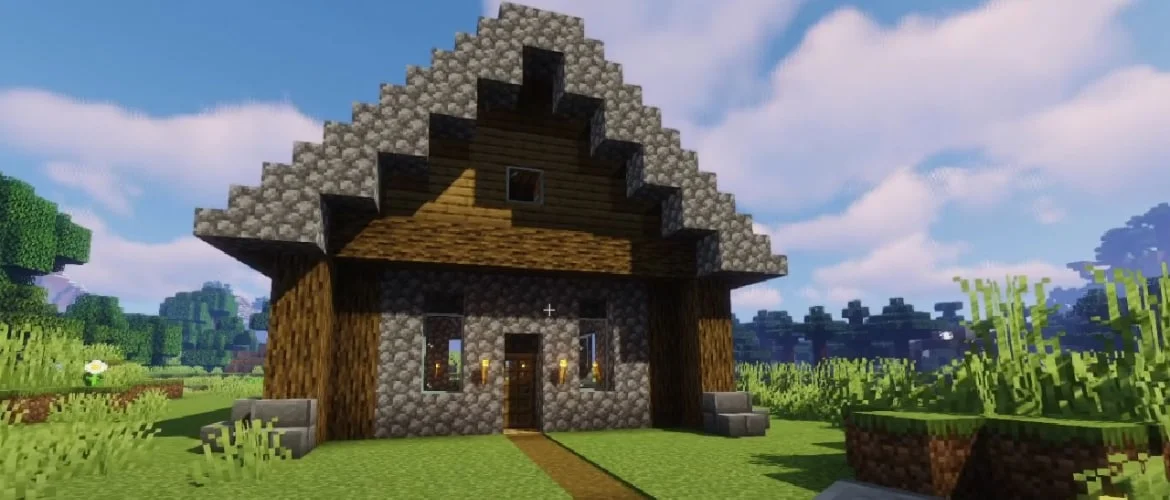
Most starter homes begin as a rectangle. Keep the useful interior and change the outline. Pull the entrance forward into a porch, add a small side room, lower one section of the roof, or attach a chimney. Even a one-block change can make the silhouette feel intentional.
- Roof overhang: Extend stairs or slabs one block beyond the wall. The shadow adds depth and keeps the roof from looking glued to the top.
- Recessed doorway: Move the door one block inward, then frame it with logs, stairs, trapdoors, or a small awning.
- Window depth: Place glass behind the outside wall and use stairs, slabs, shutters, or flower boxes around the opening.
- Foundation: A stone or deepslate base gives the house visual weight and works well on uneven terrain.
Do not add detail to every block. Walls need quiet sections so windows, beams, doors, and roof lines can stand out.
Use a Small Material Palette
Choose one main block, one structural block, and one accent before collecting every decorative option in the biome. Oak planks, stripped spruce logs, and cobblestone can carry an entire starter house. Dark oak with stone bricks feels heavier. Cherry wood with pale stone feels brighter.
- Main material: Use it across most walls and large surfaces. It should be easy to collect again when the house expands.
- Structure: Logs, stone, deepslate, or another stronger-looking block can frame corners, floors, chimneys, and foundations.
- Accent: Copper, terracotta, colored wool, stripped wood, or a second stone type should appear in smaller areas.
Texture comes from controlled variation, not random blocks. Mix two related stones near the foundation or weather a copper roof gradually. When every wall uses a different idea, the base stops feeling calm.
Advertisement

Make Storage Part of the Room
Storage expands faster than the house. Plan for double the number of chests currently needed and keep the labels broad until a category becomes difficult to manage. Barrels fit below shelves and open with blocks above them, which makes them useful in tight interiors.
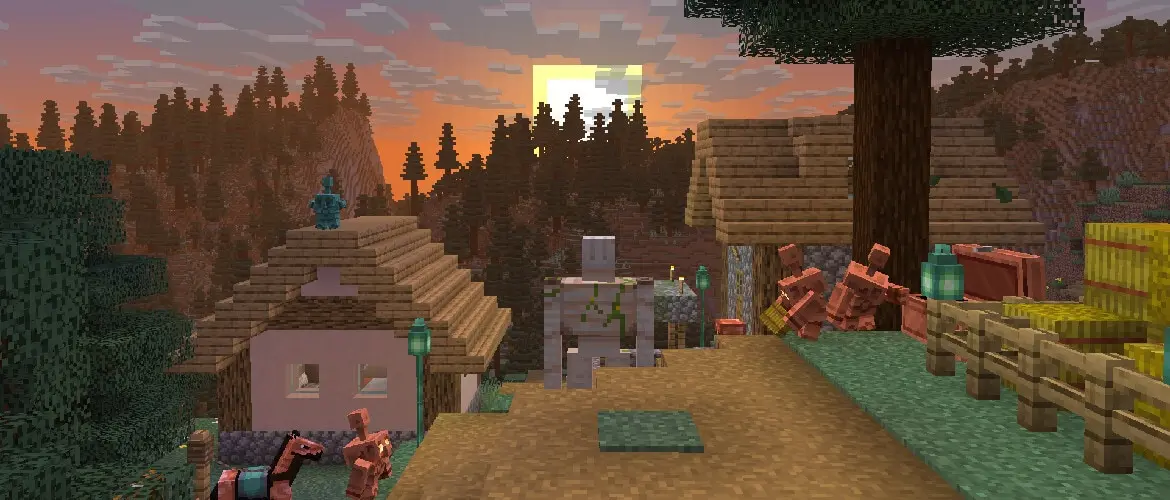
The Copper Age added copper chests, shelves, and copper golems. They can turn storage into part of the design rather than a hidden warehouse. Copper golems sort items from copper chests into nearby regular chests, but the receiving chests still need a clear organization plan.
- Daily-use storage: Food, wood, torches, tools, and building blocks belong close to the entrance or crafting wall.
- Bulk storage: Stone, dirt, cobblestone, and farm output can move into a basement, shed, or dedicated storage building.
- Valuables: Diamonds, templates, enchanted books, and rare items need one memorable place, not the last chest opened after a trip.
Light the Base Without Covering It in Torches
Hostile mobs need complete darkness to spawn in current Minecraft, but hidden corners, roofs, basements, caves, and thick landscaping can still create problems. Check the whole property at night before replacing practical light with decorative light.
- Early game: Use torches along paths, entrances, farms, roofs, and fence corners. Safety comes before a perfect screenshot.
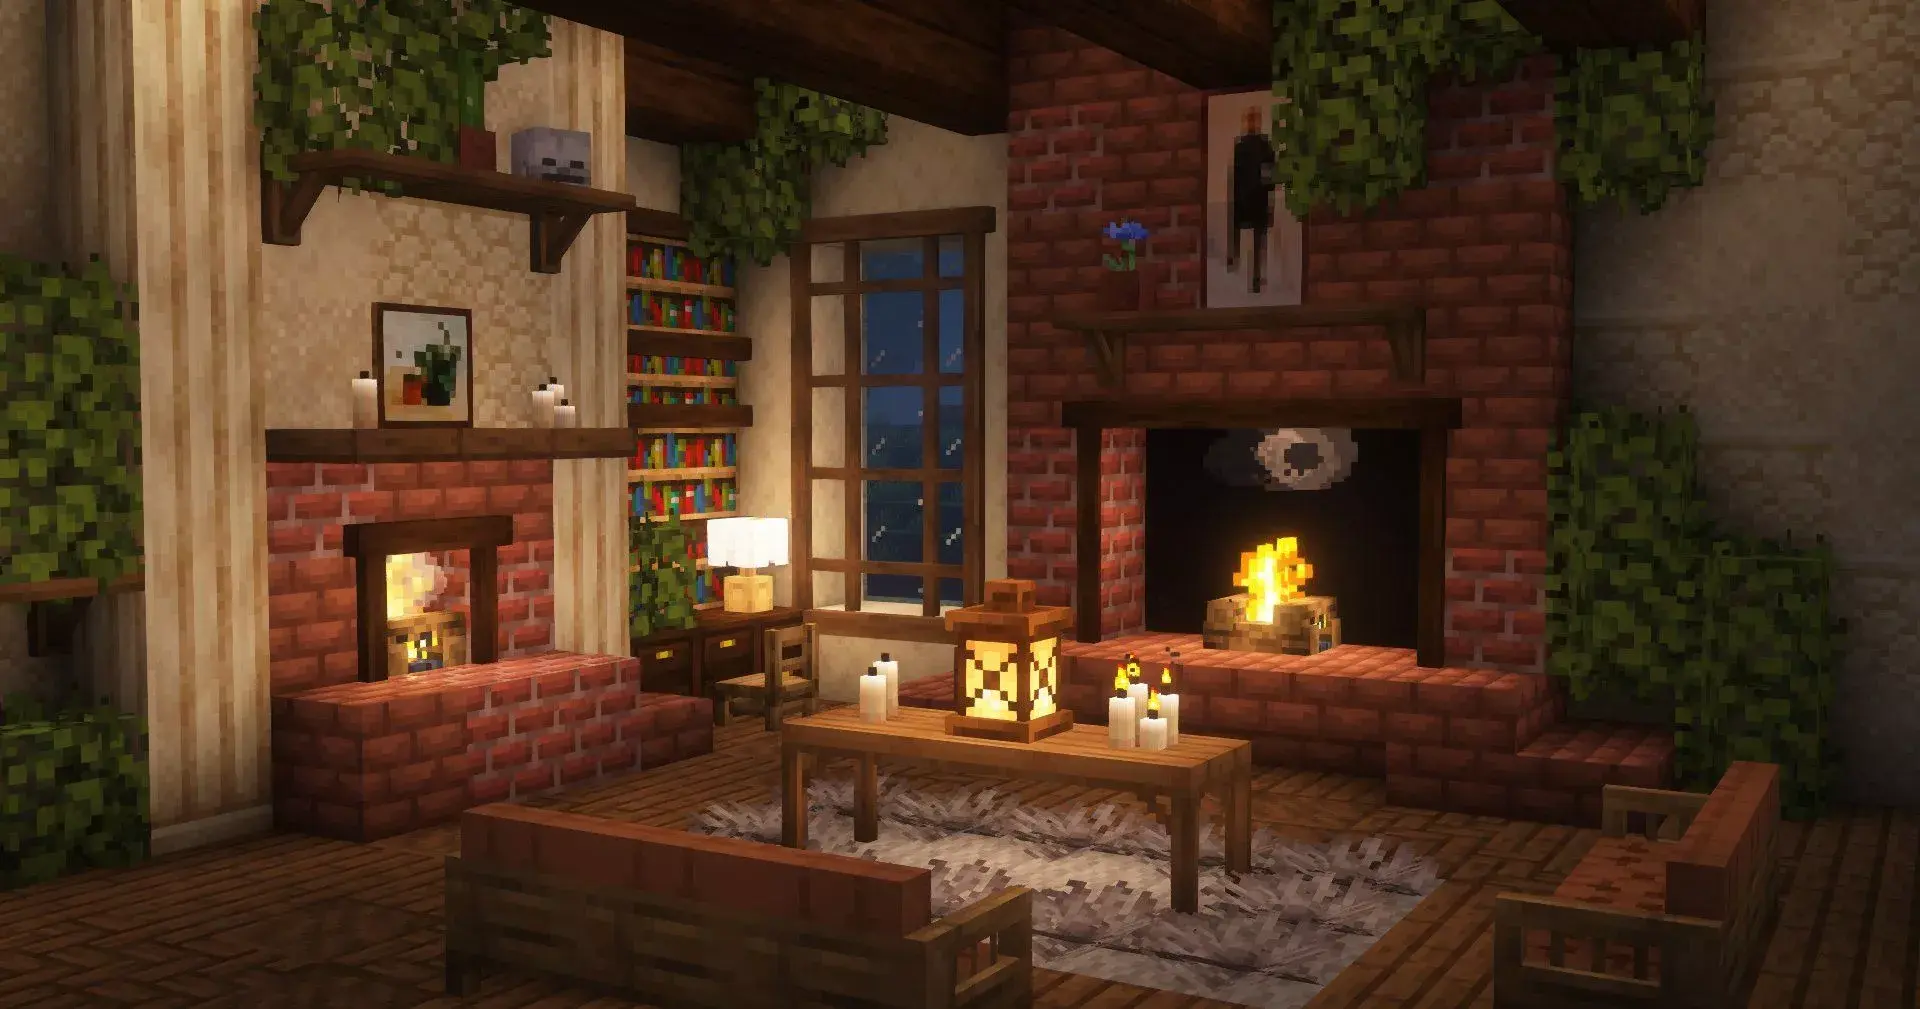
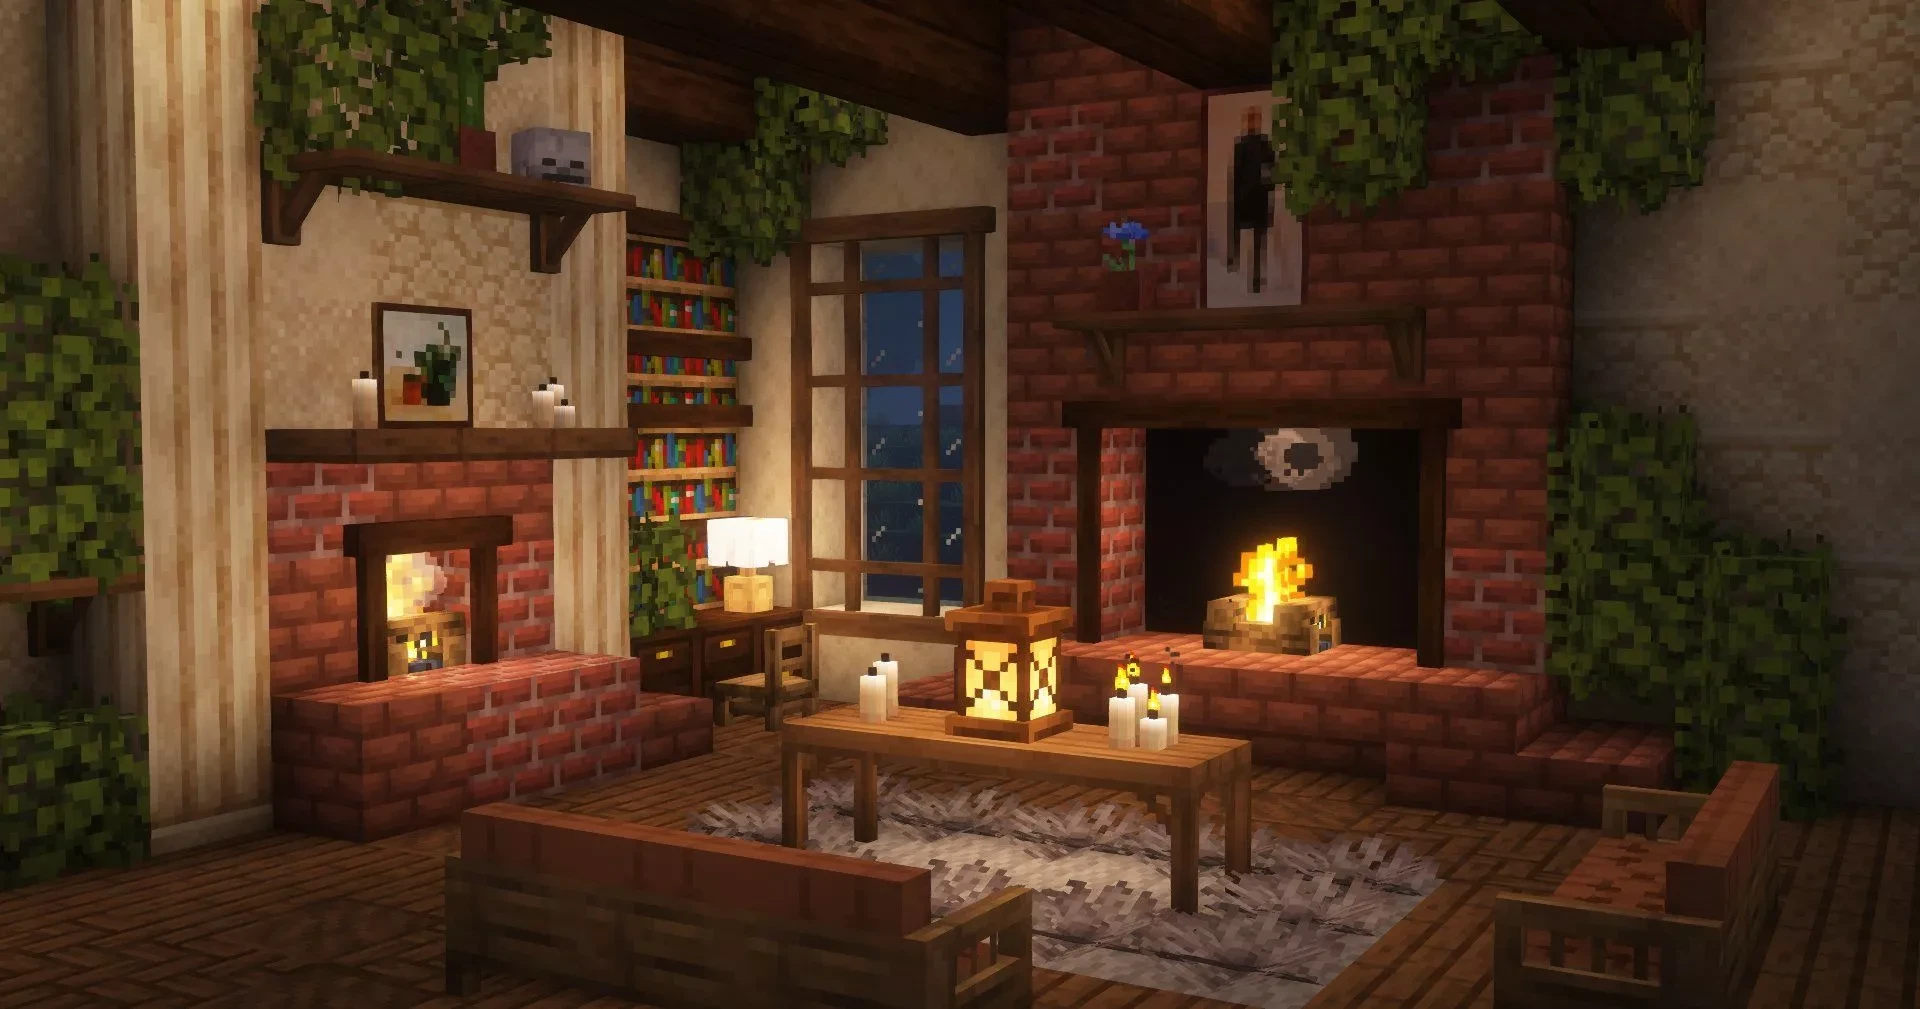
- Warm interiors: Lanterns, candles, fireplaces, and light hidden behind trapdoors or leaves can soften a room after better materials are available.
- Outdoor areas: Lamp posts, campfires, lit paths, and lights built into low walls make the property readable without placing a torch on every block.
A campfire chimney produces smoke and gives the roof a focal point. Leave safe blocks around fire and lava, especially in wooden buildings.
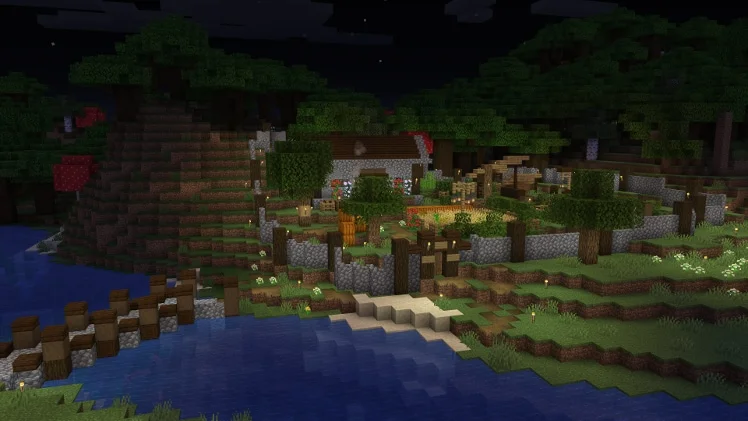
Connect Farms and Work Areas With Paths
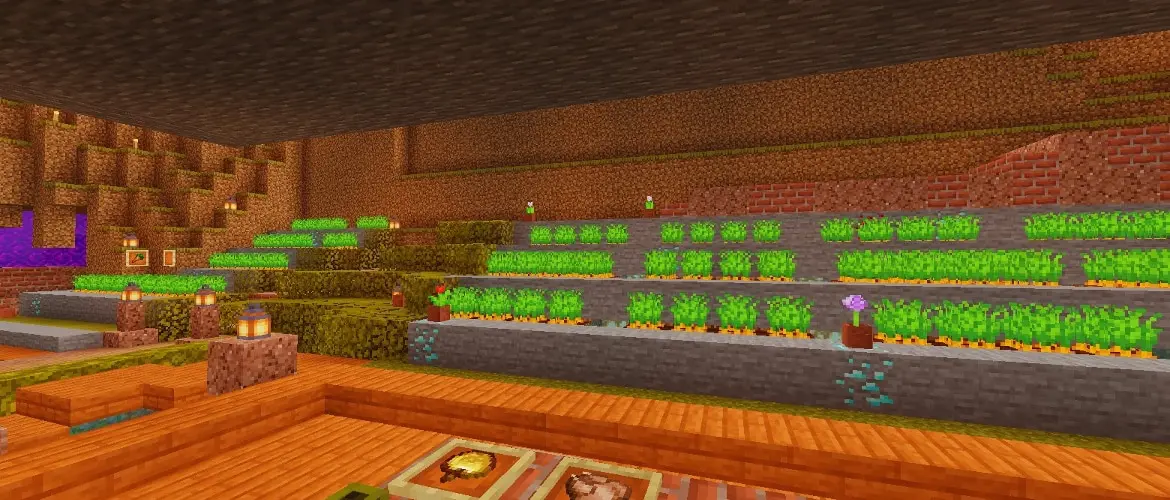
Place farms close enough to become part of the daily routine. A small crop field beside the kitchen is more likely to be replanted than a giant farm beyond a hill. Animal pens need enough distance from the bedroom to reduce noise without becoming a separate expedition.
- Main path: Connect the front door to the mine, farm, animal pen, dock, village, or road used most often.
- Service path: A narrower route behind the house can reach furnaces, storage, tree farms, and later redstone builds.
- Small destinations: A bench, well, greenhouse, fishing dock, stable, or campfire gives a path somewhere to end.
Use path blocks, gravel, coarse dirt, slabs, stairs, and occasional stones to follow the terrain. Perfectly straight roads can work in a town, but a small survival home often feels better when the route bends around water and trees.
Add Details After the Base Works
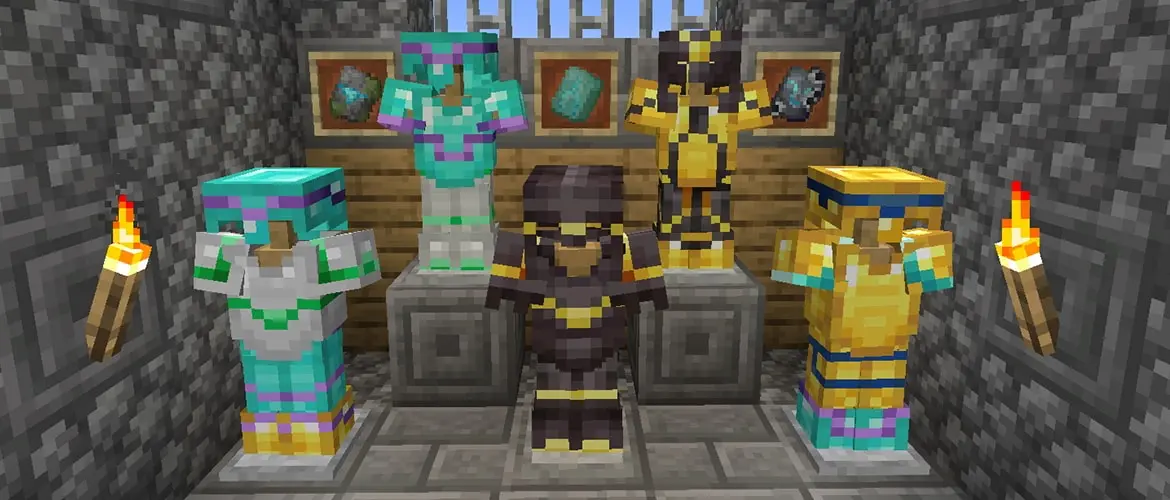
Furniture and decoration should explain the room rather than block it. A map near the door, tools beside the crafting wall, flower pots by a window, and food near the furnace make visual sense. Trapdoors, signs, item frames, banners, paintings, bookshelves, and armor stands add personality when they do not interrupt movement.
- Outside: Use leaves, flower patches, stacked logs, barrels, carts, fences, and small gardens to blend the building into the landscape.
- Inside: Repeat colors and materials from the exterior so the house feels connected instead of becoming a different theme behind every door.
- Personal history: Display the first diamond, a rare mob drop, maps from explored regions, armor from an old trip, or signs marking important dates in the world.
Cozy does not require clutter. One good corner with a chair, shelf, light, and view can carry more personality than every wall covered with objects.
Leave Space for the Next Version of the Base
Minecraft bases grow around the player’s interests. A miner needs more storage and smelting. A builder needs material yards. An explorer needs maps, spare boats, and equipment. A trader needs safe village access. Leave one side of the property open and run new paths toward it instead of squeezing every project against the front door.
- Expand in buildings: A workshop, barn, greenhouse, library, or storage shed can add space without turning the original house into one enormous room.
- Expand underground: Basements work well for bulk storage, furnaces, portals, and mine access, but they still need lighting and a clear staircase.
- Keep the old room: The starter bedroom or first tiny workshop can remain inside the larger base. A little history makes a long-running world feel personal.
The base is ready when returning home feels easy. The player can unload, eat, repair, sleep, find the next tool, and leave again without searching through the decoration. Warm lights and a good roof make it cozy; a good routine makes it home.