


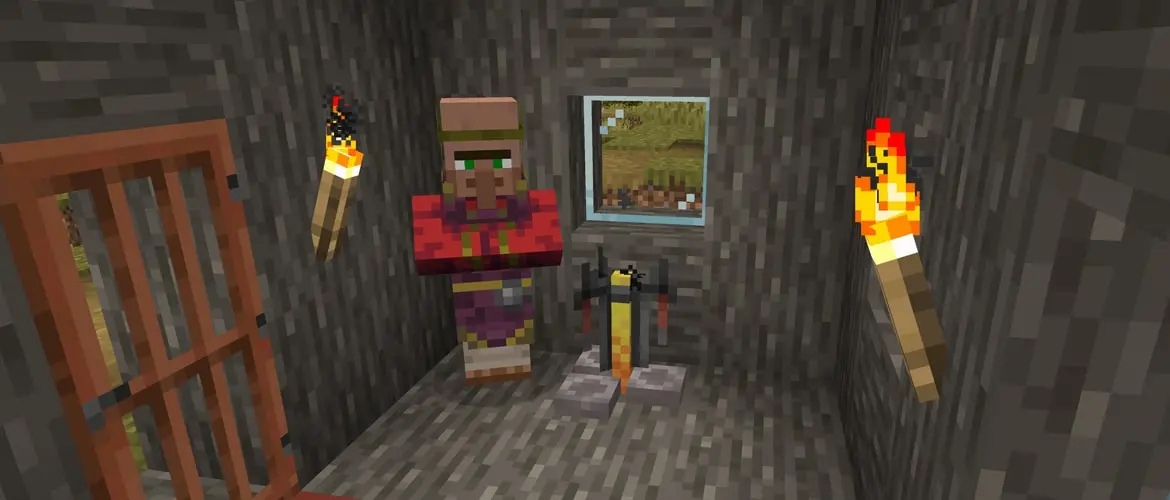
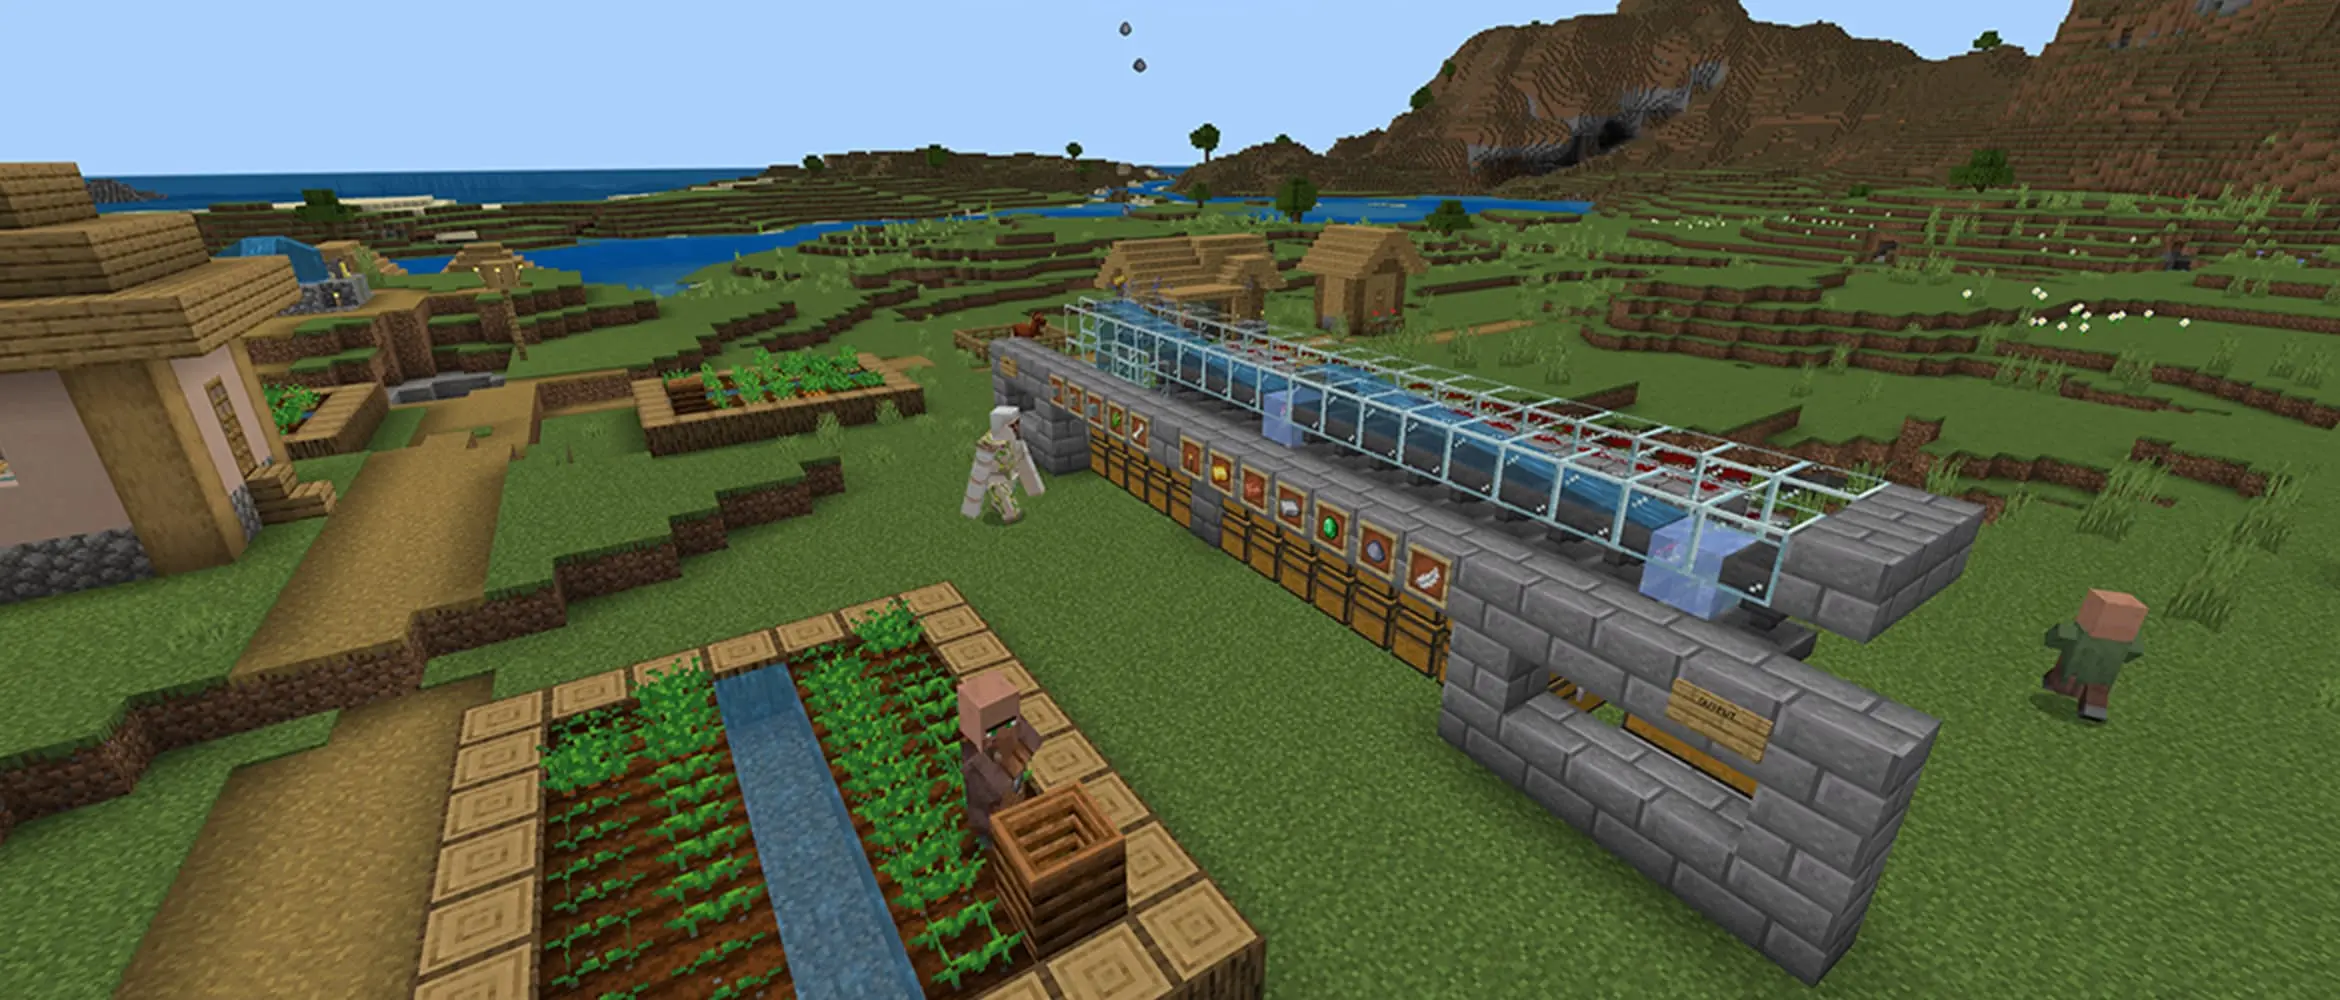


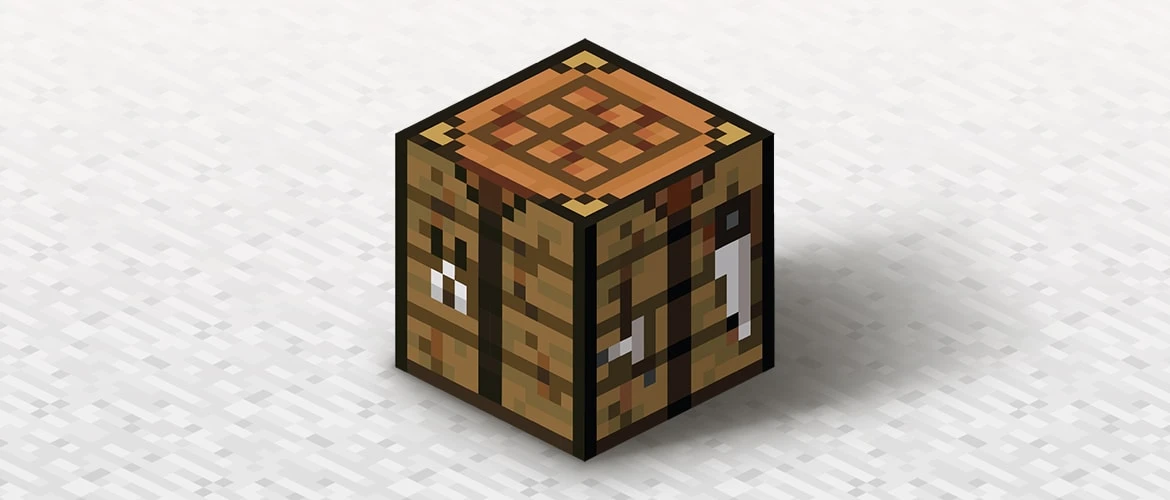
A new Minecraft world gives you almost no direction, but your first goal is simple: become safe before the first night. Gather wood, move to stone tools, secure food, make light, and build a small shelter. A bed is ideal, but it is not required for a successful first day.
This route works in current Java and Bedrock Survival worlds. The controls and a few combat details differ, but the opening priorities are the same. You do not need diamonds, a perfect seed, or a large house before you can start enjoying the world.
Mojang’s official beginner hub separates the opening into crafting, preparing for night, shelter, food, and exploration. The checklist below puts those pieces into one order you can follow without stopping every few minutes to search for the next step.
What to Do First in Minecraft: Quick Checklist
- Collect about 10–16 logs from nearby trees.
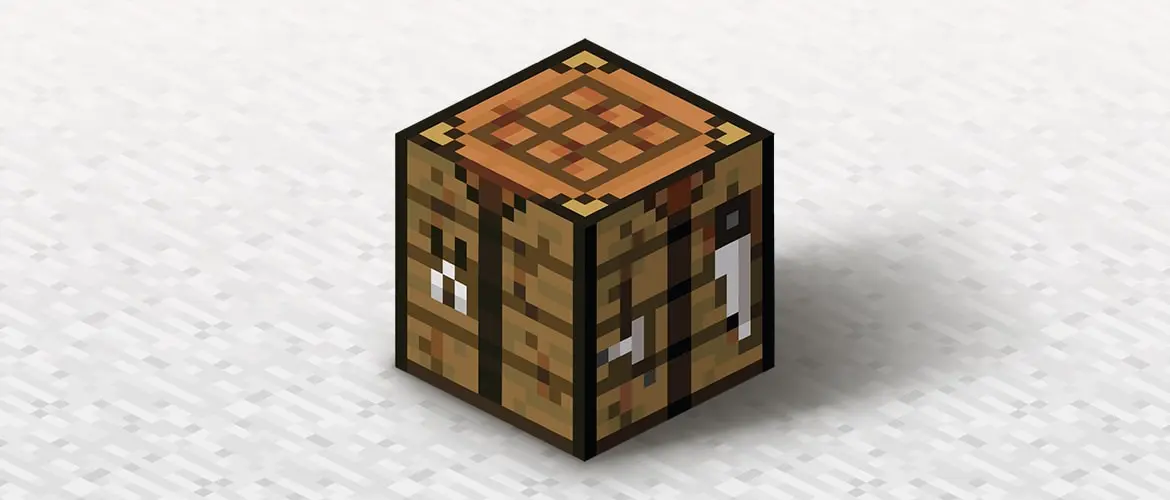
- Turn logs into planks, then make a crafting table and sticks.
- Craft one wooden pickaxe and use it only long enough to collect cobblestone.
- Upgrade to stone tools and make a furnace.
- Collect food and cook it before your hunger bar becomes a problem.
- Find coal or make charcoal, then craft torches.
- Choose a small home area and finish a closed shelter before sunset.
- Make a bed if you find three wool; otherwise stay safely inside for the night.
- After sunrise, collect iron for a shield, bucket, and iron pickaxe.
- Mark your base, store spare supplies, and choose one next goal.
The Essential First-Day Recipes
- Crafting table: four wooden planks.
- Sticks: two wooden planks placed vertically.
- Wooden pickaxe: three wooden planks and two sticks.
- Stone pickaxe: three cobblestone and two sticks.
- Furnace: eight cobblestone arranged around the outside of the crafting grid.
- Torches: one coal or charcoal above one stick; one recipe makes four torches.
- Bed: three wool and three wooden planks.
- Shield: one iron ingot and six wooden planks.
You do not need a complete wooden tool set. Make the wooden pickaxe, collect enough cobblestone for the tools you want and a furnace, then leave the weaker tier behind.
Step 1: Get Wood Without Wandering Too Far
Trees are the first target because wood unlocks planks, sticks, a crafting table, tools, fuel, chests, doors, and a bed frame. Ten logs are enough for a rushed start, while 16 gives you more room for tools, charcoal, and a basic shelter.
Stay aware of the place where you first appeared. That world spawn remains important if you die before sleeping in a bed. A village, visible coastline, unusual hill, or saved coordinate can help you recognize the area later.
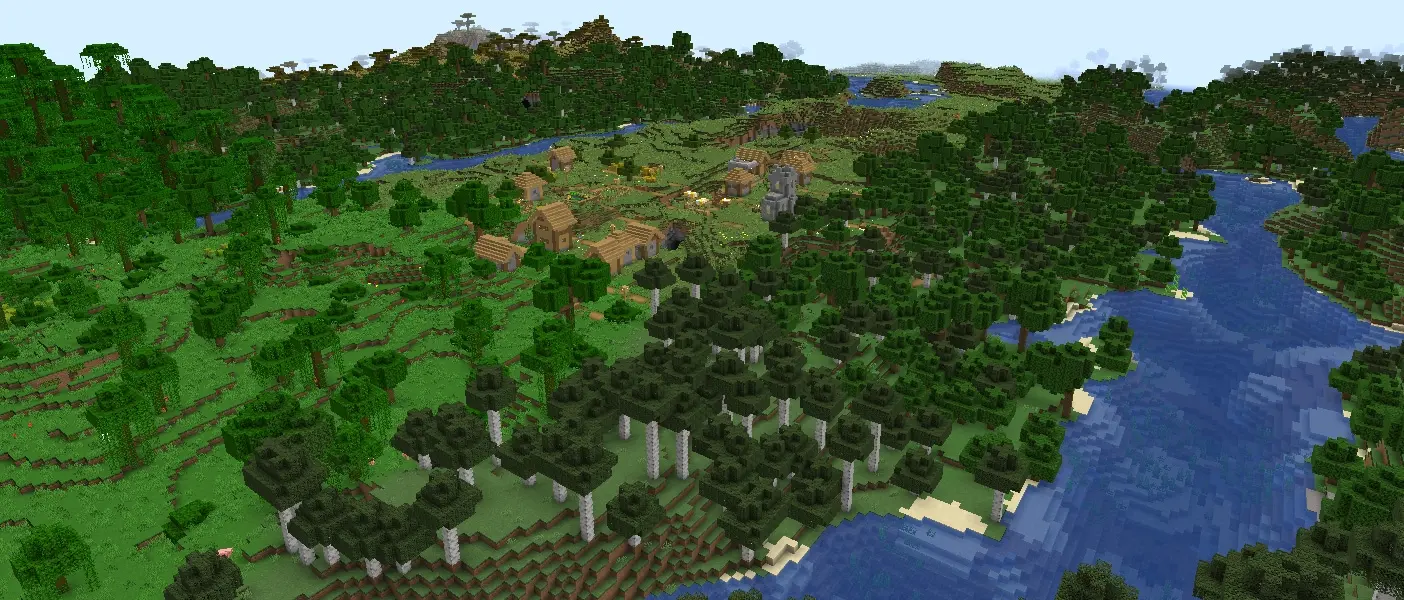
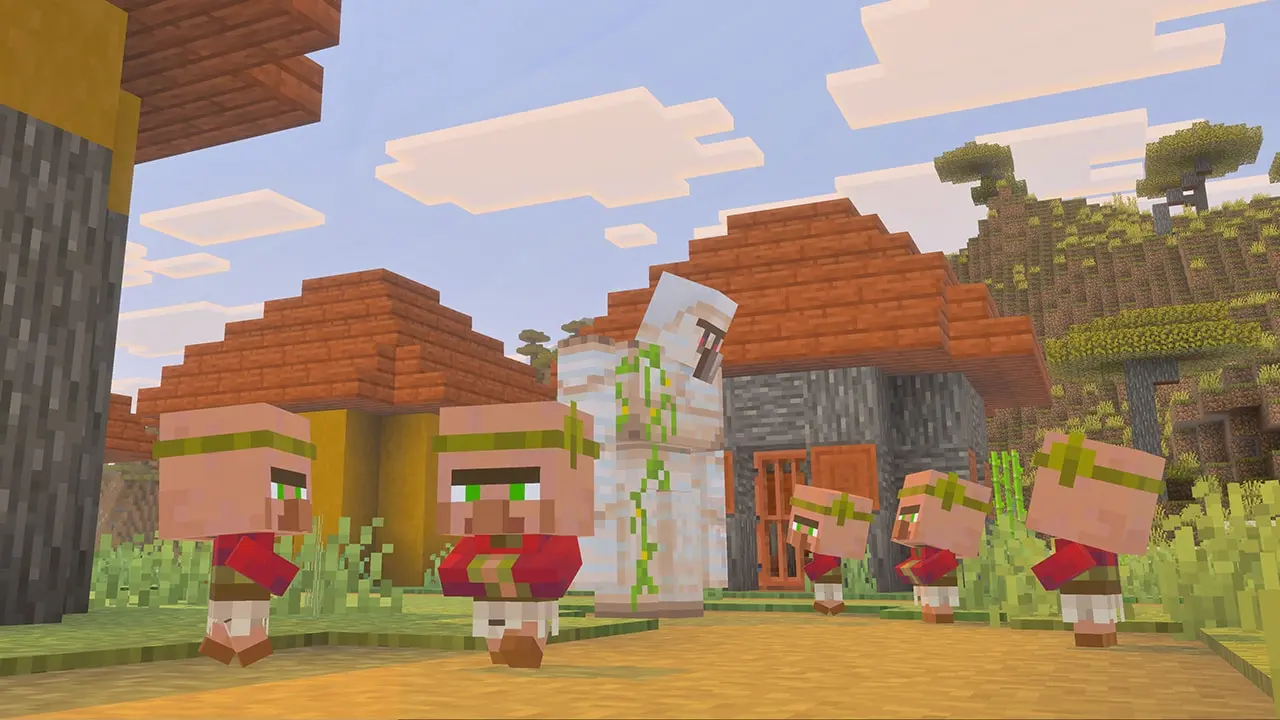
If a village is close, use it as an opportunity rather than a distraction. It can provide shelter, crops, and beds, but you should still make basic tools and carry food before exploring farther.
Step 2: Upgrade to Stone Immediately
Place the crafting table, make a wooden pickaxe, and collect cobblestone from a shallow opening or a safe staircase. Stone tools last longer and work faster, so the wooden pickaxe should be a temporary bridge rather than your main tool for the day.
A practical target is around 20 cobblestone. That covers a furnace, stone pickaxe, stone axe, a weapon, and a little spare material. You can collect more later when the shelter and food are already handled.
Do not dig straight down. You can fall into a cave, lava, or a deep drop with no safe route back. Use a staircase and keep the exit visible.
Step 3: Secure Food Before You Need It
Hunger controls more than sprinting. With enough food in the bar, your health can regenerate after taking damage. That makes cooked food one of the best early safety upgrades.
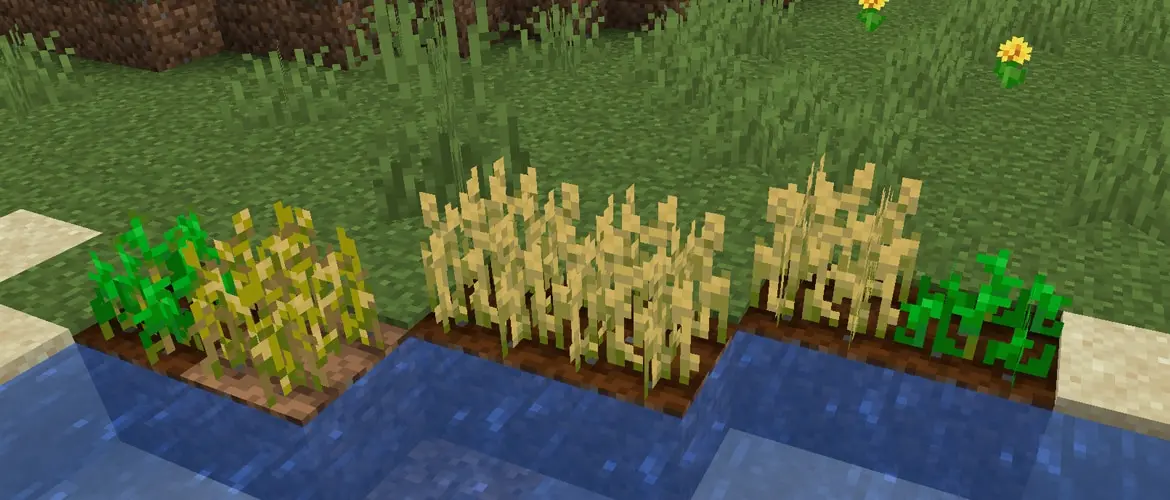
Use the easiest nearby source: animals, fish, village crops, or simple bread ingredients. Cook raw meat in the furnace. If your spawn has few animals, collect seeds and start a tiny wheat plot after the first night instead of spending the whole day chasing distant food.
Keep at least a few pieces in your inventory before mining or exploring. Returning home with iron is less useful if you starve or cannot recover health on the way back.
Step 4: Make Torches Even If You Find No Coal
Coal is useful, but it is not required. Put a log in the top slot of a furnace and use planks or another burnable item as fuel to create charcoal. Charcoal works like coal in the torch recipe.
Light the shelter, its entrance, and the small area where you plan to work. Torches help you see threats and reduce hostile mob spawning in properly lit spaces.
Step 5: Build a Small Shelter Before Sunset
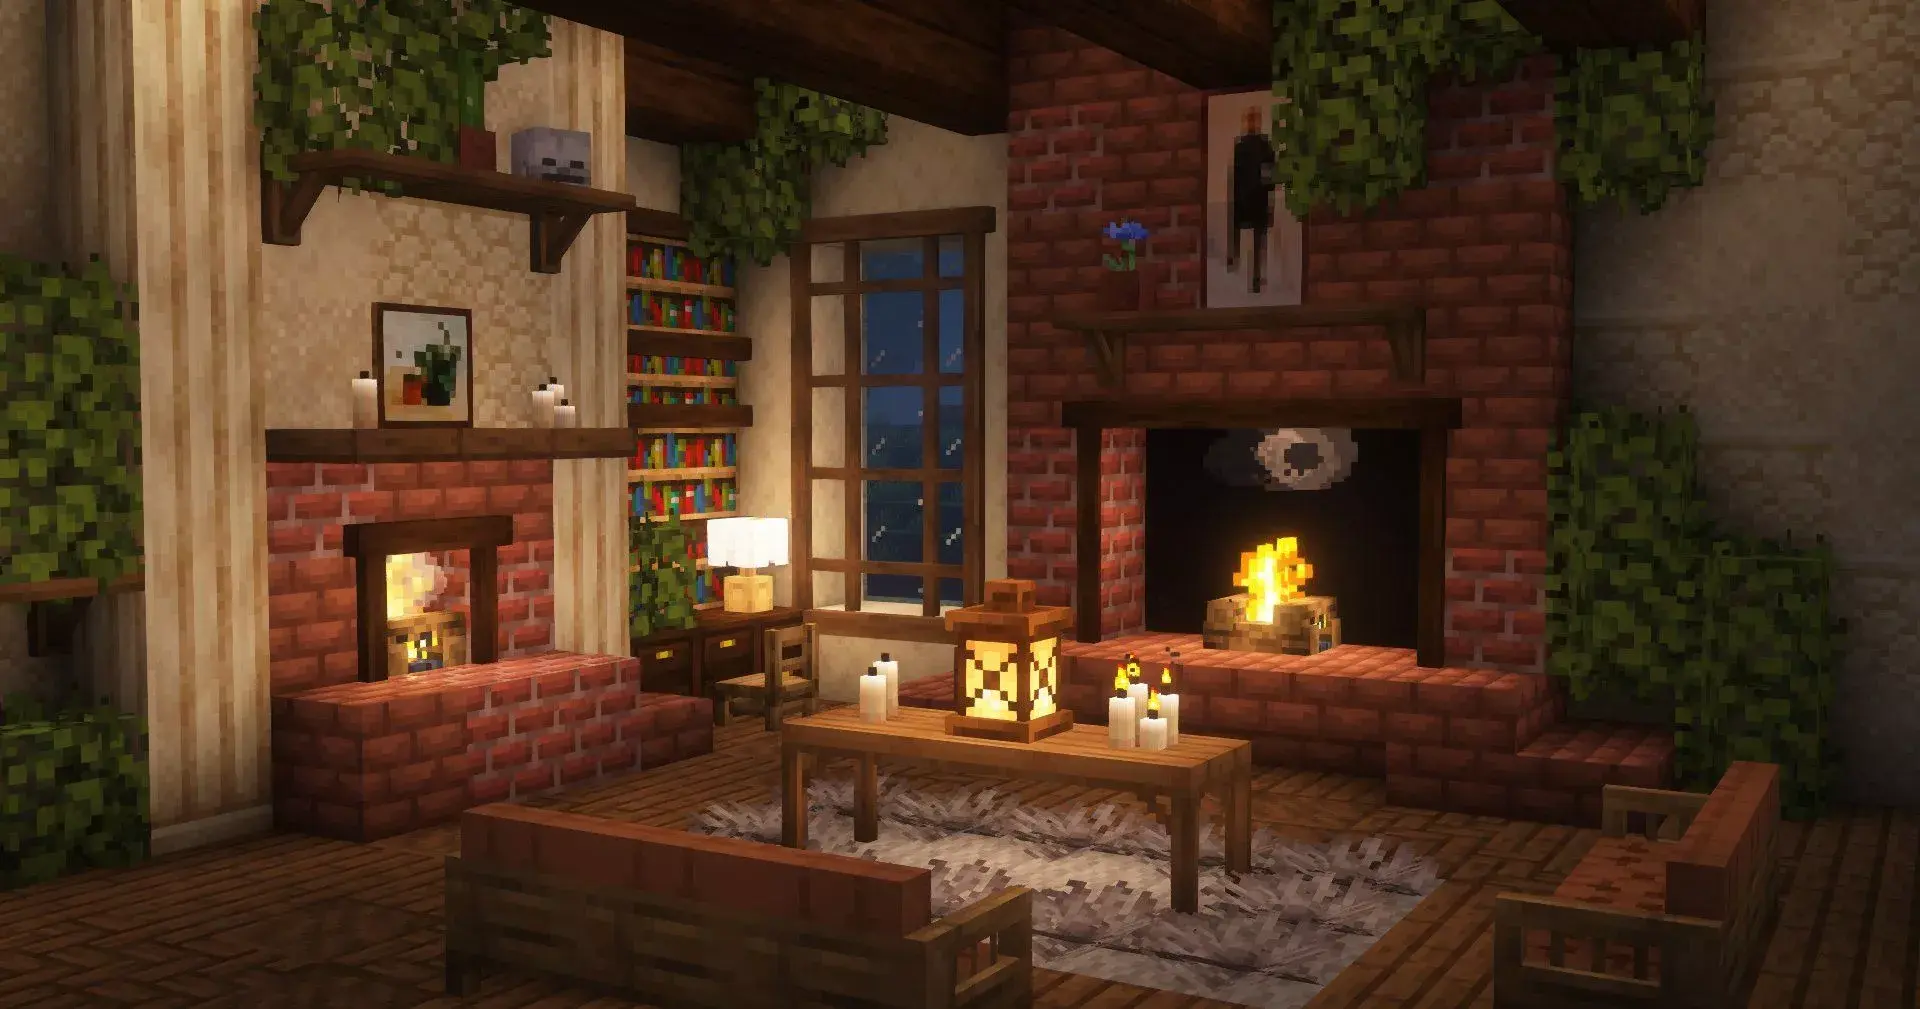
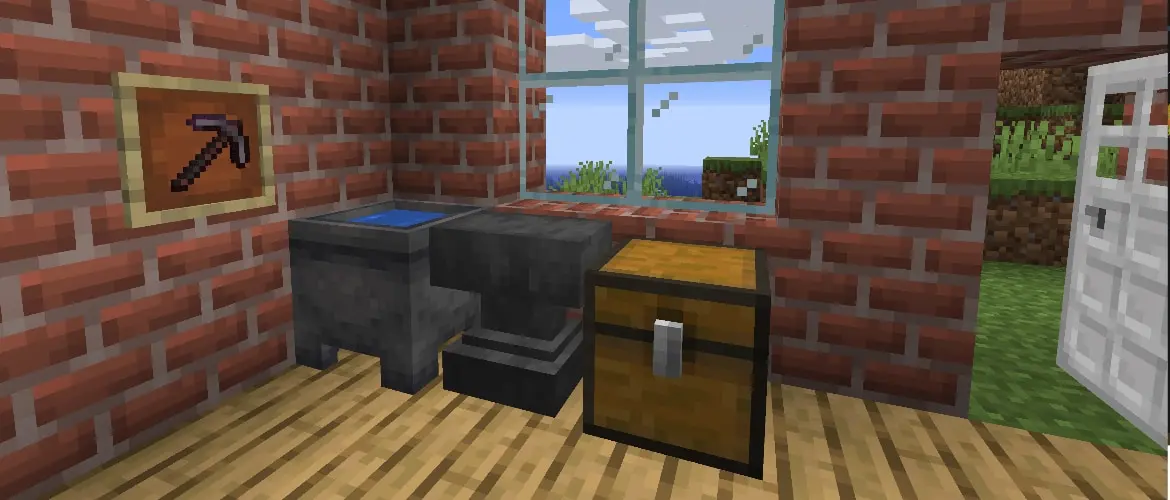
Your first base does not need to be permanent. A small wooden room, a sealed cave entrance, or even a dirt shelter works if hostile mobs cannot walk inside. Add a door or block the entrance, light the interior, and leave enough space for a bed, furnace, crafting table, and chest.
Do not spend the first day decorating a large frame with no finished walls. A complete ugly shelter is more useful than an unfinished dream house when skeletons and creepers appear.
Mark the entrance with torches or a small pillar. If coordinates are available, save them. The dedicated coordinates guide linked below explains the safest ways to return home in both editions.
Step 6: Make a Bed, or Use a Safe Backup Plan
A bed lets you skip the night and changes your respawn point. If you find three wool before sunset, it is one of the strongest first-day crafts you can make.
No sheep nearby is not a failed world. Close the shelter, add light, cook food, organize supplies, and mine a short staircase while you wait. Stay close enough to hear danger and avoid opening a large cave system without armor or a shield.
Advertisement

What to Do During the First Night
- Smelt food, charcoal, and any iron you collected.
- Craft a chest and store anything you do not want to lose.
- Make extra stone tools and torches.
- Start a safe staircase mine from inside the shelter.
- Avoid fighting several hostile mobs at once just to pass the time.
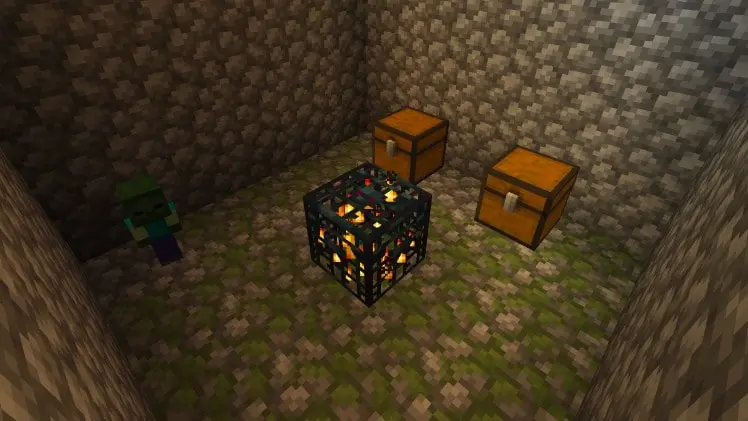
If you choose to fight, keep the shelter entrance behind you so you have a retreat. Creepers can damage the area, skeletons can attack from range, and spiders can climb walls.
Your First Iron: What to Craft First
1. Shield
A shield costs only one iron ingot and can block many dangerous attacks. Java and Bedrock use it differently, but both editions make it one of the best early survival tools.
2. Bucket
A bucket costs three ingots and helps with farms, safe drops, lava, and exploration. Water becomes even more useful once you begin mining deeper.
3. Iron pickaxe
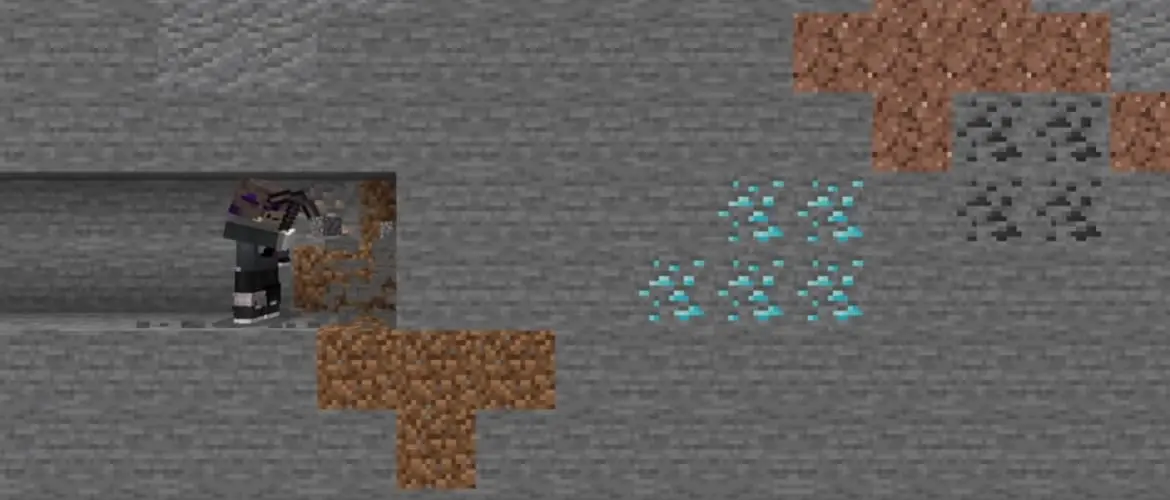
The iron pickaxe costs three ingots and is required for valuable ores such as diamonds. Keep a stone pickaxe for ordinary blocks so the iron tool lasts longer.
4. Armor
Use later iron for armor. A full set is helpful, but you do not need to wait for all 24 ingots before making smaller upgrades that keep you alive now.
What to Do After the First Night
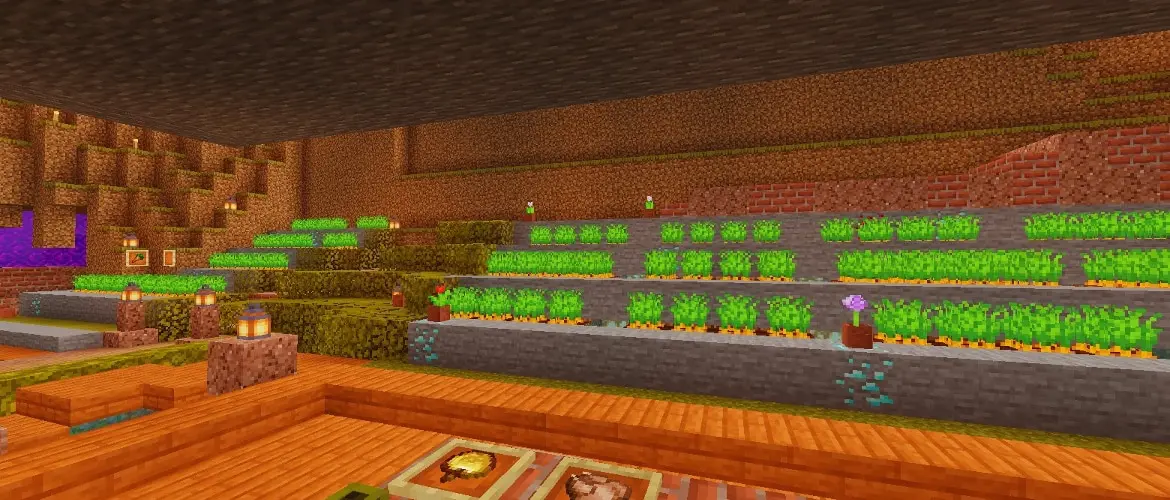
- Make a permanent food source with crops or animals.
- Improve the base and create labeled storage.
- Collect enough iron for tools, a shield, a bucket, and armor.
- Create a safe mine or explore a nearby cave with food and torches.
- Build toward diamonds, obsidian, and a Nether portal only after the basics feel stable.
Minecraft has no single required path, so this is a safety route rather than a rule. Once your base, food, and equipment are reliable, you can focus on building, exploration, redstone, farming, combat, or reaching the End.
Java and Bedrock Differences That Matter to Beginners
- The early crafting and survival checklist is almost identical in both editions.
- Combat timing, shield controls, menus, and some mob behavior can differ.
- Bedrock can show coordinates through a world setting; Java players often use the debug screen.
- Many advanced farms are edition-specific, so check the edition before copying a build later.
If you are still choosing a version, compare them in Minecraft Java vs. Bedrock.
Common Beginner Mistakes
- Wandering far from spawn before making tools, food, or a bed.
- Building a large house before finishing a safe room.
- Using every log as planks and leaving no wood available for charcoal.
- Mining straight down or entering a deep cave without an exit plan.
- Carrying every valuable item instead of using a chest.
- Chasing diamonds before securing iron, food, light, and a shield.
- Copying a Java-only farm in Bedrock, or the other way around.
What If You Die or Get Lost?
Death is recoverable outside Hardcore. You return to your bed spawn, or to the original world spawn if no valid bed is set. Dropped items remain near the place you died for a limited time while that area is loaded, so return with food and basic gear instead of creating a second emergency.
If you are lost, stop moving randomly. Check saved coordinates, look for landmarks, or return toward world spawn if you know the direction. Use the coordinate system and visible paths before taking longer trips.
The Simple Beginner Progression Route
- First ten minutes: wood, crafting table, stone tools, food, furnace, and torches.
- Before sunset: closed shelter, marked home position, and a bed if possible.
- First night: smelting, storage, spare tools, and safe shallow mining.
- Next morning: shield, bucket, iron pickaxe, farm, and better base.
- First week: armor, diamonds, enchanting preparation, and a Nether plan.
Where to Go Next
Continue with the first 10 days survival guide, learn safe resource levels in the mining guide, build reliable supplies with the food and farming guide, and save your home properly with the coordinates guide.
Minecraft Beginner FAQ
What is the first thing you should do in Minecraft?
Collect wood, make a crafting table and wooden pickaxe, then upgrade to stone tools. Wood unlocks the early crafting chain, while stone gives you practical tools before the first night.
Do you need a bed on the first day?
No. A bed is useful because it skips the night and sets your spawn, but a closed, lit shelter with food is enough to survive until morning.
Should beginners mine on the first night?
A short staircase mine connected to the shelter is reasonable. Avoid deep caves until you have food, torches, a shield, and a clear route back.
What is the main goal of Minecraft?
Minecraft is a sandbox, so there is no single required goal. Survival progression can eventually lead to the Ender Dragon, but building, exploration, farms, multiplayer, and creative projects are equally valid reasons to play.