



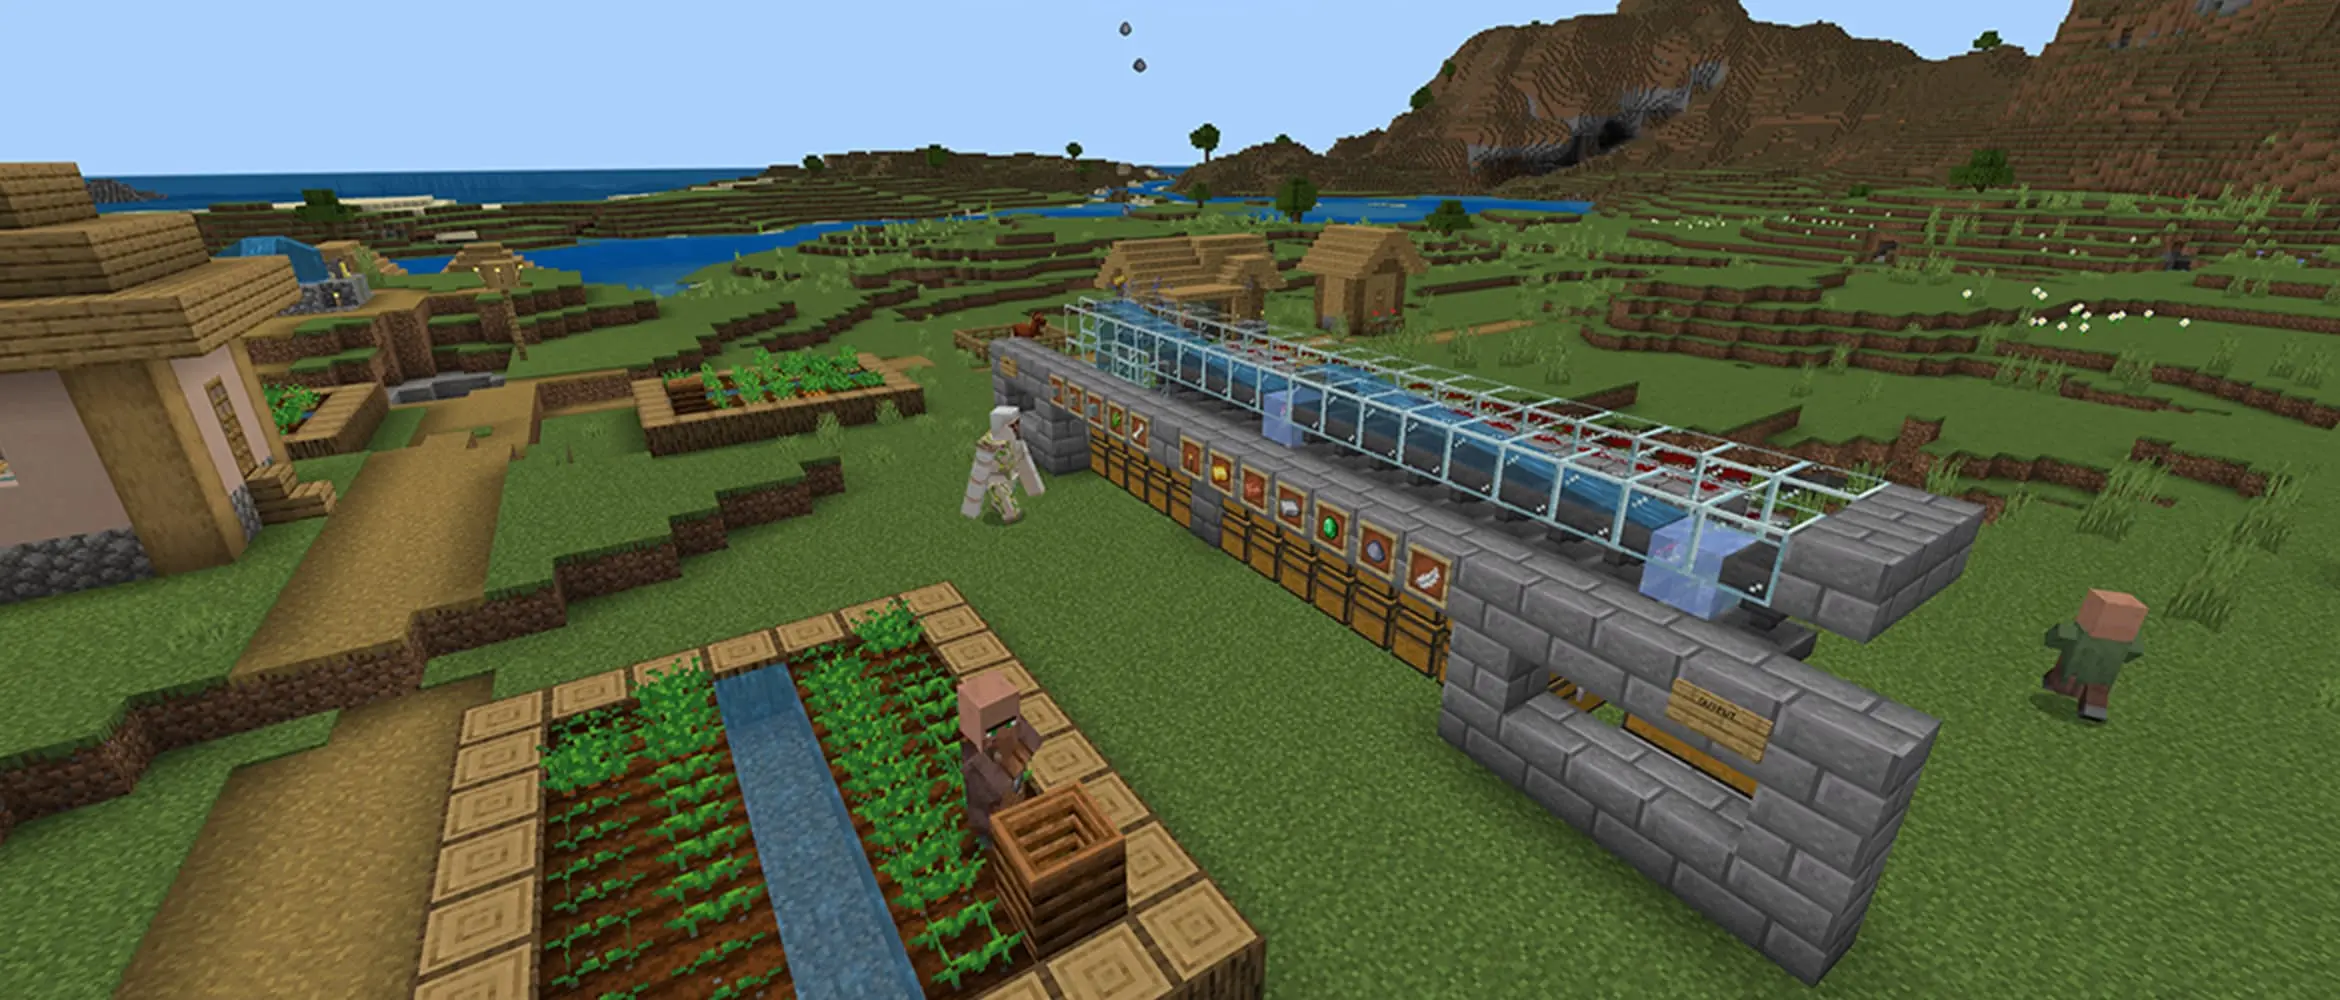

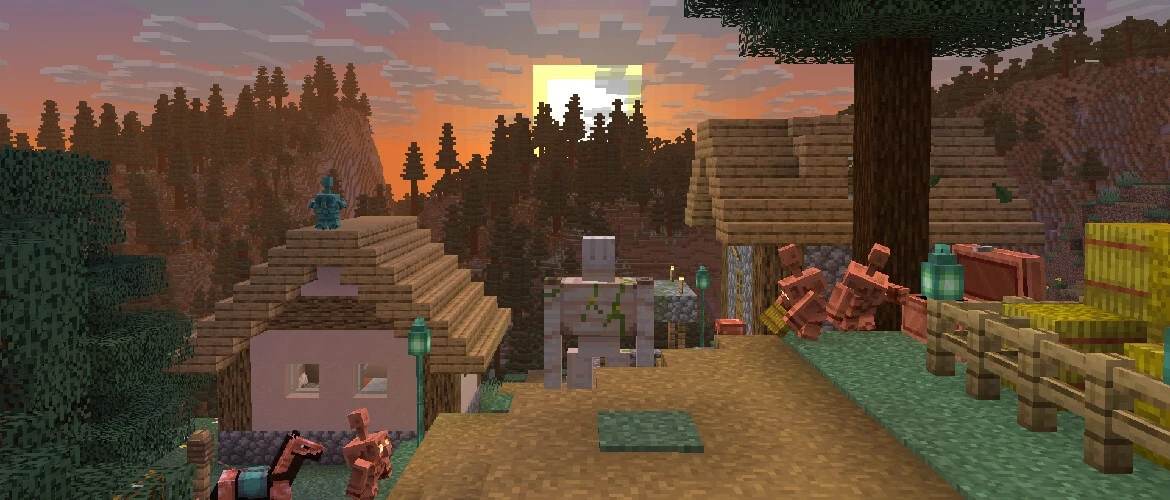
A good Minecraft storage room needs two different systems: fast bulk sorting for stackable items and simple manual storage for everything unusual. Hoppers are still the most precise option. Copper Golems are easier to understand and make the room feel alive, but one golem only checks a limited set of chests.
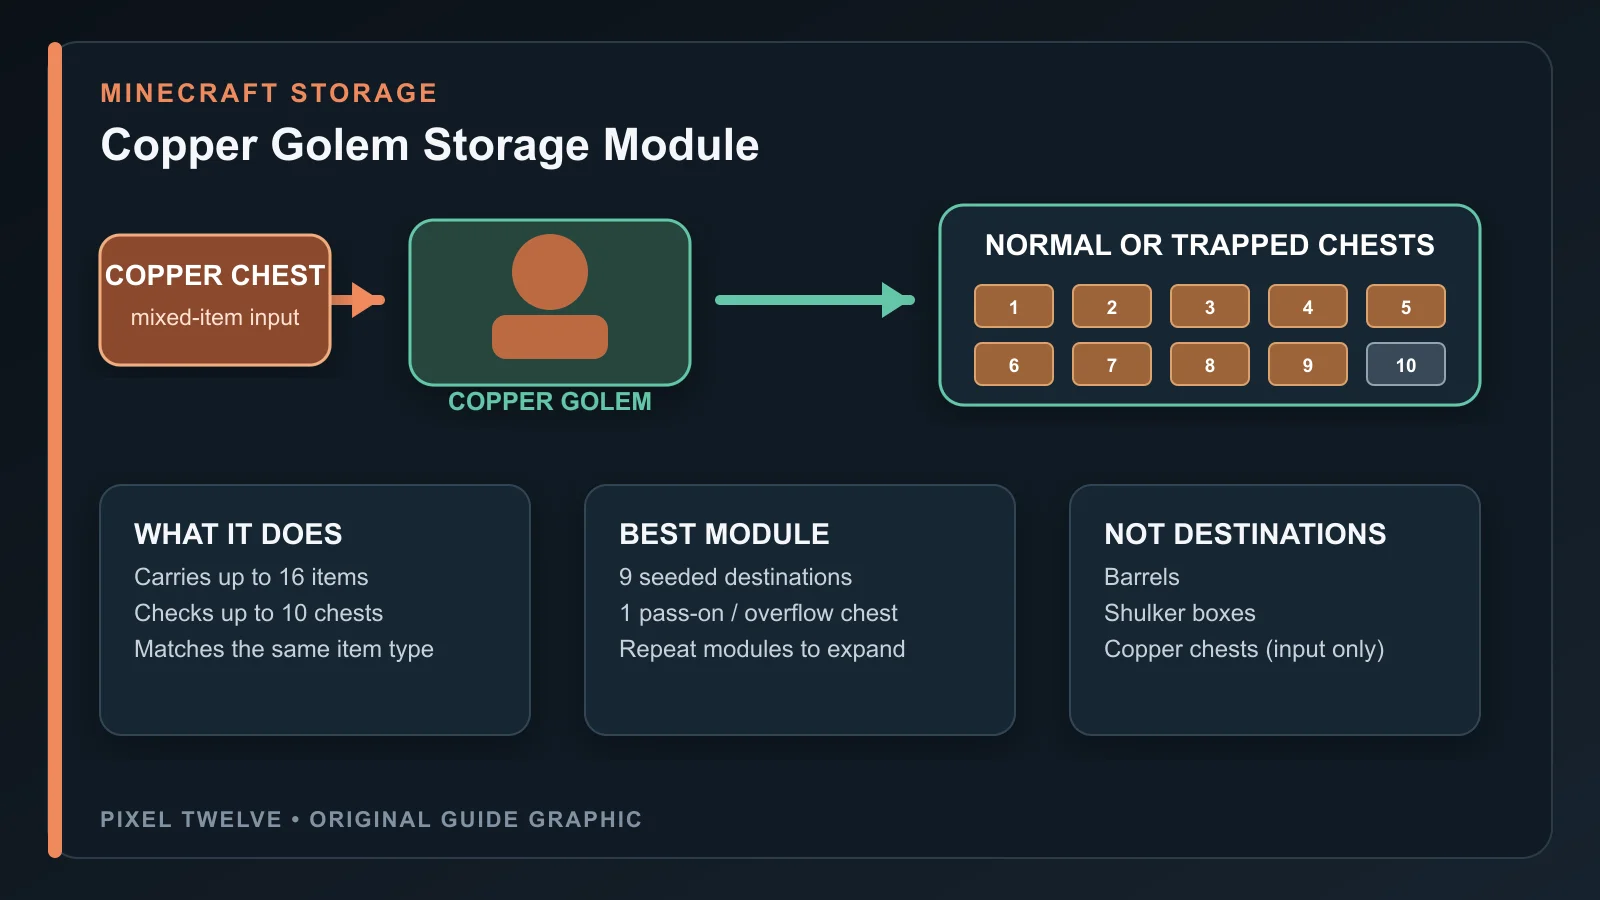
For a dependable Copper Golem module, use one Copper Chest as the mixed-item input, nine seeded destination chests, and a tenth pass-on or overflow chest. The golem can carry up to 16 items and visits at most 10 Copper Chests or normal chests in a sequence.
Minecraft Storage Quick Answers
- Do hoppers work with barrels? Yes. Hoppers can push items into barrels and pull items from barrels when the hopper direction and redstone state are correct.
- How many chests can one Copper Golem sort? It checks at most 10 chests in one search sequence. A nine-destination module plus one pass-on chest is easier to control.
- How many items can it carry? Up to 16 items from the first stack it chooses in a Copper Chest.
- What containers receive items? Normal chests and trapped chests. Barrels and shulker boxes are not Copper Golem destinations.
- Best bulk sorter: A hopper item filter for high-volume stackable blocks.
- Best flexible storage: Labeled barrels, shulker boxes, and manual category chests for rare or data-heavy items.
Original Copper Golem Storage Module
The tenth chest is not a guaranteed mechanical overflow output. It is a practical design choice: seed nine destinations, reserve the last accessible chest for pass-on items, then feed that chest into another module or handle it manually.
Plan the Storage Room Before Building
Choose Categories That Match How You Play
Do not make one chest for every block on day one. Start with broad categories: stone, wood, ores, plants, mob drops, food, redstone, tools, armor, valuables, and project supplies. Split a category only when it repeatedly fills.
Keep Daily Items Near the Entrance
Food, rockets, tools, spare armor, and building blocks belong close to the door. Deep storage should hold bulk materials and rarely used collections. A beautiful room still feels slow when every trip requires crossing forty chests.
Leave an Expansion Lane
Reserve one wall, floor channel, or basement for new filters and overflow. Storage systems usually fail because the build has no space for the next update, not because the first sorter was too small.
If you are still organizing an early survival world, the Minecraft beginner guide gives a simpler order for food, tools, shelter, and first storage.
How Hoppers Work
The Funnel Shows the Output Direction
A hopper pushes items into the block its narrow end points toward. Crouch while placing it against a chest, barrel, furnace, or another hopper. If the sorter sends items to the wrong place, check this direction before rebuilding the filter.
Hoppers Can Pull and Push
A hopper pulls items from a container directly above it and pushes items into the container it faces. It does not need to point toward the container above to pull from it. Redstone power locks a hopper and stops both actions.
Do Hoppers Work With Barrels?
Yes. A hopper below a barrel can pull from it, and a hopper facing a barrel can push into it. Barrels are useful in tight rooms because they can open with a solid block above them. If nothing moves, check hopper direction, power, available space, and whether the item is allowed by the next filter.
Learn the signal basics in the Minecraft redstone beginner guide before hiding a large sorter behind a finished wall.
Classic Hopper Item Filter
What the Filter Does
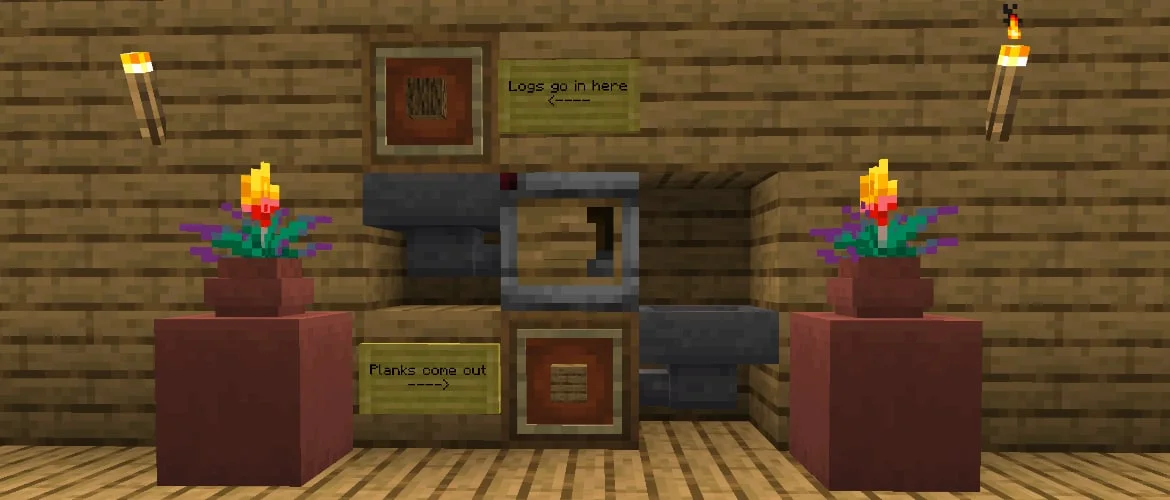
A standard filter keeps a named item in one hopper slot and uses a comparator to unlock the hopper only when enough of the target item arrives. It is reliable for stackable blocks and drops that enter in large quantities.
The 41-Item Setup
For items that stack to 64, a common filter starts with 41 target items in the first slot and one renamed filler item in each of the other four slots. The comparator, redstone dust, repeater, and torch control the hopper below. Test the exact build before loading valuable items because compact variations can interact with adjacent filters.
Use Named Filler Items
Rename the filler stack on an anvil so normal survival items cannot match it. Cheap blocks are fine. The name matters more than the material because it protects the filter slots from being replaced by incoming items.
Plan Overflow
Every bulk line needs an overflow destination. If a filtered chest fills, new items may back up into the transport line and stop other categories. Send the final output to a visible overflow chest, composter, smelter, or safe disposal system depending on the item.
How Copper Golem Sorting Works
Start With a Copper Chest
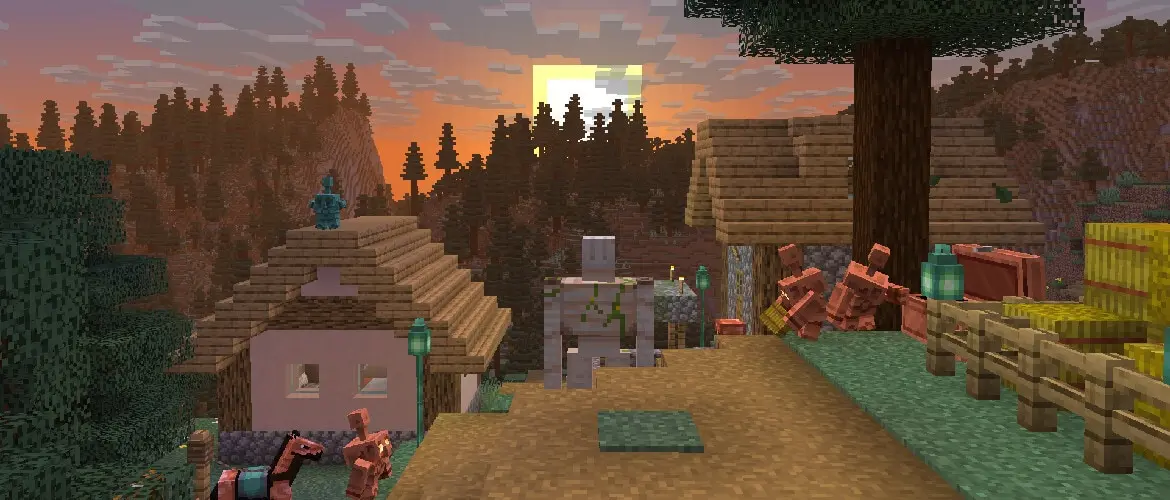
Build a Copper Golem with a copper block and carved pumpkin. The process also creates its Copper Chest. Put mixed items in a Copper Chest; the golem uses Copper Chests as inputs and normal or trapped chests as destinations.
It Carries Up to 16 Items
The golem chooses the first item it sees and can take up to 16 from that stack. It then searches nearby chests for an empty destination or a chest already containing the same item type.
It Checks at Most 10 Chests
One search sequence visits no more than 10 chests or Copper Chests. This is the answer behind most “how many chests” questions: 10 is the behavior limit, but fewer clearly arranged destinations create a more reliable player-built module.
Its Search Area Is Large
Current Java release notes describe a search area extending 32 blocks horizontally and 8 vertically from the golem. Keep a module compact anyway. Nearby decorative chests can become unintended destinations and make the sorting path harder to predict.
It Does Not Sort Into Barrels or Shulker Boxes
Copper Golems look for normal chests and trapped chests when placing items. Use barrels and shulker boxes as manual storage or connect them to a hopper system. Do not put them in a Copper Golem room and expect the golem to treat them as destinations.
How to Build a Copper Golem Storage Room
- 1. Place the input Copper Chest. Keep it near the room entrance so dumping an inventory takes seconds.
- 2. Create nine destination chests. Arrange them on one or two clear walls inside the golem search area.
- 3. Seed every destination. Put at least one example item in each chest so the golem knows what belongs there.
- 4. Reserve the tenth chest. Use it as a pass-on or manual overflow destination for anything that does not match the first nine.
- 5. Build the next module. Use a hopper or manual transfer to feed unmatched items into another Copper Chest with nine new categories.
- 6. Label and test. Send one stack of each category through before decorating the room.
Can Copper Golems Sort Enchanted Books?
A Copper Golem can move any item out of a Copper Chest, but a useful enchanted-book library needs more control than a broad “book” category. Different enchantments, levels, and combinations make manual storage safer. Keep enchanted books in labeled chests or lectern sections and use the golem for ordinary materials.
The same warning applies to damaged tools, named items, potions, suspicious stews, filled maps, and other items with important data. Test a copy before trusting an automatic system with rare gear.
Shulker Box Storage
Use Shulkers for Project Kits
Shulker boxes are perfect for portable kits: mining, redstone, Nether travel, building palettes, potions, and rockets. Store the filled boxes in labeled chests or a manual wall. A Copper Golem will not place items into the box itself.
Color by Purpose
Use a small color system you can remember. For example, red for redstone, green for farming, blue for ocean projects, and black for Nether supplies. Labels are still useful because colors alone become confusing after the collection grows.
Storage for Automatic Farms
A farm output line should have enough buffer for the time it runs unattended. Bulk crops and mob drops suit hopper filters. Rare drops can share a manual chest. Add a visible overflow warning before an item-destruction line so you know when storage is full.
Compare farm priorities in the Minecraft automatic farms guide, then use the iron farm guide or mob farm guide for systems that produce enough items to justify bulk sorting.
Reduce Lag in a Large Storage Room
- Do not run every item through a long line of unlocked hoppers.
- Use water streams or packed transport where the edition and item type allow it.
- Lock hoppers with redstone when they do not need to move items.
- Keep decorative containers away from the Copper Golem search area.
- Split one giant room into modules that can be tested separately.
Common Storage Problems
The Hopper Is Locked
Check for powered blocks, redstone torches, levers, and dust touching the hopper. A powered hopper does not pull or push items.
The Filter Is Bleeding Into the Next Slice
Adjacent filter modules can interfere when the signal becomes stronger than the design expects. Confirm the filler counts and use an overflow-safe layout before connecting every category.
The Copper Golem Ignores a Chest
Make sure it is a normal or trapped chest, is reachable, is within the search area, and is empty or already contains the same item type. A barrel or shulker box will not work as a golem destination.
The Room Has No Place for Unknown Items
Always keep a visible miscellaneous or overflow chest. A system without an exception path feels broken the first time a new update adds items you did not plan for.
Storage FAQ
Can one Copper Golem manage more than 10 chests?
It visits at most 10 chests in one search sequence. Use several compact modules instead of asking one golem to manage a giant room.
Can a Copper Golem use a double chest?
A double chest is still a normal chest destination. Keep the path open so the golem can reach it.
Can Copper Golems use barrels?
No. Hoppers can use barrels, but Copper Golems place items into normal or trapped chests.
What should stay manual?
Enchanted books, potions, maps, named gear, damaged tools, project kits, and rare collectibles are easier to protect in labeled manual storage.
For a storage room that also looks like part of the base, use the Minecraft cozy base guide. Open the Minecraft game page for more survival systems and build guides.