










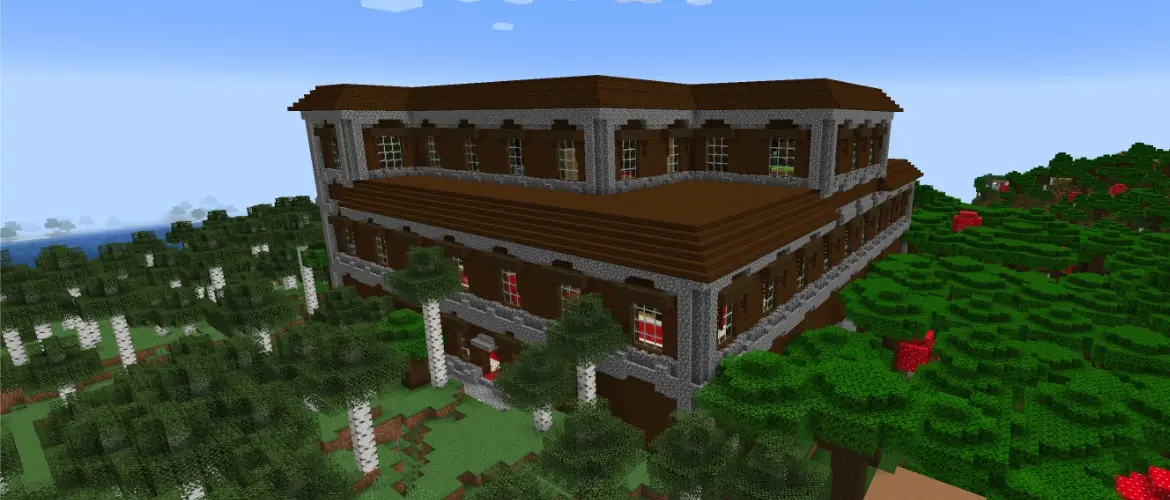

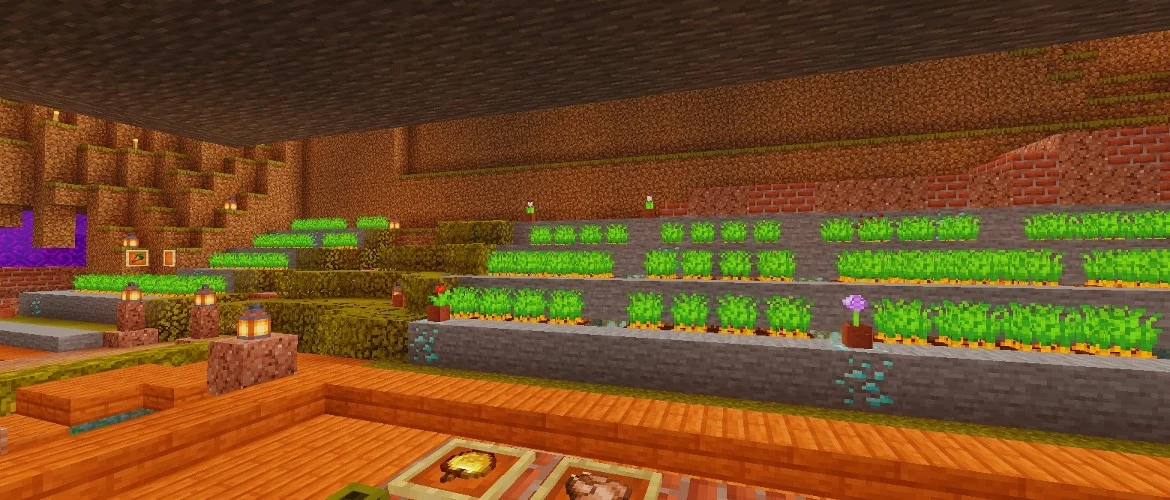
A first automatic farm should make a survival world easier, not turn the base into a construction site for a machine nobody understands. The most useful early builds collect something the player already uses every day: eggs, paper, bamboo, or wool. Once those are working, larger farms begin to make sense.
There is no single build order for every world. A player preparing an enchanting room needs sugar cane sooner than someone building with colored wool, while a server with several players may need storage long before it needs more food. Choose the farm that removes a real chore from the current world.
This guide focuses on the order and the job of each farm rather than one block-for-block design. Redstone timing and mob behavior can differ between Java and Bedrock, and updates can break compact tricks. Use a current tutorial for your edition when the build becomes more complicated than hoppers, observers, pistons, and dispensers.
A Practical Build Order for Most Worlds
- First: put a hopper and chest under the chicken pen. It is cheap, visible, and immediately proves that collection works.
- Second: build one small sugar cane module for paper. Test the observer direction, piston height, and item pickup before extending the row.
- Third: reuse that knowledge for bamboo when the world needs scaffolding, building blocks, or fuel.
- Fourth: add one automatic sheep cell for the wool color used most often, then copy the working cell.
- Fifth: set up honey or honeycomb after bees and a safe permanent area are ready.
- Later: move into villager crops, iron, and mob farms with a current Java or Bedrock design and enough storage for the output.
Know What the Farm Is Automating
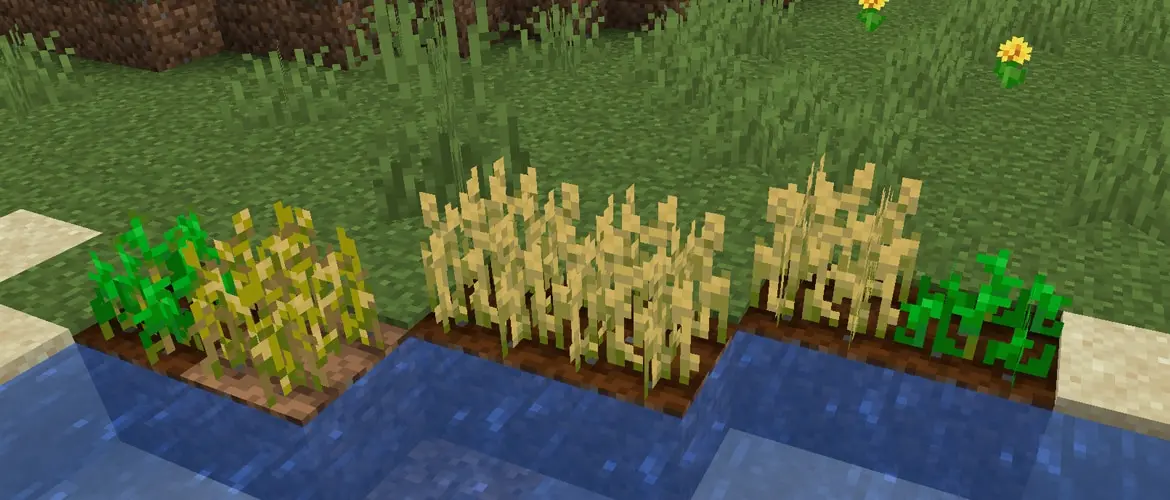
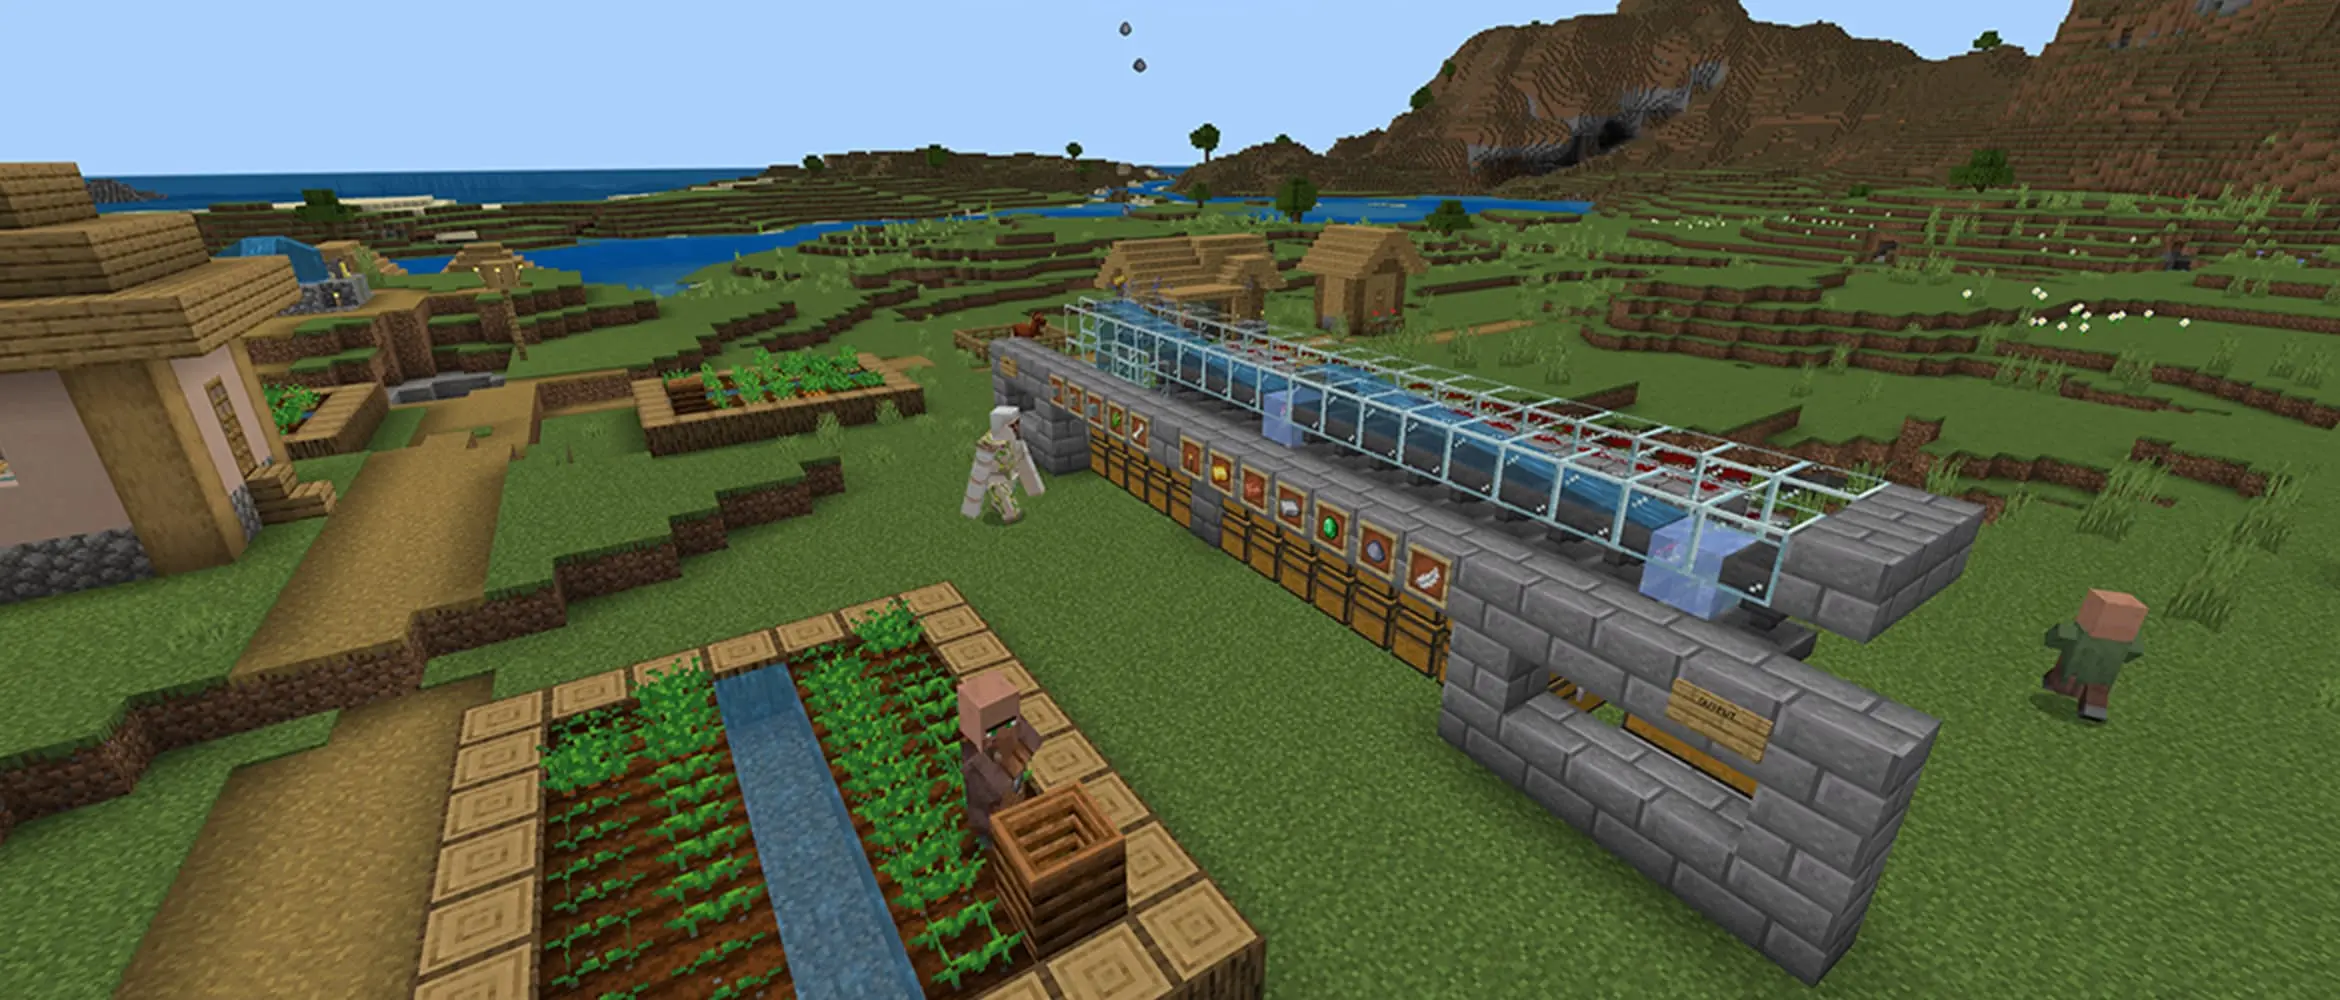
Minecraft players often call a build automatic even when one step still needs a person. A hopper collecting eggs is automatic because chickens lay them without help. A wheat field released by a water stream is closer to semi-automatic: the harvest is fast, but the player still plants the seeds again.
That difference is not a problem. A small semi-automatic farm can be cheaper, easier to repair, and more useful than a giant machine. Before gathering materials, decide which job you want the farm to handle: growing, harvesting, collecting, sorting, or all four.
- Automatic collection: hoppers move dropped items into storage while the player does something else.
- Automatic harvesting: a crop change or timer activates pistons, water, or dispensers.
- Automatic production: mobs, plants, or villagers create the resource without the player planting each new cycle.
If the answer is only 'I saw this build online,' wait. Farms are much easier to enjoy when the output already has a place in the world.
Build the Collection and Storage First
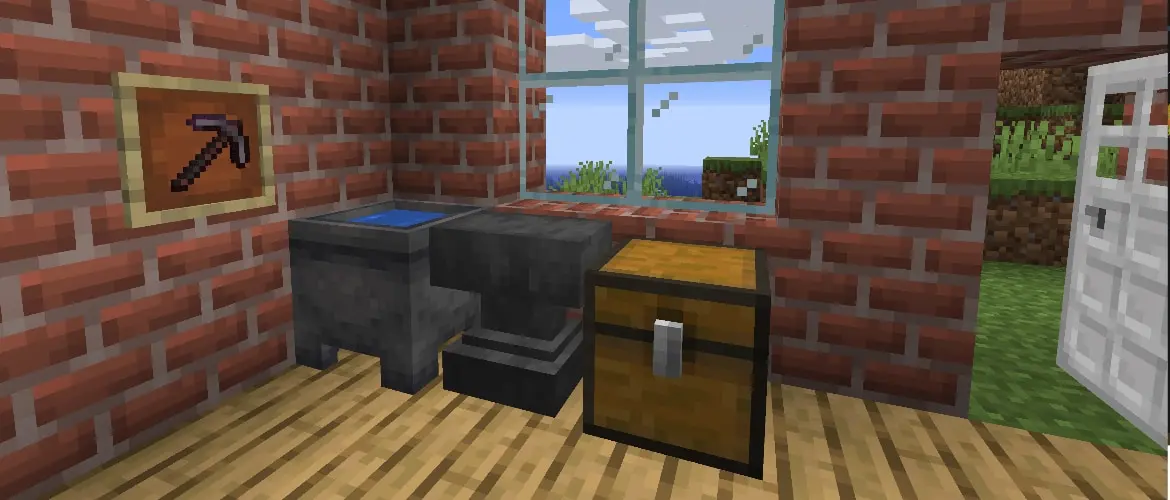
A farm is not finished when an item drops. It is finished when the item reaches a chest without getting stuck, despawning, or spilling across the floor. Hoppers are the usual starting point because they collect items from above and transfer them into another container. Their narrow tube must point toward the chest or next hopper.
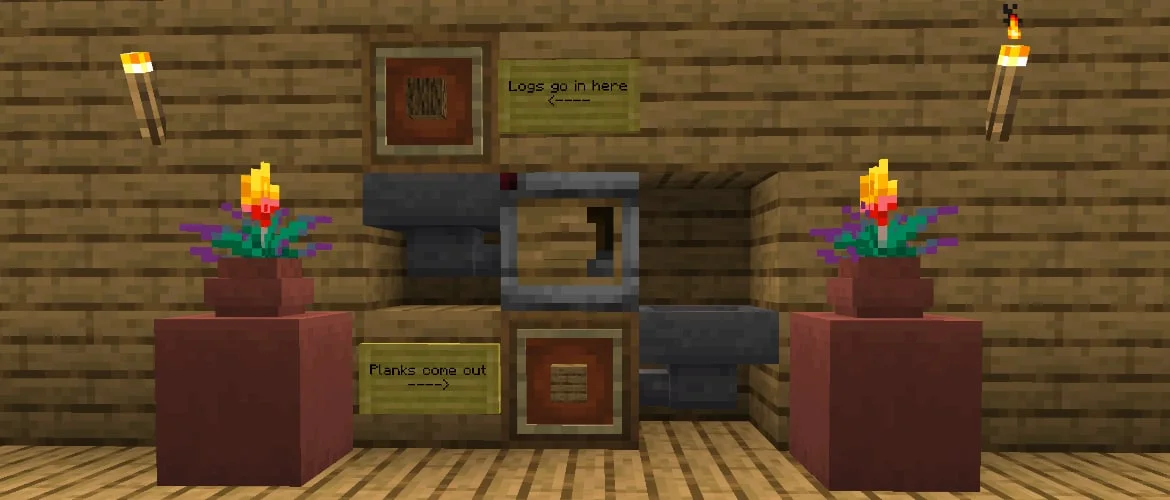
Test the collection line before building walls around it. Drop one item at every collection point, then check the final chest. A powered hopper locks and stops transferring, so nearby redstone can freeze a collection line even when the harvest mechanism still moves.
One double chest is enough for most starter farms. Add more storage only after seeing how quickly the first chest fills. Large hopper chains cost a surprising amount of iron, and a farm producing more items than the world can use is not automatically a better farm.
Start With an Egg Collector
An egg collector is one of the cheapest ways to learn automation. Keep a few chickens in a small pen with a hopper beneath the floor and a chest connected to it. The chickens lay eggs, the hopper collects them, and there is no observer timing or piston placement to debug.
This build is useful before it looks impressive. Eggs can hatch more chickens, and the same pen already supports feathers and food when the player manages the flock. Keep the number of chickens reasonable; filling a tiny space with dozens of birds creates noise and can hurt performance for very little extra value.
Do not rush from an egg collector into a fully automatic cooked-chicken machine. Those designs add breeding, baby-mob movement, lava, and precise collection. The simple collector teaches the part used by nearly every later farm: items need a reliable path from production to storage.
Make Sugar Cane the First Redstone Farm
Sugar cane is the strongest first choice for many survival worlds. Paper becomes books for enchanting, maps for exploration, firework rockets for elytra, and a common trade with librarian villagers. A small supply stays useful from the first bookshelf to late-game travel.
The familiar design places an observer where it can notice the cane reaching the chosen height and a piston facing the upper section. When the observer sends its short pulse, the piston breaks the grown cane while the bottom piece remains planted. Water or a hopper minecart can carry the drops toward storage.
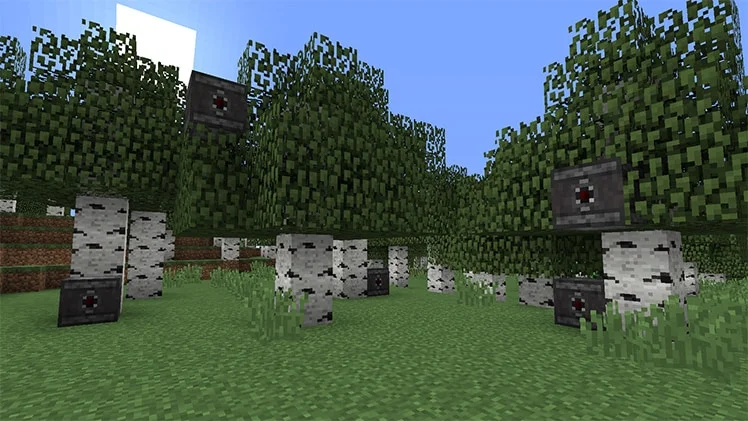
Build one cane module and watch several harvests before copying it into a long row. Confirm that the piston hits the upper growth, the planted cane survives, and most drops reach the collector. A compact working row will produce more paper than a large machine that loses half its items on ledges.
Use the Same Lesson for Bamboo
Bamboo can use the same observer-and-piston idea, so it is a natural second redstone farm. It grows quickly and supports scaffolding, bamboo building blocks, sticks, and fuel. Builders can consume a surprising amount once a large project begins.
Fast growth is also the reason not to build a huge version immediately. Bamboo can fill storage faster than expected, while extra plants and item drops add work for the game. Begin with a short row, connect it to one chest, and expand only when the output is being used.
Sugar cane and bamboo farms are good neighbors because the redstone is familiar, but they do not need to share one complicated collection system. Separate chests make early repairs clearer. Combining everything can wait until the player is comfortable with water streams, hopper minecarts, filters, and overflow storage.
Build a Wool Farm When Color Matters
Wool farms become valuable when the base needs beds, banners, carpets, paintings, or large areas of colored blocks. A sheep can be dyed once and keep producing that color after its wool grows back, so separate cells can supply a full palette without repeatedly crafting dye into wool.
A common automatic design keeps one sheep above a grass block. When the sheep eats and changes the grass, an observer triggers a dispenser loaded with shears. The wool falls into a collection system below, and nearby grass lets the block recover so the sheep can grow another coat.
Build the first cell with one color you actually need. Make sure the grass can spread back into the sheep's block and keep spare shears nearby because dispensers use their durability. After one cell works, repeat the design for other colors instead of constructing sixteen untested modules at once.
Save Honey and Honeycomb for a Settled Base
Bee farms can collect honey bottles or honeycomb with a dispenser, but they ask for more preparation than the first three farms. The player needs bees, flowers, safe nests or hives, bottles or shears, and a way to read when the hive is full. A campfire placed correctly beneath the hive keeps harvesting from angering the bees.
Choose the output before filling the dispenser. Glass bottles collect honey, while shears collect honeycomb. Honeycomb makes beehives, candles, and waxed copper; honey bottles are food and can be crafted into honey blocks or sugar. Trying to collect both from one small setup usually creates more restocking work than two clear modules.
Protect the bees from open water, campfires they can touch, and crowded paths around the base. This is a farm where a calm, enclosed layout matters more than maximum speed. Losing the bees turns a convenient machine back into a search for another nest.
Villager Crop Farms Need More Patience
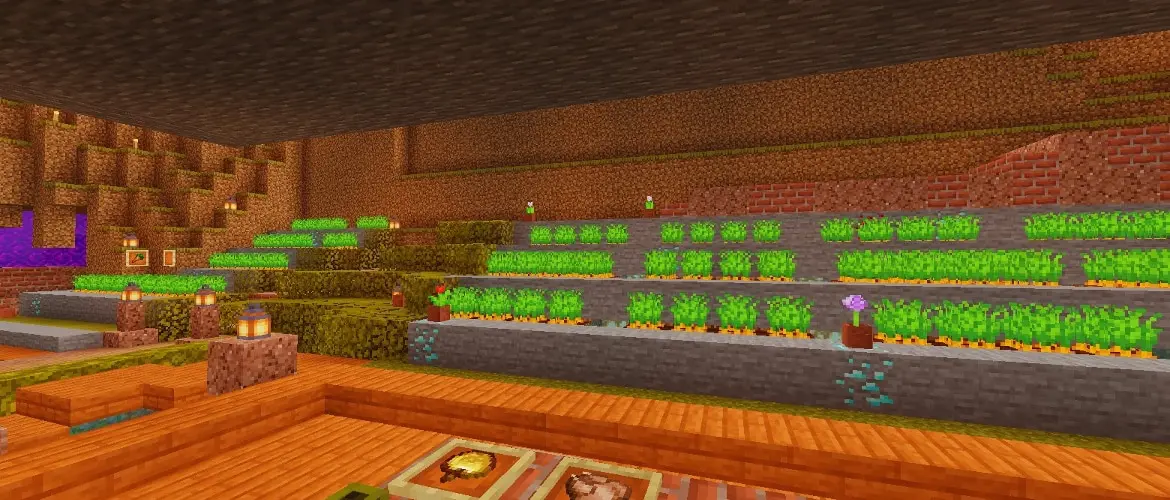
Farmer villagers can harvest and replant crops, which makes wheat, carrots, potatoes, and beetroot candidates for larger automated systems. These farms are tempting because they connect food, trading, and collection, but villagers add inventories, work schedules, beds, job sites, and pathfinding to the build.
Use a current design made for the edition you play. Java and Bedrock do not always treat villages, villagers, and collection in the same way. A farm copied from an old video may look correct while one hidden rule prevents the farmer from sharing crops or reaching the composter.
A manual field beside the base is still the better answer when only one player needs food. Build the villager version when repeated harvesting has become a real job or when the crops are feeding a trading hall. Keep the villagers secure and leave access for replacing beds, composters, and collection blocks.
Iron and Mob Farms Are Later Projects
An iron farm can change a world. Hoppers, rails, anvils, tools, and large redstone projects become much easier when iron arrives steadily. It is also a poor first automation project because iron golem spawning depends on village rules that differ between Java and Bedrock. The build needs the right villagers, beds or workstations for its edition, a controlled spawn area, and safe handling for the golems.
General mob farms have their own demands. Spawn rules, light levels, simulation distance, location, and nearby caves can all change the output. A farm built in the wrong place may produce almost nothing even when every block matches the tutorial.
Wait until the base has spare materials, good transport, and a safe work area. Then choose an edition-specific design updated for the current version. Sugar cane, bamboo, wool, and eggs can teach the collection and testing habits that make those larger builds much less frustrating.
Farms Stop When the Area Stops Running
Automatic does not mean active everywhere. Crops, mobs, and many farm parts need the surrounding chunks to be simulated. When the player travels far enough away or leaves the world, production usually stops. Bedrock's simulation distance controls much of that active area, and redstone can still pulse where the crop or mob it depends on is no longer updating.
Place everyday farms near parts of the base where you spend time: storage, the workshop, animal pens, or a trading hall. A farm hidden thousands of blocks away may only work during special visits. Server settings and advanced chunk-loading methods can change the situation, but a beginner build should not depend on them.
Performance matters too. Too many animals, loose items, long hopper lines, and machines that fire constantly can make a world feel worse. Add an off switch when the design supports one, keep storage from overflowing, and remove the temporary test items after the farm is stable.
The order can change when the world has a specific goal, but the size should stay modest at first. Build one module, watch it run, repair the weak point, and expand the version that already works. The result is a base that quietly supplies what players use instead of a row of impressive machines waiting for somebody to fix them.