




















Trial Chambers are underground combat structures built from tuff and copper. They are not one long boss fight. Each room has its own spawners, hazards, reward containers, and exits, so a careful player can clear part of the structure, recover, and continue without gambling the whole trip on one push.
The two key types cause most of the confusion. A regular trial key opens a regular vault. An ominous trial key opens an ominous vault. They are not interchangeable, and the harder vault is where the rare heavy core can appear. That heavy core combines with a breeze rod to make the mace.
Regular vs. ominous vault: keys, chances, and reset rules
A regular Trial Key only opens a regular Vault, while an Ominous Trial Key only opens an Ominous Vault. The two keys are not interchangeable. Mojang’s official Trial Key guide says a normal Trial Spawner gives a key about half the time; the final 1.21 rules set the Ominous Trial Key chance at 30% after an ominous spawner is defeated.
- Regular Trial Key: About a 50% chance from a normal Trial Spawner; opens a regular Vault.
- Ominous Trial Key: A 30% chance from an Ominous Trial Spawner; opens an Ominous Vault.
- Can the keys be swapped? No. An ominous key does not open a regular Vault, and a regular key does not open an Ominous Vault.
- Trial Spawner cooldown: 30 minutes after its rewards are ejected.
- Vault reset: None for the same player; each Vault can be unlocked once per player.
- Heavy Core: Only in the Ominous Vault reward pool, and never guaranteed by a key.
Do not wait 30 minutes beside an already opened Vault: that timer belongs to the spawner. The Vault remembers your player, although another player who has not used that same block can still spend the matching key. The items rotating inside the cage are possible rewards, not a promise of the next drop.
Bring normal survival gear for the first visit and leave the ominous bottle unopened until you understand the layout. A standard chamber already teaches you where mobs can appear, how the floor traps work, and which corners give you room to heal.
Find a Trial Chamber Without Random Mining
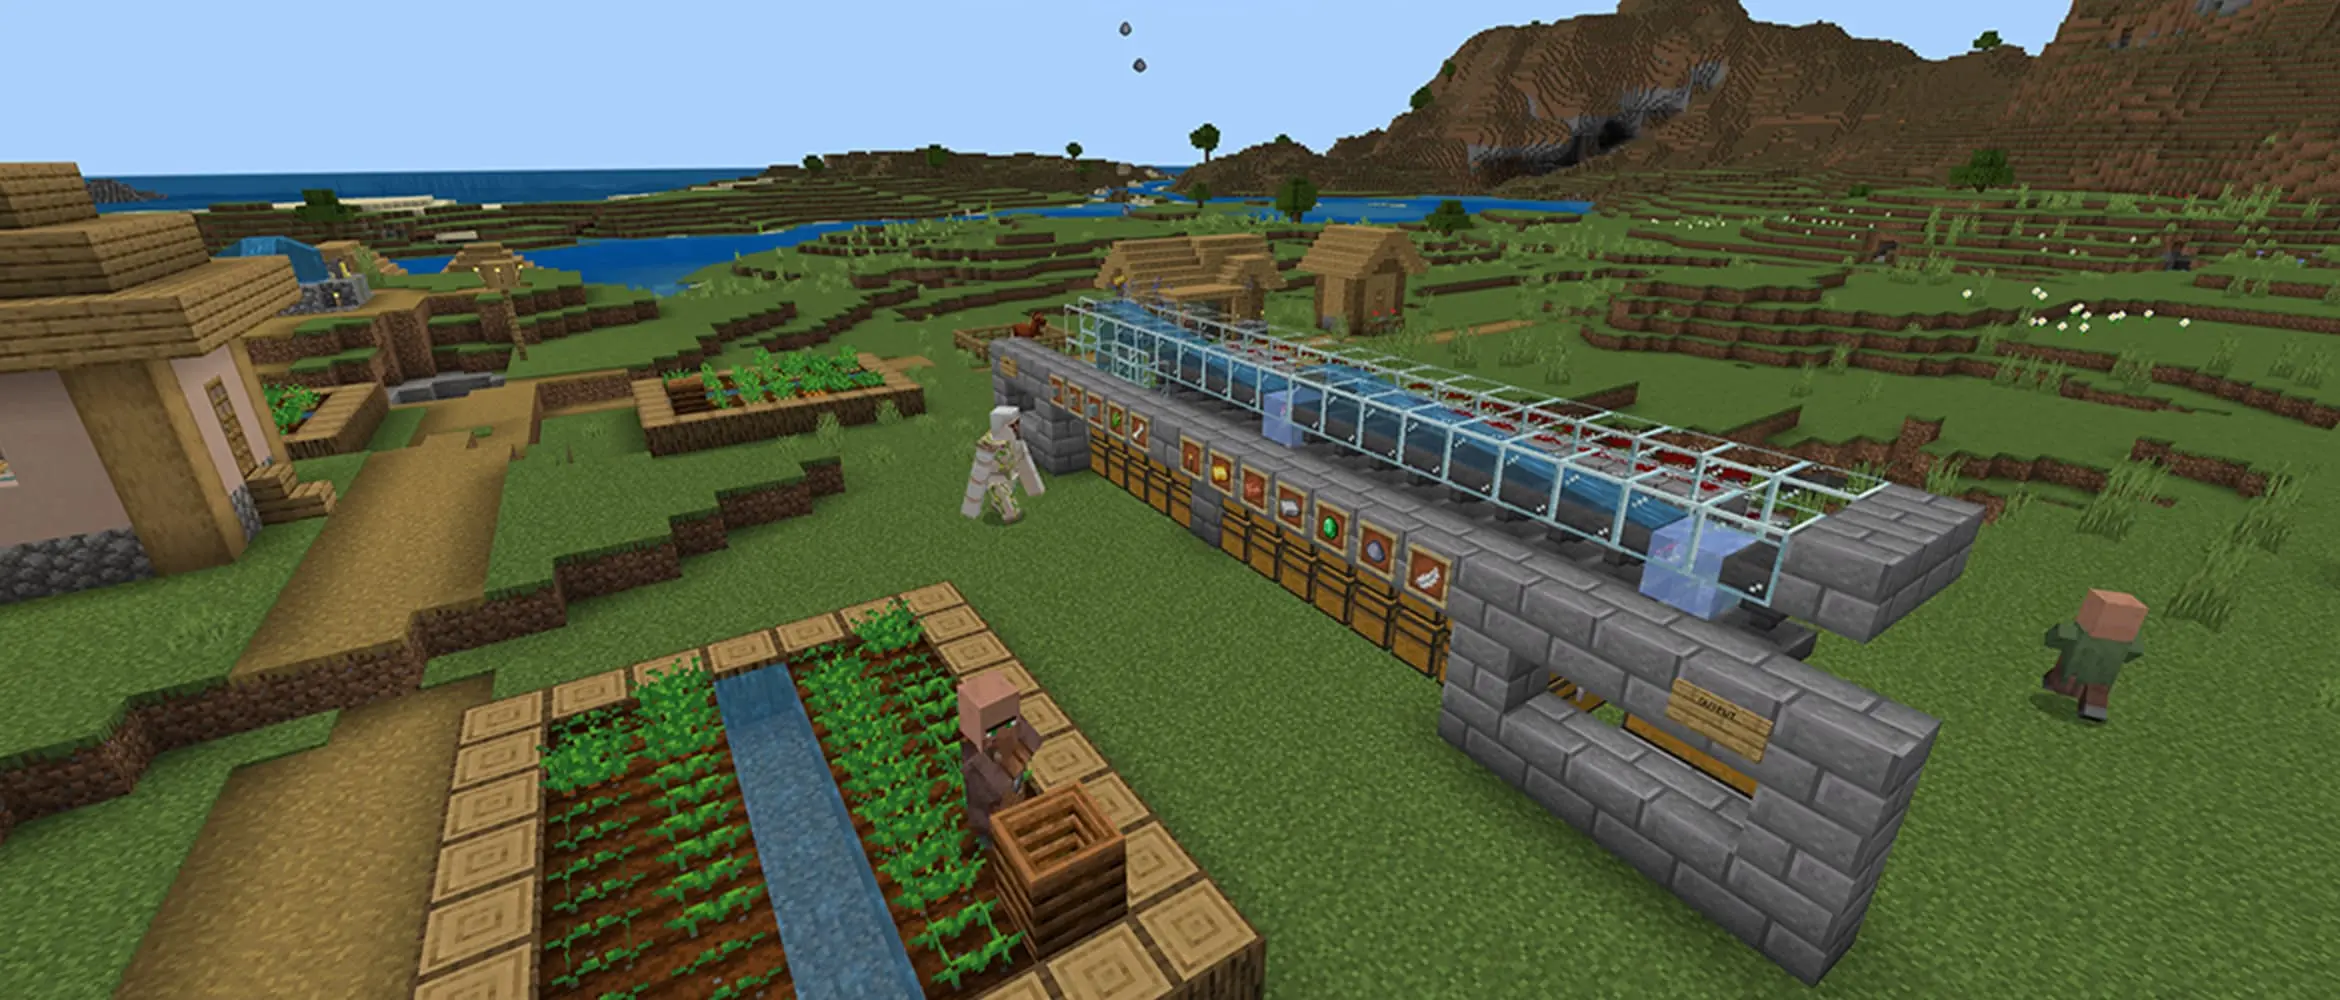
A cartographer villager can sell a trial explorer map after you complete enough trades. The map points toward a nearby chamber and saves a great deal of blind digging. Follow it on the surface first, then dig down carefully near the marked location instead of dropping through the ceiling with no return route.
The first copper and tuff blocks confirm that you reached the structure. Open a staircase back to the surface, place a bed or respawn point somewhere safe outside, and leave a chest with food, spare blocks, and replacement equipment. The chamber is large enough that one death can otherwise turn into a difficult recovery run.
Pack for Several Different Enemy Types
Wear your strongest practical armor; the Minecraft armor progression guide explains the copper, iron, diamond, and Netherite steps. Carry a shield and a reliable melee weapon. A bow still helps against skeletons, bogged, and enemies across gaps, but breezes are immune to normal projectiles. Blocks, torches, food, a water bucket, and a few healing items are more useful than filling every slot with weapons.
- Shield: blocks many arrows and buys time when a spawner mixes ranged and melee enemies.
- Milk: can remove an unwanted omen effect, although it also removes helpful status effects.
- Blocks: close side passages, create cover, and make a safe step over traps or open floors.
- Inventory space: keeps keys, pottery sherds, trims, breeze rods, and other rewards from mixing with disposable supplies.
Read the Spawner Before Starting the Fight
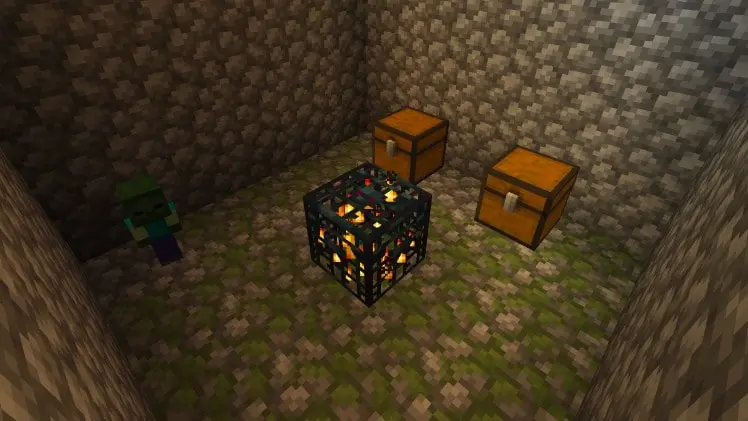
A trial spawner shows the mob it is prepared to release. Look through the cage before moving close, then scan the room for dispensers, holes, water, powder snow, and side doors. The spawner notices nearby survival players and releases a limited challenge instead of producing enemies forever.
More players can mean a larger fight, so a group should enter together and agree on a retreat point. Do not let one person trigger the room while everyone else is still sorting an inventory in the hall. Close unused doors and clear ordinary hostile mobs before the trial begins.
Clear One Combat Room at a Time
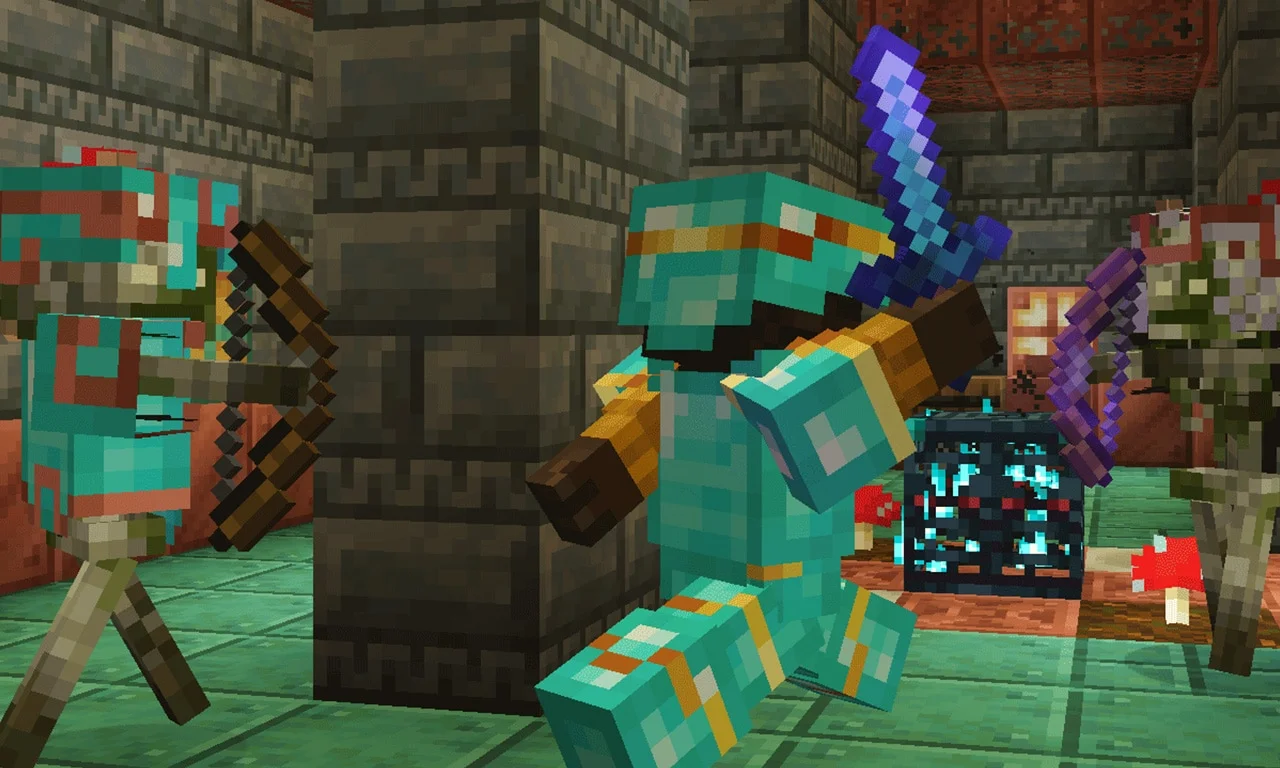
Stay near the edge at the start and let the first enemies reveal their approach. Skeletons and bogged become easier when a pillar breaks their line of sight. Zombies and spiders need a clean melee lane. Slimes and silverfish are less dangerous individually but can crowd narrow doorways and interrupt healing.
The spawner finishes only after its current enemies are defeated. Search ledges, pits, and connected passages if the fight appears stuck. A mob that was pushed behind a wall or down a stairwell can keep the room active even when the center looks empty.
Handle Breezes Without Chasing Them
Breezes jump between positions and use wind charges to knock players around. Running after every jump usually leaves you exposed to the rest of the room. Hold a stable position, avoid standing beside pits, and attack after the breeze lands close enough for a clean melee hit.
Keep your shield ready for other mobs, but watch the floor as much as the breeze. Wind can trigger parts of the chamber and throw a player into traps or off a ledge. Breeze rods are worth collecting because they craft wind charges and form the handle of the mace.
Use Regular Trial Keys on Regular Vaults
A defeated trial spawner ejects rewards and may give you a trial key. Carry the key until you find a regular vault, then use it directly on the block. Vaults are designed for groups: each eligible player can unlock that vault once and receive a separate reward.
Do not leave a multiplayer partner behind when the keys come out. One player opening the vault does not empty it for everyone else. Each person should bring a key, use the vault, and check that the reward was collected before the group moves on.
Start an Ominous Trial on Purpose
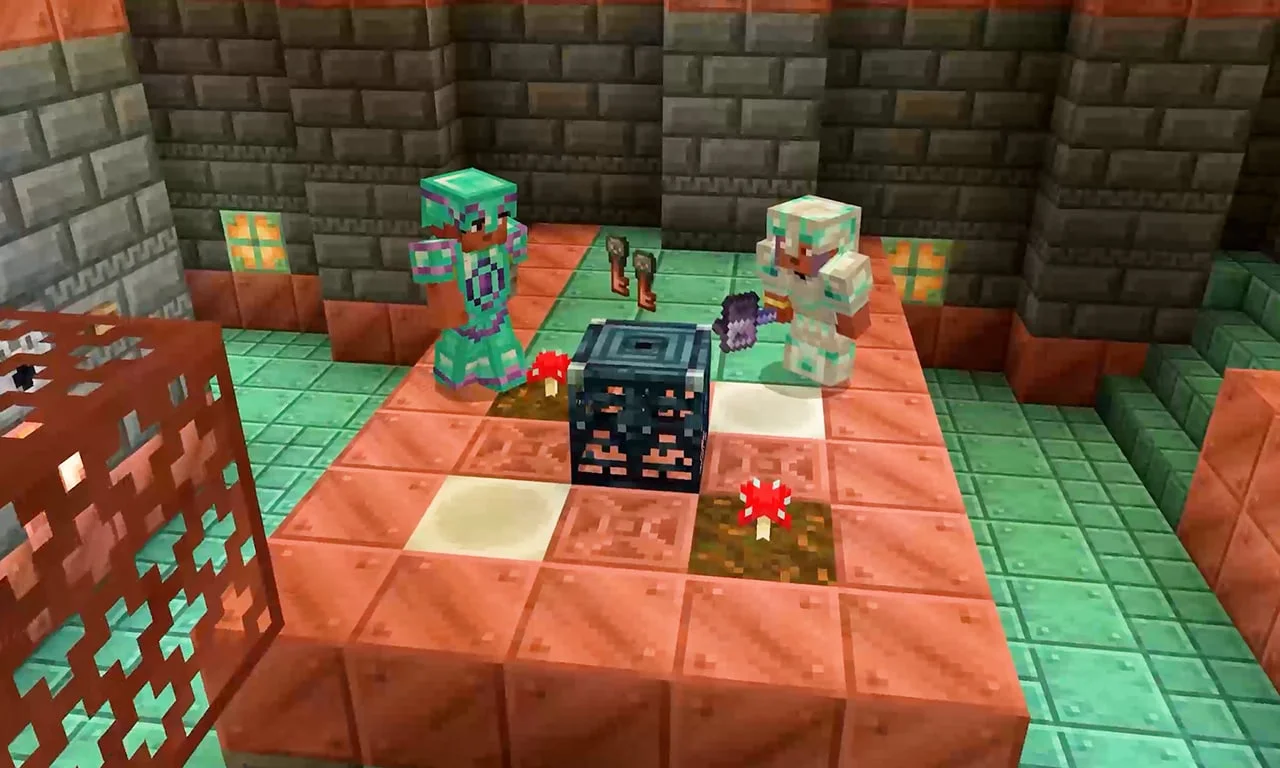
Raid captains can drop ominous bottles, and regular Vaults can also provide them. Drinking one gives Bad Omen. When a player with that effect approaches a normal Trial Spawner, the effect changes into Trial Omen and the spawner becomes ominous. Trial Omen lasts 15 minutes multiplied by the bottle’s Bad Omen level, so higher levels can carry the effect across more rooms.
Ominous spawners use tougher enemies and can add equipment, projectiles, or lingering effects to the room. Drink the bottle inside a cleared section, not at the surface before a long trip. That keeps the active challenge close to your supplies and prevents a weak room from catching the group by surprise.
Know When to Cancel the Omen
A bucket of milk removes Trial Omen if the run is going badly. Use it before entering another uncleared room, then retreat to the safe chest and repair the problem. Losing helpful potion effects is a fair trade when armor is broken, food is low, or another player needs time to recover equipment.
Do not treat the ominous version as the required way to explore. Regular trials still provide keys, loot, breeze rods, and a chance to learn the structure. Return with an ominous bottle after the exits, vault locations, and dangerous rooms are marked.
Save Ominous Keys for Ominous Vaults
Ominous trial spawners can reward ominous keys. The matching vault has a darker appearance and a different reward pool. This is the vault to open when you are hunting the heavy core, but a key does not guarantee that item. Several chambers or several eligible players may be needed before one appears.
Once you have a heavy core and a breeze rod, combine them to craft a mace. Keep extra keys even after finding one. Ominous vaults also hold other valuable rewards, and a friend joining the chamber later can still use a vault that your character has already opened.
Mark the Chamber for Future Runs
Trial Spawners can be challenged again after their 30-minute cooldown. Vaults do not share that reset: each block remembers which players have already used it and cannot be opened again by the same player. Place signs or colored blocks beside cleared rooms, regular Vaults, Ominous Vaults, and the route back to the entrance; saving the Minecraft coordinates prevents a return trip from becoming another maze.
Keep unopened ominous bottles and spare keys in the surface chest rather than carrying the entire supply. On the next visit, take only what the planned route needs. The chamber becomes much easier to manage once it works like a repeatable dungeon instead of a one-night rush through every door.
Trial Chamber Checklist
- Before entering: set a safe return point, unload valuables, and bring armor, food, blocks, a shield, and milk.
- Before each spawner: identify the mob, inspect traps and exits, and make sure the group is ready.
- After each fight: find every remaining mob, collect the ejected rewards, and sort regular and ominous keys.
- Before going ominous: clear a recovery route and move spare supplies close to the room.
- Before leaving: mark unopened vaults and store the next run's keys where they cannot be lost.