

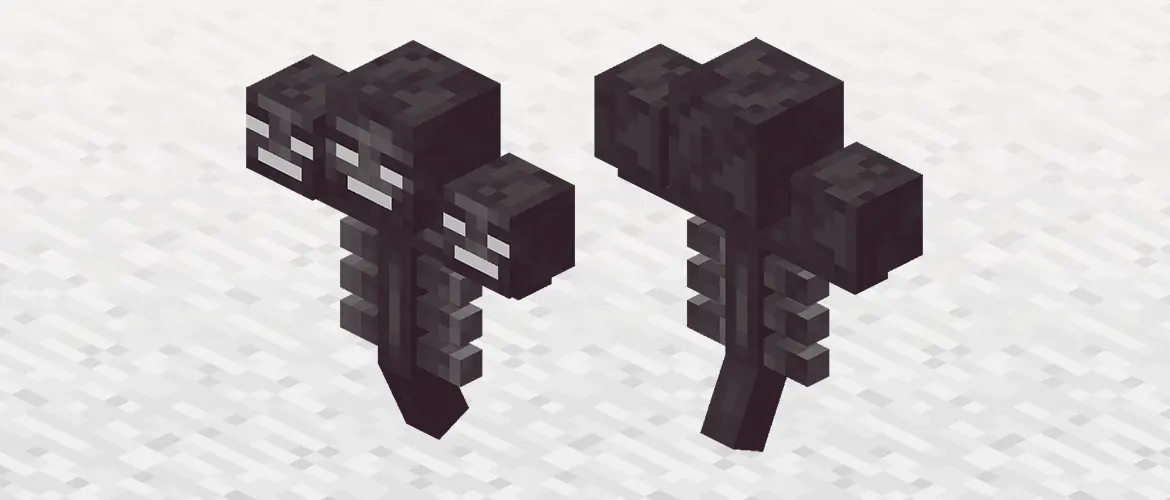

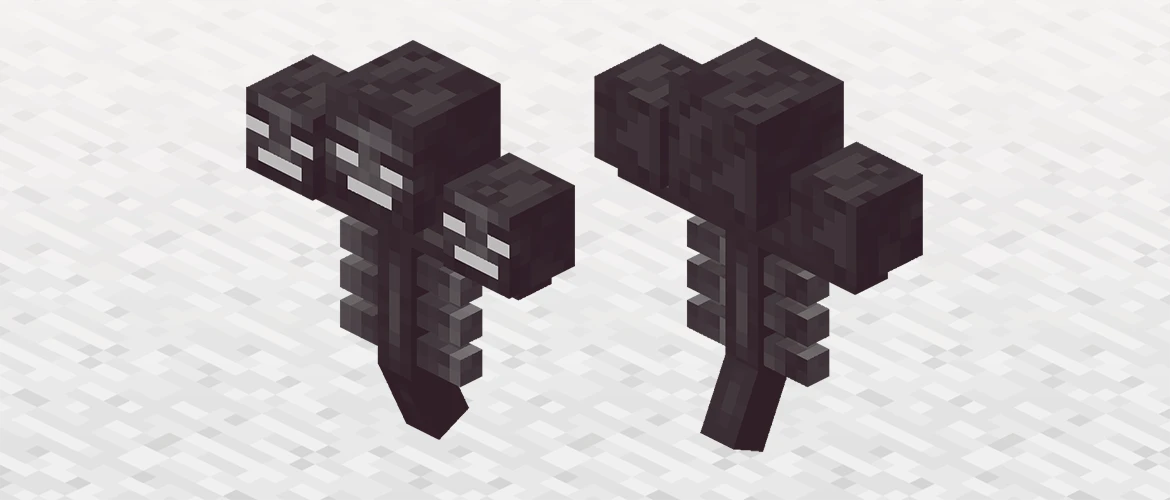
The Wither is a boss the player chooses to create. Four blocks of soul sand or soul soil and three wither skeleton skulls bring it into the world, and from that moment it attacks nearby living targets, fires explosive skulls, and destroys many blocks around itself.
Defeating it gives one Nether Star, the unique ingredient at the center of a beacon recipe. The boss fight and the beacon build are one project: collect the skulls, protect the world from the battle, secure the star, and gather enough mineral blocks for the level of power you want.
Java and Bedrock players should not copy the same arena without checking the edition. The Bedrock Wither has more health and extra attacks, including a dangerous charge and a more chaotic second phase. Prepare for the version running in your world, especially on a Realm shared by several platforms.
Collect Three Wither Skeleton Skulls
Wither skeletons spawn in Nether Fortresses. Clear and light a safe route from the portal to the fortress, then patrol the fortress walkways with a strong sword. The skull is a rare drop, so expect the collection phase to take longer than the actual summoning setup.
Looting on the weapon improves the chance of rare mob drops. A Smite sword is also excellent against the undead enemies involved in this project, including wither skeletons and the Wither itself. Keep fire resistance nearby for blazes and lava, and use blocks to close drops along the fortress path.
Choose the Arena Before Carrying the Skulls
Never summon the Wither beside the main base, storage room, villager hall, portal hub, or any build you care about. It destroys blocks while moving and can escape a weak enclosure. Pick a remote underground area or another arena tested for your edition and current version.
Carve a long access tunnel with a protected corner at the far end. Store spare armor, food, milk, arrows, and blocks well outside the blast area. If the player dies, the recovery route should lead toward the fight without passing through a room full of irreplaceable items.
Prepare Armor, Weapons, and Recovery Supplies
Use your strongest armor with Protection, a Smite melee weapon, a bow for the first phase, a shield, food, and healing. Strength can shorten the close fight. Milk clears the Wither effect, but it also removes Strength, Regeneration, and every other active status, so carry it as an emergency tool rather than drinking it after every hit.
- Golden apples: add healing and absorption when the second phase becomes difficult to control.
- Totem of Undying: protects against one fatal mistake if held in the main hand or offhand.
- Blocks: repair the tunnel and create a corner for healing, although the Wither can break many of them.
- Spare equipment: belongs outside the arena where the opening explosion cannot destroy it.
Build the Wither With the Final Skull Last
Place four soul sand or soul soil blocks in a T shape: three across the top and one centered below. Put two skulls on the top row, then check the arena, hotbar, health, and escape tunnel before placing the third. The last skull completes the summon.
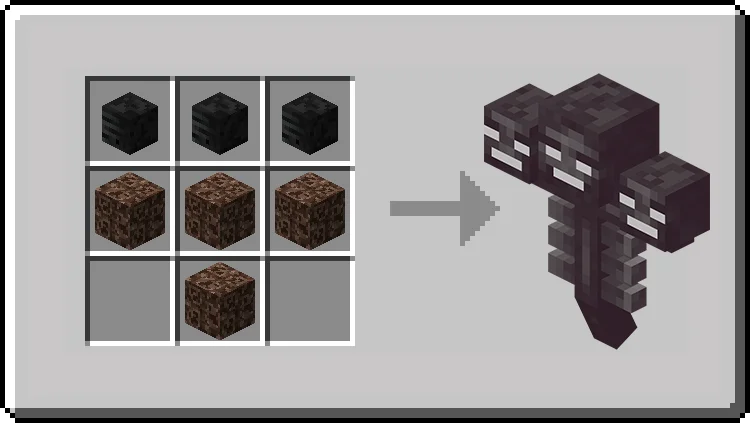
The Wither charges for several seconds after appearing and then releases a large explosion. Run behind the prepared corner as soon as the final skull is placed. Do not stand beside it for free hits during the charge; the explosion can remove a large part of the player's health before the fight has started.
Use Range During the First Phase
While its health remains above half, the Wither can be damaged by arrows. Keep the fight in the prepared tunnel, fire from range, and move behind cover when skulls arrive. A long straight lane makes its position easier to track than a natural cave with several exits.
Watch the terrain behind the boss. Every broken wall creates a new path it may use. Step back toward the recovery end of the tunnel instead of following it into an open cavern. Repair side holes only when the Wither is far enough away to make the action safe.
Switch to Melee at Half Health
At half health, the Wither gains armor that blocks projectile damage. Move in with the Smite weapon, keep healing available, and attack from a position that does not expose the player to a long fall or lava pocket. Arrows will no longer solve the fight.
The Wither effect turns hearts dark and continues dealing damage after the original hit. Use food, regeneration, or a golden apple before health becomes critical. Drink milk when the effect is likely to kill you, then remember that any helpful potions need to be applied again.
Give the Bedrock Wither More Space and Supplies
Bedrock's Wither fight is substantially harder. The boss has more health, can use a destructive dash, and adds more pressure during the second phase. A compact Java tunnel copied without changes can become a trap when the Bedrock boss tears through it.
Bring more healing, a second weapon, and enough space to move sideways. Multiplayer adds targets but can also scatter the boss across the arena, so agree on one direction of retreat. Keep the respawn supplies farther away than the first plan seems to require.
Secure the Nether Star Immediately
The defeated Wither drops a Nether Star. Pick it up before repairing the arena or collecting ordinary blocks. The star survives explosions as a dropped item, but it can still be lost to the void or remain in a dangerous place while the player is distracted.
Return the star to secure storage before gathering beacon materials. A beacon requires one Nether Star, five glass, and three obsidian. The recipe creates the beacon block, but the block does nothing until it sits on a valid mineral pyramid with a clear beam above it.
Choose the Beacon Pyramid Size
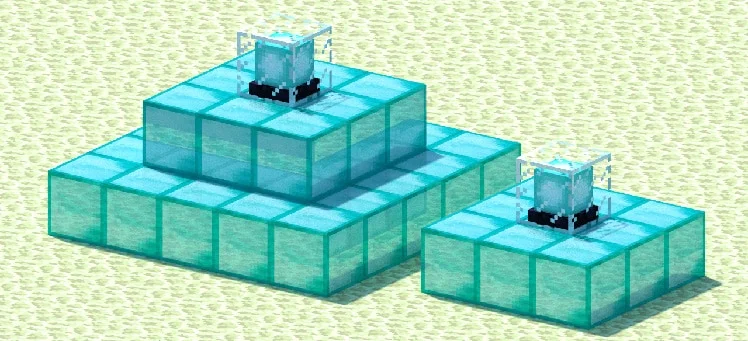
A beacon pyramid can use iron, gold, emerald, diamond, or Netherite blocks, and the materials can be mixed. Every layer must be solid. Hollow edges or decorative gaps do not count, even if the outside still looks like a complete pyramid.
- Level one: a 3 by 3 base uses 9 mineral blocks.
- Level two: add a 5 by 5 layer underneath for 34 blocks in total.
- Level three: add a 7 by 7 layer for 83 blocks in total.
- Level four: add a 9 by 9 bottom layer for 164 blocks in total.
Pick the Power That Fits the Build
A one-level beacon offers Speed or Haste. The second level adds Resistance or Jump Boost, and the third adds Strength. A full four-level beacon unlocks Regeneration as the secondary power or allows the selected primary effect to reach level II.
Haste is popular for mines and large excavation projects. Speed helps long bases and travel hubs, while Strength or Resistance suits combat areas. Open the beacon interface, choose the effect, and pay one iron ingot, gold ingot, emerald, diamond, or Netherite ingot to activate the selection.
Give the Beam a Clear Path
Place the beacon in the center of the top layer and remove solid blocks above it so the beam can form. Glass and stained glass can sit in the beam; stained glass changes its color. If no beam appears, check the vertical path first and then inspect every pyramid layer for a missing block.
Test the effect at the edge of the work area before decorating around the pyramid. A larger pyramid expands the coverage and unlocks more choices. Keep access to the beacon interface and the upper layers so a missing block or changed power is easy to fix.
Wither and Beacon Checklist
- Before summoning: collect three skulls, choose a remote arena, and move replacement gear outside the blast area.
- Opening phase: place the final skull last, retreat from the charge explosion, and use ranged damage.
- Second phase: switch to Smite melee damage, watch the Wither effect, and use milk only when needed.
- After the fight: secure the Nether Star before repairing or looting the arena.
- For the beacon: build solid layers, clear the beam, pay the activation item, and test the effect range.