










The best Diamond Casino Heist plan for a first clear is The Big Con with the Gruppe Sechs entry, Level 2 security passes, a strong hacker, and a NOOSE or firefighter exit disguise. It gives a new crew the clearest route to the vault and avoids most of the fighting before the escape.
You need an Arcade to host the heist. Setup work can be completed alone, but the finale requires two to four players. The Casino Penthouse is not required.
If the Arcade is still too expensive for your account, use the GTA Online businesses guide before committing to the property and its setup costs.
Diamond Casino Heist Quick Plan
- Best first approach: The Big Con.
- Best entry disguise: Gruppe Sechs.
- Best security prep: Level 2 security passes.
- Best exit plan: NOOSE or firefighter disguises, then leave the Casino area before taking a clean vehicle.
- Best crew investment: pay for a better hacker; use cheaper gunman and driver choices when their gear fits the plan.
- Best two-player target: artwork is usually easiest to clear quickly; diamonds pay more when Rockstar activates them.
How to Unlock the Diamond Casino Heist
- 1. Meet Lester at Mirror Park after his message becomes available.
- 2. Buy an Arcade from Maze Bank Foreclosures.
- 3. Complete the Arcade setup mission.
- 4. Enter the basement planning area and pay the GTA$25,000 setup cost for a new run.
- 5. Scope the Casino, identify the vault target, select an approach, and complete the required prep missions.
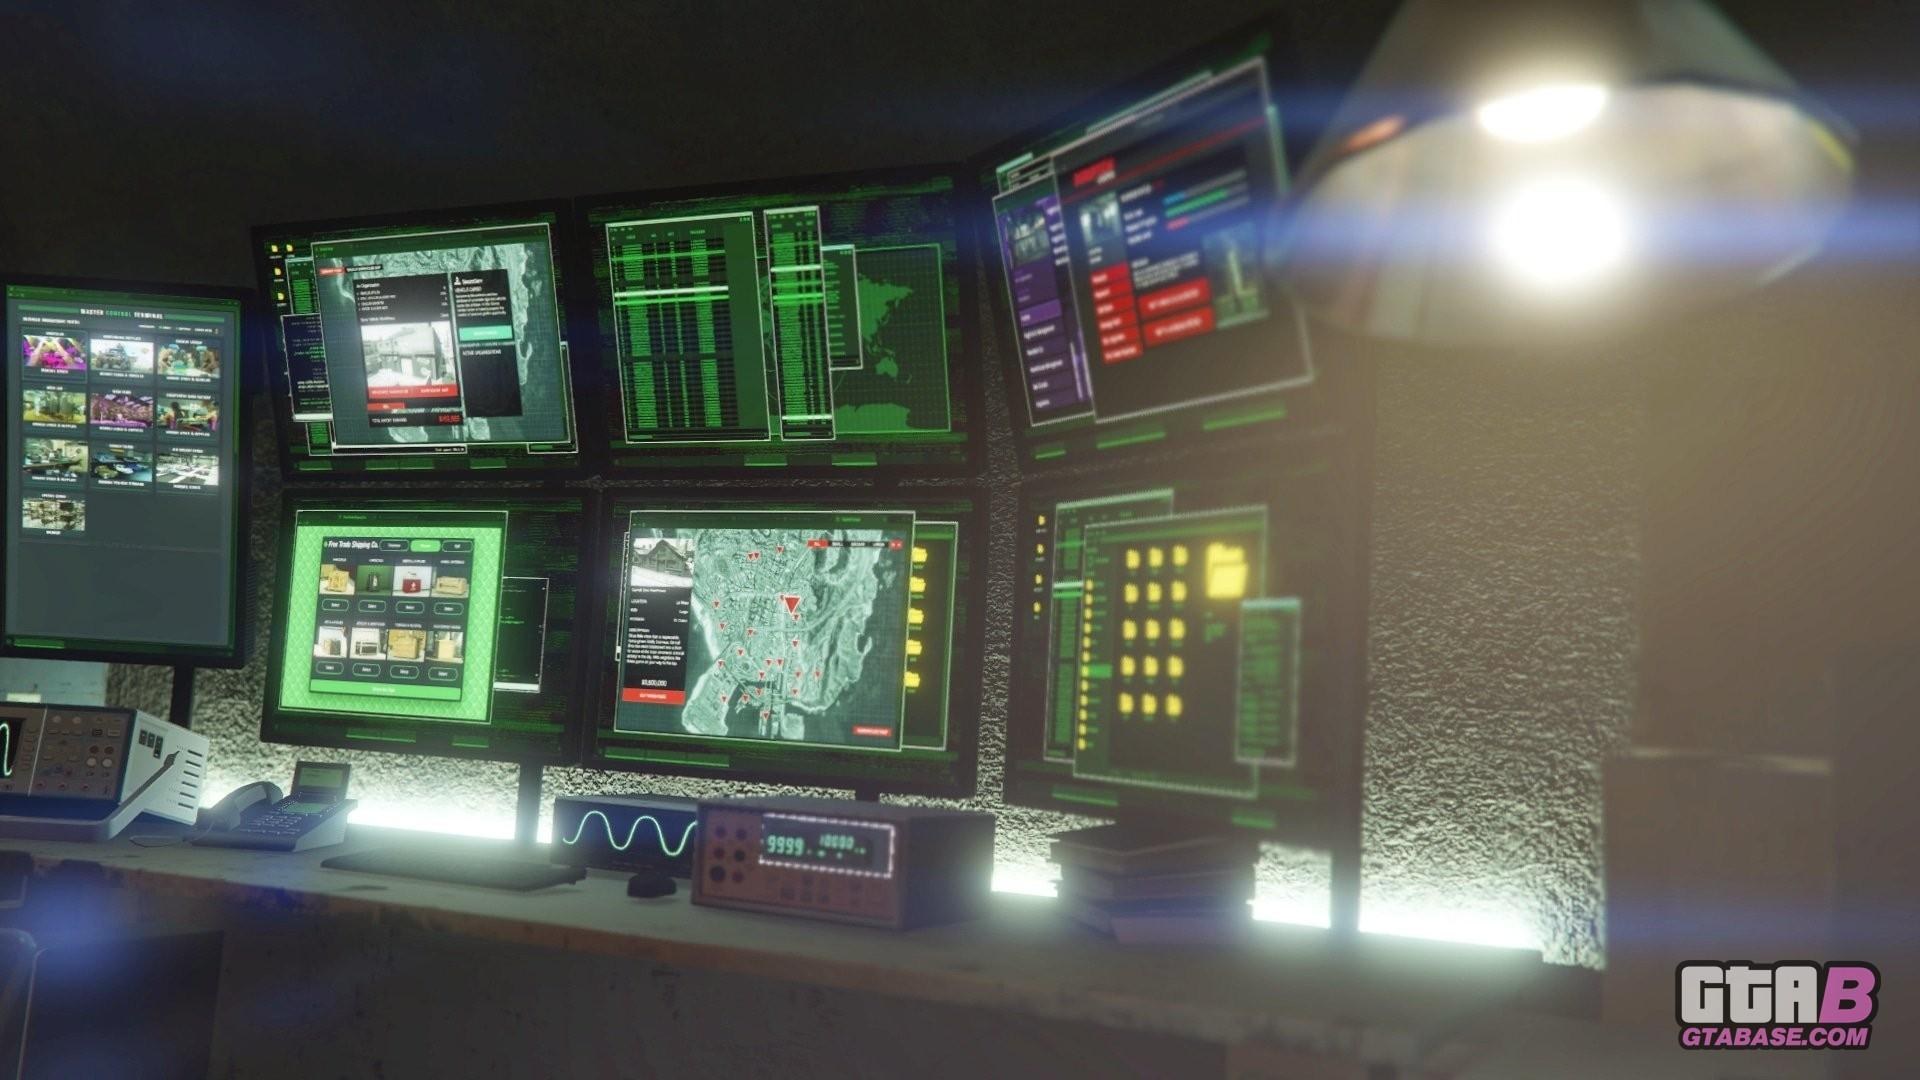
The Arcade is both the hosting requirement and the planning base. Upgrades such as the Master Control Terminal are useful for a larger account, but they are not required to launch the Casino Heist.
New players should follow the GTA Online beginner progression guide if weapons, armor, vehicles, and cash reserves are not ready for a long setup chain.
Scope Out Every Important Access Point
The first scope mission is worth doing carefully because photographed access points remain available for later runs. Walk around the property and send Lester the required photos when the prompt appears.
- Main entrance: the front doors of the Casino.
- Side doors: ground-level staff and service entrances.
- Roof and terrace doors: upper access points around the building.
- Security tunnel: under the racetrack; this unlocks the Gruppe Sechs entry for The Big Con.
- Sewer tunnel: used as the direct entry for the Aggressive approach after the correct prep.
Return to the Casino during scope work if an approach option is missing. The most common first-run mistake is selecting The Big Con before photographing the security tunnel entrance.

Which Casino Heist Approach Is Best?

The Big Con: Best for the First Clear
Choose Gruppe Sechs as the entry disguise. The team can move through the security area and reach the vault level without starting a firefight. Complete an exit-disguise prep so the crew can change in the laundry room after leaving the vault.
The Big Con still fails if a player ignores guards, draws a weapon at the wrong time, or cannot follow the route. Move together, wait for the objective prompts, and leave the vault before the nerve agent forces the crew out.
Silent & Sneaky: Best for a Practiced Crew
Silent & Sneaky can preserve more of the take, but it requires synchronized guard takedowns, camera control, and a clean route. Use suppressed weapons and agree on who fires first when two guards must fall together.
This approach becomes much easier after the crew has completed The Big Con and learned the vault floor, stairwells, staff lobby, and fingerprint hack.
Aggressive: Best for Straightforward Action
Aggressive removes the pressure of staying hidden. Use the sewer entrance and complete reinforced armor and Duggan Shipments. The tradeoff is that enemy fire can remove money from the take during the escape.
A crew that struggles with stealth may finish more consistently with Aggressive, but it should not expect the best net payout.
Mandatory Prep vs. Optional Prep
Prep Work You Always Need
- Unmarked weapons: select the gunman and collect the weapon loadout.
- Getaway vehicles: select the driver and secure the assigned vehicles.
- Hacking device: collect the device required for secure doors and systems.
- Vault keycards or explosives: the exact mission depends on the chosen approach.
- Approach equipment: disguises, infiltration gear, or breaching equipment tied to the plan.
Optional Prep Worth Doing
- Level 2 security passes: remove many keypad hacks between the entrance and vault.
- Patrol routes: show guard positions on the map.
- Duggan Shipments: weaken enemy armor and weapons; most valuable for Aggressive or a messy stealth run.
- Exit disguises: give The Big Con a safer route out of the staff area.
- Security intel: adds useful camera and guard information but requires the Penthouse story chain.
Optional Prep You Can Usually Skip
Power drills open deposit boxes after the main target is collected. They are only useful when the crew already clears the vault efficiently and still has time. New teams should focus on the primary target and exit before the gas.
Best Support Crew Choices
Hacker
The hacker is the best place to spend money because more time inside the vault can produce a larger gross take. Paige Harris is a strong default when the leader owns a Terrorbyte. Avi Schwartzman provides slightly more time after all 50 Signal Jammers are destroyed.
Gunman
For The Big Con or a clean Silent & Sneaky run, a cheap gunman is enough because the plan avoids extended combat. Aggressive crews should choose a loadout they can actually use well instead of saving a small cut and failing repeatedly.
Driver
A cheap driver is usually sufficient. The escape vehicles are often less important than reaching a safe civilian vehicle after losing the police. Pick a more expensive driver only when the vehicle choice is central to the route.
Fingerprint Hack: How to Save Vault Time
The fingerprint puzzle uses a full print at the top and several fragments below. Choose the fragments that appear in the complete print. The same pattern library repeats, so practice makes the hack much faster.
- Assign one player as the main hacker. Other players should begin collecting immediately.
- Call out the remaining carts. Do not have every player run toward the same side of the vault.
- Leave before the gas. A few seconds of extra loot is rarely worth a failed exit or lost take.
The optional hacking practice device in the Arcade can help, but the strongest improvement is having a clear role before the finale begins.
Vault Contents and Current Payouts
Cash, artwork, and gold can appear during normal play. Diamonds are event-only and become available when Rockstar activates them. The amount on the board is a gross target before Lester’s fee, hired crew cuts, player shares, and money lost to damage.
Repeat-Run Target Values: Normal
- Cash: GTA$1,480,500.
- Artwork: GTA$1,645,000.
- Gold: GTA$1,809,500.
- Diamonds: GTA$2,303,000 when active.
Repeat-Run Target Values: Hard Mode
- Cash: GTA$1,628,550.
- Artwork: GTA$1,809,500.
- Gold: GTA$1,990,450.
- Diamonds: GTA$2,533,300 when active.
These are repeat-run values after the July 2026 payout changes. Check the planning board for any extra event bonuses before starting.
First Completion of the Week: Normal and Hard
The higher weekly payout applies when the host has not completed the Casino finale in the current weekly period. It increases the reward for the whole crew; later Casino finales hosted by that player use the repeat values. The amounts below are vault totals before fees, crew cuts, player shares, or lost loot—not one player’s take-home pay.
- Cash — Normal: GTA$2,753,730; Hard: GTA$3,029,103.
- Artwork — Normal: GTA$3,059,700; Hard: GTA$3,365,670.
- Gold — Normal: GTA$3,365,670; Hard: GTA$3,702,237.
- Diamonds — Normal: GTA$4,283,580; Hard: GTA$4,711,938. Available only when diamonds are enabled.
Compare the return with the current best GTA Online money methods before repeating the Casino Heist several times in one week.
Best Vault Target for Two Players
Artwork is usually the easiest two-player target because each painting can be collected quickly and the crew can often clear the room without leaving full carts behind. Gold and diamonds have a higher ceiling but take longer to collect.
Cash is the slowest common target and gives the lowest base amount. It is normal on the first hosted run. Complete it, learn the route, and use later targets to improve efficiency.
A two-player team keeps larger individual cuts, but a third skilled collector can raise the gross take on gold or diamonds. Compare the extra loot with the additional player share instead of assuming the smallest crew always earns more.
Finale Walkthrough: Big Con With Gruppe Sechs
- 1. Set Gruppe Sechs as the entry and choose the staff lobby as the exit.
- 2. Equip Level 2 passes and select the prepared exit disguise.
- 3. Drive the armored truck through the security tunnel and follow the guards’ instructions.
- 4. Reach the mantrap, open the vault, and send the best hacker to fingerprint doors while the other player collects.
- 5. Call the exit early enough for everyone to clear the vault before the nerve agent.
- 6. Return upstairs, avoid unnecessary guards, and change into the exit disguise in the laundry area.
- 7. Leave through the staff lobby, move away from the Casino, and take a clean route to lose the police.
- 8. Deliver the take to the selected buyer without taking avoidable damage.

Extra Choices That Affect the Run
Which Arcade Location Is Best?
Videogeddon in La Mesa is the most practical popular choice because it is close to the Casino and central roads. The cheapest Paleto Bay Arcade makes every setup and finale drive much longer. Existing owners do not need to move solely for the heist, but first-time buyers should value travel time over the lowest purchase price.
Which Buyer Should You Choose?
A more distant buyer can offer a better final value, but the crew must survive the longer delivery. Use the high-level buyer when the escape route is consistent. A new crew learning the finale may prefer a simpler delivery until it can leave the Casino without losing money.
Can the Casino Heist Lose Money?
The planning-board target is not guaranteed take-home pay. Cash can be lost when players are shot during the escape, and fees and crew cuts are removed before player shares. Artwork does not spill from the bag in the same way, which is another reason it feels forgiving for two players.
What Is the Elite Challenge?
Elite conditions reward a fast, controlled clear with the required headshots or detection rules for the selected approach. Treat the challenge as a bonus after the crew can finish reliably. Chasing it during the first run often creates restarts that cost more time than the reward saves.
How Hard Mode Works
After finishing one approach, that same approach is temporarily unavailable. The approach completed before it can return with the skull icon and Hard Mode conditions. Hard Mode increases the target value but removes some margin for mistakes.
Use Hard Mode only when the crew already understands the route. A 10% higher board value does not help if failed hacks, alarms, or repeated restarts turn the run into a long recovery.
Common Casino Heist Mistakes
- Buying the Arcade for solo play: the finale requires at least two players.
- Skipping the security tunnel photo: Gruppe Sechs will not appear without the correct access point.
- Using Level 1 passes: Level 2 passes save more time and avoid extra hacks.
- Choosing a weak hacker to save a cut: less vault time can cost more than the cheaper crew member saves.
- Staying in the vault too long: leave before gas and damage erase the extra loot.
- Expecting diamonds every week: they are event-only.
- Repeating one activity without checking weekly rules: July 2026 payout changes reward the first eligible weekly completion more heavily.
Is the Casino Heist Still Worth It?
Yes, especially for a coordinated two-player team that enjoys structured setup work. The Big Con is one of GTA Online’s most readable finales, and changing approaches keeps repeat runs from feeling identical.
It is not the best choice for every player. Solo grinders should compare the Casino with the Cayo Perico solo guide and the best solo activities in GTA Online. Players building passive income should also review the Nightclub guide.
Does Regional Casino Blocking Affect the Heist?
The Diamond Casino Heist is a mission built around planning, combat, and stealing from the vault. It is separate from the Casino’s playable gambling features. Regional restrictions can disable chips and table games without removing the heist itself.
If a roulette table, slot machine, or chip purchase is unavailable, see why GTA Online Casino gambling is blocked in Australia for the difference between gambling access and the heist mission.
Diamond Casino Heist FAQ
Can you do the Diamond Casino Heist solo?
You can complete the setup missions alone, but the finale requires two to four players.
Do you need a Penthouse?
No. An Arcade is required to host the heist. The Penthouse unlocks extra story and security-intel options but is not required for the basic plan.
What is the best Casino Heist approach?
The Big Con with Gruppe Sechs is the best first clear. Silent & Sneaky is strongest for a practiced team, while Aggressive is easier to understand but can reduce the take through damage.
What is the best vault target?
Artwork is the easiest strong target for two players. Diamonds have the highest listed value when Rockstar activates them.
How do you get diamonds?
Diamonds are event-only. They can appear as vault contents only during weeks when Rockstar enables them.
What should you buy after the Arcade?
Build around the activities you play most. A Kosatka supports solo Cayo Perico runs, while a Nightclub becomes stronger after several feeder businesses are active.
For offline heists instead of GTA Online, use the GTA 5 story heists guide.