







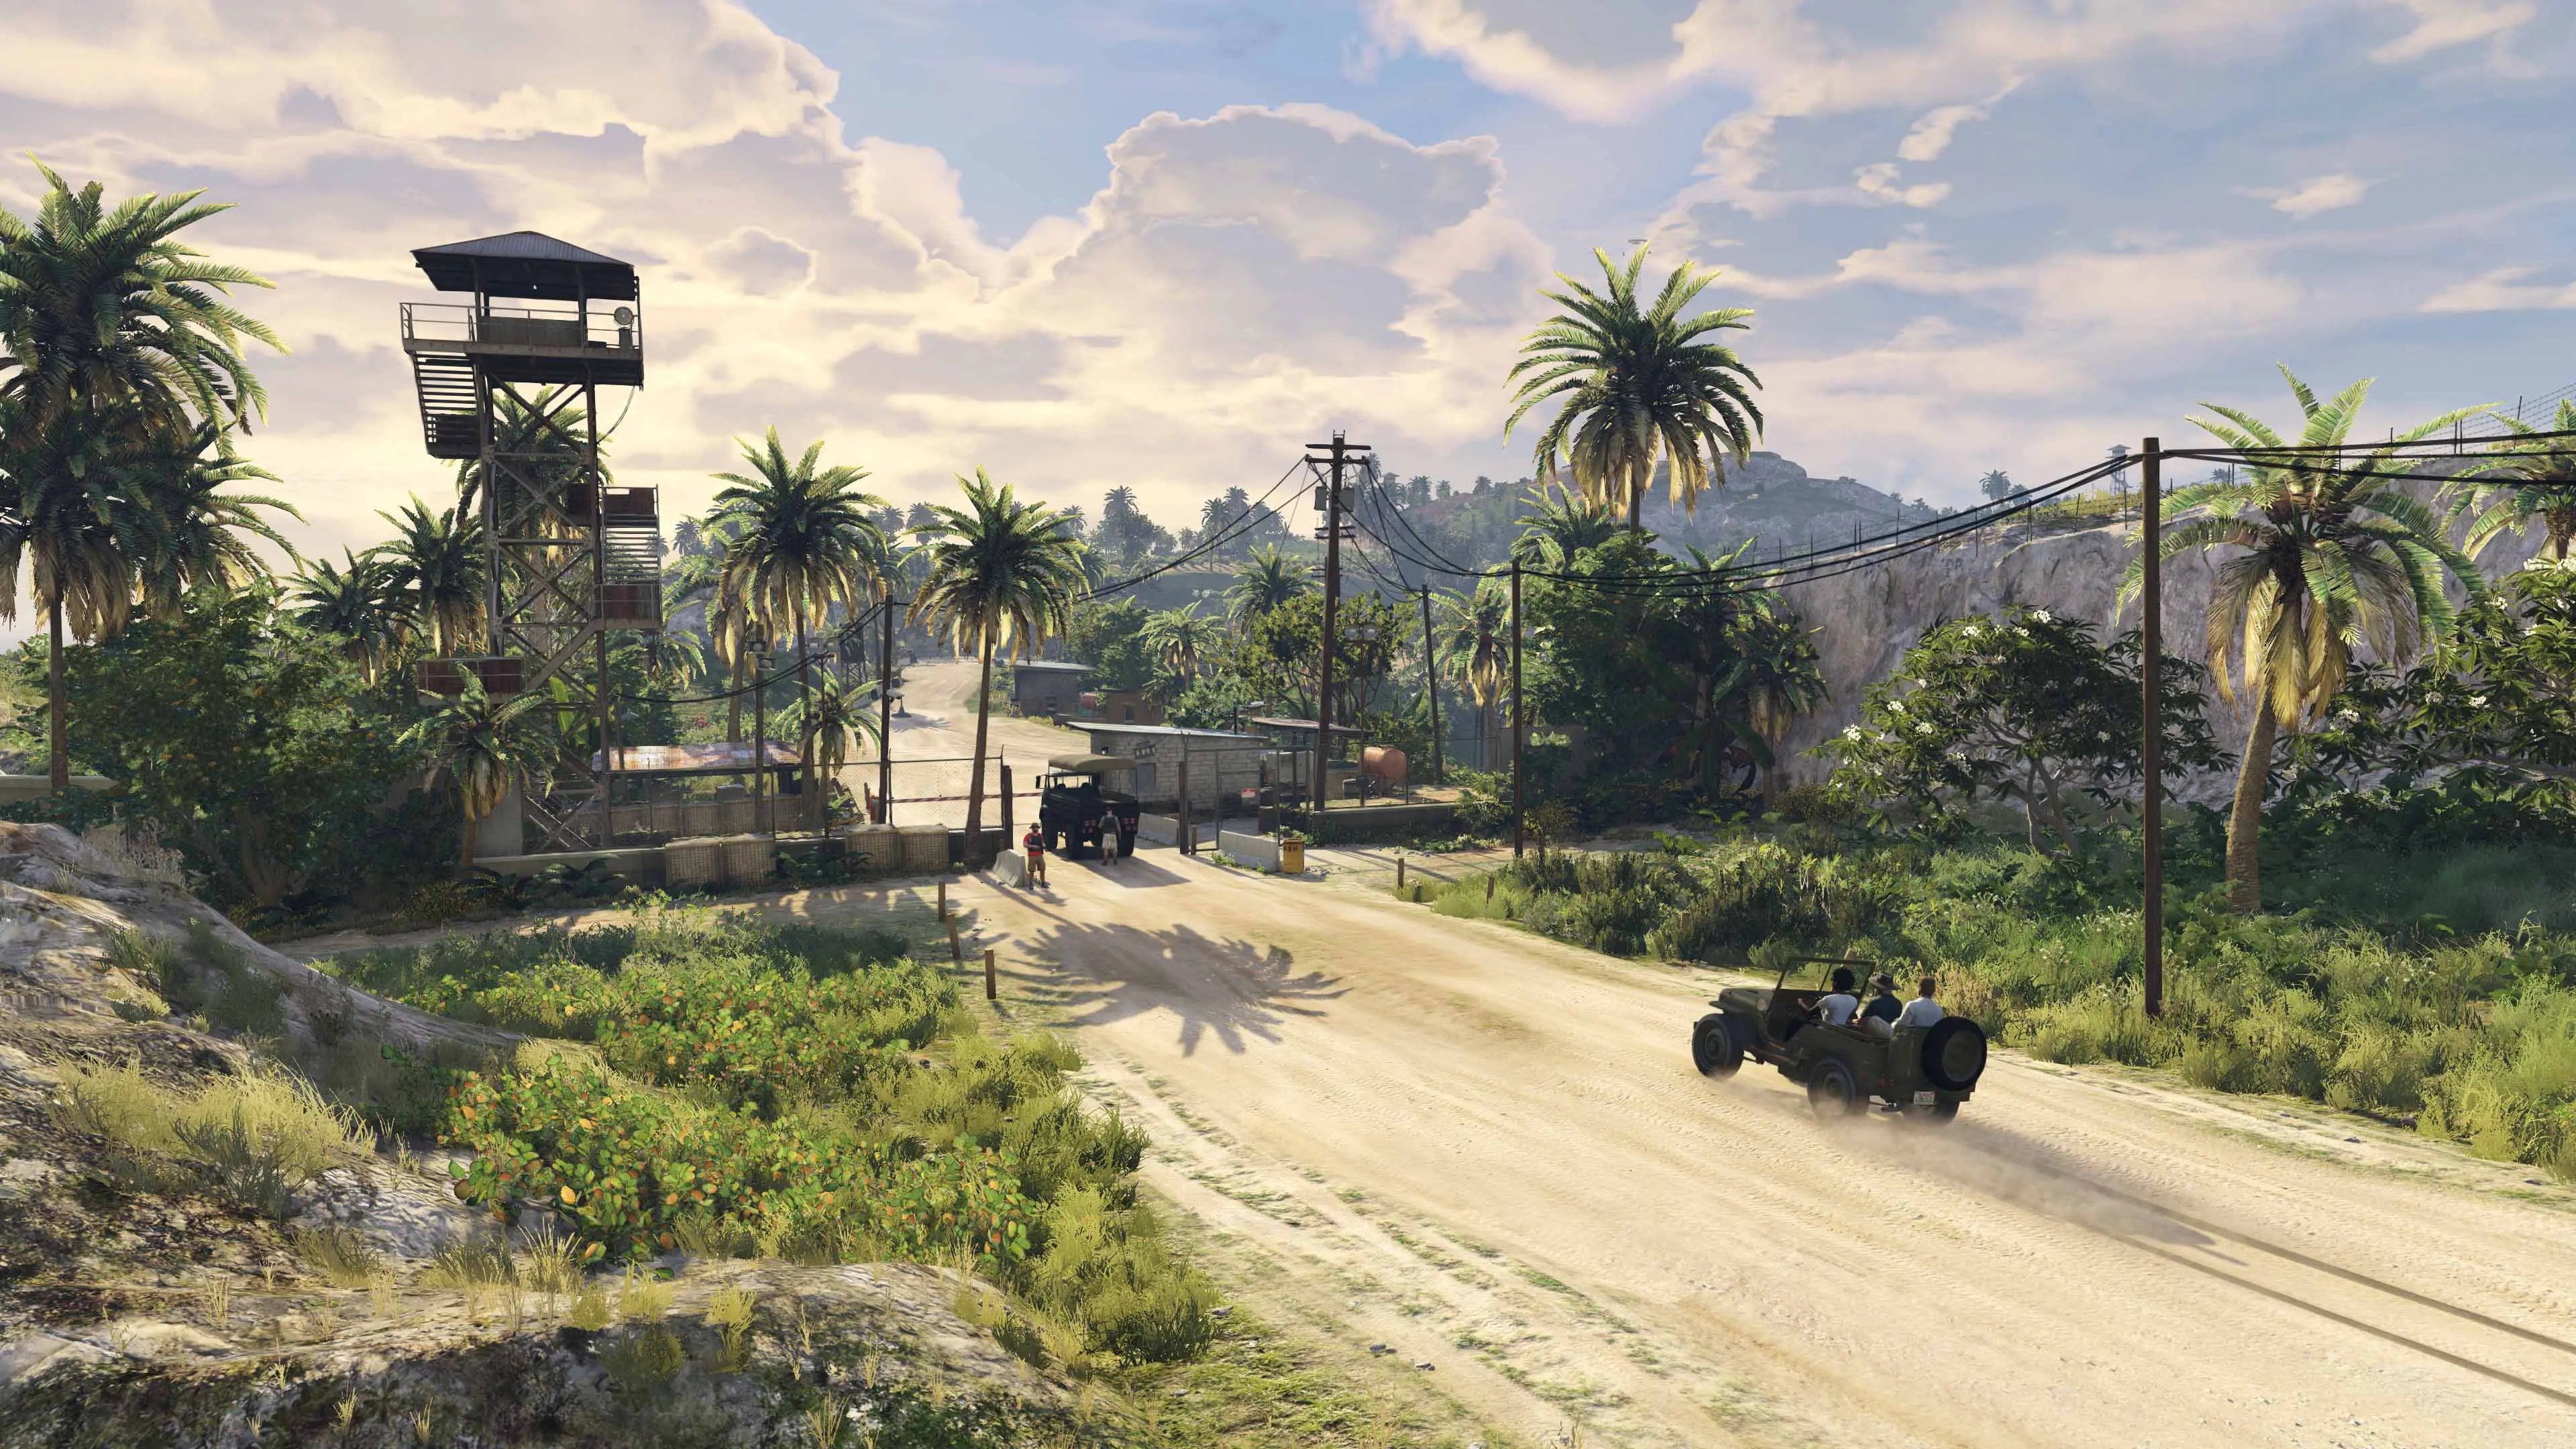


The most reliable solo Cayo Perico route in 2026 is Longfin to secondary loot, Drainage Tunnel into the compound, then a southwest ocean escape. Fill the bag before entering the compound, take the office safe and primary target, leave through the main gate, and swim far enough from the island to end the finale.
This route avoids the biggest solo problem: compound gold sits behind two-player keycard doors. The Longfin lets you collect cocaine, weed, or cash at the airstrip or docks first. Paintings can also be collected solo when they appear in El Rubio's office, not at the airstrip; leave bag space for one only if you scoped it.
If you are still building the Kosatka setup, start with the GTA Online beginner progression guide and the best solo activities list.
The Best Cayo Perico Solo Route at a Glance
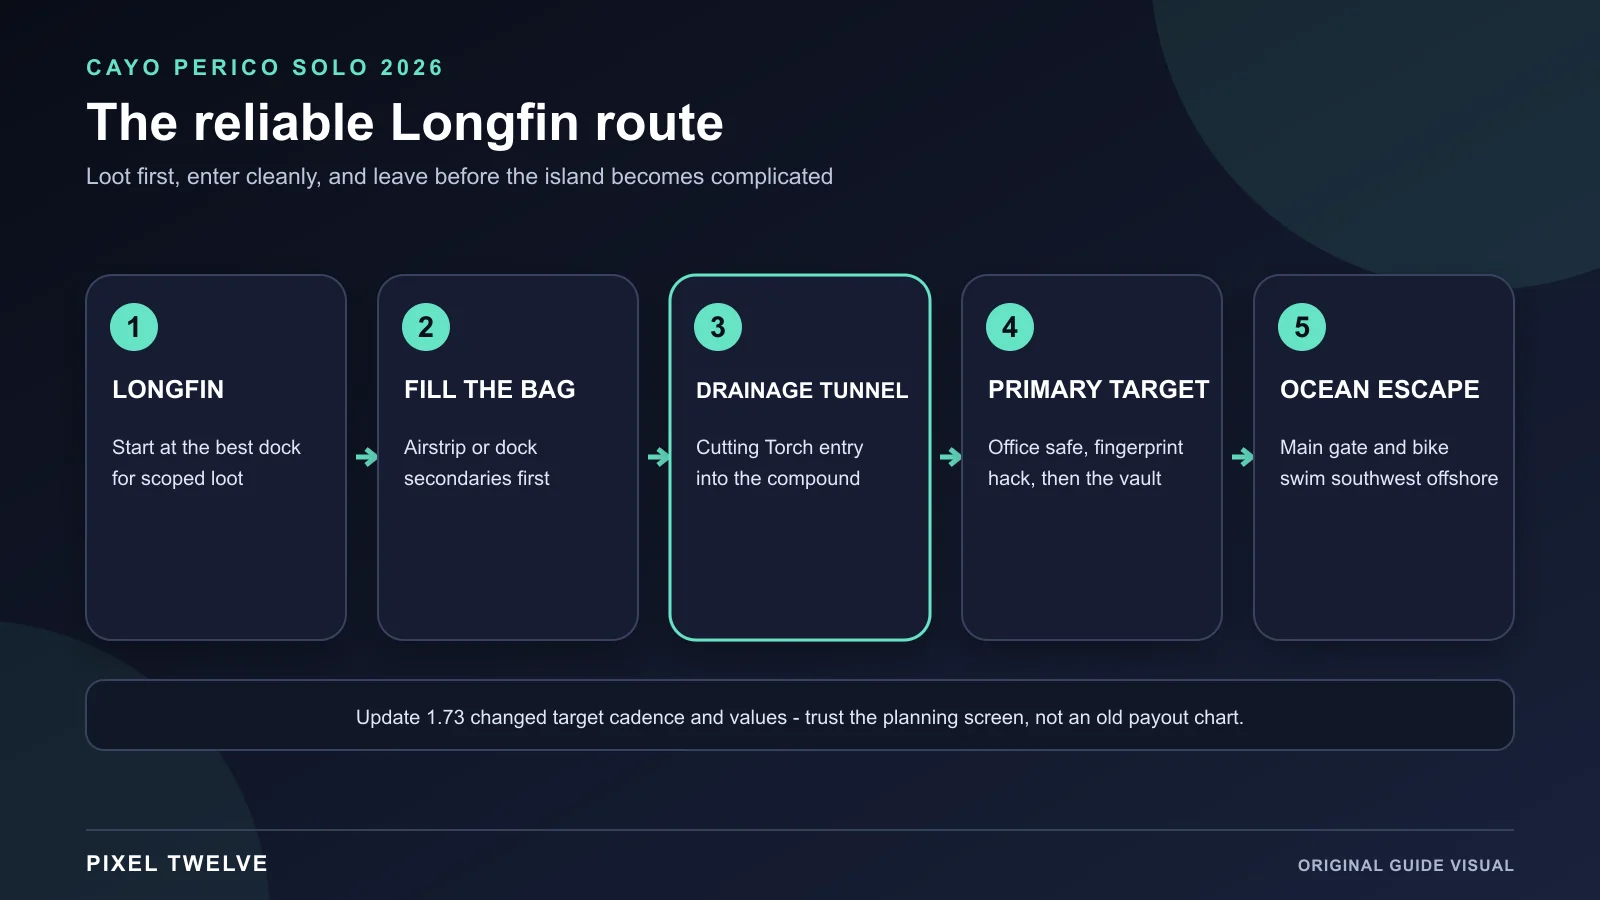
- Longfin: start at the dock closest to the best secondary loot found during Gather Intel.
- Fill the loot bag: use the airstrip, North Dock, or Main Dock before entering the compound.
- Drainage Tunnel: use the Cutting Torch for a quiet compound entry.
- Office and vault: take the wall safe, complete the fingerprint hack, and collect the primary target.
- Ocean escape: leave the main gate, use the bike, jump from the southwest coast, and swim away.
What Update 1.73 Changed in July 2026
Rockstar changed repeated-completion target appearance rates so they now refresh on a weekly cadence. The same update also adjusted Cayo Perico primary and secondary target values.
That makes many old payout tables unreliable. Use the values shown on your planning screen for the current run instead of assuming a screenshot or guide from before title update 1.73 is still exact.
The route itself is still useful because it is based on access, bag space, stealth, and travel time. Those parts matter even when Rockstar changes the value of a target.
What You Need Before Starting
- Kosatka: the submarine is the base of operations for The Cayo Perico Heist.
- Drainage Tunnel scoped: swim behind the compound during Gather Intel so the tunnel becomes an entry option.
- Longfin prep complete: this boat gives the cleanest access to outside secondary loot before the compound.
- Cutting Torch: required for the Drainage Tunnel and useful for opening chained secondary-loot gates.
- Fingerprint Cloner: required for the compound fingerprint scanner.
- Plasma Cutter or Safe Code: the required vault tool depends on the primary target.
- Weapon loadout with suppressors: carry them for emergencies, but a no-kill route is safer when guard movement or body detection changes.
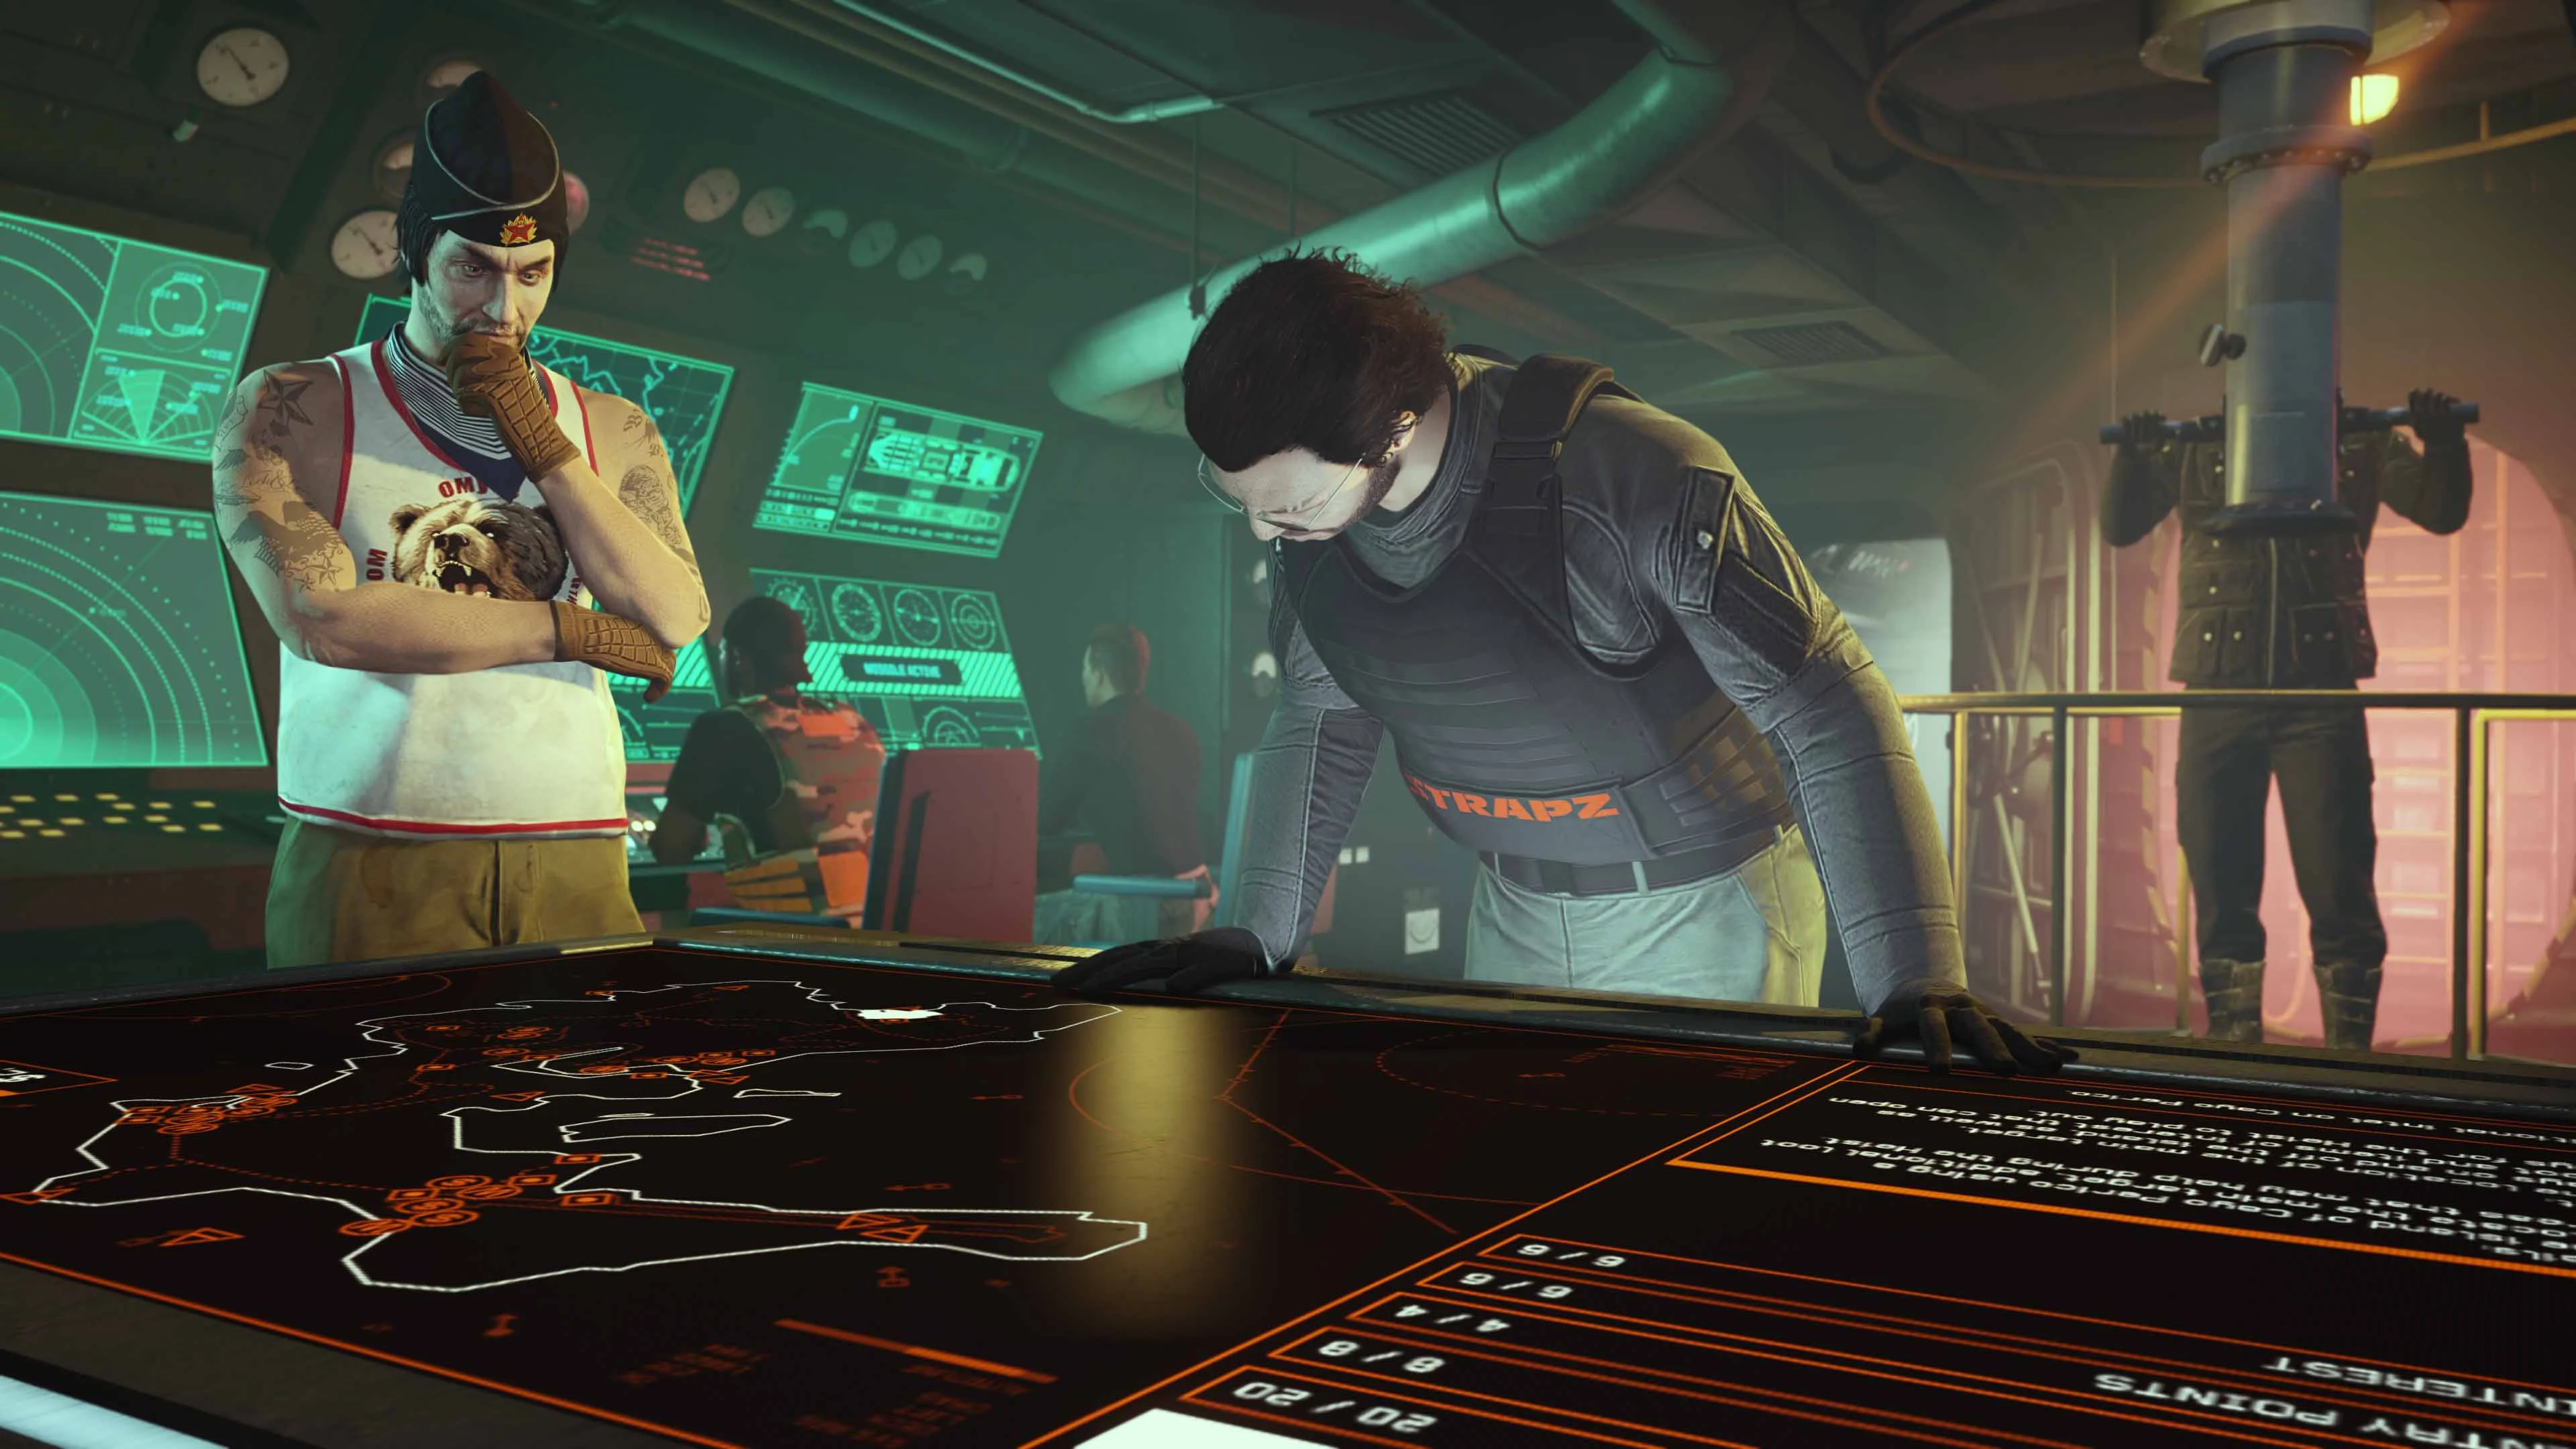
Gather Intel: Scope the Route Before the Finale
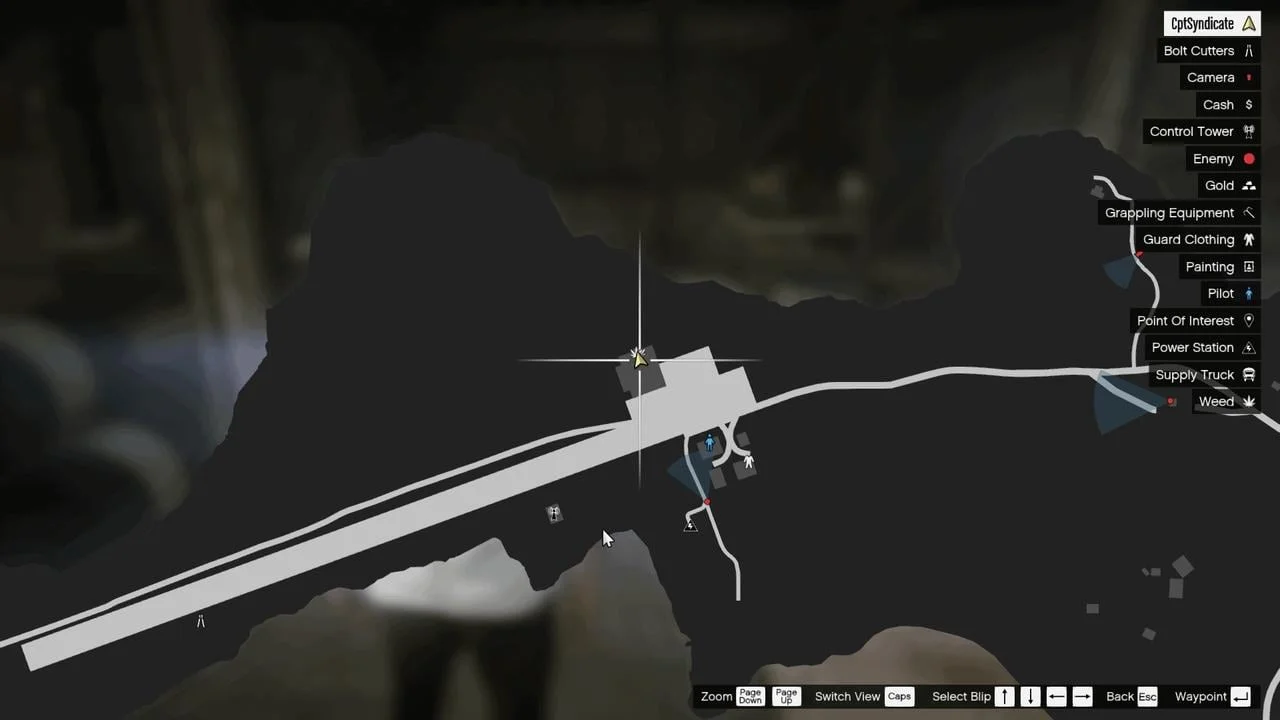
Always identify the primary target and Drainage Tunnel. For solo secondary loot, check the airstrip hangar first because it is easy to enter and can contain several stacks. Then photograph useful tables at the North Dock or Main Dock if the airstrip will not fill the bag.
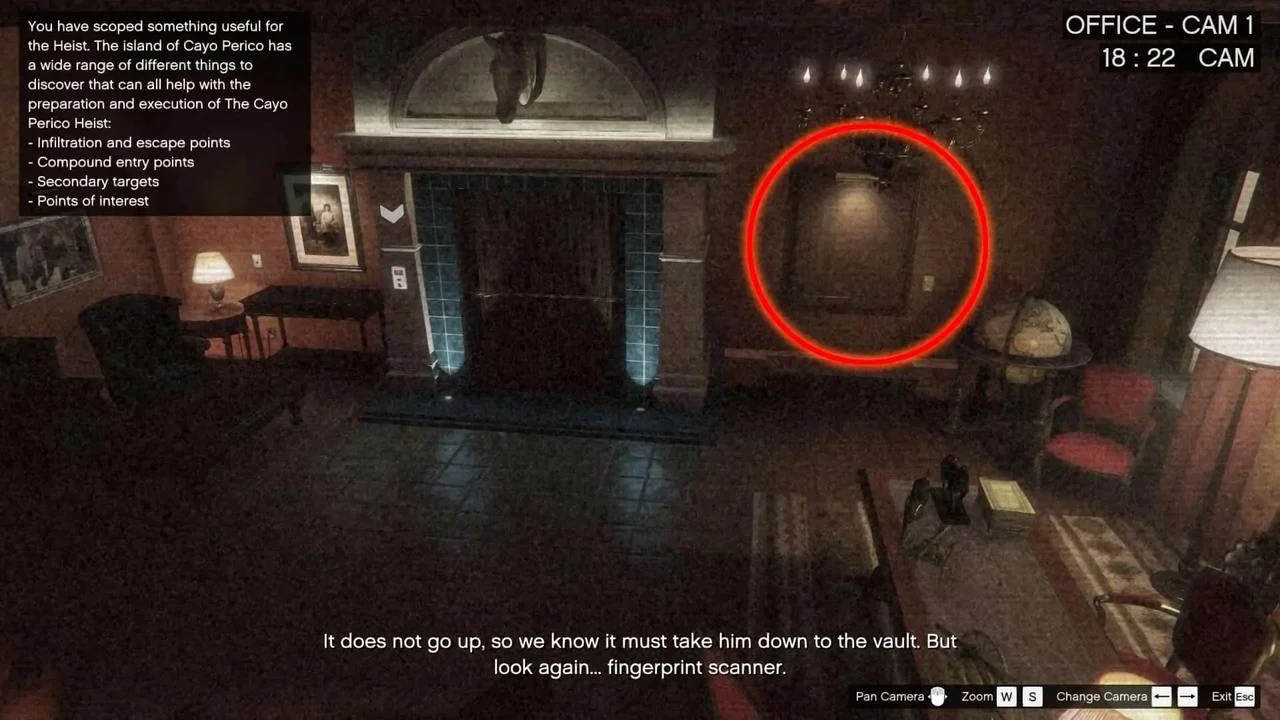
Compound gold is behind dual-keycard doors, so do not build a solo route around it. During the compound camera check, inspect both office views for paintings. Any painting you find in the office is accessible solo; paintings behind storage-room keycard doors are not.
Choose one outside loot stop. Visiting the airstrip and two docks in the same finale usually costs more time than the extra value is worth and makes the Elite Challenge harder.
Best Solo Prep Choices
Approach Vehicle: Longfin
The Longfin can reach the airstrip, either dock, and the Drainage Tunnel in one route. The Kosatka approach is faster when you intend to ignore outside loot, but it often leaves a solo bag partly empty.
Weapon Loadout
Aggressor and Conspirator are both forgiving. The best loadout is the one you can control without spraying near guards. Buy suppressors and treat every shot as a backup plan, not the route.
Disruption Missions
A clean stealth route does not require all three disruption missions. Complete them when learning the heist or when you expect a fight. They add safety but also add preparation time.
Step 1: Collect Secondary Loot First
At the finale screen, select the Longfin and either Main Dock or North Dock as the island infiltration point. Choose the dock that suits your scoped loot, then drive to the airstrip if that is your chosen stop. Use the hangar entrances and Cutting Torch to reach loot gates; at a dock, watch vision cones on the way to the scoped building.
A full bag is required for the solo Elite Challenge. Two stacks that efficiently fill the bag are often better than a long search for one theoretically perfect table.
Which Secondary Loot Should You Take?
Cocaine is usually the strongest accessible solo option, followed by combinations of paintings, weed, and cash. Update 1.73 adjusted values, so compare what your planning screen shows and favor a full bag with the least travel.
Gold remains valuable but normally requires a second player inside the compound. This guide does not use door glitches or other routes that can be patched.
Step 2: Take the Longfin to the Drainage Tunnel
Return to the boat after filling the bag and drive around the island to the water behind El Rubio's compound. Stop directly above the scoped tunnel marker, enter the water, equip the rebreather if needed, and cut through the grate.
The planning board separates island infiltration from compound entry. Longfin starts use Main Dock or North Dock; the Airstrip infiltration option belongs to the Velum approach. You can still drive the Longfin to the airstrip yourself, then use the Drainage Tunnel to enter the compound.
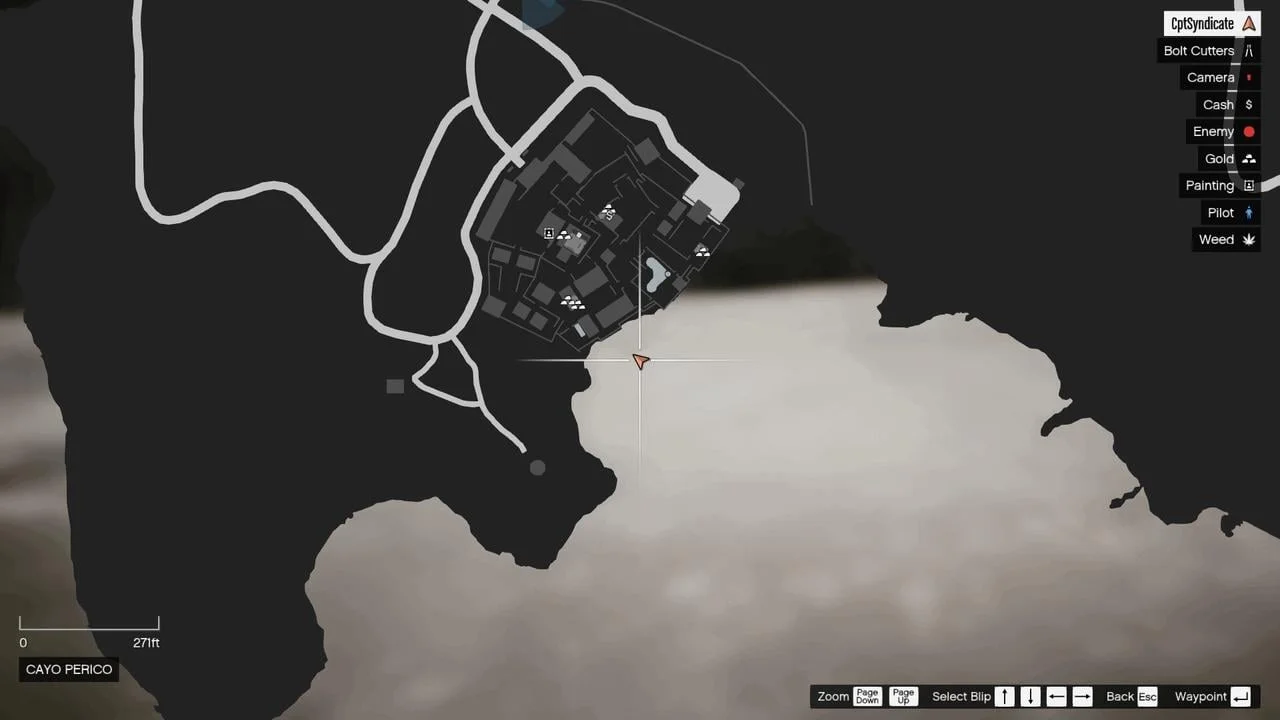
Step 3: Use a Low-Risk Compound Route
Move from cover to cover and avoid unnecessary guards. Guard patrols, camera views, and detection behavior can change between updates, so a route that depends on several perfectly timed headshots is fragile.
- Do not rush the first corner: wait for the nearest guard to turn away.
- Avoid bodies near patrol paths: new guards may notice them after the primary target is taken.
- Use stairs and walls to break sightlines: the shortest visible path is not always the safest.
- Only collect a keycard when useful: a solo run does not need both cards for inaccessible two-player rooms.
- If the attempt fails: Quick Restart can help you practice from a checkpoint, but it forfeits the Elite bonus for that attempt.
Step 4: Office Safe, Fingerprint Hack, and Primary Target
Enter El Rubio's office and open the wall safe before going downstairs. The cash in the office safe does not consume loot-bag space. Take an office painting only when the bag still has room and the painting improves the route.
For the fingerprint scanner, first find the top segment of the target print and set all eight rows to that same segment. Leave row 1 unchanged. Move row 2 one position right, row 3 two positions right, and continue with three, four, five, six, and seven moves for rows 4 through 8. The offsets from top to bottom are 0, 1, 2, 3, 4, 5, 6, 7.
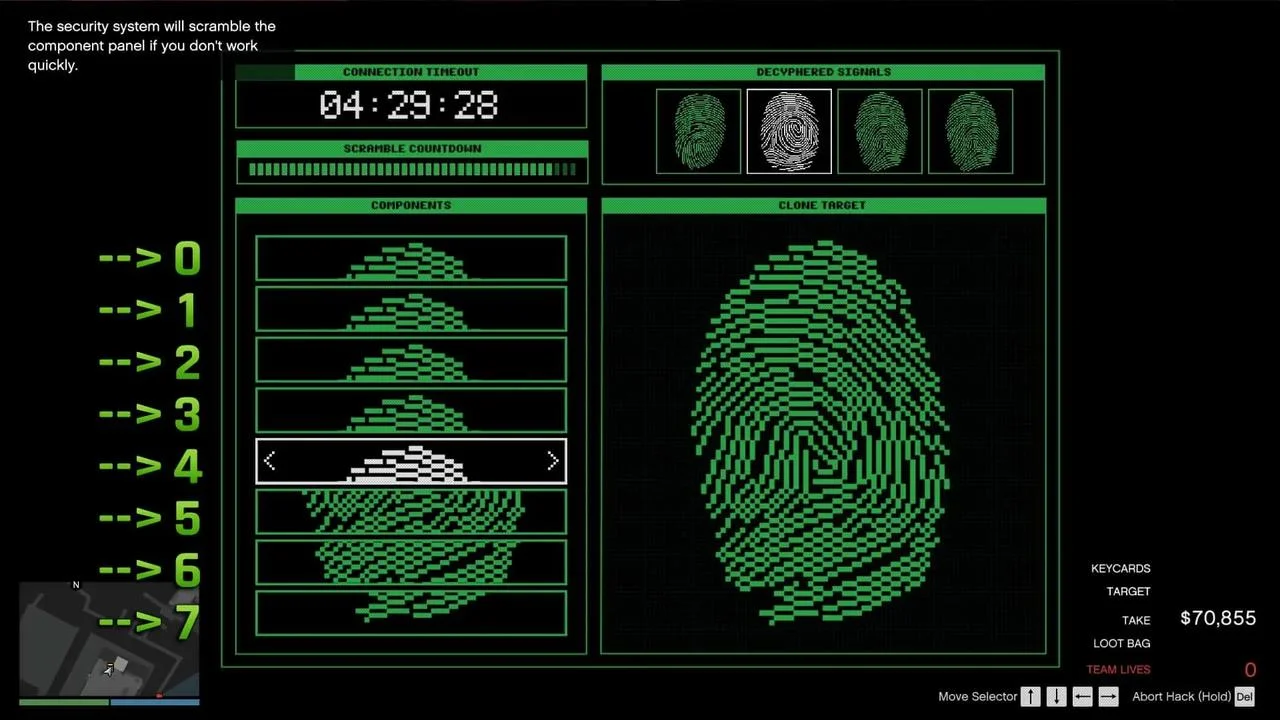
Open the vault with the Plasma Cutter or Safe Code, collect the primary target, and retrace the safe route upstairs. The planning screen is the final authority on the current target value.
Step 5: Fast Ocean Escape
Leave through the main gate. Take the motorcycle outside, turn left, and ride toward the southwest edge of the island. Jump from a safe section of coast, swim southwest into deep water, and continue until the finale ends.
The escape point chosen on the planning board does not force you to use that location. The ocean exit is popular because it avoids a long drive through guards and checkpoints.
Solo Elite Challenge Checklist
- Finish in under 15 minutes: start the timer with a route you already scoped.
- Fill the loot bag: collect outside secondaries before the compound.
- Do not fail a fingerprint hack: use the increasing row offsets shown above.
- Do not die: finish the finale without a death. Do not use Quick Restart if you are aiming for the Elite bonus.
The Elite bonus and exact take can vary with difficulty and Rockstar economy changes. The completion screen shows the amount that applies to the run you just finished.
Solo Cooldown and Repeat Runs
Rockstar states that a solo finale can be completed once every three in-game days. One GTA Online day lasts 48 real minutes, so the solo cooldown is about 144 minutes.
The July 2026 weekly target cadence is separate from that solo replay cooldown. Waiting for Pavel allows the next heist; it does not guarantee that an older high-value target table will return.
Rotate Cayo Perico with a Nightclub, other GTA Online businesses, or the Diamond Casino Heist instead of standing in a session waiting for one activity.
Cayo Perico Solo FAQ
Can Cayo Perico still be completed solo in 2026?
Yes. Rockstar designed the heist so the full preparation and finale can be completed alone.
Is the Longfin better than the Kosatka?
Use the Longfin when you need outside secondary loot before the compound. Use the Kosatka when you intentionally want the shortest direct trip to the Drainage Tunnel.
Can a solo player take gold?
Compound gold is normally stored behind doors that require two simultaneous keycards. A solo player should plan around loot at the airstrip or docks and any office painting that appears.
Why has Pavel not called after the finale?
The solo replay cooldown is three in-game days. Wait roughly 144 real minutes, then change sessions if the call still does not arrive.
Return to the GTA 5 Complete Guide for Story Mode and GTA Online hubs, routes, vehicles, and money guides.