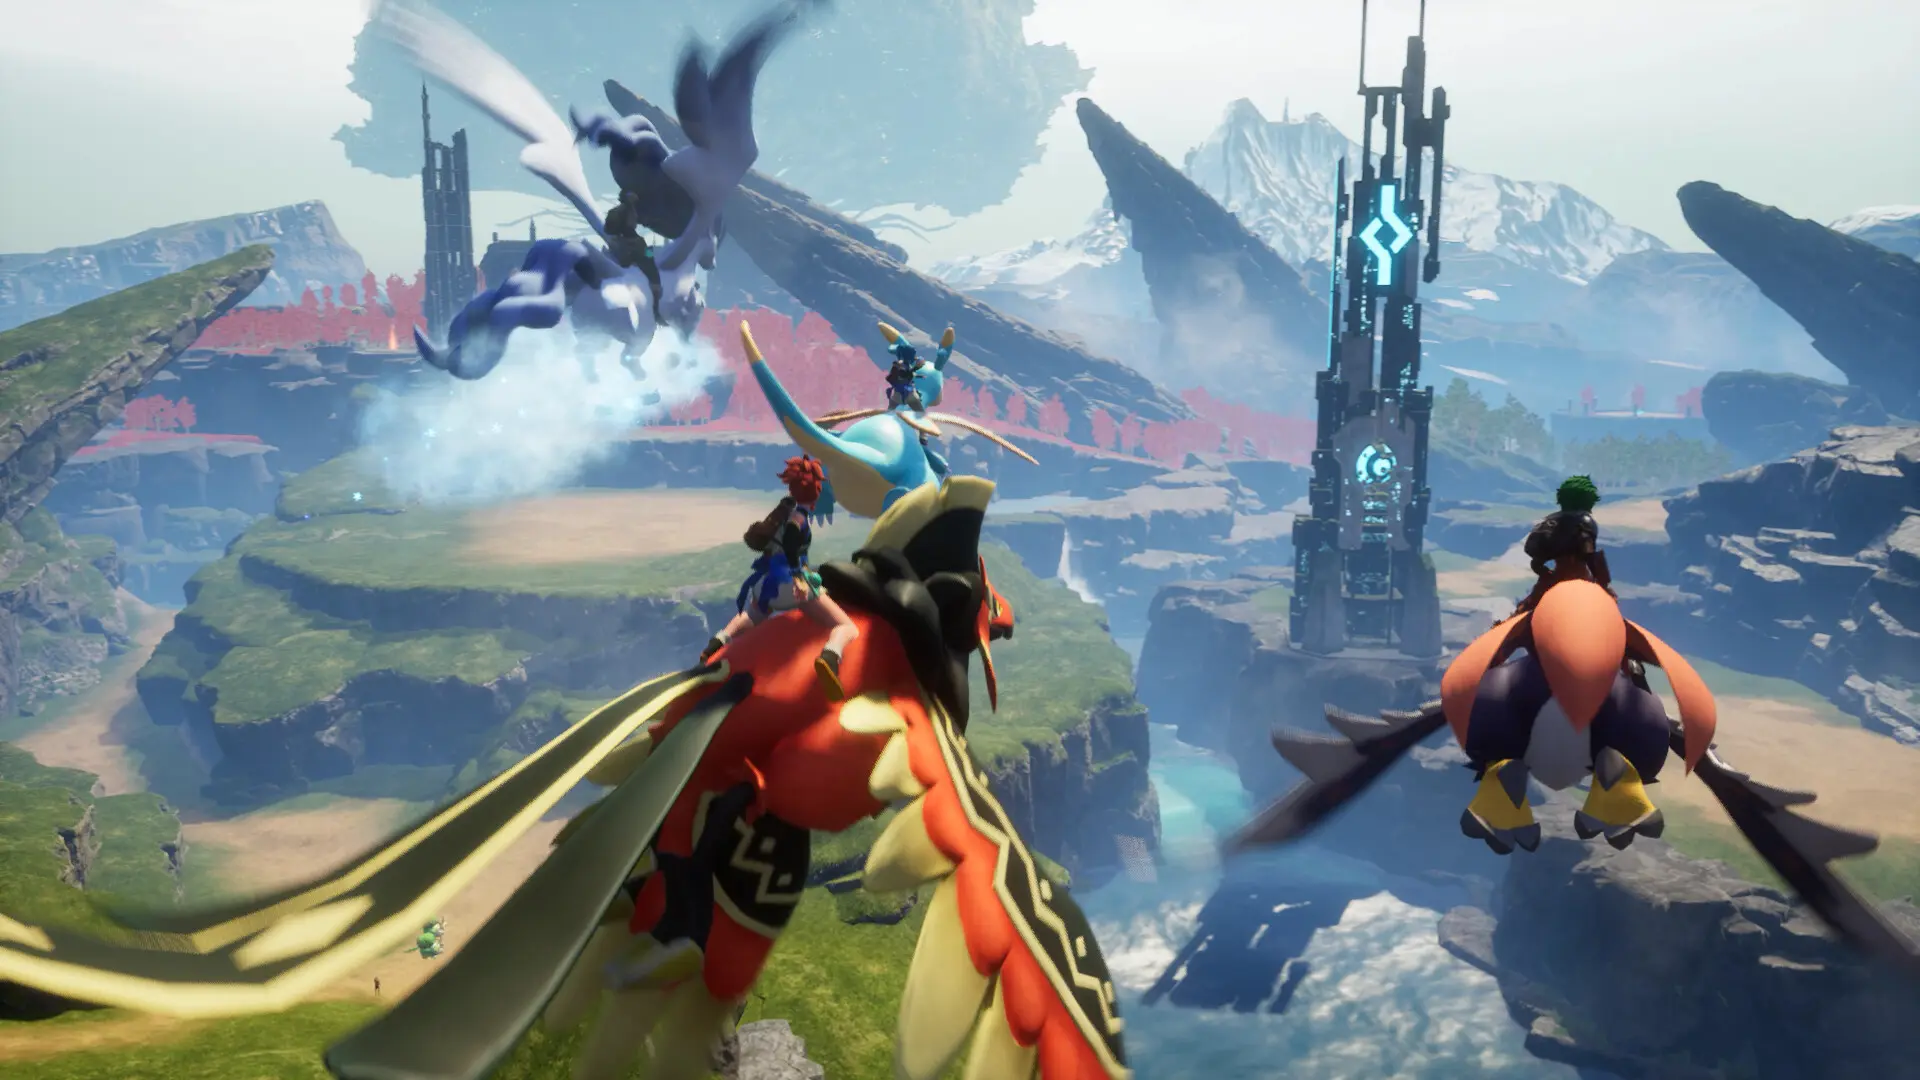

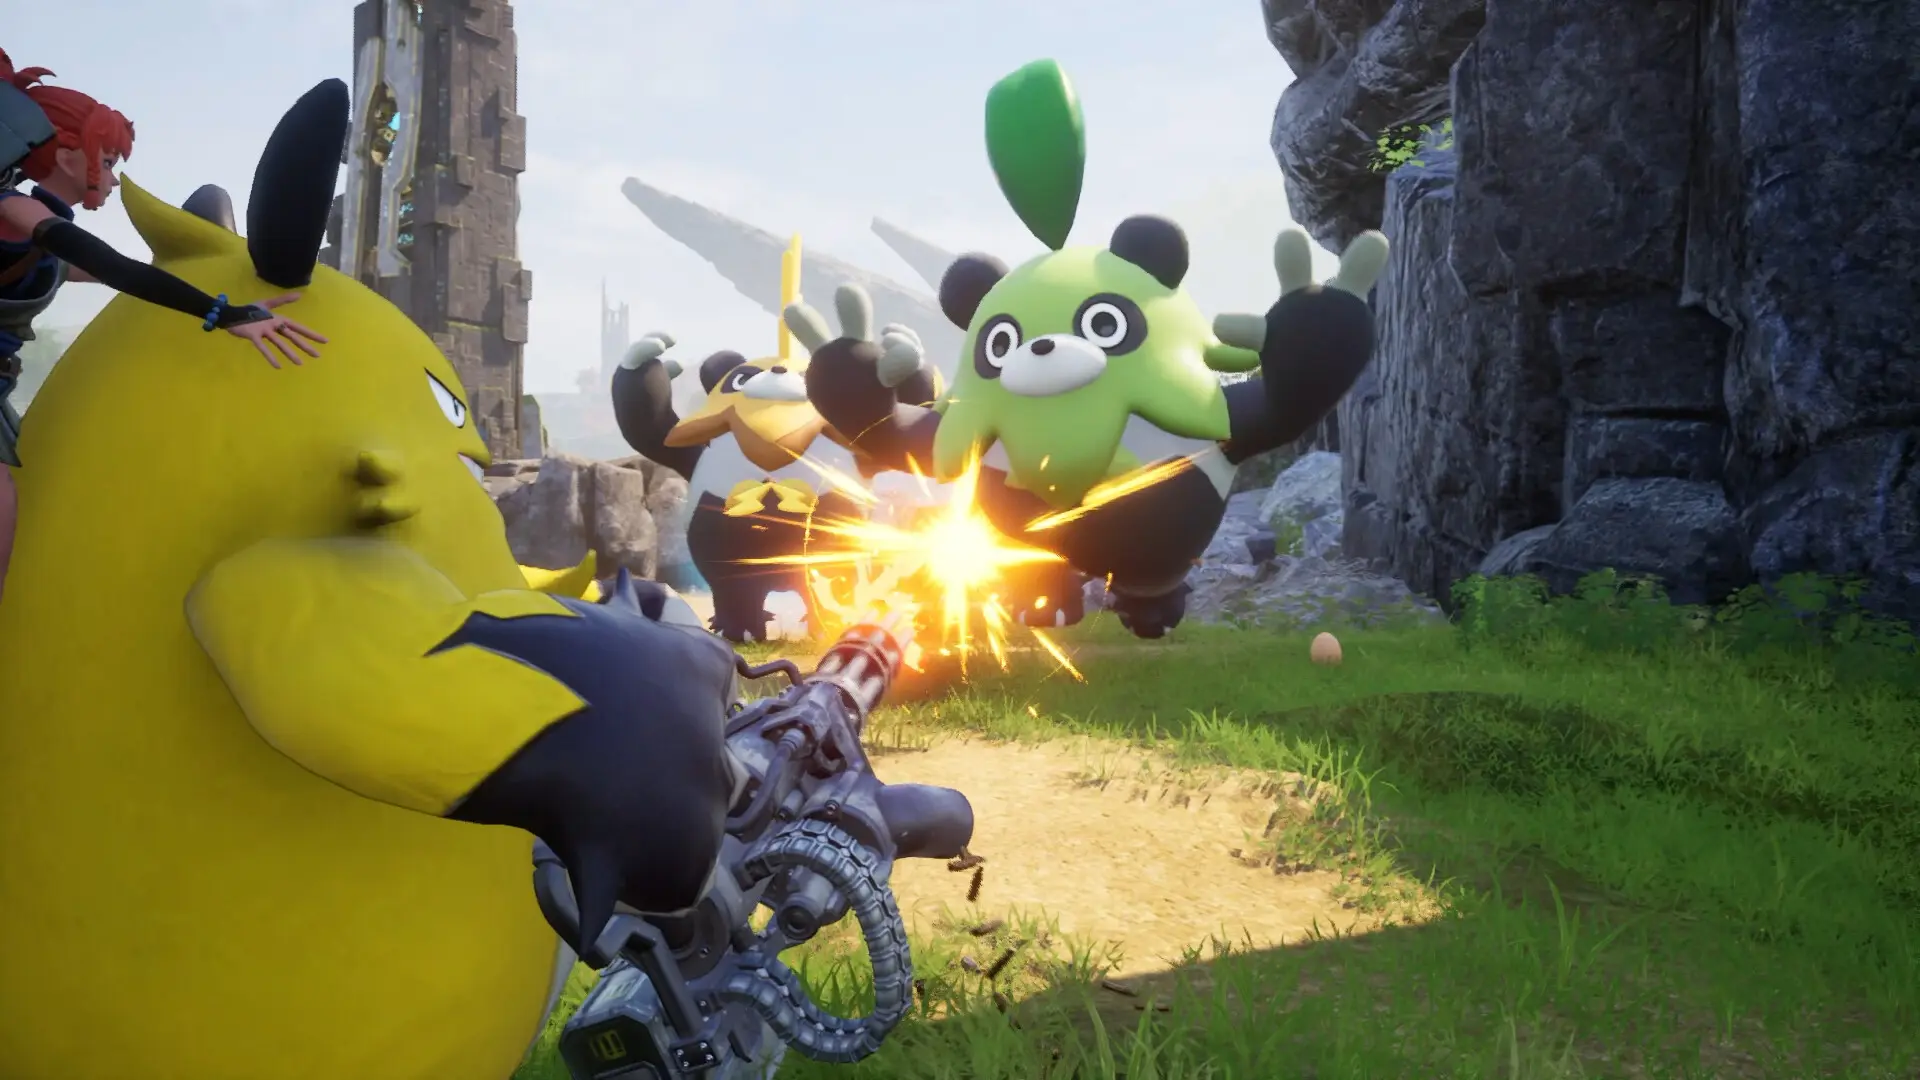

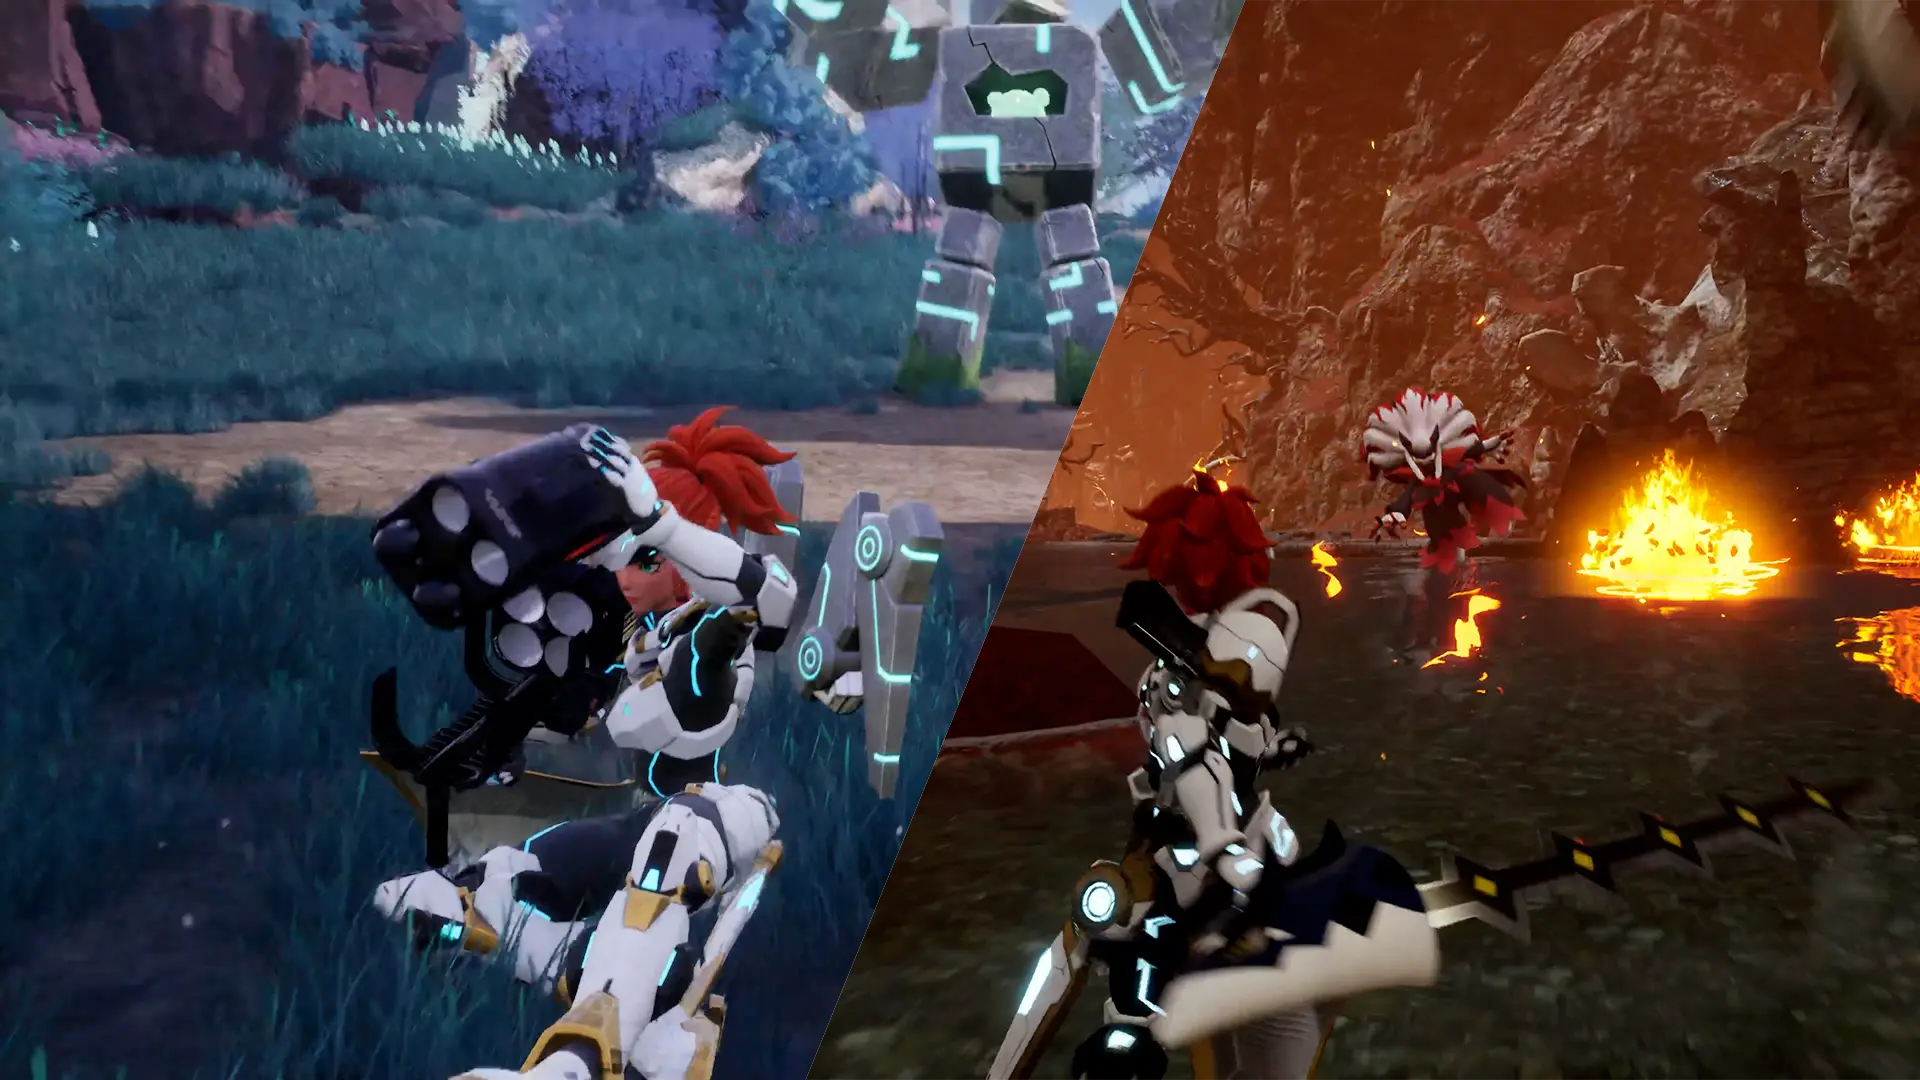
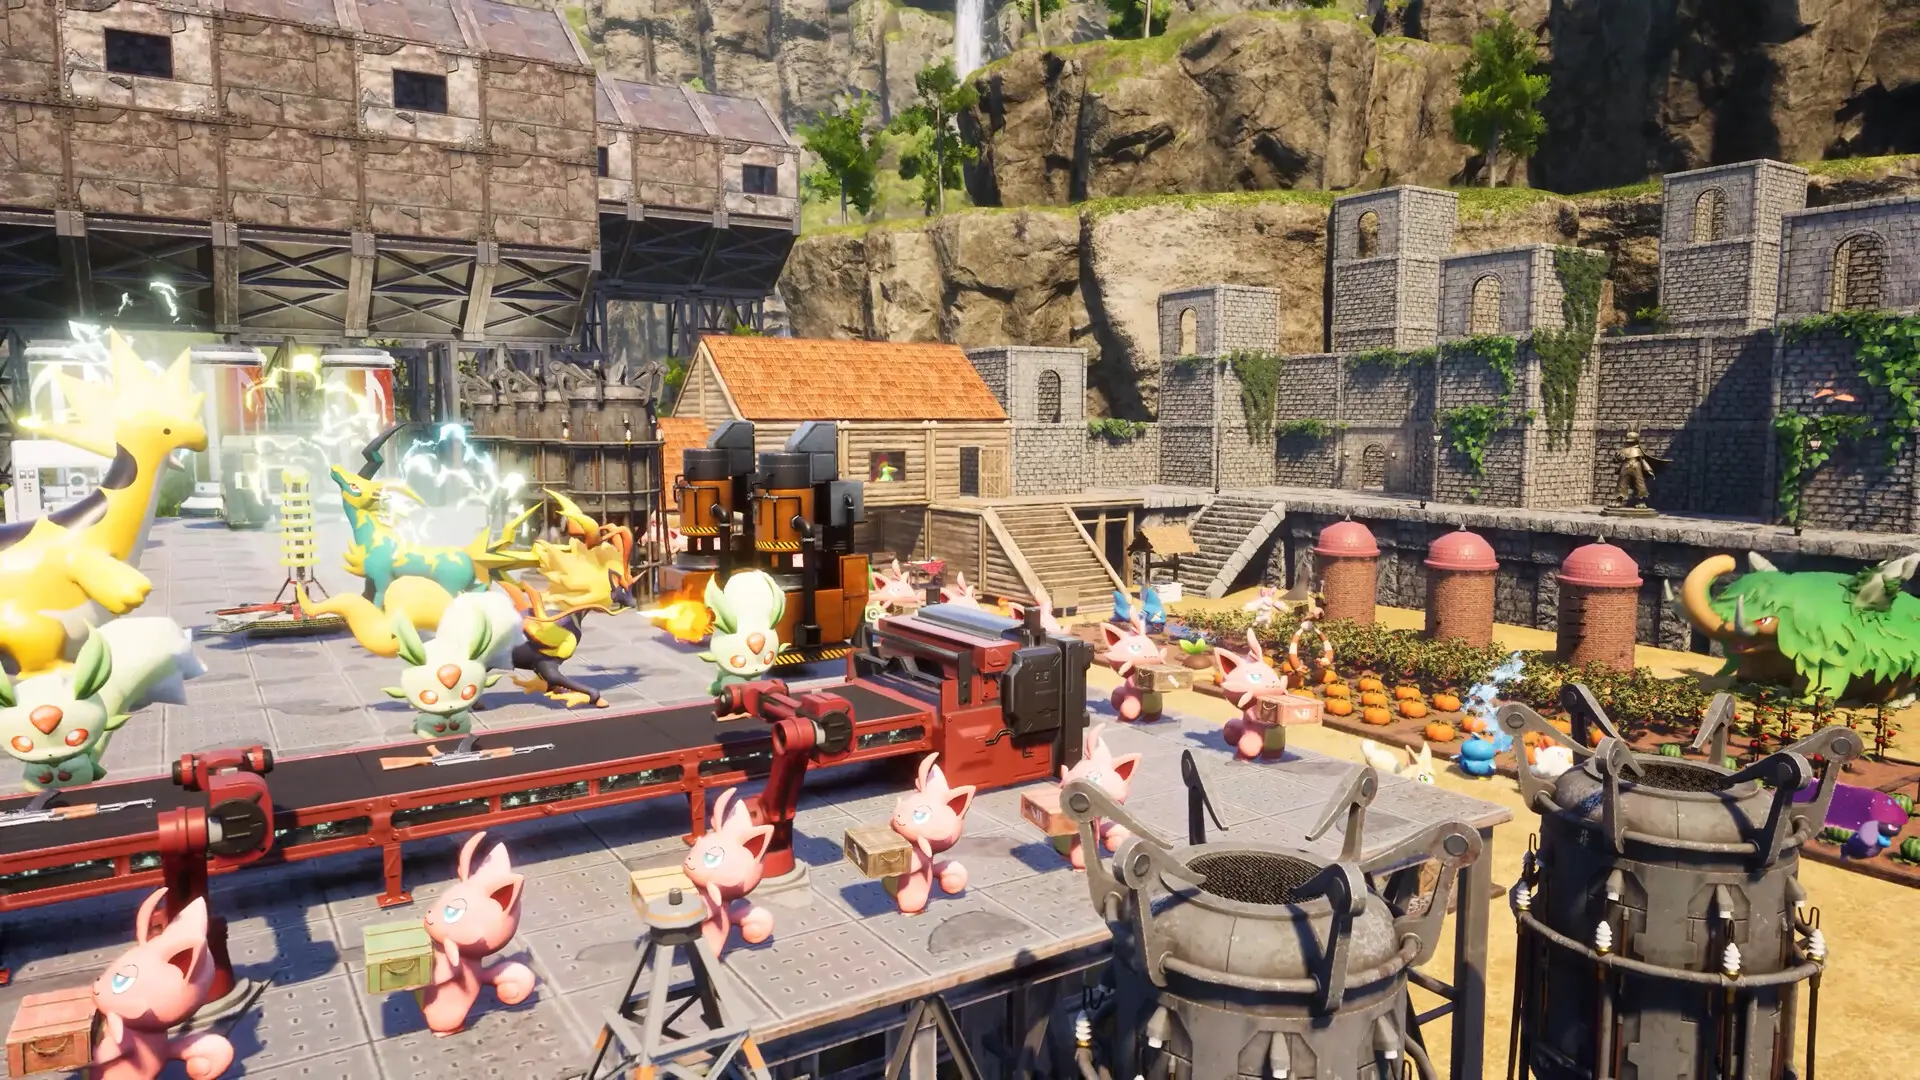
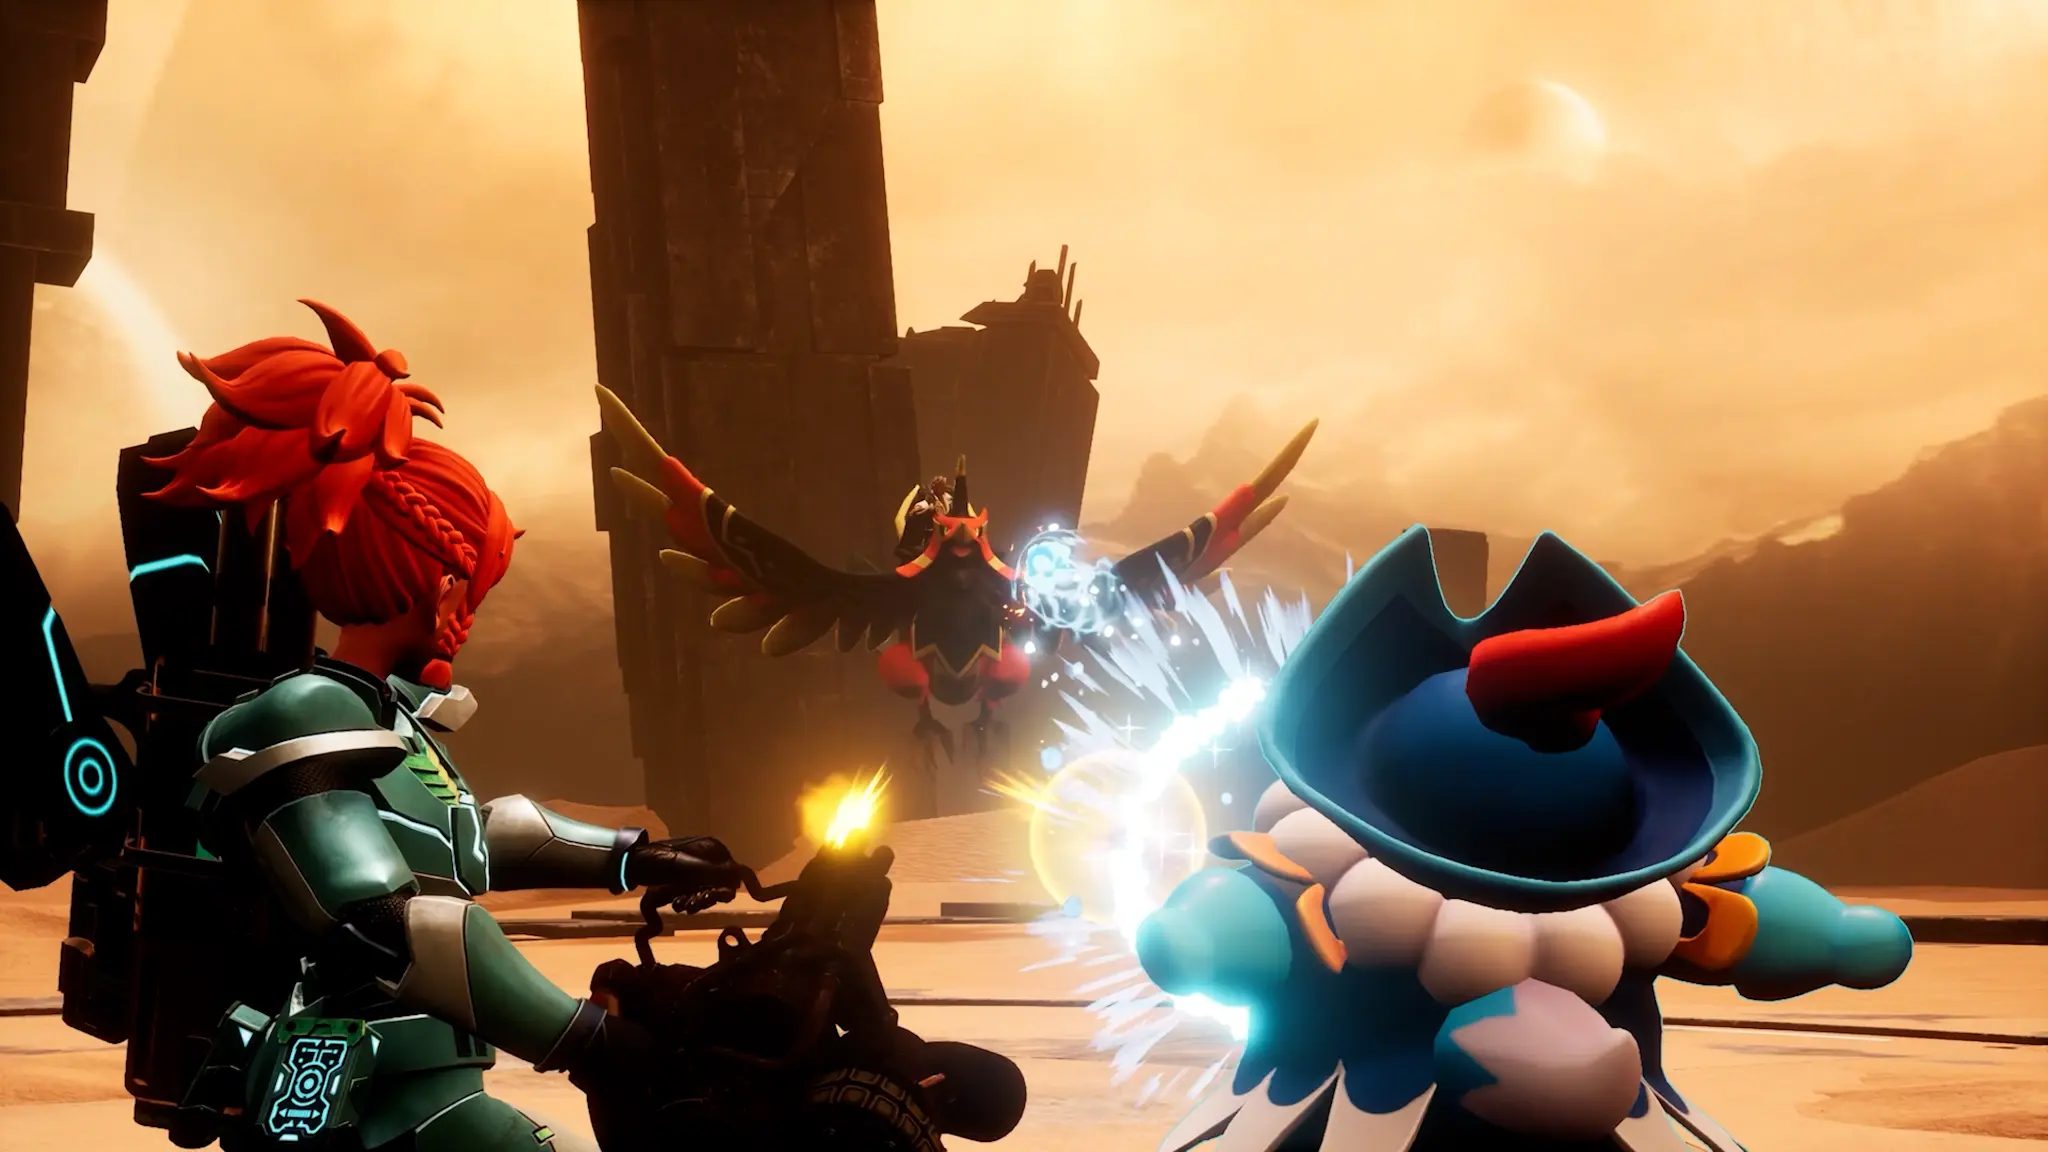
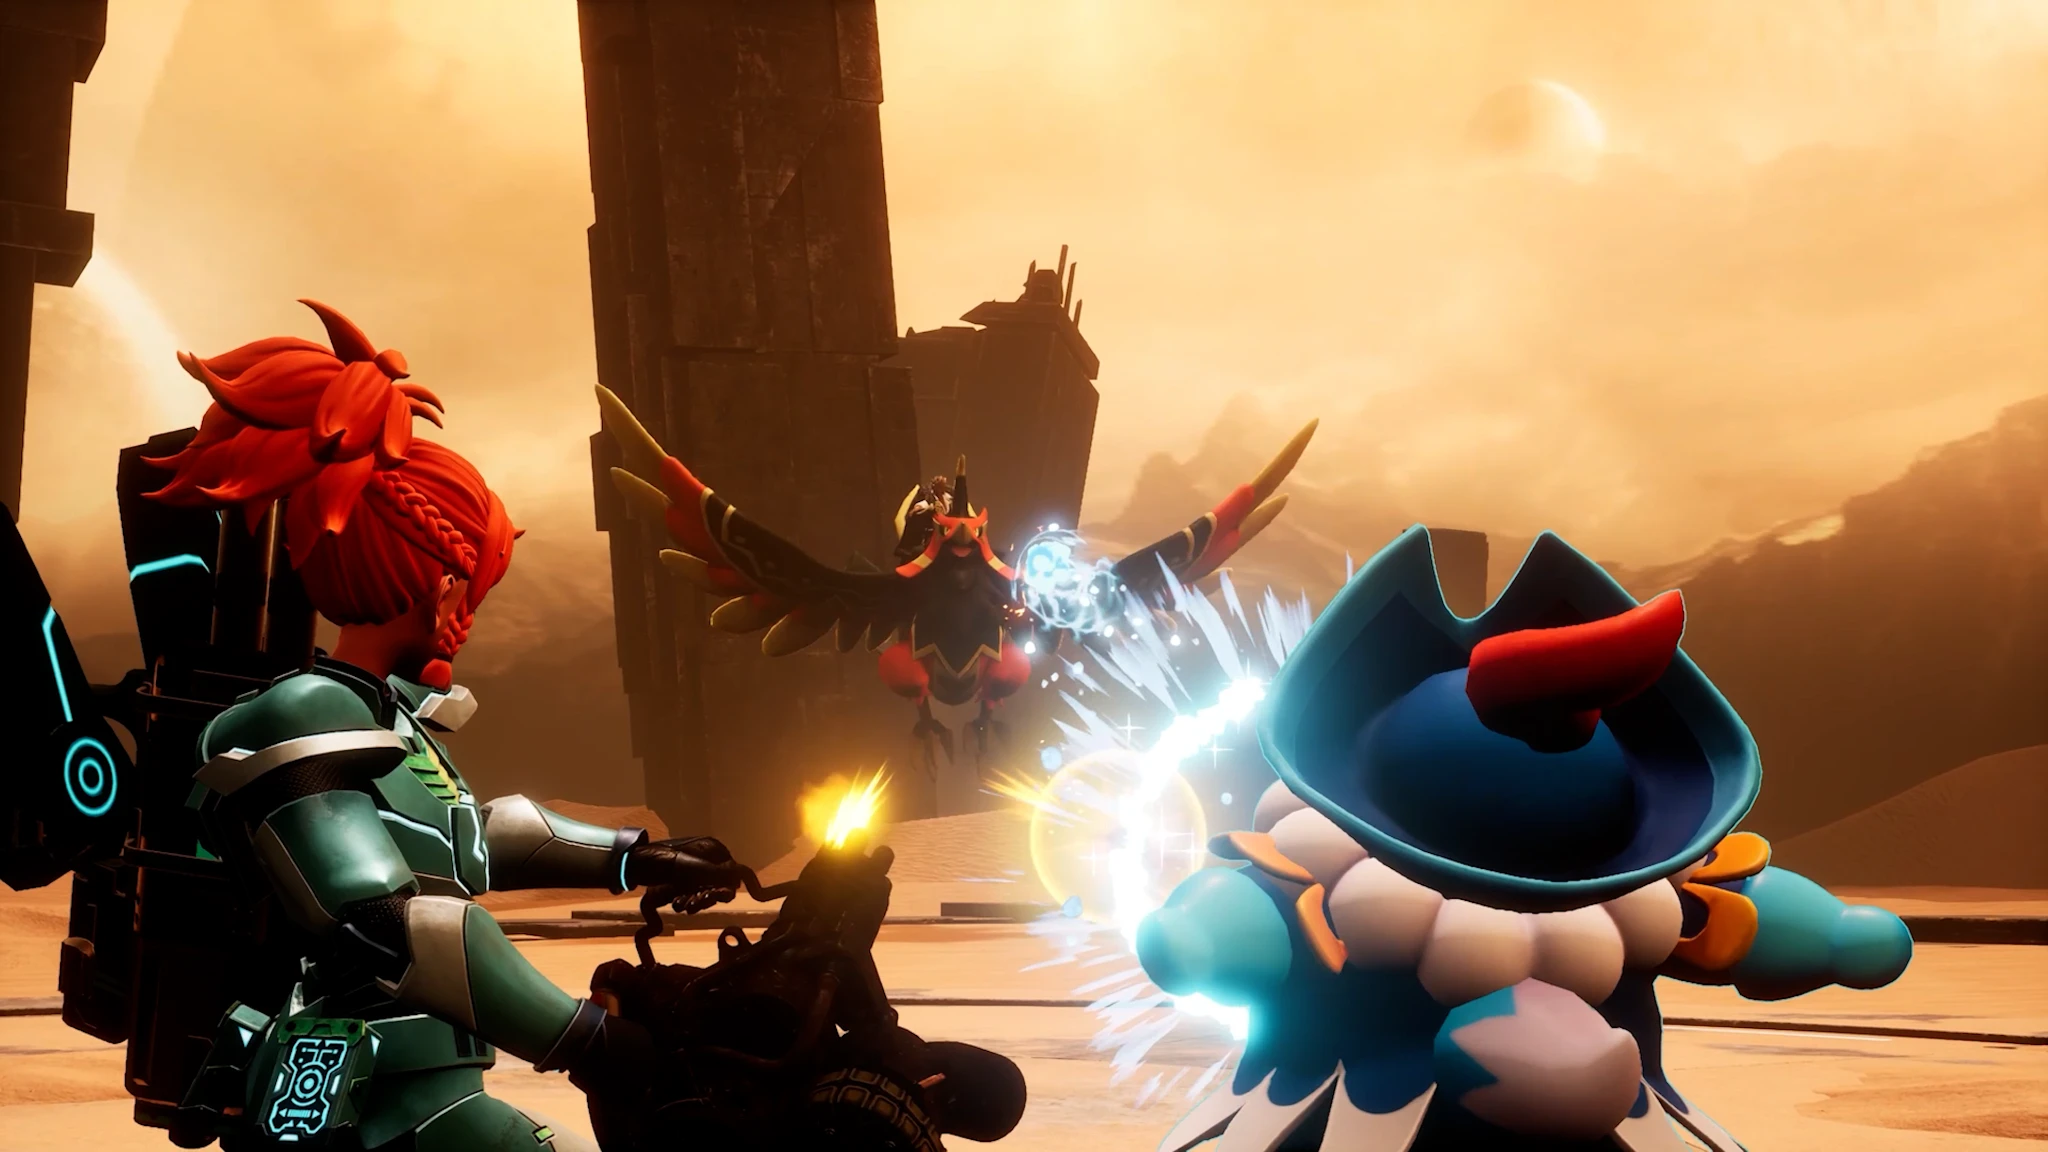
Palworld 1.0 uses Tower Bosses to guide the main story. You can visit many towers early, but the recommended order follows enemy level and the missions shown in the game. Sunreach and the World Tree also require specific story progress.
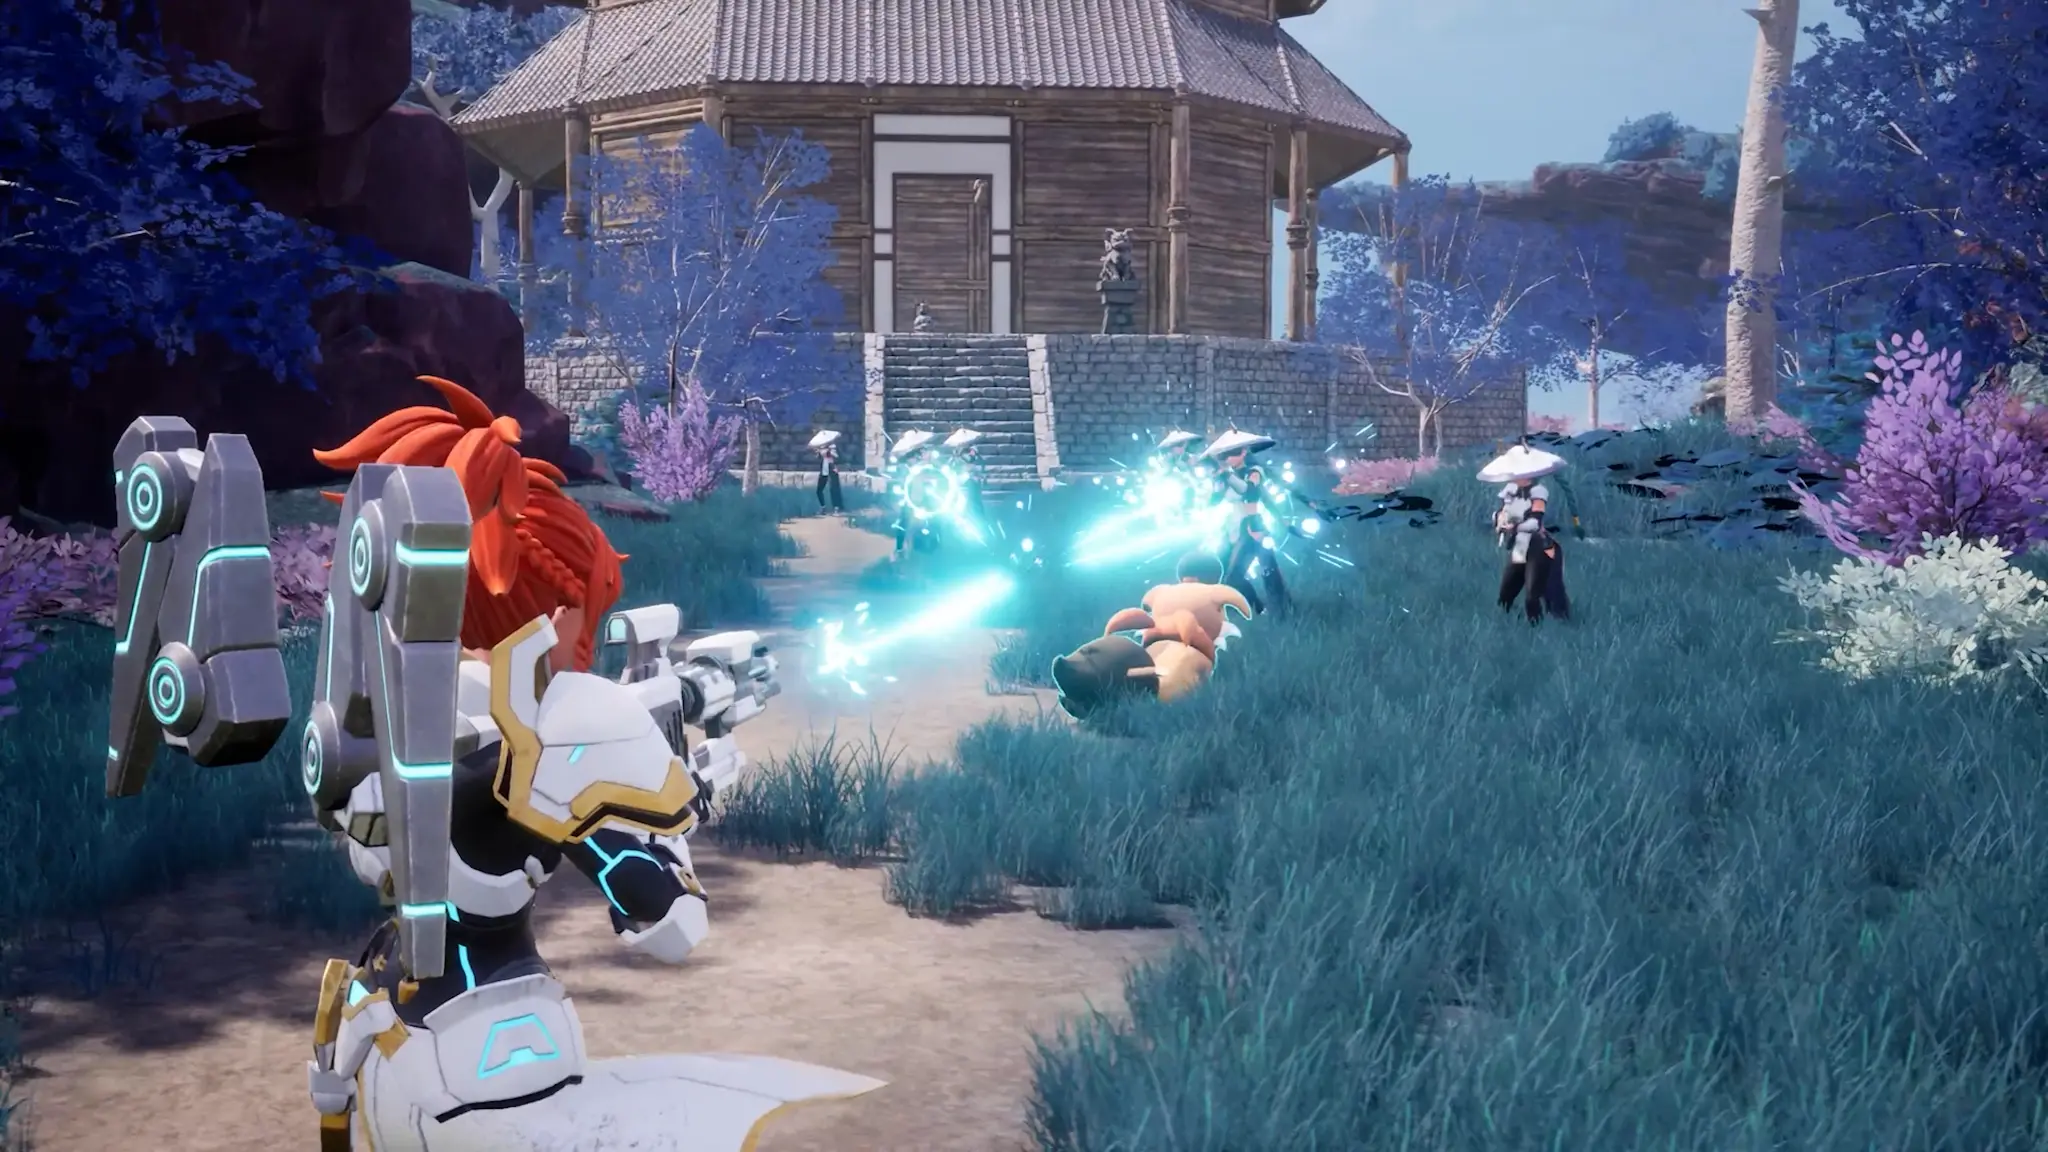
Every tower fight gives you five minutes to defeat the trainer and Pal. Activate the nearby fast-travel point before entering. Repair your weapons, bring enough ammunition, and carry food and healing items so one failed attempt does not require a long supply trip.
Recommended Tower Boss Order
- 1. Zoe and Grizzbolt - Level 10: Tower of Rayne Syndicate at 110, -431. Grizzbolt is Electric, so Ground and Ice attacks work well.
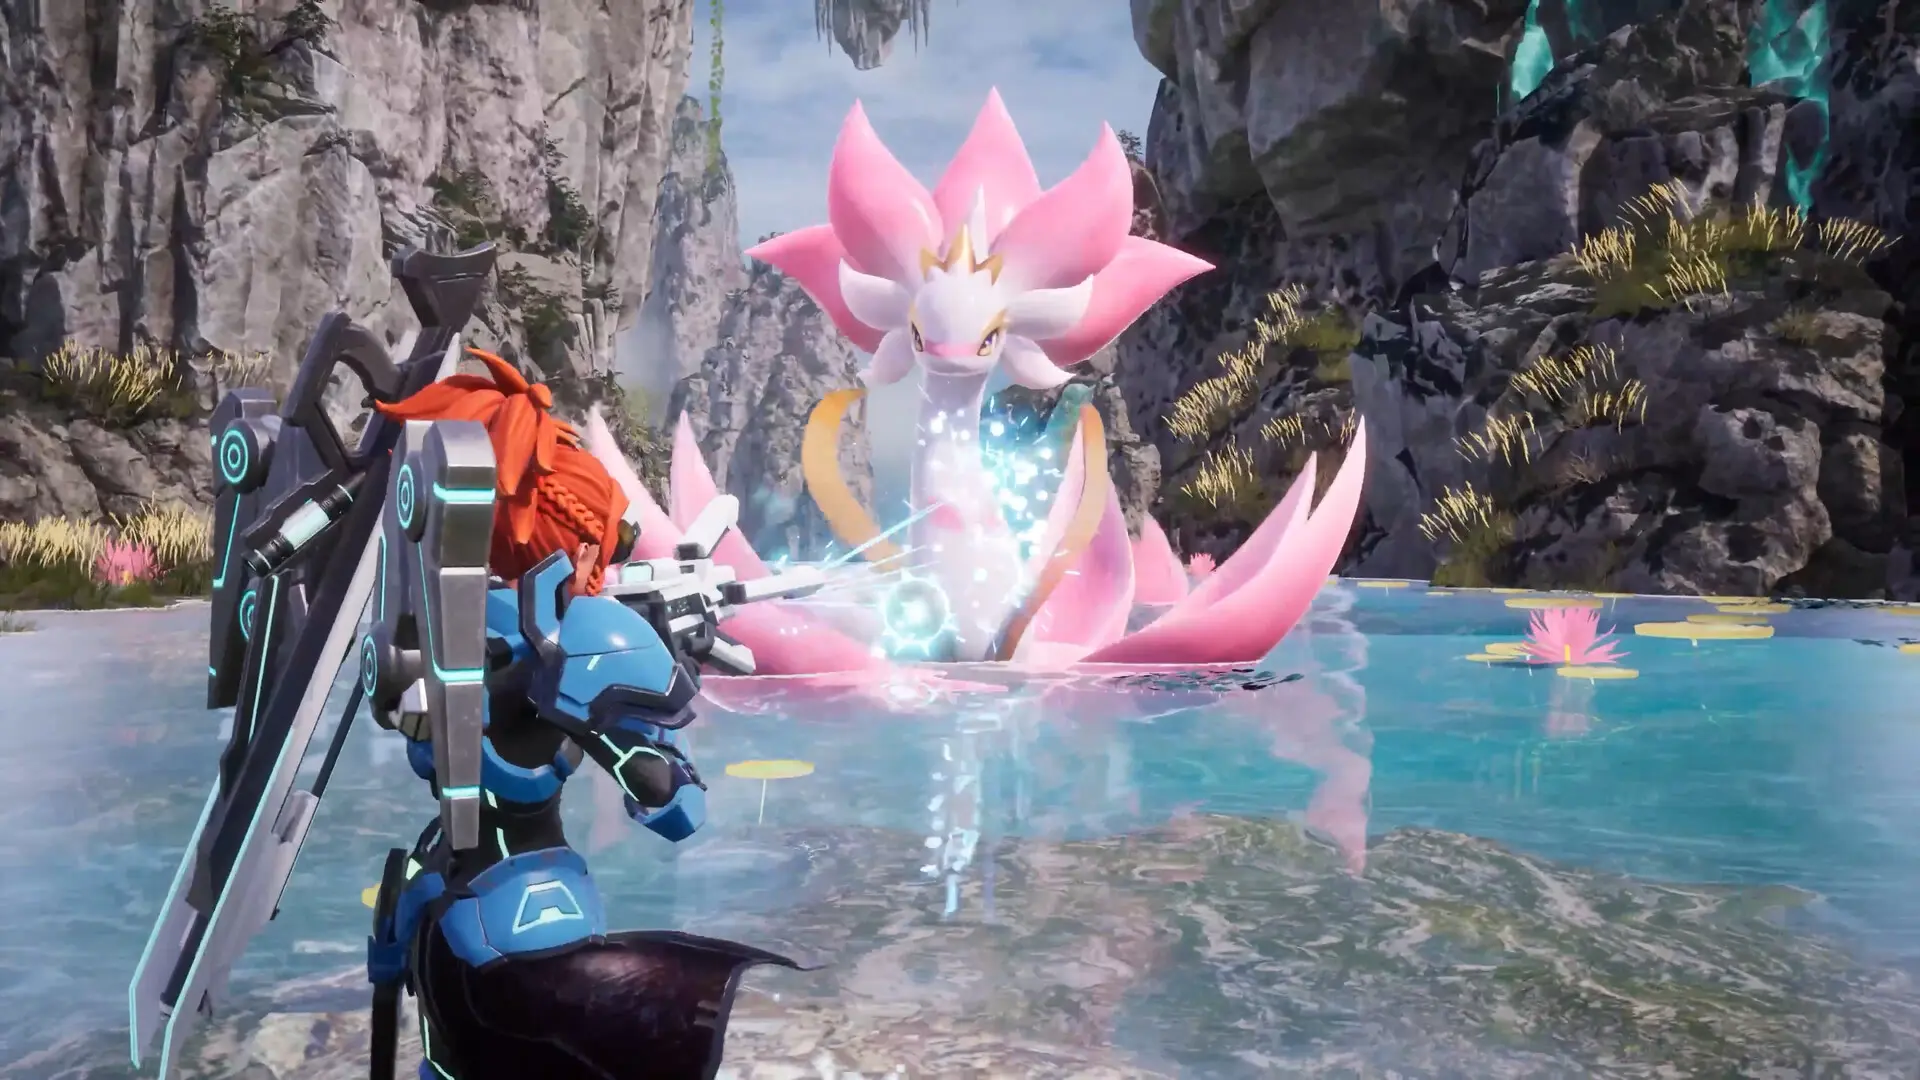
- 2. Lily and Lyleen - Level 20: Free Pal Alliance Tower at 184, 27. Lyleen is Grass and weak to Fire.
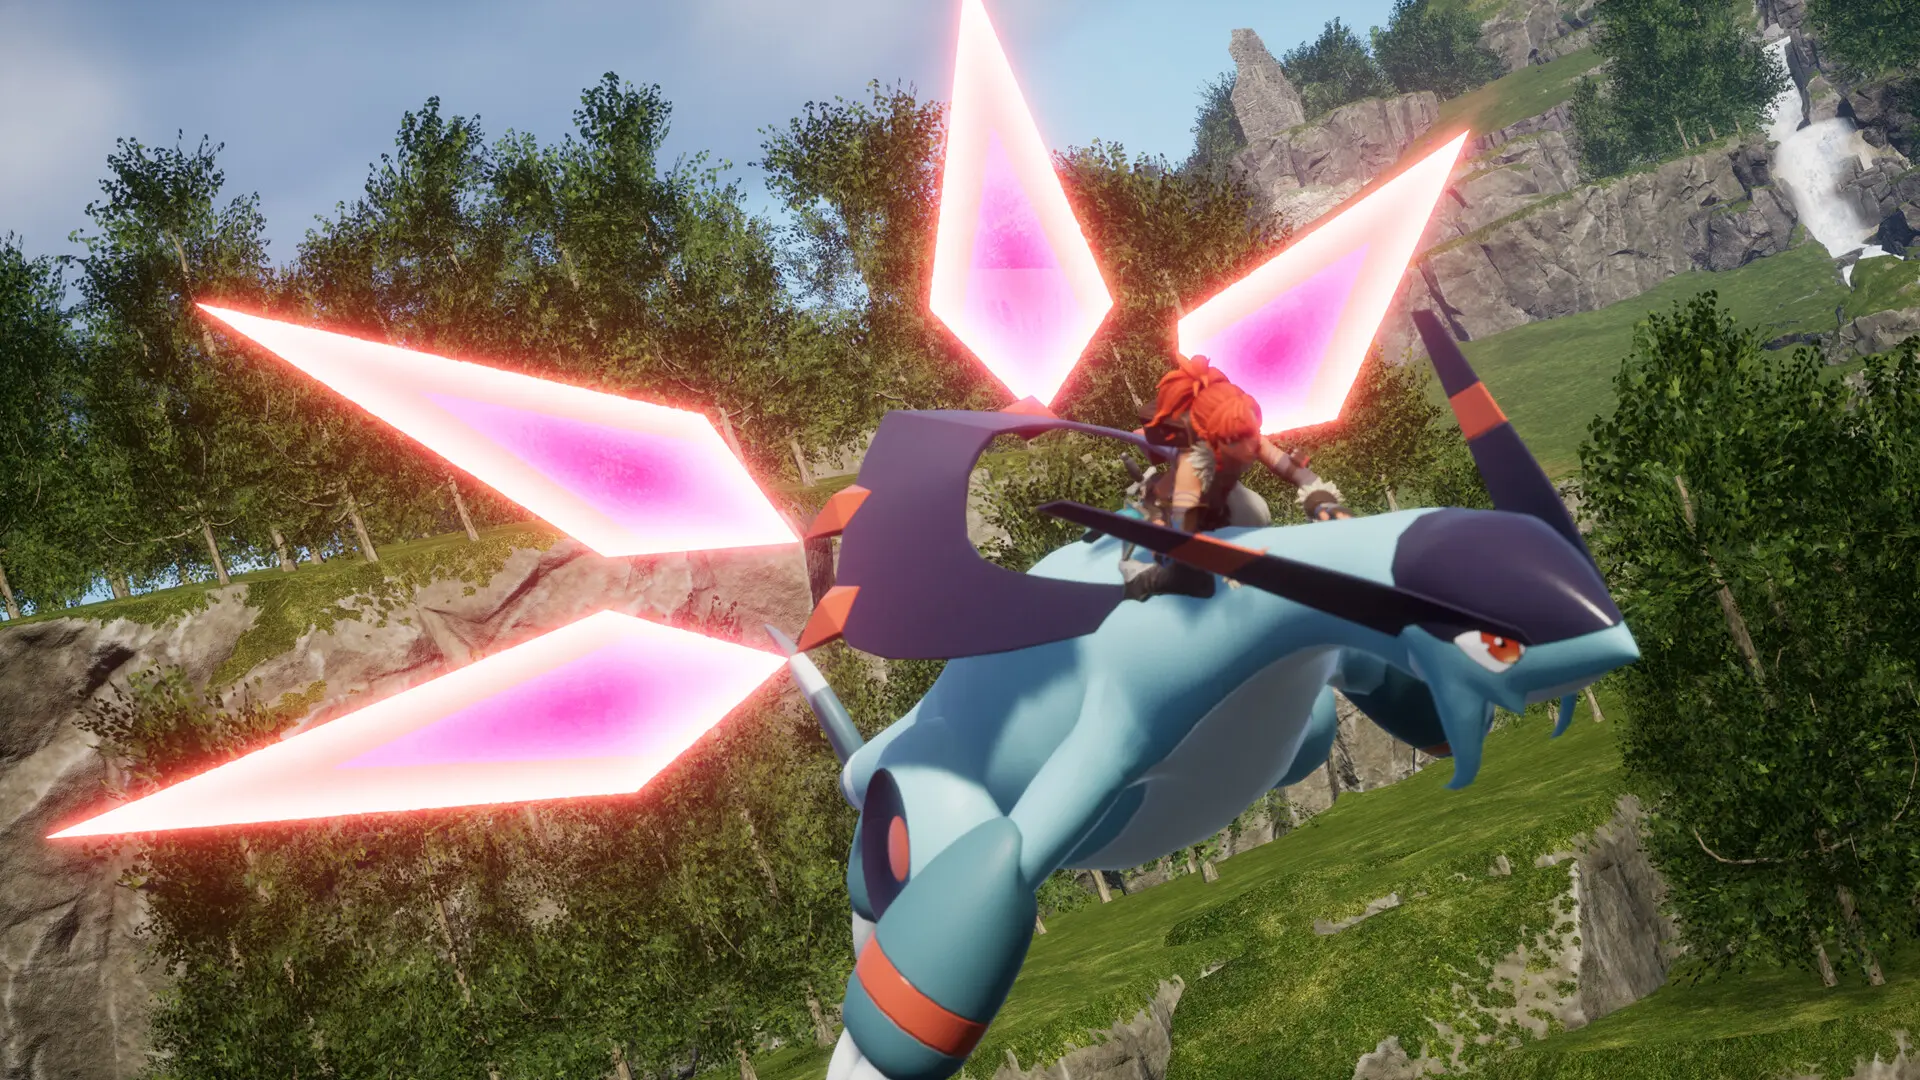
- 3. Axel and Orserk - Level 40: Eternal Pyre Tower at -584, -514. Orserk is Electric and Dragon, with Ground and Ice weaknesses.
- 4. Marcus and Faleris - Level 45: PIDF Tower at 558, 338. Faleris is Fire and weak to Water.
- 5. Victor and Shadowbeak - Level 50: PAL Genetic Research Unit Tower at -150, 440. Shadowbeak is Dark and weak to Dragon.
- 6. Saya and Selyne - Level 55: Moonflower Tower at -597, 203. Selyne is Dark and weak to Dragon.
- 7. Bjorn and Bastigor - Level 60: Feybreak Tower at -1294, -1669. Bastigor is Ice and weak to Fire.
- 8. Auri and Shaolong - Level 70: Tower of the Azure Covenant at -419, 1431 in Sunreach. Shaolong is Dragon and Water, with Ice and Electric weaknesses.
- 9. Zenara and Astralym - Level 80: the final fight in the Sealed Sanctum at the World Tree. Astralym has no element and no listed elemental weakness.

Prepare for the Region Around Each Tower
The tower is not the only danger. Lily's, Victor's, Bjorn's, and Auri's regions require cold protection. Axel's and Marcus's regions require heat protection. Carry the correct armor before traveling, because temperature damage can drain your health before the boss begins.
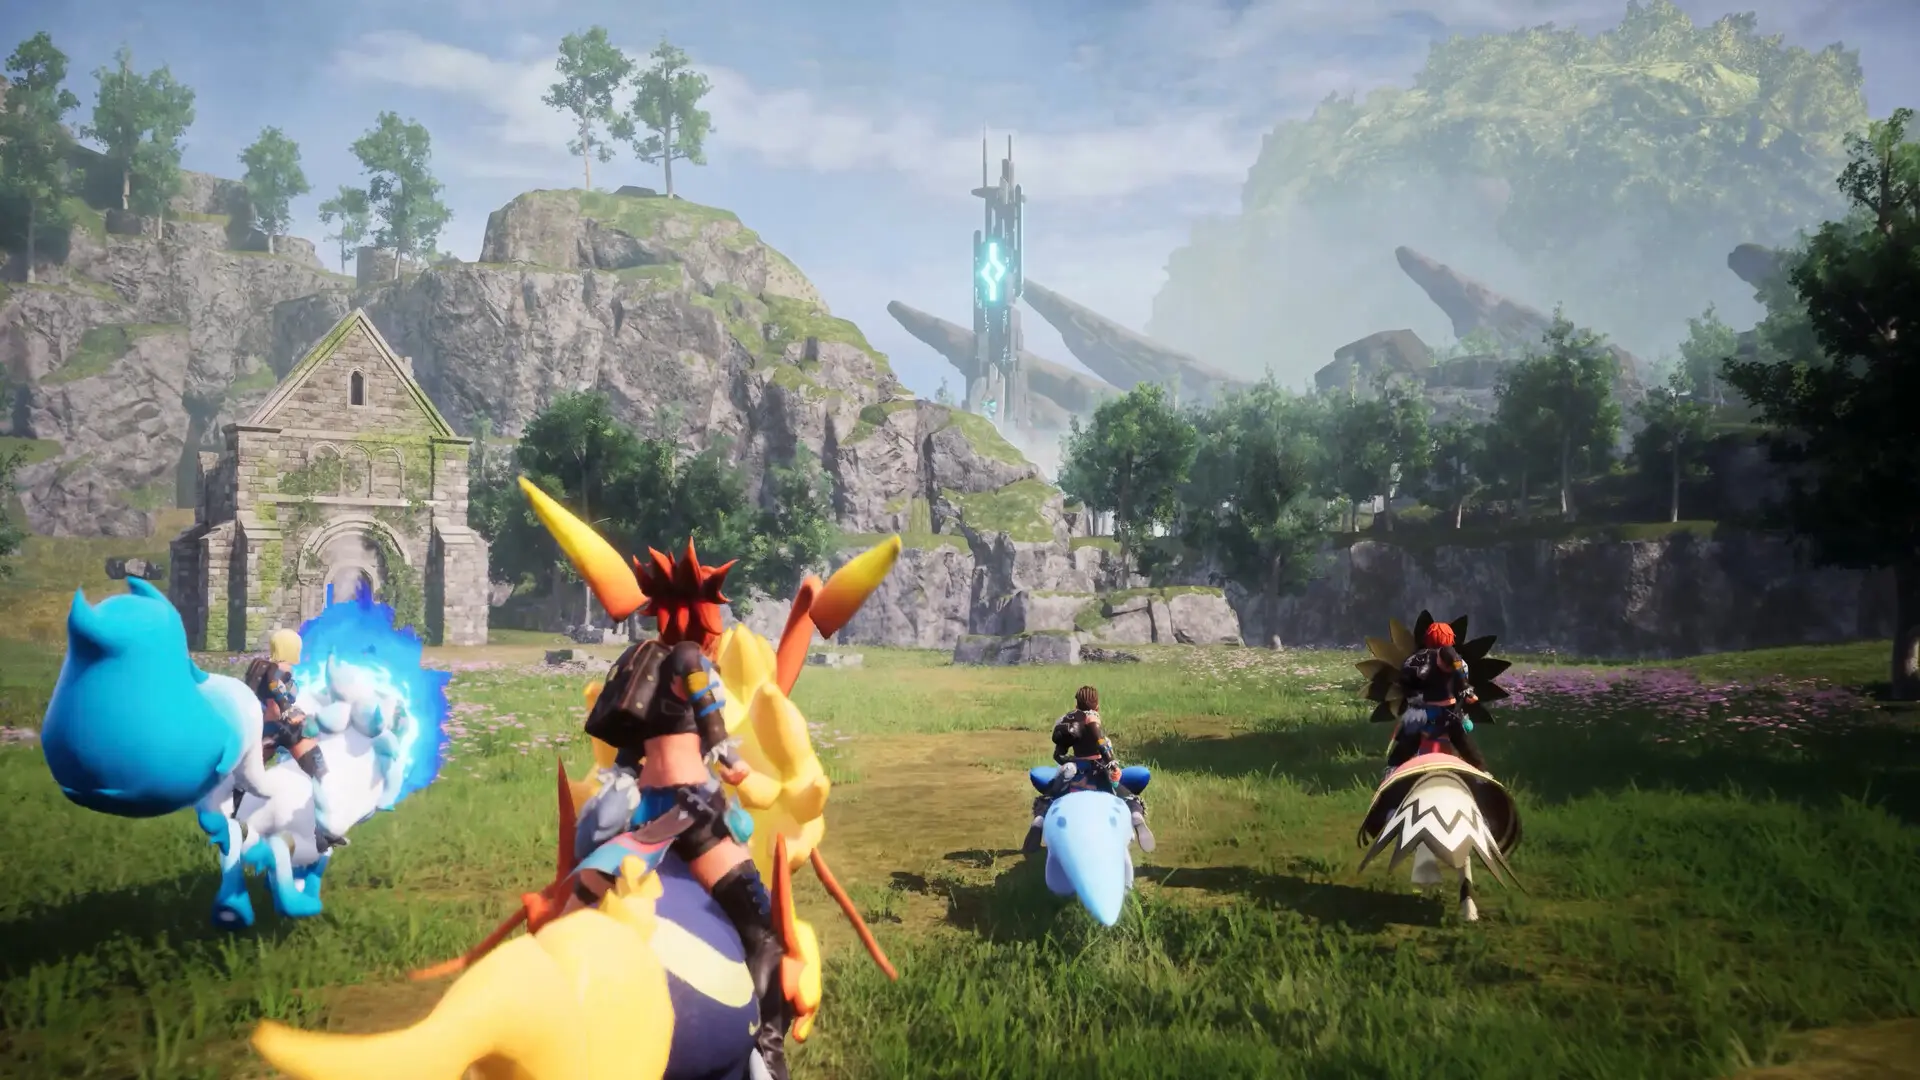
Unlock fast-travel points on the way and keep a spare armor set at your base. A flying mount makes the later routes easier, but it does not replace climate protection. Check its stamina before crossing long gaps or steep areas.
Element Advantage Helps, but Damage Still Matters
A weakness gives you a better matchup, but a low-level Pal with weak attacks may still run out of time. Bring Pals near the boss level, improve their active skills, and use player weapons that can deal steady damage while your Pal recovers.
Do not fill the whole team with one element unless the fight clearly allows it. A second option helps when a Pal is knocked out or when the boss uses an attack that is difficult for one teammate to avoid.
Watch the boss instead of firing without moving. Tower arenas give you pillars or open space for dodging. Recall a Pal before a heavy attack lands, then send it out again when the area is safe.
Leave and improve your equipment if the timer expires while the boss still has a large amount of health. One stronger weapon, a better sphere-caught teammate, or a few more player levels can save more time than repeating the same fight. The nearby fast-travel point makes this preparation easy.
How Sunreach Fits Into the Order
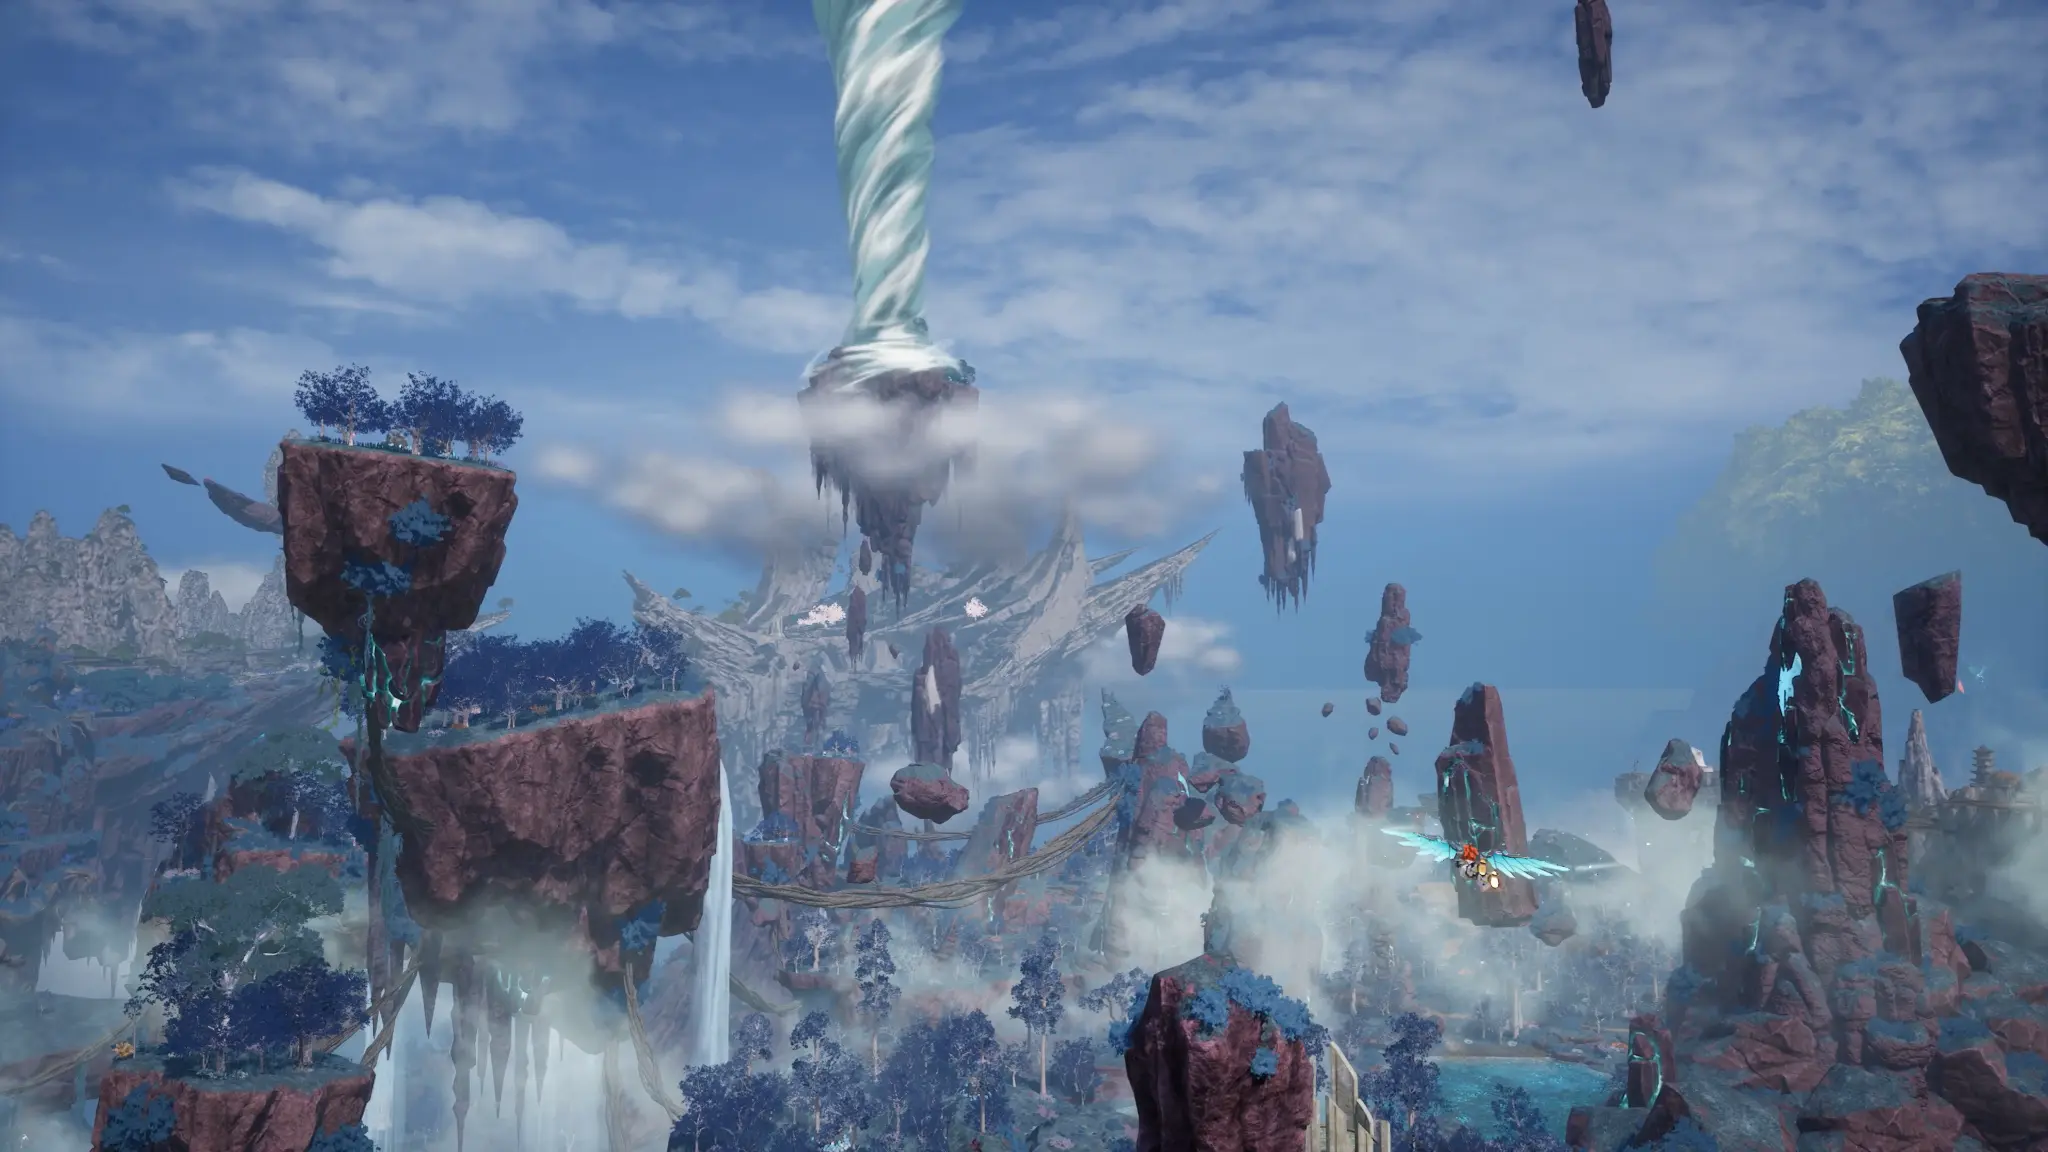
Defeating Bjorn and Bastigor at Feybreak Tower opens the next part of the story. Climb to the top of the tower and use the portal to enter Sunreach. You cannot reach the floating islands by flying up from the main map.

Sunreach contains six defense modules that protect the Tower of the Azure Covenant. Disable all six, then fight Auri and Shaolong. Speak with Auri afterward so the next mission starts correctly.
When the Final Boss Becomes Available
The Sealed Sanctum fight is part of the World Tree endgame. GameSpot reports that you need every tower boss defeated and the main story completed before Zenara and Astralym become available. Reaching the entrance also requires the Panthalus quest after Sunreach.
Astralym has no element and no listed weakness. Use the team you have improved most, bring your strongest weapons, and prepare for a level 80 fight. Finish breeding, condensing, and normal Pal upgrades before spending rare World Tree materials only to solve one failed attempt.