





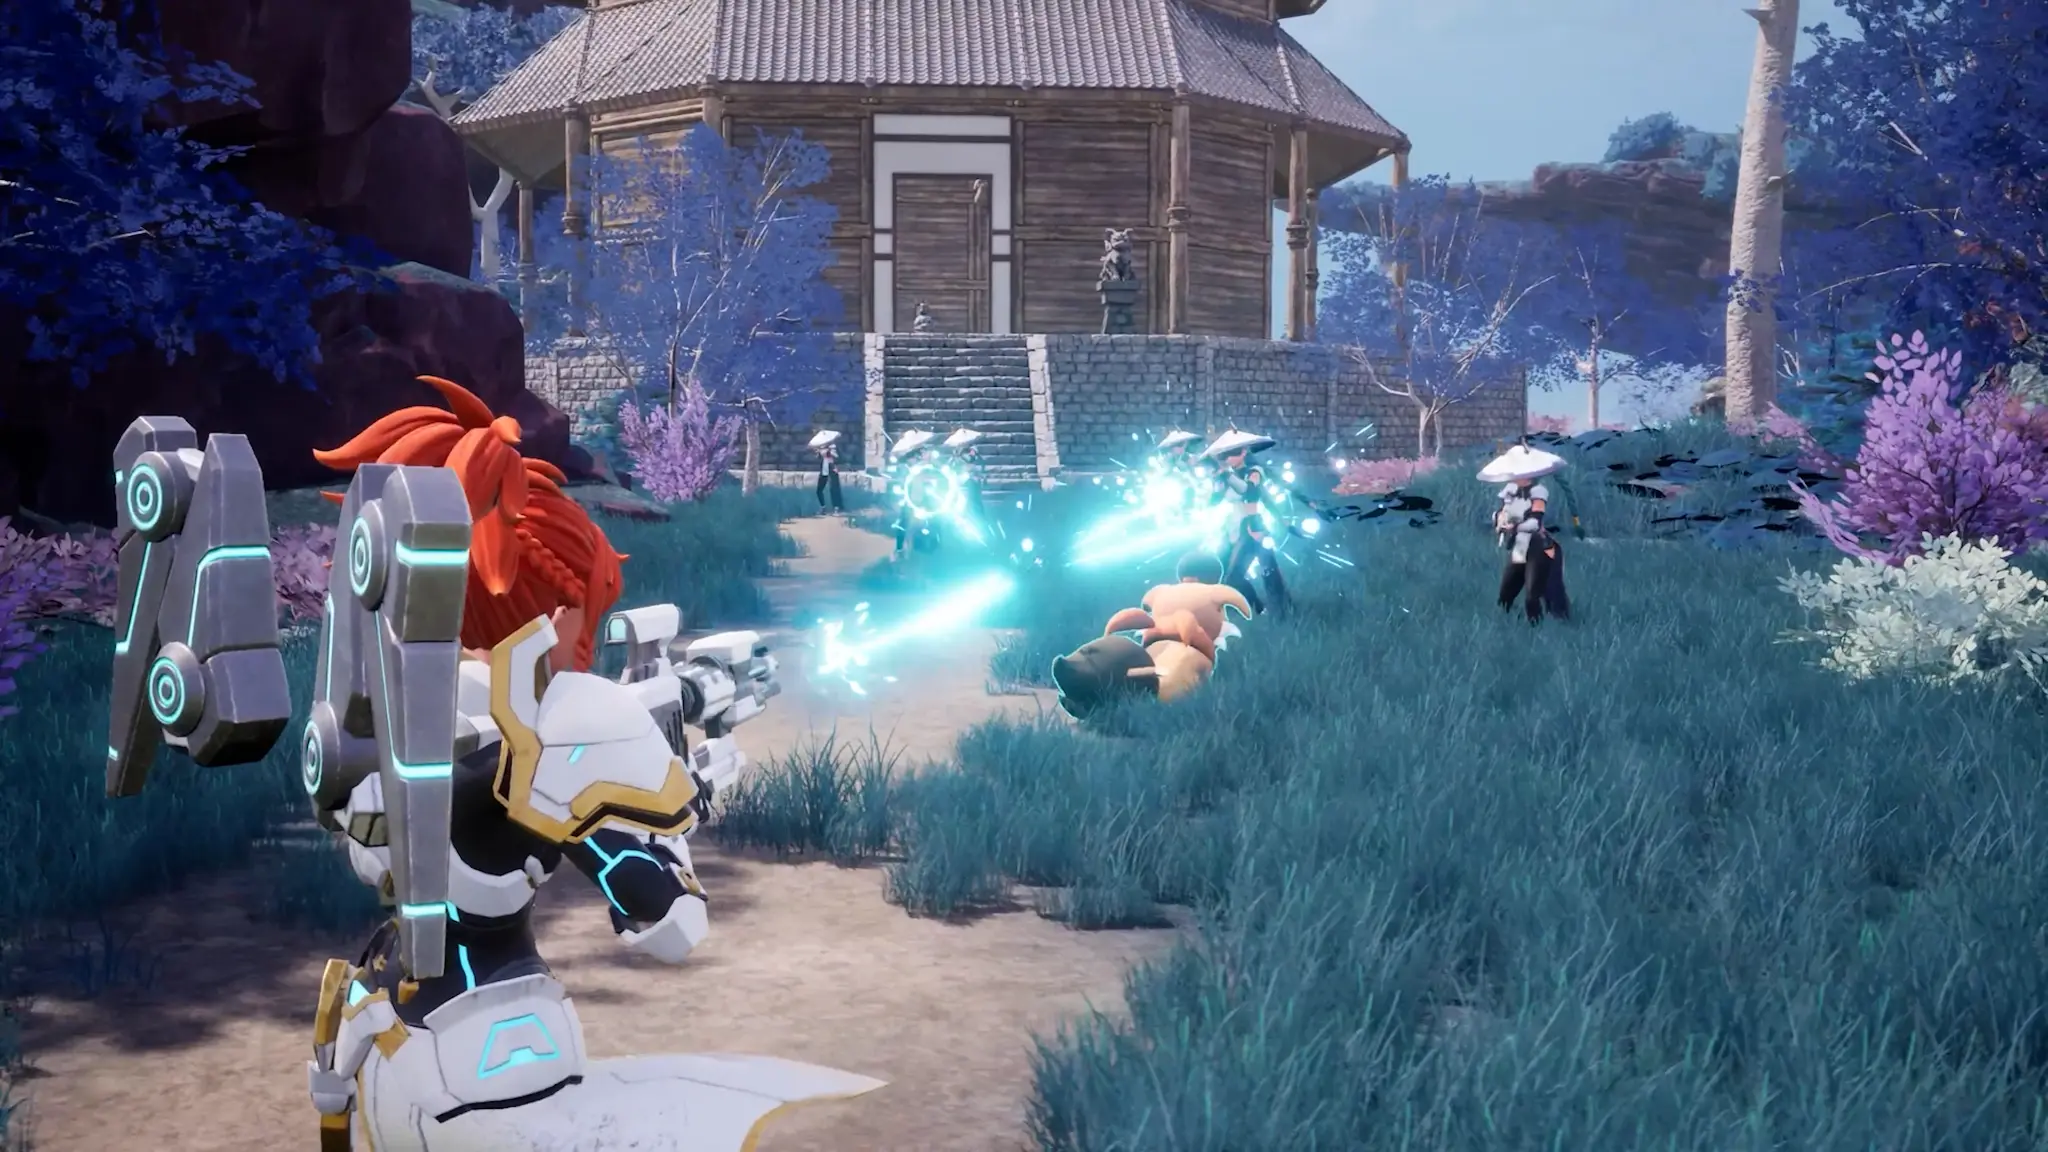




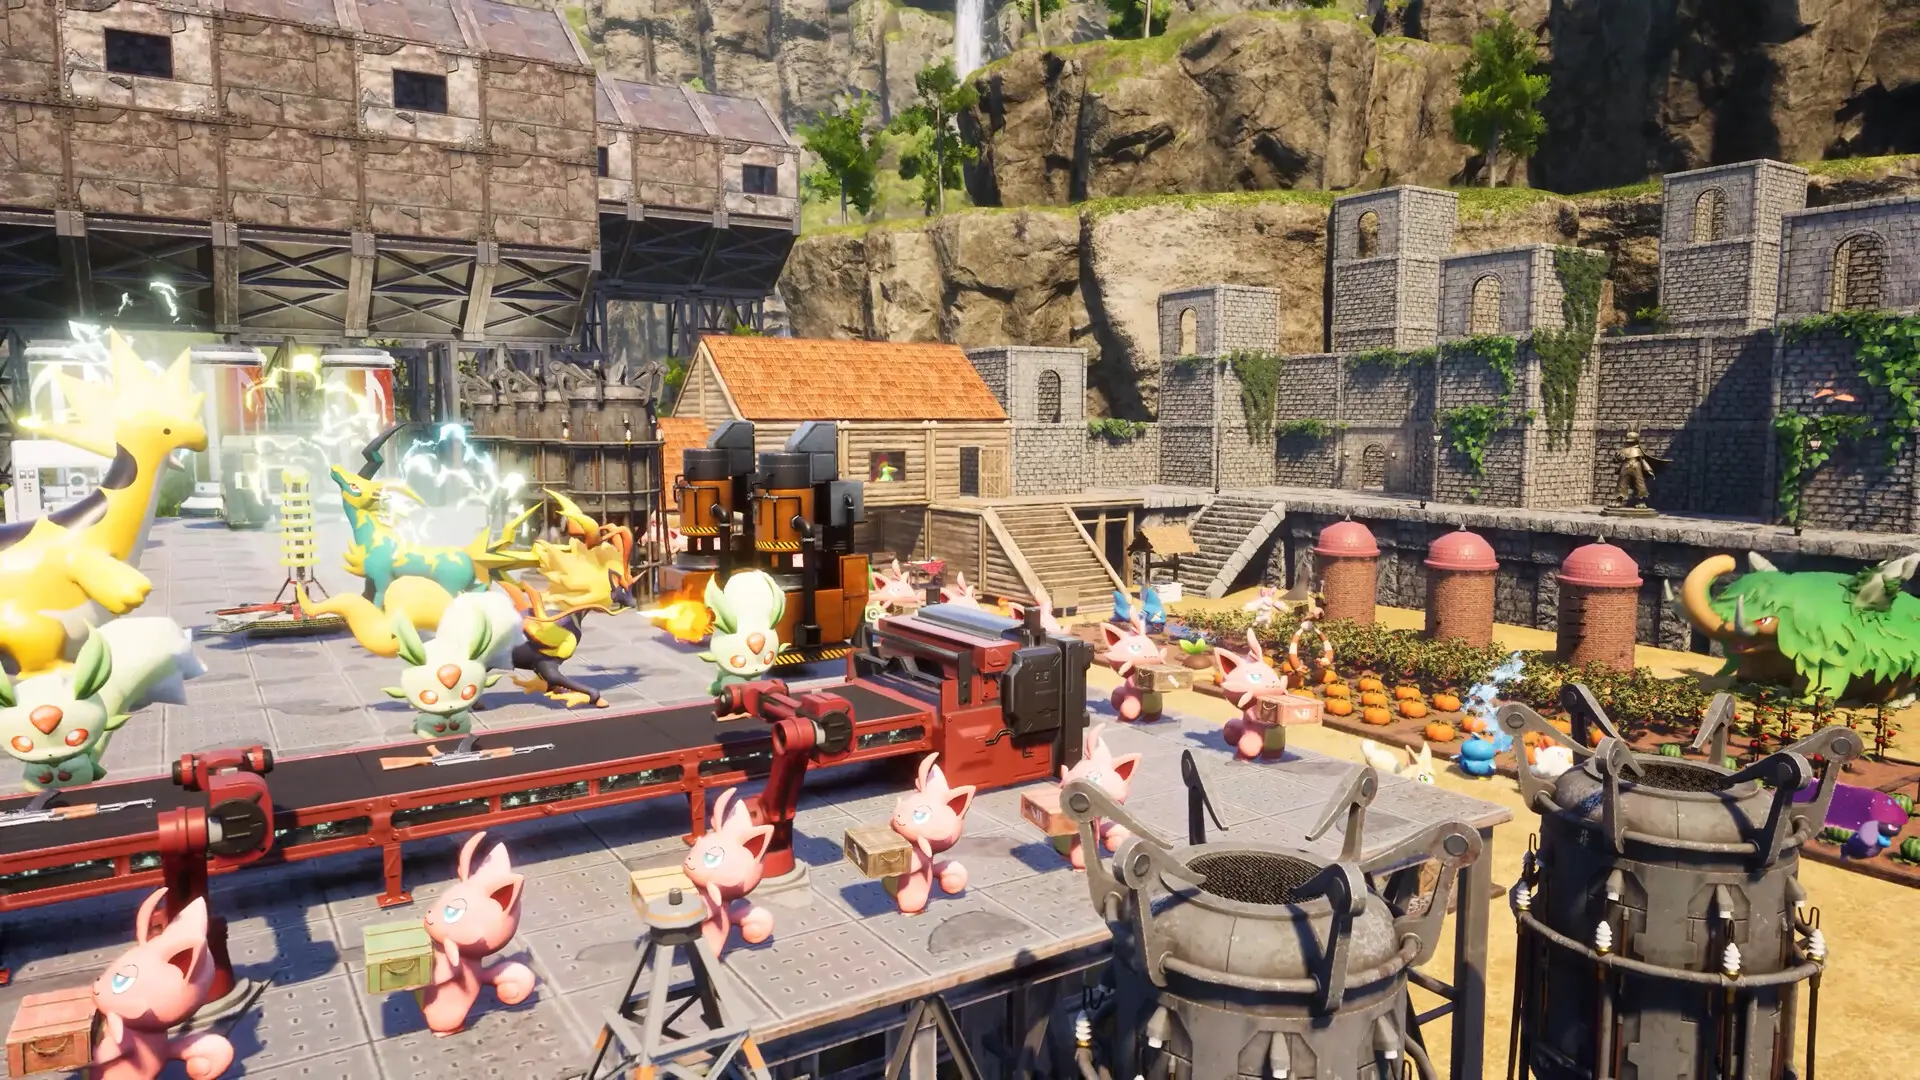

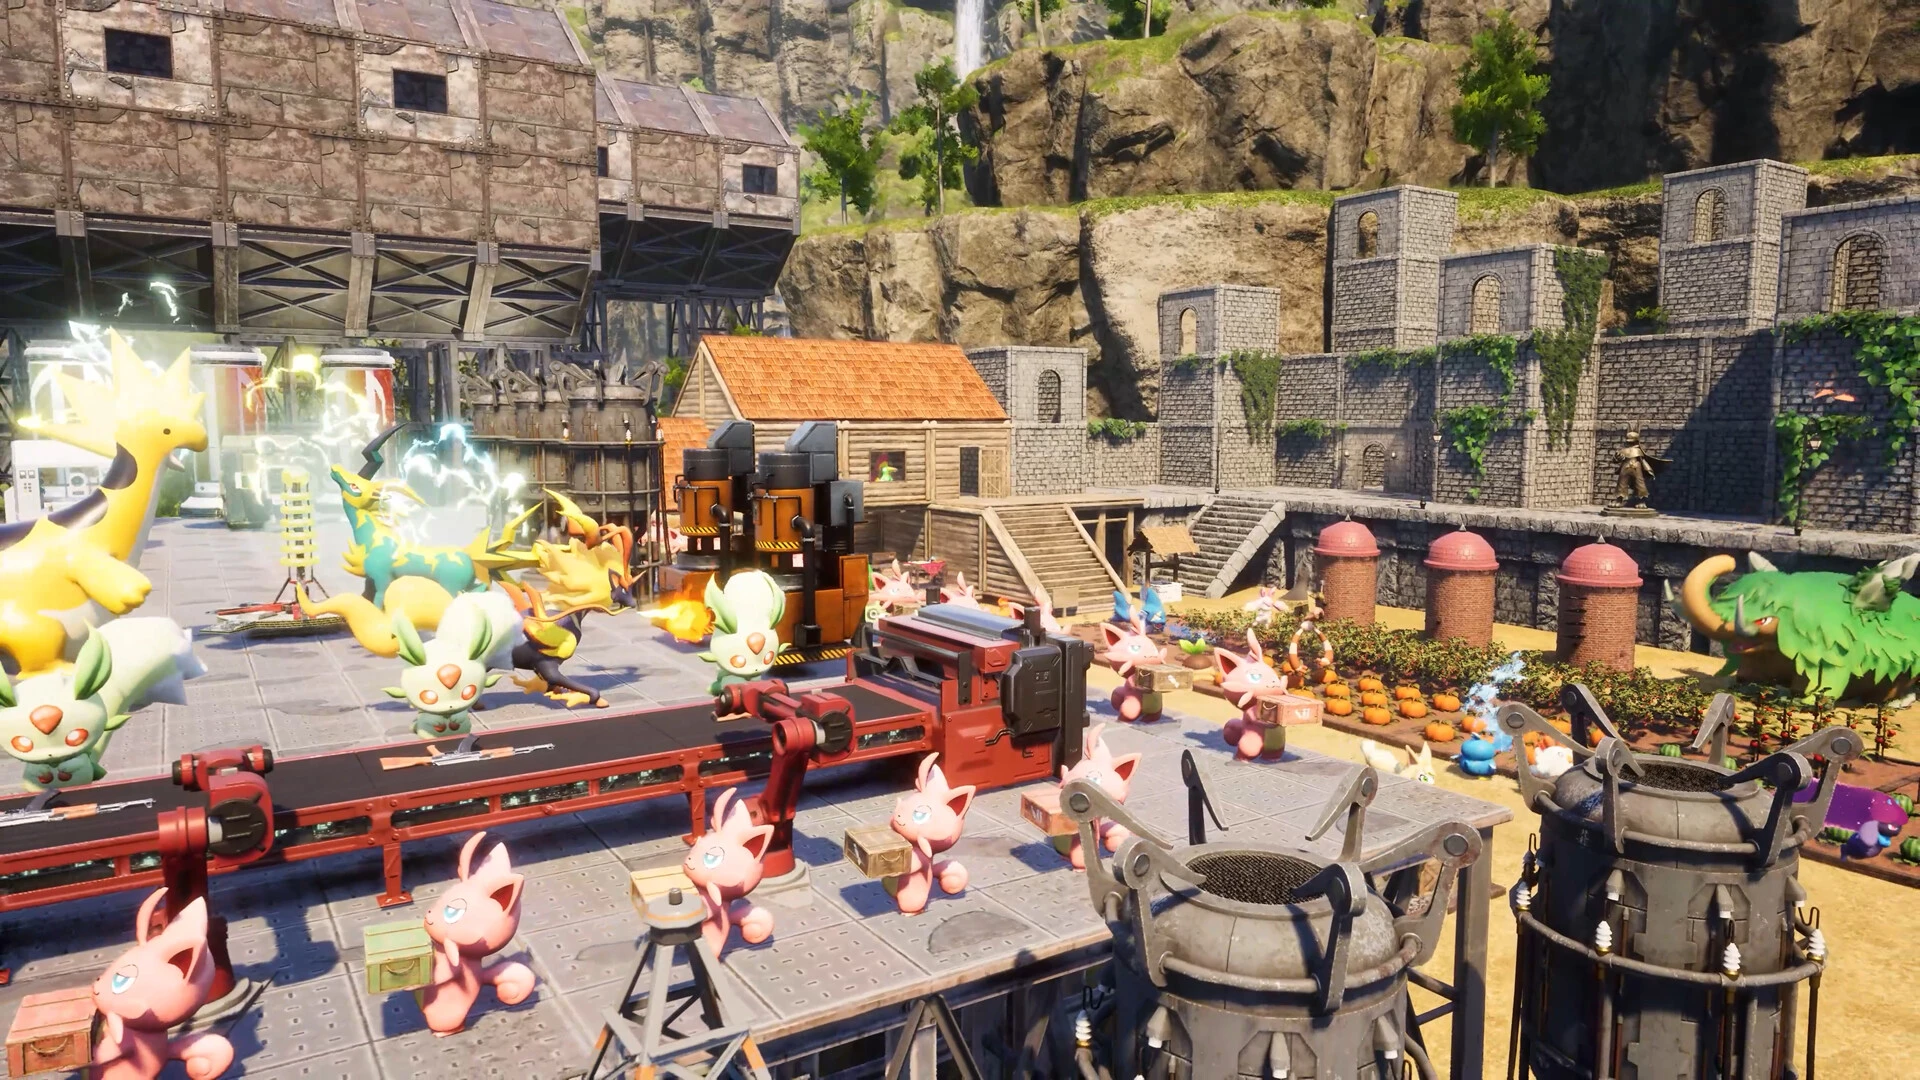
The best Palworld base location depends on the job. Golden Hills is a strong early ore base, East Investigator’s Fork is a practical midgame resource base, and the Sakurajima oil farm is one of the best late-game production sites. A safe raid base or scenic home should be separate when resources matter less than defense or style.
Location only solves half the problem. Put the Palbox in open ground, keep wide routes around it, place storage beside the station that produces each item, and separate food, rest, production, and resource zones.
New players should complete the Palworld beginner route before spending hours on a permanent-looking build.
Best Palworld Base Locations at a Glance
- Best early ore base: Golden Hills at about (0, -524).
- Best early oil base: Sunlit Isle at about (405, -483).
- Best mixed midgame base: East Investigator’s Fork at about (-162, -188).
- Best raid-safe option: Abandoned Ruins at about (-82, 190), though raid behavior can depend on Palbox placement and settings.
- Best late-game oil farm: Sakurajima at about (-645, 273).
- Best mixed endgame resource base: Land of Absolute Zero peninsula at about (141, 416).
- Best scenic World Tree base: the entrance at about (-809, 683), with very few local resources.
Coordinates are practical reference points, not single perfect Palbox tiles. Walk the area first, check the base boundary preview, and move several meters if the circle cuts through cliffs, structures, or important resource nodes.
Best Early-Game Base Locations
Golden Hills — (0, -524)
Golden Hills is accessible early and has clustered ore with nearby trees. The high ground is easier to defend than an open field, but the usable surface becomes tight as production expands. Treat it as a compact starter or mining base instead of forcing every station into the same circle.
Sunlit Isle — (405, -483)
Sunlit Isle is calm, easy to defend, and has several crude-oil nodes. The area lacks convenient ore, so it works better as an oil outpost or second base than as the only home for a new save.
The Starting Plateau
A temporary base near the opening area remains useful for tutorials, wood, stone, food, and early crafting. Do not overbuild it. Make the first Palbox easy to dismantle once better ore, oil, sulfur, or flat terrain becomes the priority.
Best Midgame and Resource Base Locations
East Investigator’s Fork — (-162, -188)
This flat clearing sits near hardwood, ore, and sulfur. It has enough space for a useful production layout and is reachable before the hardest zones. The tradeoff is exposure: it does not have strong natural raid protection, so leave room for walls and defenses.
Foot of Frostbound Mountains — (249, 17)
The cliffside is difficult for raiders to approach and sits between several biomes. Ore is not directly inside the best building area, and ruins reduce the clean footprint. Choose it when defense and map access matter more than automatic resource farming.
Best Late-Game Base Locations
Sakurajima Oil Farm — (-645, 273)
The Sakurajima site has a large flat building area with oil, coal, sulfur, and a nearby dungeon. It is one of the easiest locations to turn into a serious resource and production base. Build around the nodes instead of covering them, and add defenses because the terrain does not stop raids naturally.
Land of Absolute Zero Peninsula — (141, 416)
This endgame location combines a crude-oil node with quartz, ore, coal, and stone nearby. The surface slopes and the position is exposed to raids, so start on the flattest high point and secure the outer edge before filling the circle with large stations.
World Tree Entrance — (-809, 683)
You cannot build inside the main World Tree region, but the entrance supports a secluded scenic base. There are almost no natural resources, which makes this a home, staging point, or fast-travel stop rather than an efficient first production site.
The World Tree route guide explains when this area becomes available.
Best Raid-Safe Base Location
Abandoned Ruins — (-82, 190)
The elevated ruins near Icy Weasel Hill are extremely hard for enemies to reach. Community testing reports very few successful raids there, but raid triggering is not guaranteed to behave identically across versions and server settings. The site also has no useful resource nodes, so use it for secure storage, breeding, or a protected home.
Place the Palbox near the center of the usable platform. A box too close to an edge can cut workstations out of the boundary or create awkward spawn and pathing points.
The Best Palworld Base Layout
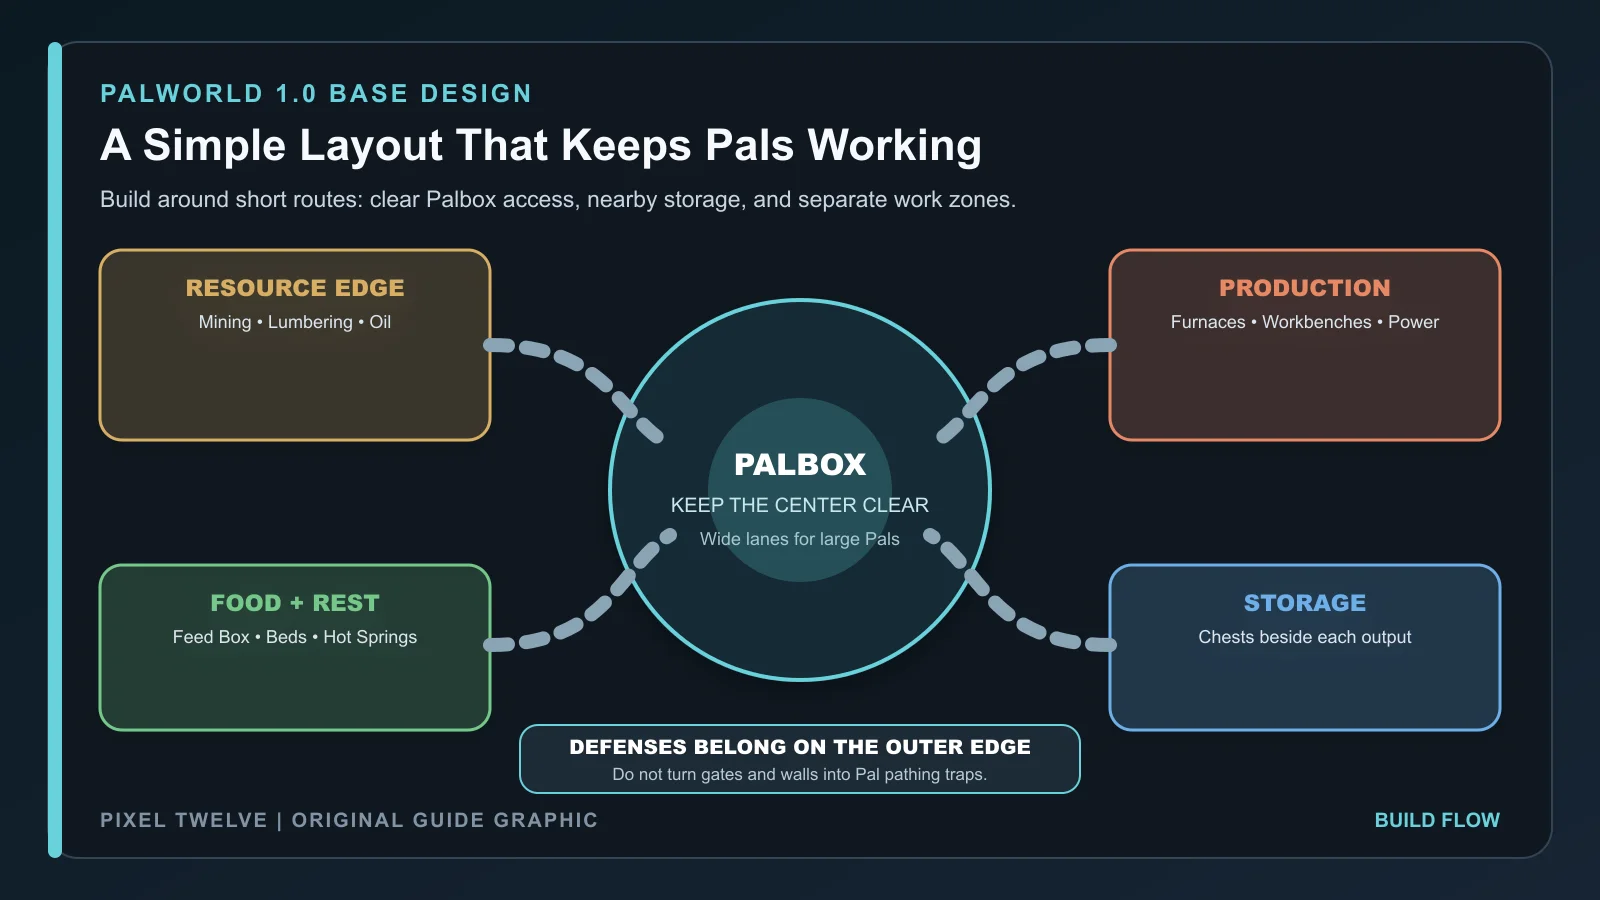
Center: Palbox and Clear Spawn Area
Leave open ground around the Palbox. Large Pals need room to appear, turn, and reach assignments. Decorative walls, storage piles, and narrow stairs beside the box cause more trouble than they save.
One Edge: Raw Resources
Keep logging, mining, oil, ranching, and gathering stations close to the natural nodes they support. Pals should not cross the entire base carrying one item.
One Edge: Production
Group furnaces, assembly lines, workbenches, medicine stations, and power equipment. Shared storage between related stations reduces transport time and makes manual crafting easier.
One Edge: Food and Rest
Put the Feed Box where workers naturally pass it. Keep beds and Hot Springs away from the most crowded production lane so resting Pals do not block active jobs.
One Edge: Storage
Use several local chests instead of one warehouse on the opposite side of the circle. Ore belongs near furnaces, crops near cooking, and crafted parts near assembly lines.
How to Place the Palbox
- 1. Walk the full site before building and check for cliffs, ruins, nodes, and uneven ground.
- 2. Preview the base circle and make sure the most valuable resource nodes remain inside it.
- 3. Place the Palbox on flat open ground, not against a wall or inside a narrow room.
- 4. Leave a wide ring around the box for Pal spawning and movement.
- 5. Build the largest stations before decorating so the real footprint is clear.
A centered Palbox is easiest for a balanced base. A resource base may shift the box slightly so every ore or oil node fits inside the circle, but never push it so far that the opposite work area falls outside the boundary.
Which Structures Require a Base?
Pal-operated production needs to sit inside a Palbox boundary. Beds, Feed Boxes, Hot Springs, ranches, plantations, generators, mining sites, furnaces, assembly lines, and workbenches should all be planned as part of the base rather than scattered outside it.
A normal shelter, chest, campfire, or defensive piece may be placeable elsewhere depending on the object and world settings, but unattended production outside a Palbox does not become a second working base.
Match Pals to the Correct Jobs
Handiwork
Use a focused Handiwork Pal for long assembly and Ancient Workbench tasks. Solenne is an endgame specialist, while Anubis remains a practical mixed worker for many saves.
Mining and Transporting
A high Mining Pal is wasted if no Transporting Pal clears the output. Pair miners with short storage routes and enough carriers to prevent piles from blocking new production.
Kindling and Electricity
Furnaces and power stations deserve dedicated workers when production is constant. A Pal with several unrelated suitabilities may abandon the job unless assignments are controlled.
Planting, Watering, and Gathering
Food production needs all three stages. One weak link can leave plantations full but unharvested or workers hungry while ingredients sit in the field.
Use the best Palworld Pals guide to choose workers by role instead of filling the base with high-level combat picks.
How to Prevent Pal Pathing Problems
- Use wide lanes: large Pals need more turning room than the player.
- Avoid low ceilings: tall workers can fail to reach a station under a decorative roof.
- Keep stairs simple: wide straight stairs are safer than tight turns and layered platforms.
- Do not crowd the Palbox: workers spawn and reroute around that center point.
- Separate giant stations: assembly lines, breeding farms, ranches, and oil equipment need clear edges.
- Test one zone at a time: assign a Pal and watch the full route before copying the layout.
Version 1.0 improved work behavior, and some Pals can continue assigned work even when navigation is imperfect. A clear layout is still faster to understand, repair, and expand.
Food, SAN, and Work Speed
Keep the Feed Box near the center of daily movement and stock food that restores enough nutrition and SAN for the workers you use. Cheap berries are fine early, but a large endgame roster spends too much time walking back for low-value meals.
Beds cover sleep, while Hot Springs help recover SAN. Add enough facilities for the active roster and avoid placing them behind the busiest production line.
If a Pal keeps abandoning work, check hunger, SAN, injury, assignment, work preference, storage space, electricity, and pathing before replacing it.
Storage That Actually Saves Time
Use Local Output Chests
Place a chest beside ore, lumber, crops, ranch drops, and production stations. Local storage makes Transporting routes short and keeps the ground clear.
Group Materials by Process
Keep ore and fuel around furnaces, food around cooking, medicine materials around the medicine bench, and high-level components around assembly lines.
Reserve Rare Materials
World Tree Holy Water, AI Cores, Soralite, Paloxite, and other endgame items can disappear into automatic crafting. Store rare upgrade materials separately when saving for a specific recipe.
Use the Soralite and Paloxite guide when advanced production becomes the reason for a second resource base.
When to Build a Second Base
- Build a mining base when ore, coal, sulfur, or quartz is the main bottleneck.
- Build an oil base when crude-oil production needs dedicated nodes and electricity.
- Build a breeding base when large farms and incubators are crowding normal production.
- Build a raid base when valuable storage needs terrain enemies cannot reach easily.
- Build a scenic home after fast travel and resource bases make efficiency less important.
A dedicated breeding site pairs well with the Palworld breeding guide because Breeding Farms need much more open space than a normal workbench.
How to Move a Base Safely
- 1. Choose and test the new location before dismantling important production.
- 2. Build storage at the new site first.
- 3. Move rare materials and finished items before common wood and stone.
- 4. Rebuild the Palbox, beds, Feed Box, and basic production path.
- 5. Assign a small worker team and test every route.
- 6. Move advanced stations only after food, power, and storage work correctly.

Palworld Base FAQ
What Is the Best Base Location in Palworld?
Golden Hills is a strong early ore site, East Investigator’s Fork is a flexible midgame location, and Sakurajima is a strong late-game oil and production base. The best choice depends on the resource you need.
Where Should the Palbox Go?
On flat open ground with a clear ring around it. Shift it only when necessary to keep valuable nodes inside the base boundary.
What Is the Best Palworld Base Layout?
Use a clear central Palbox with separate resource, production, food and rest, and storage zones. Connect them with wide routes and keep defenses on the outer edge.
Why Are My Pals Not Working?
Check assignment, work suitability, hunger, SAN, injury, storage space, electricity, and the route to the station. Crowding around the Palbox is a common cause.
Should I Build Near Resources or Fast Travel?
Resources matter more for an automated farm because the Palbox already provides fast travel. A main home can prioritize flat land, defense, and appearance.
Can You Build at the World Tree?
Not inside the main World Tree region. You can build near its entrance around (-809, 683), but the site has few natural resources.
Return to the Palworld 1.0 guide hub for leveling, gear, bosses, breeding, materials, and endgame routes.