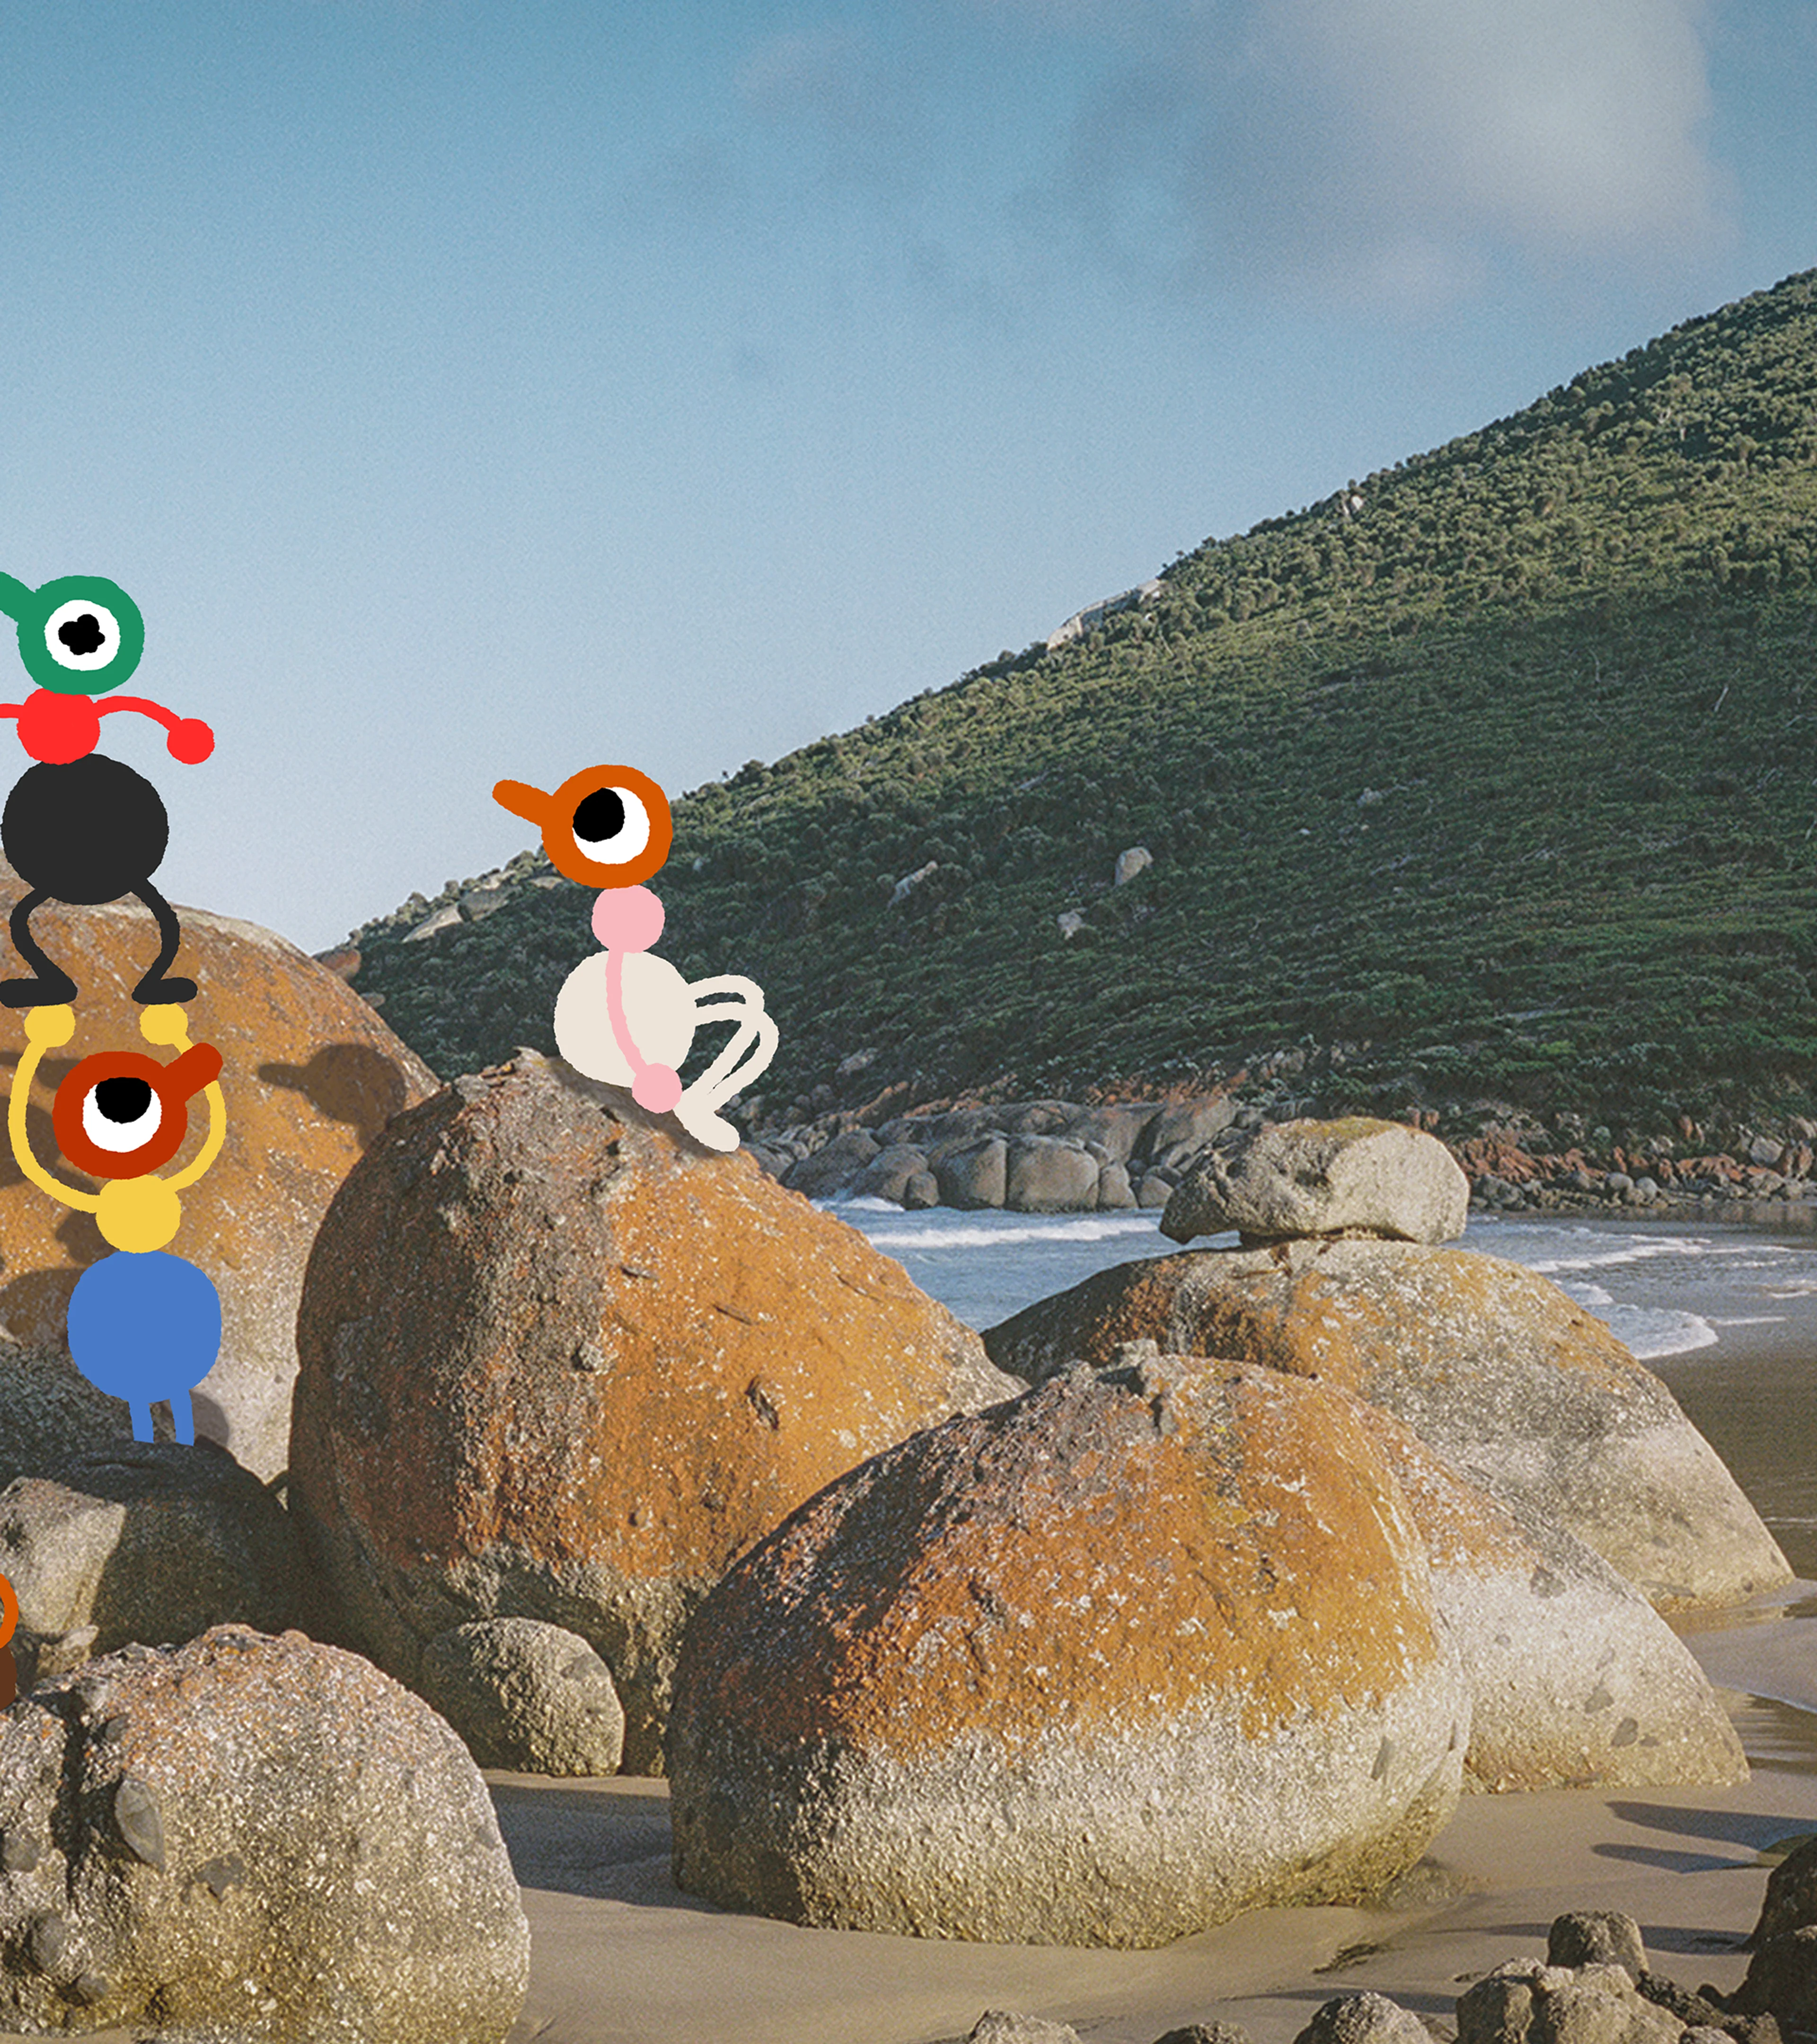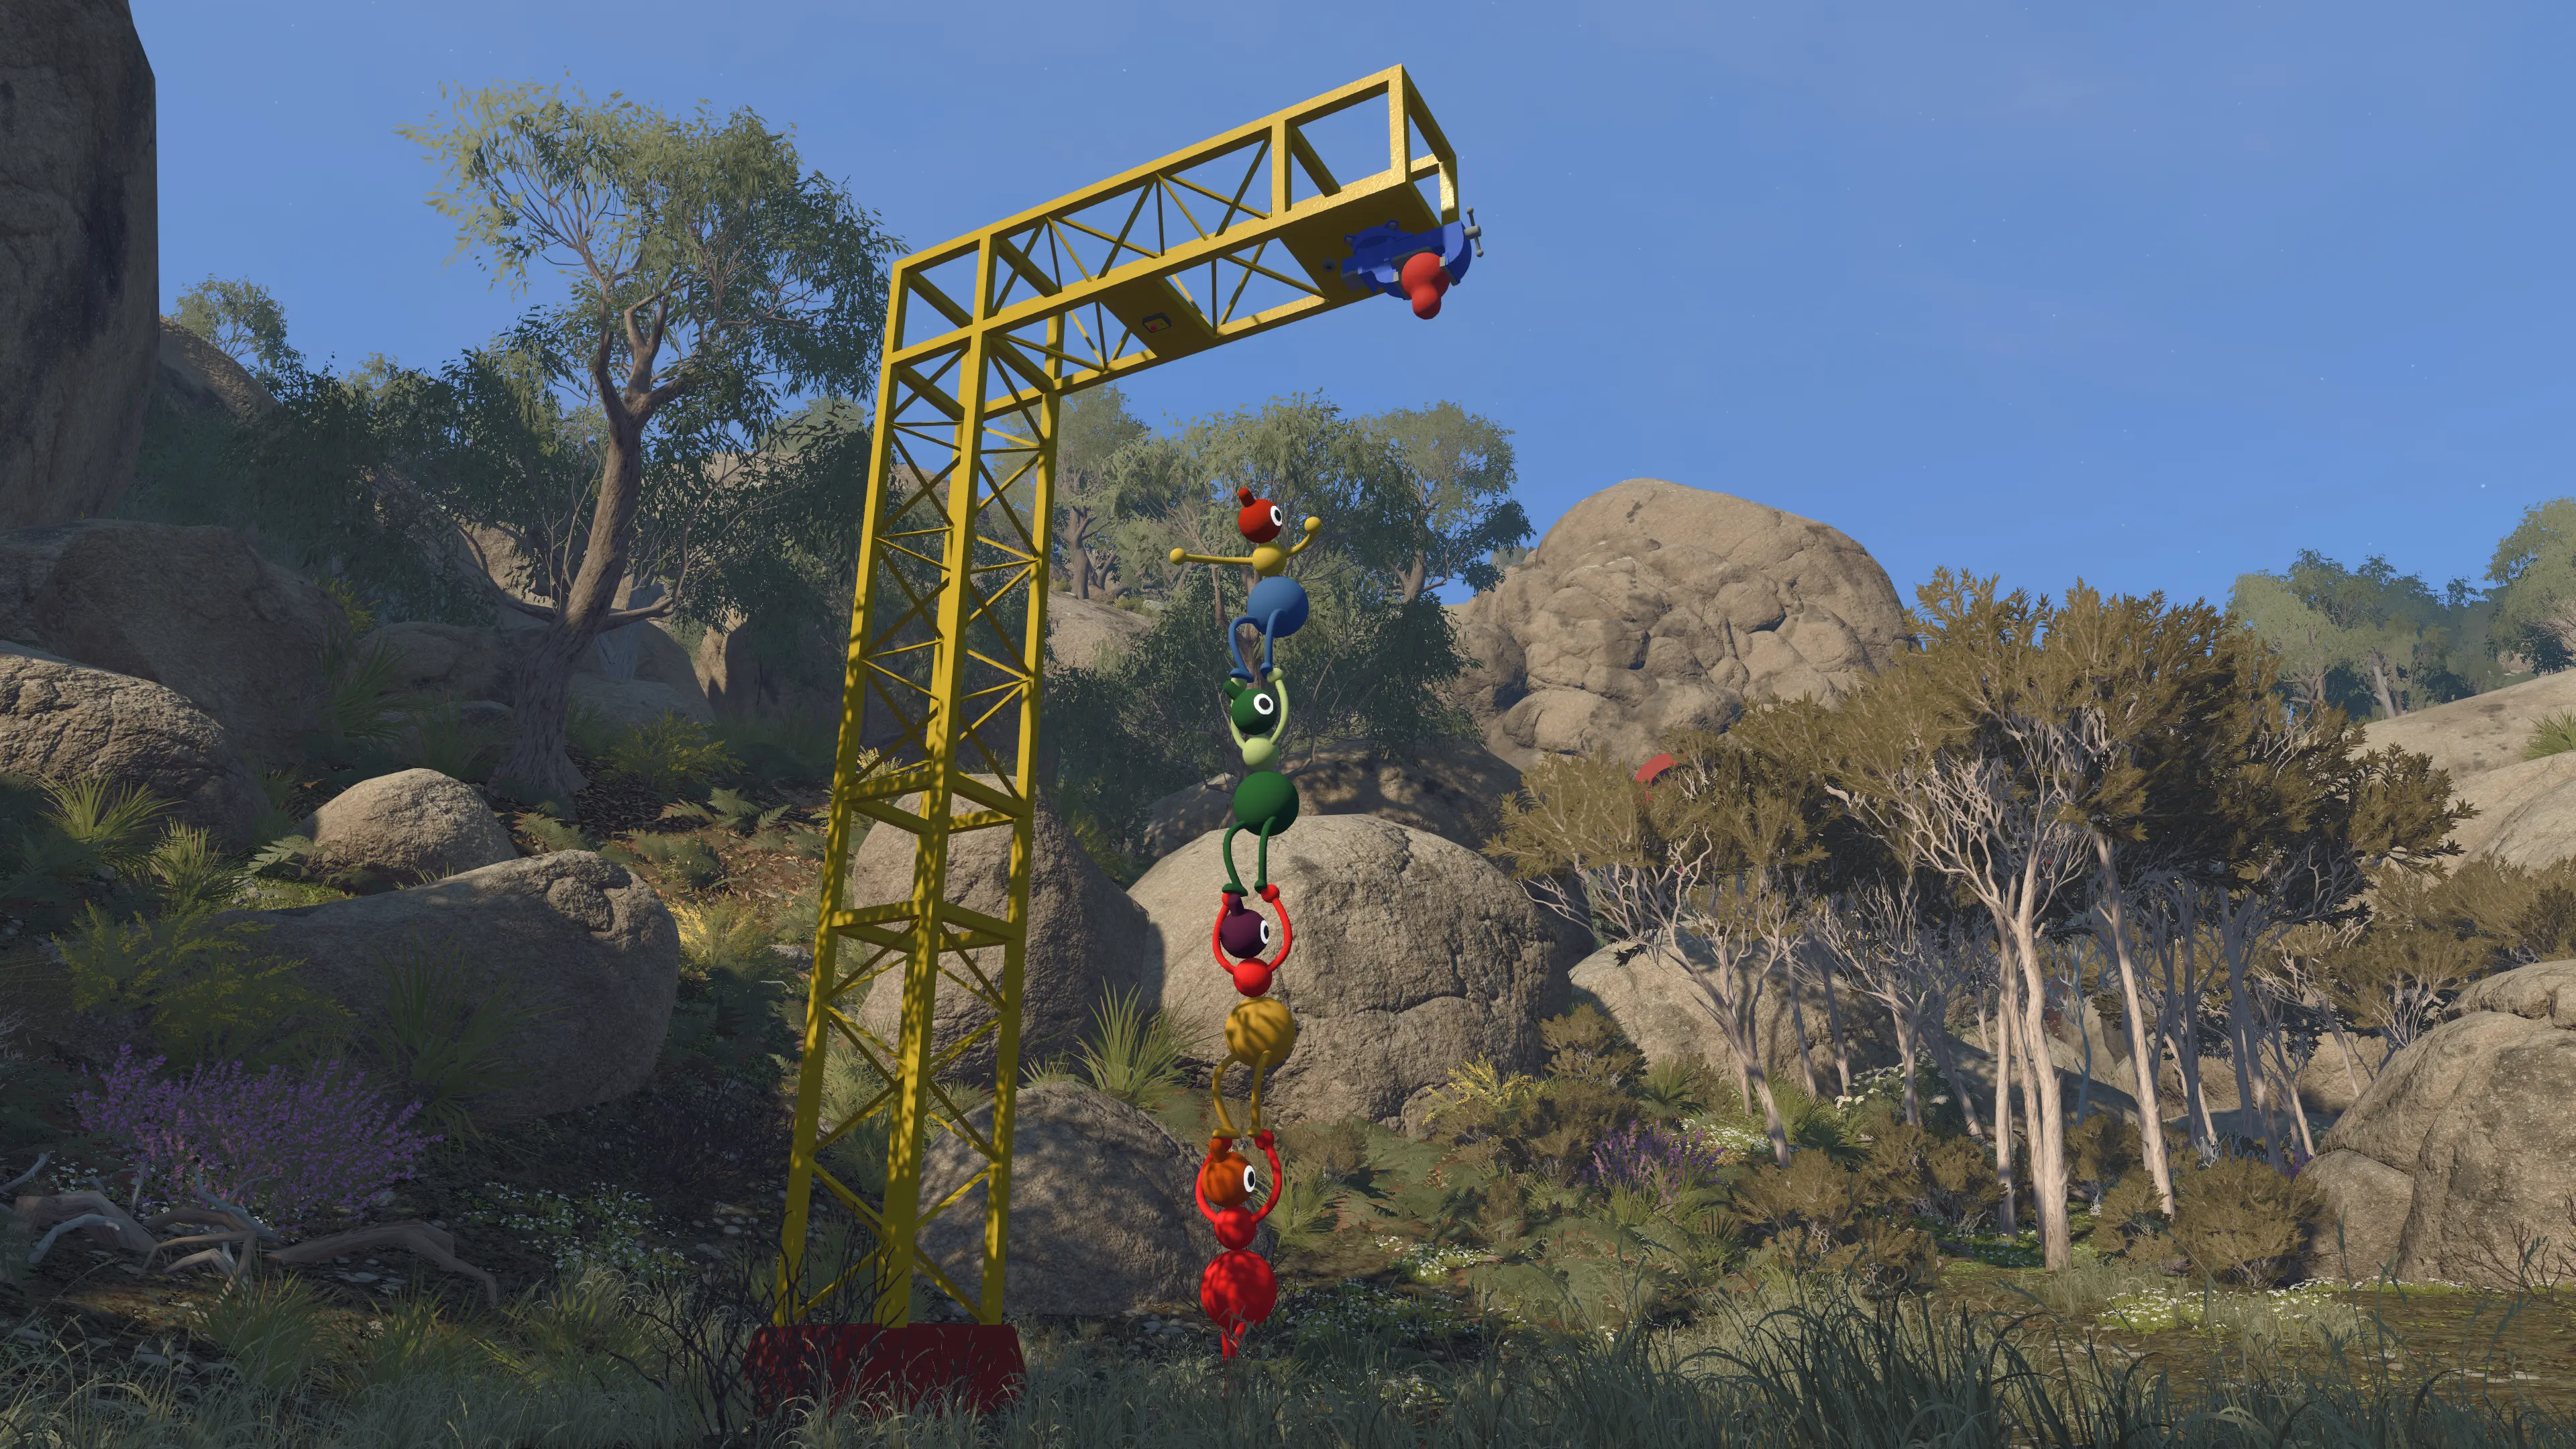
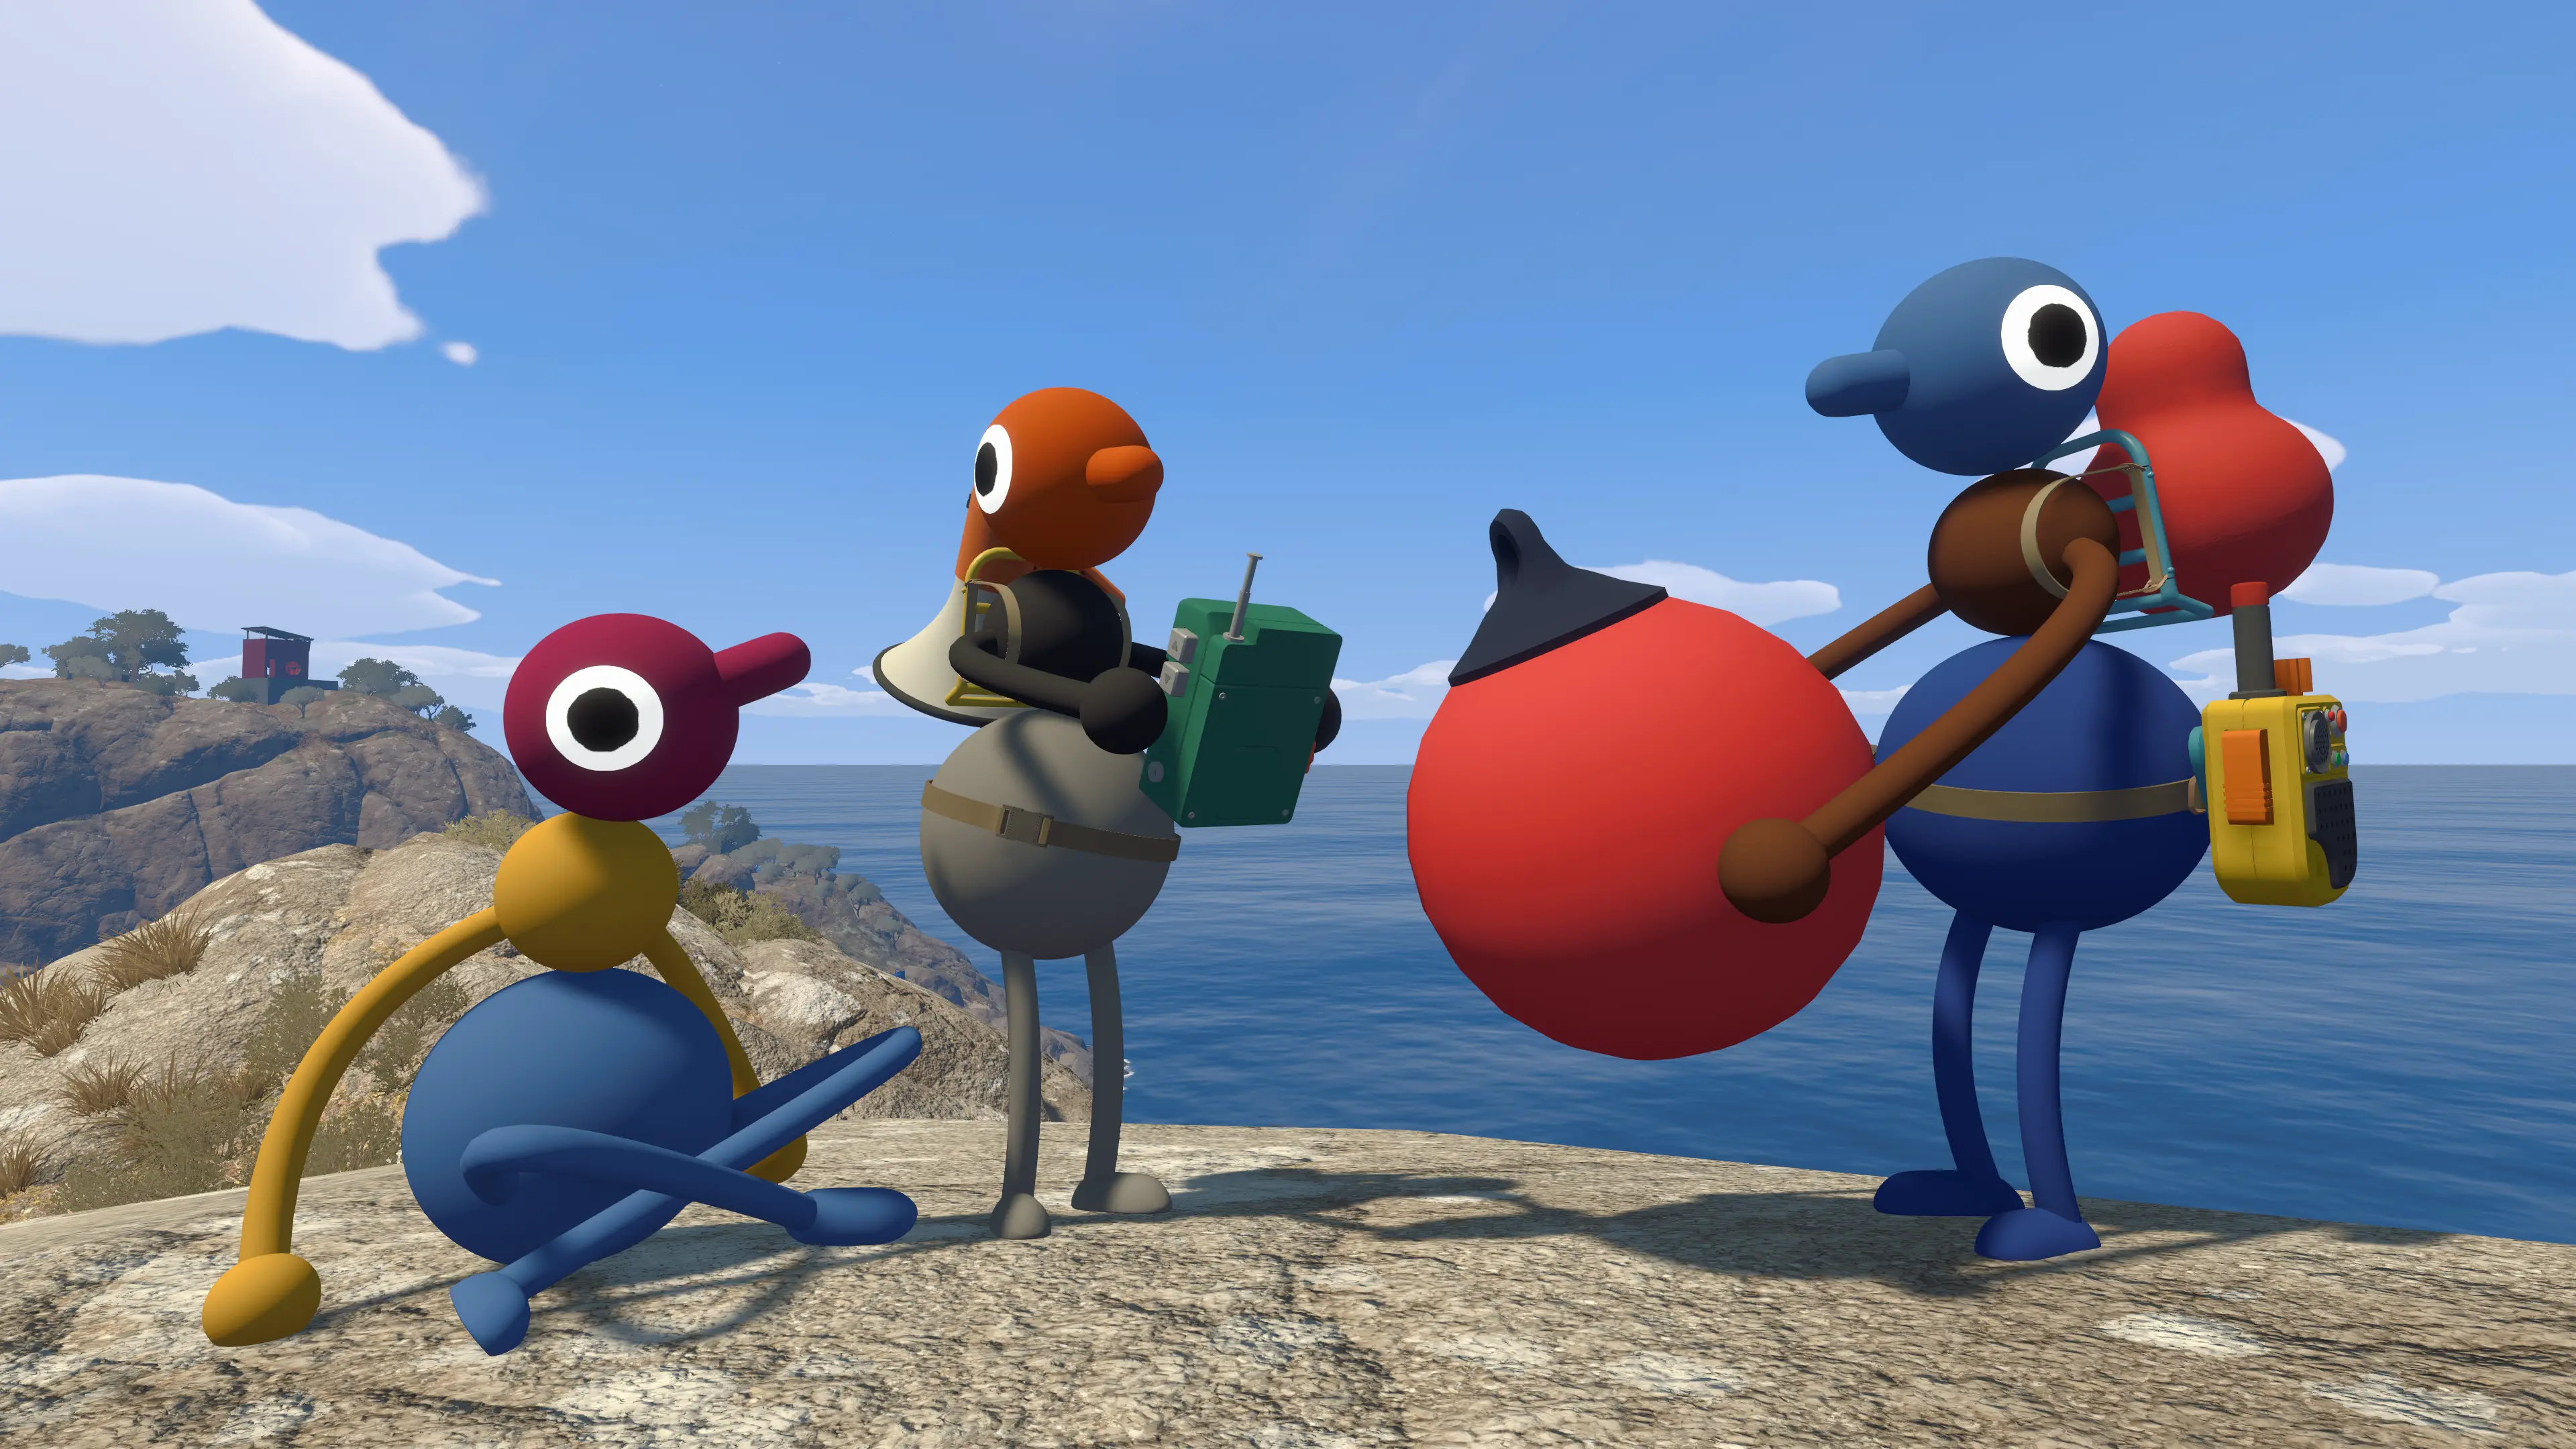
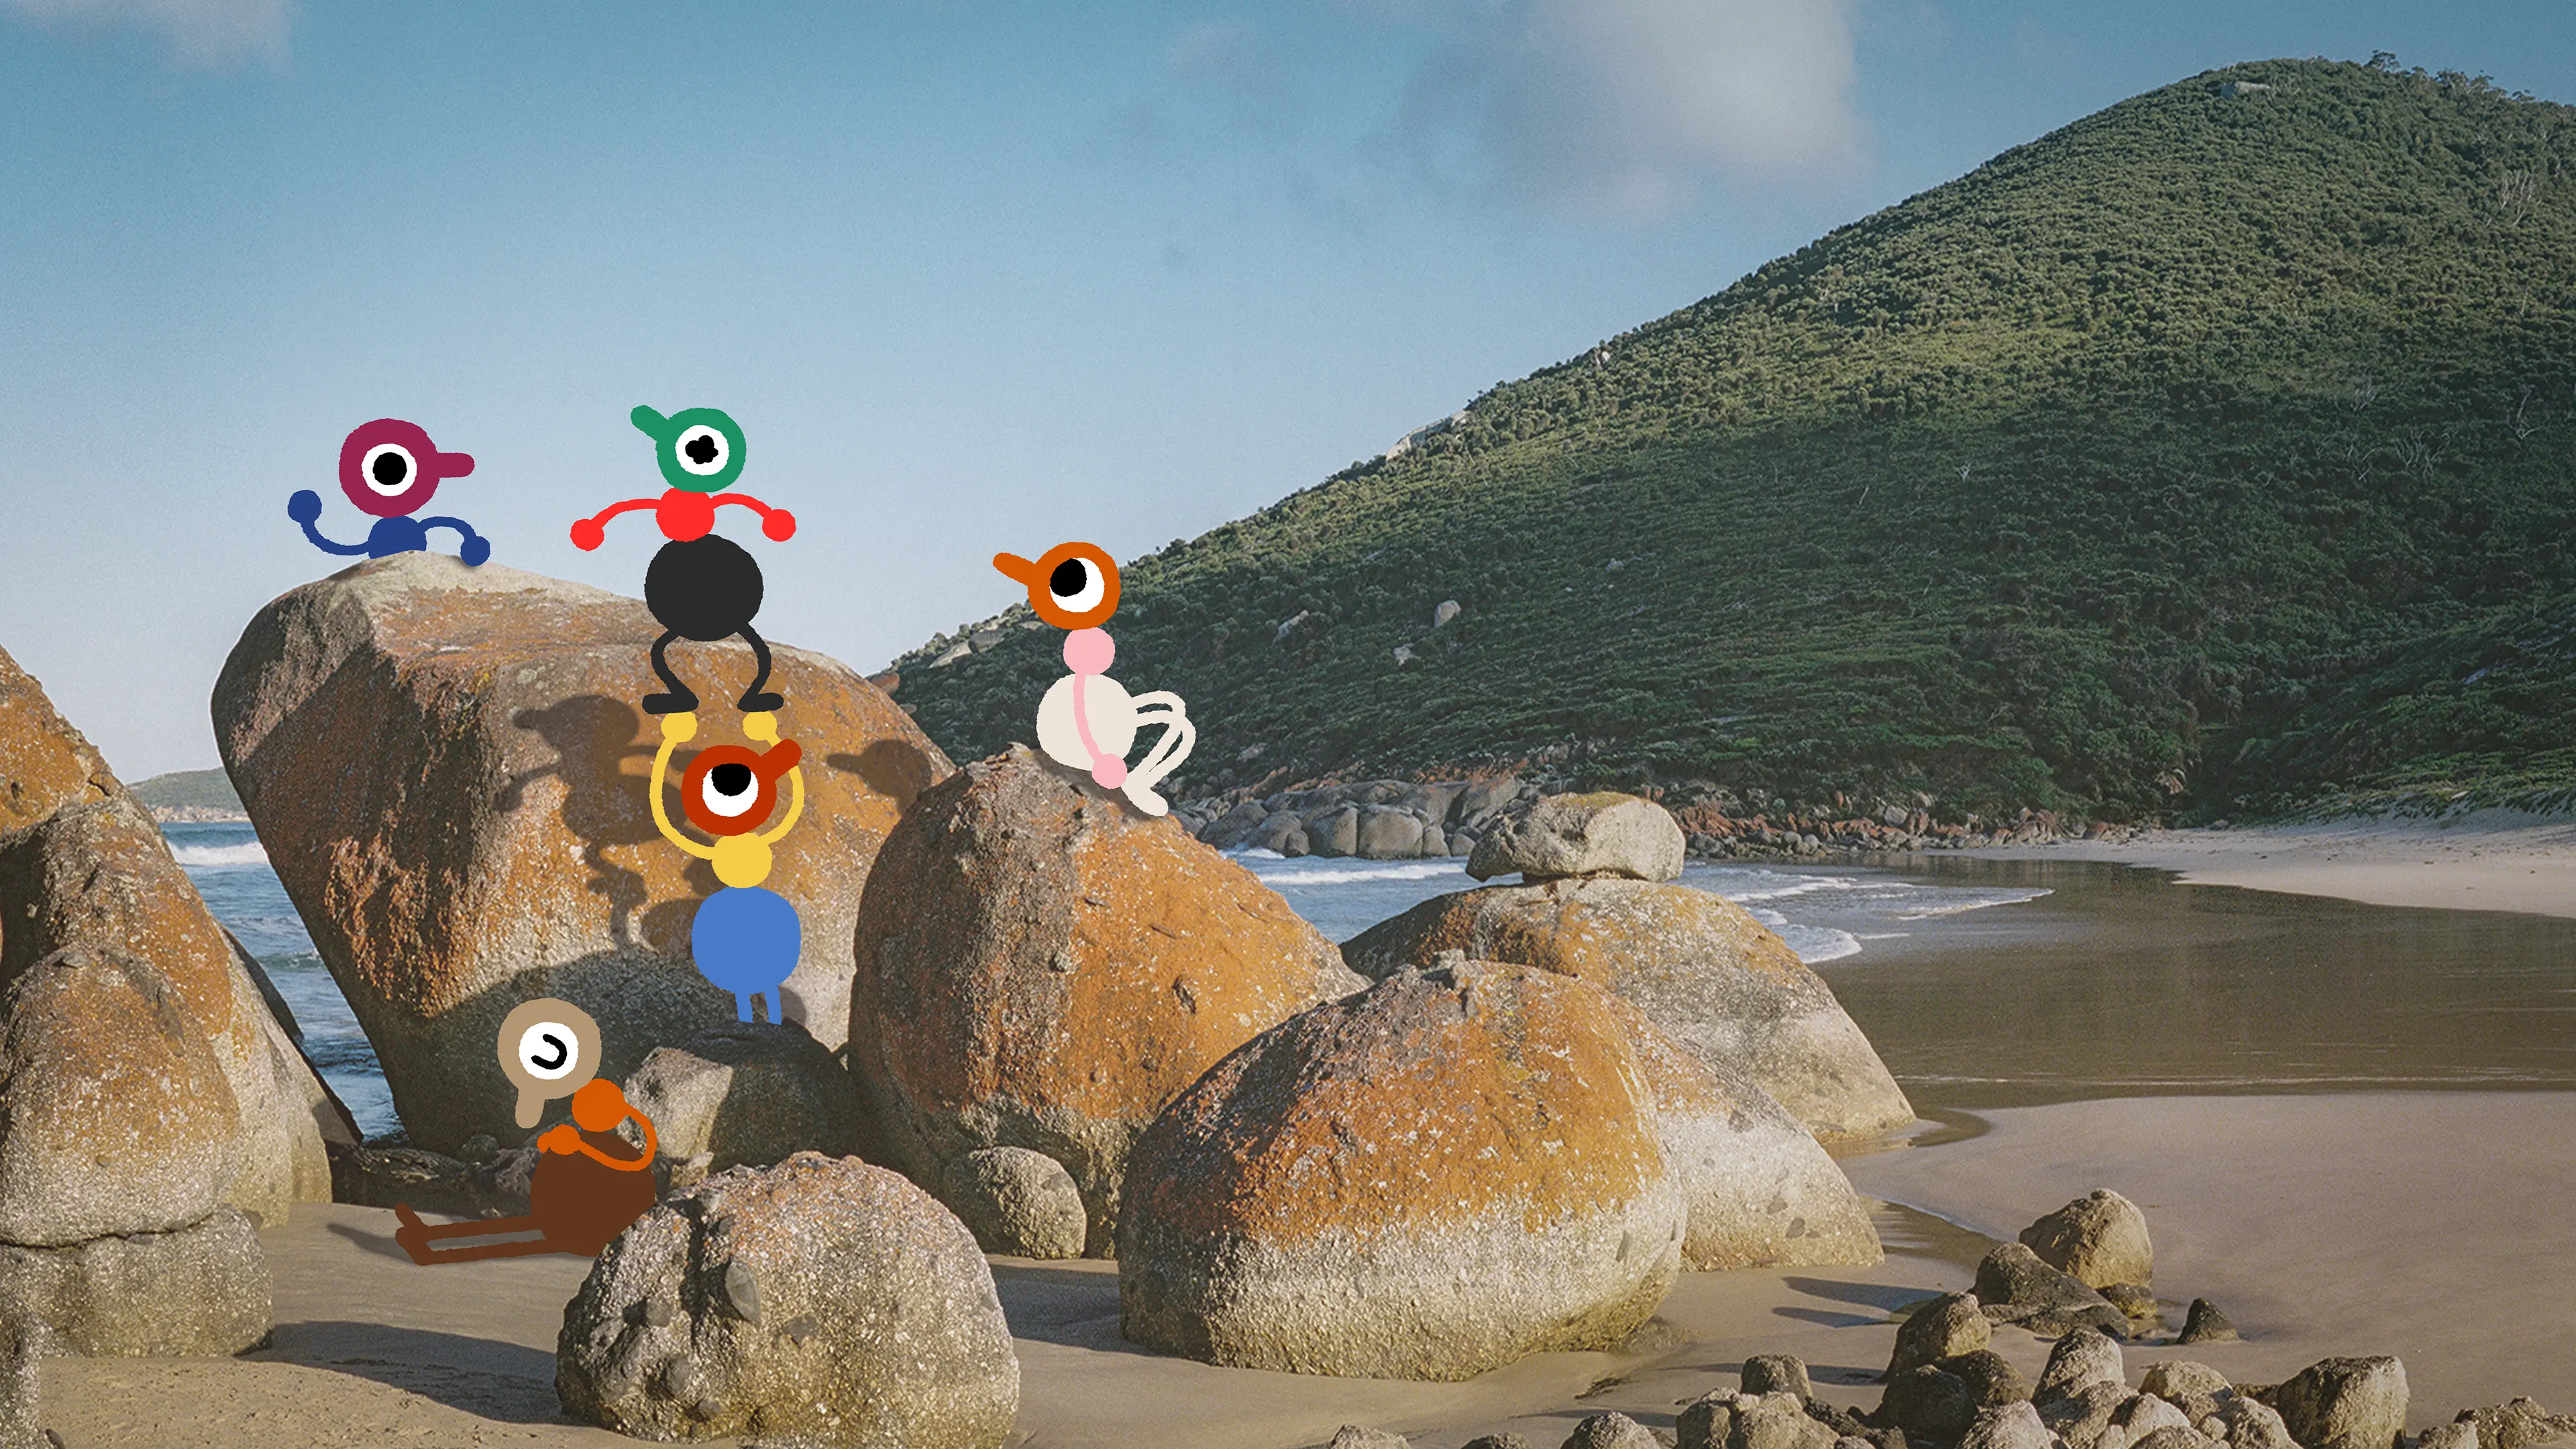
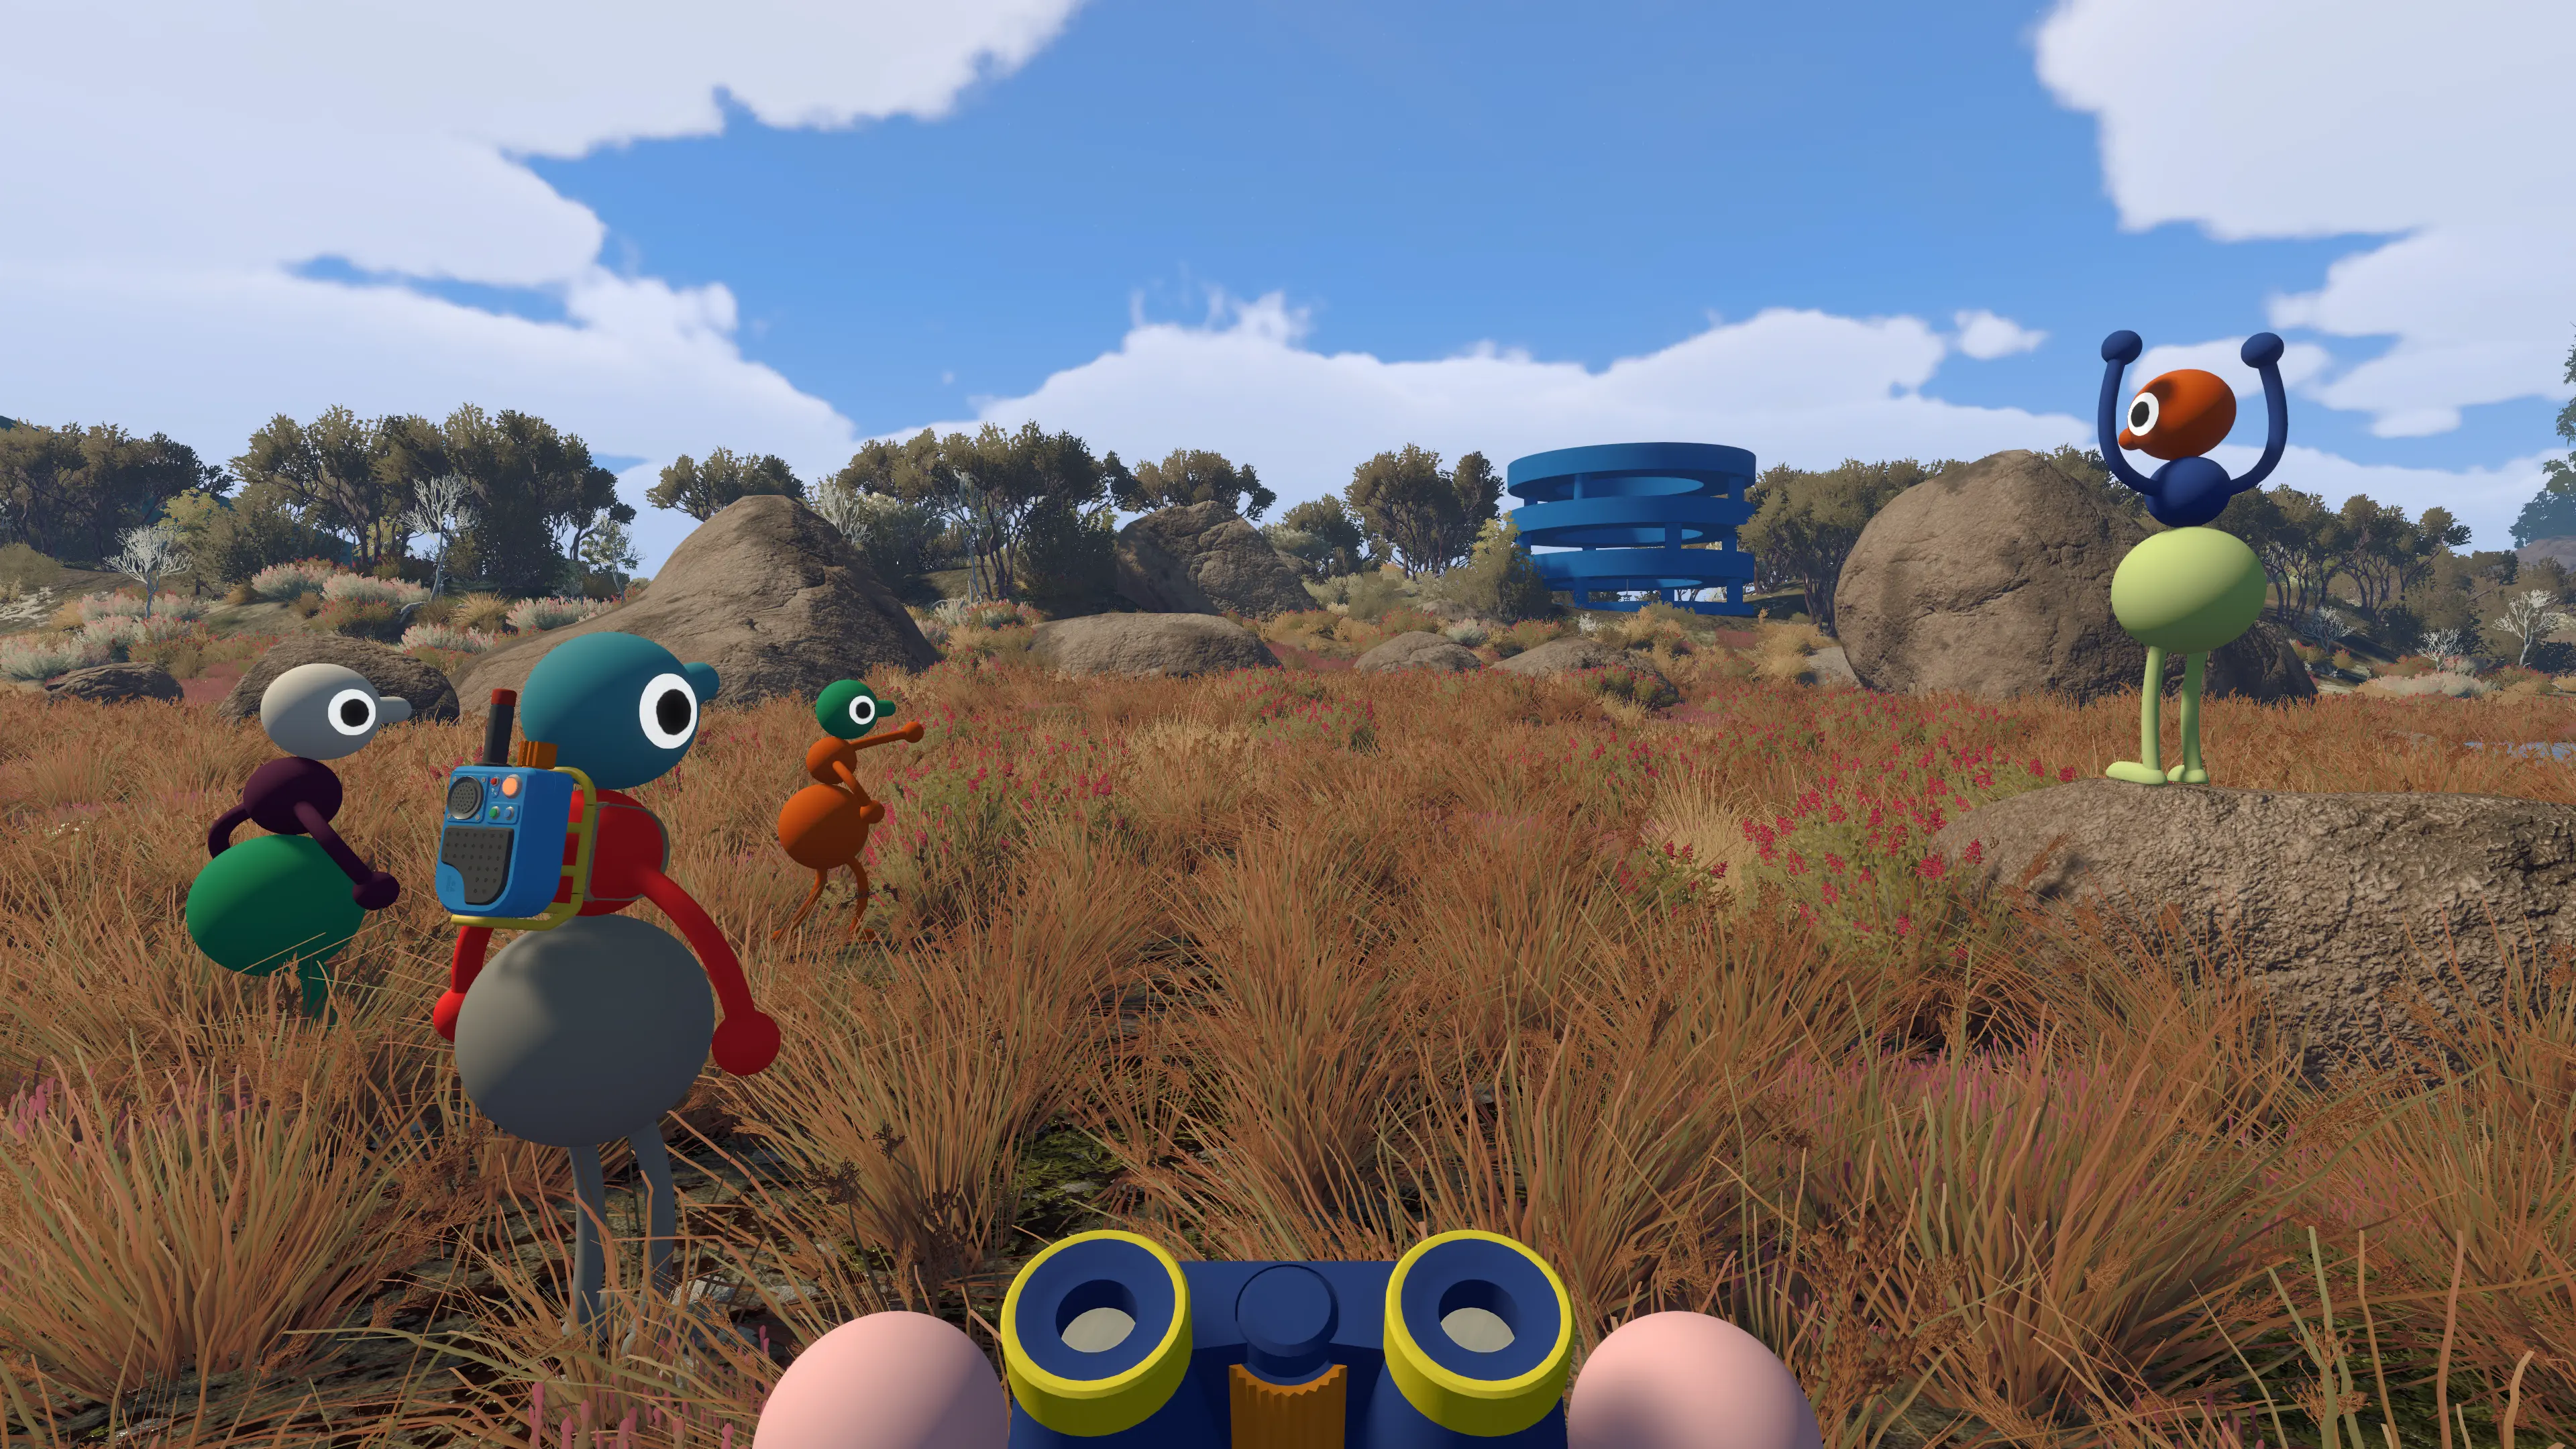
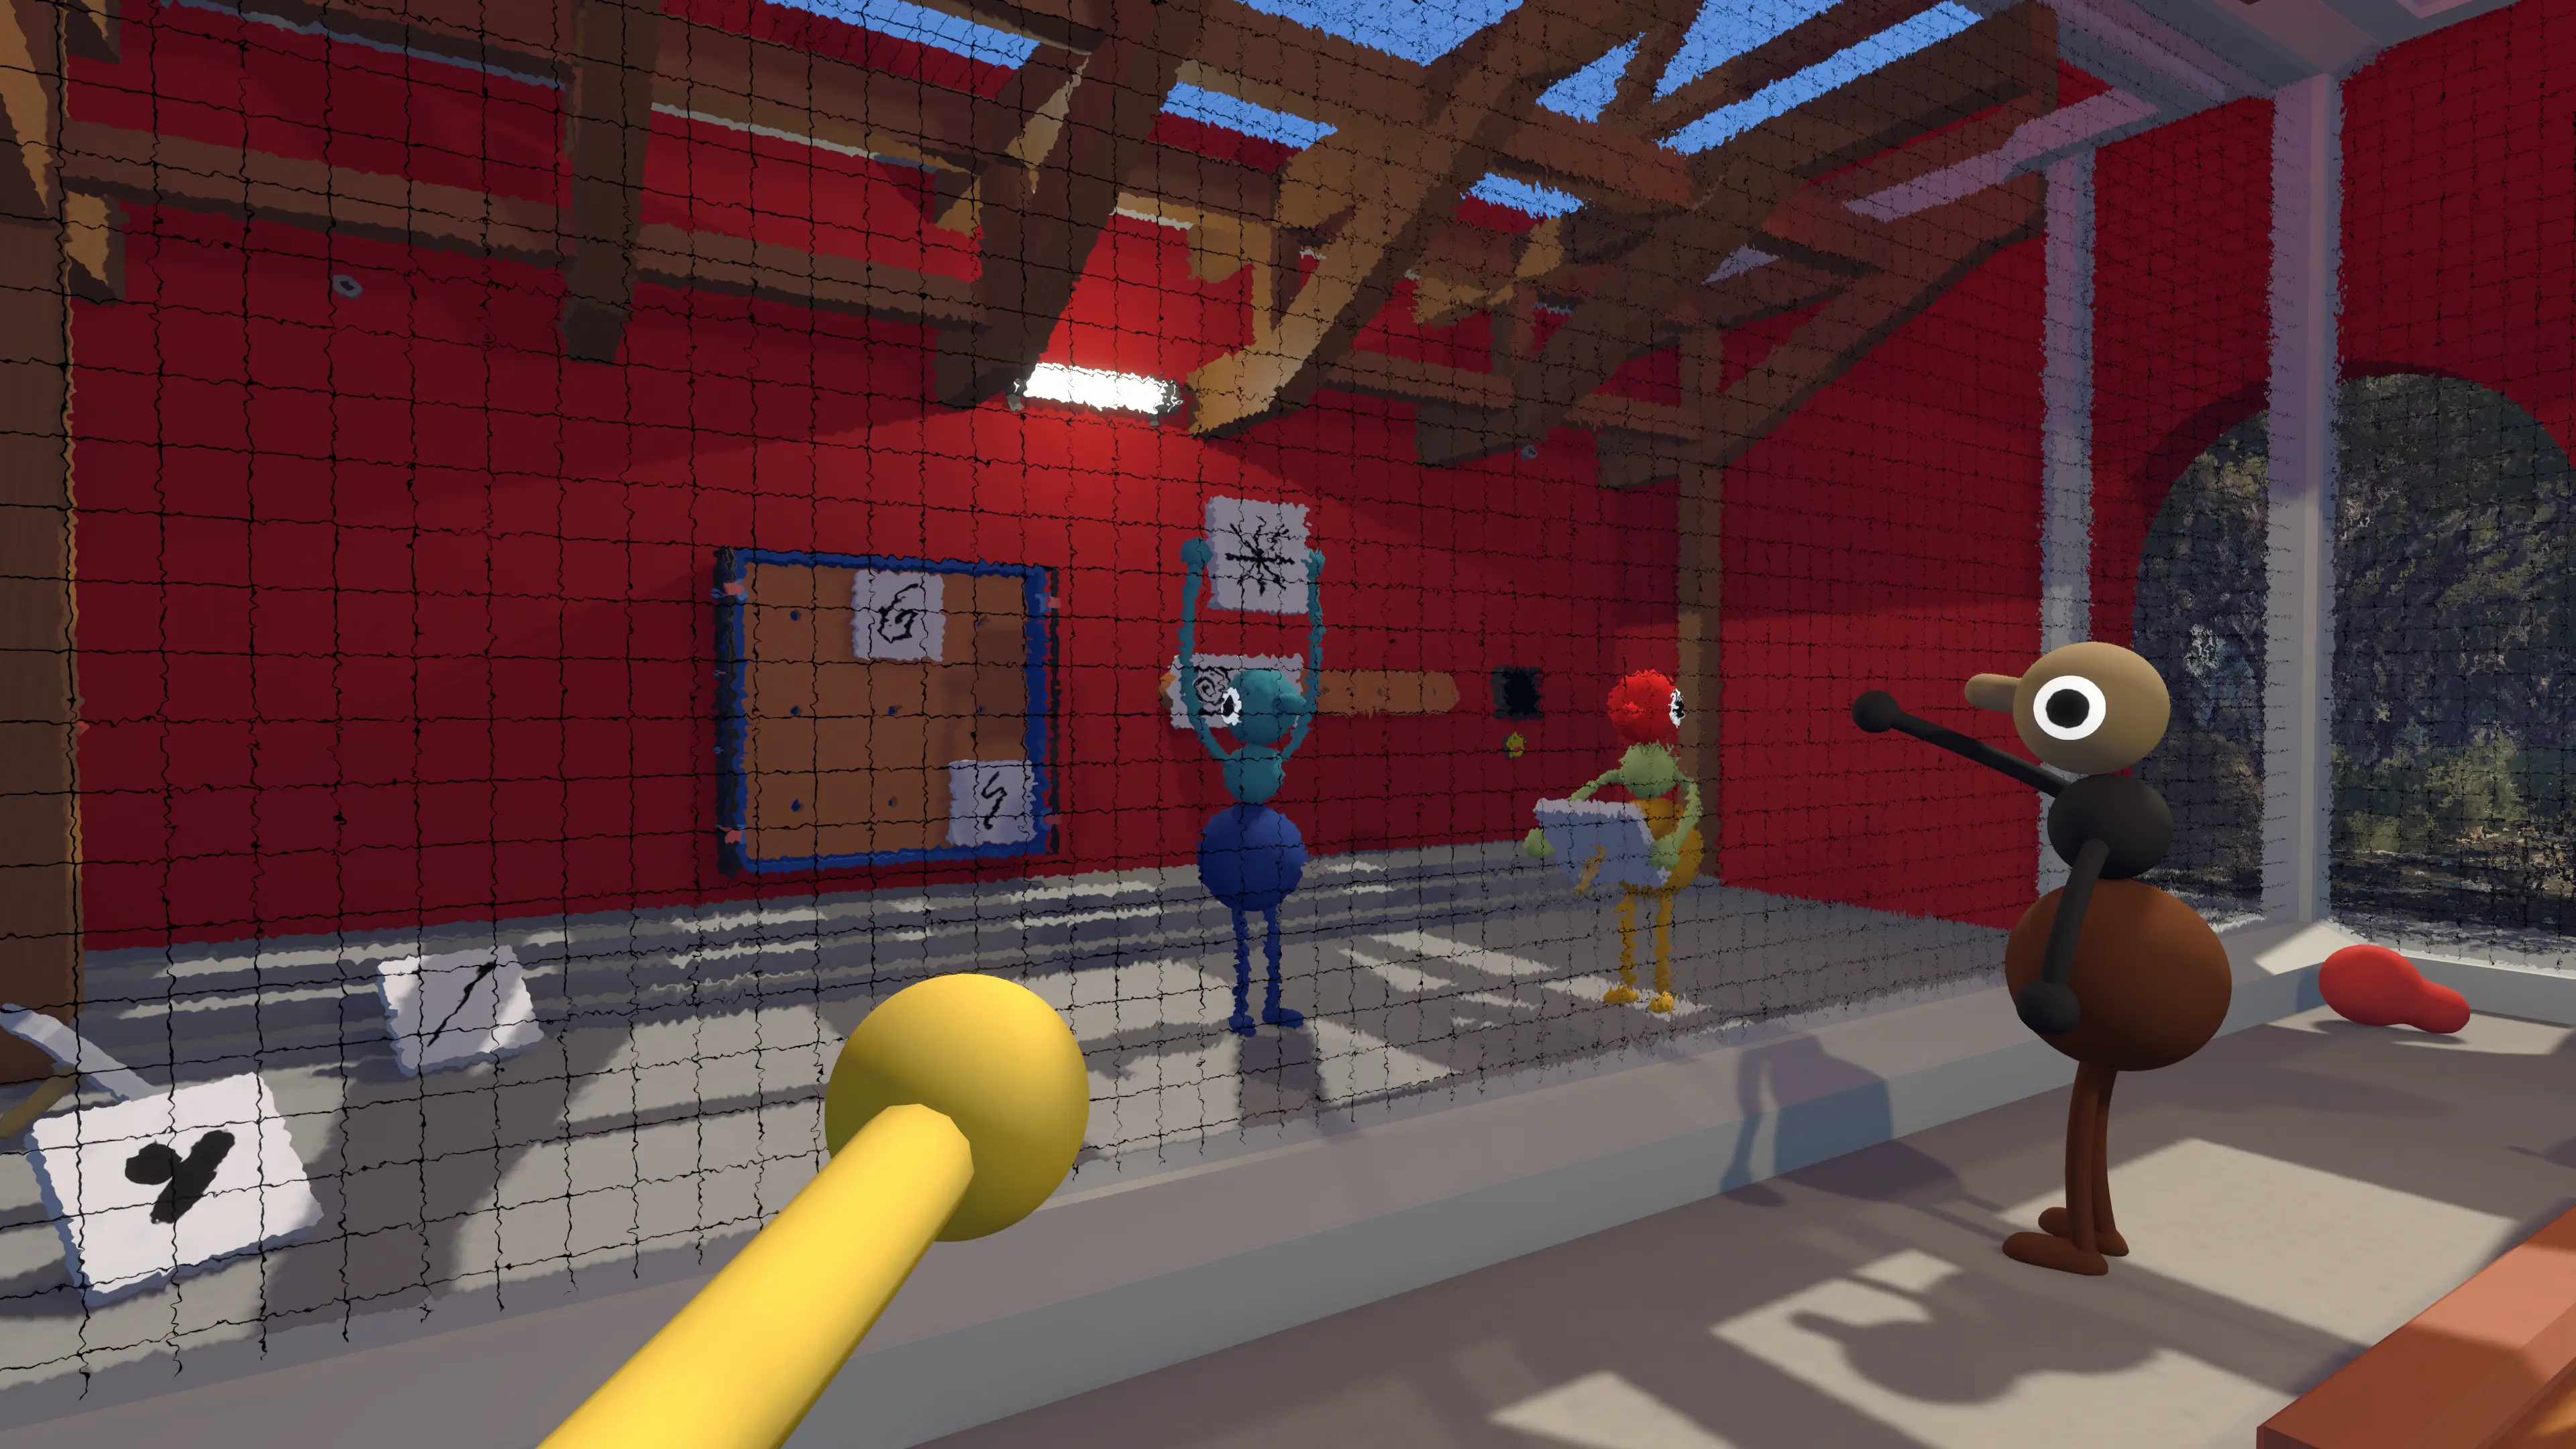
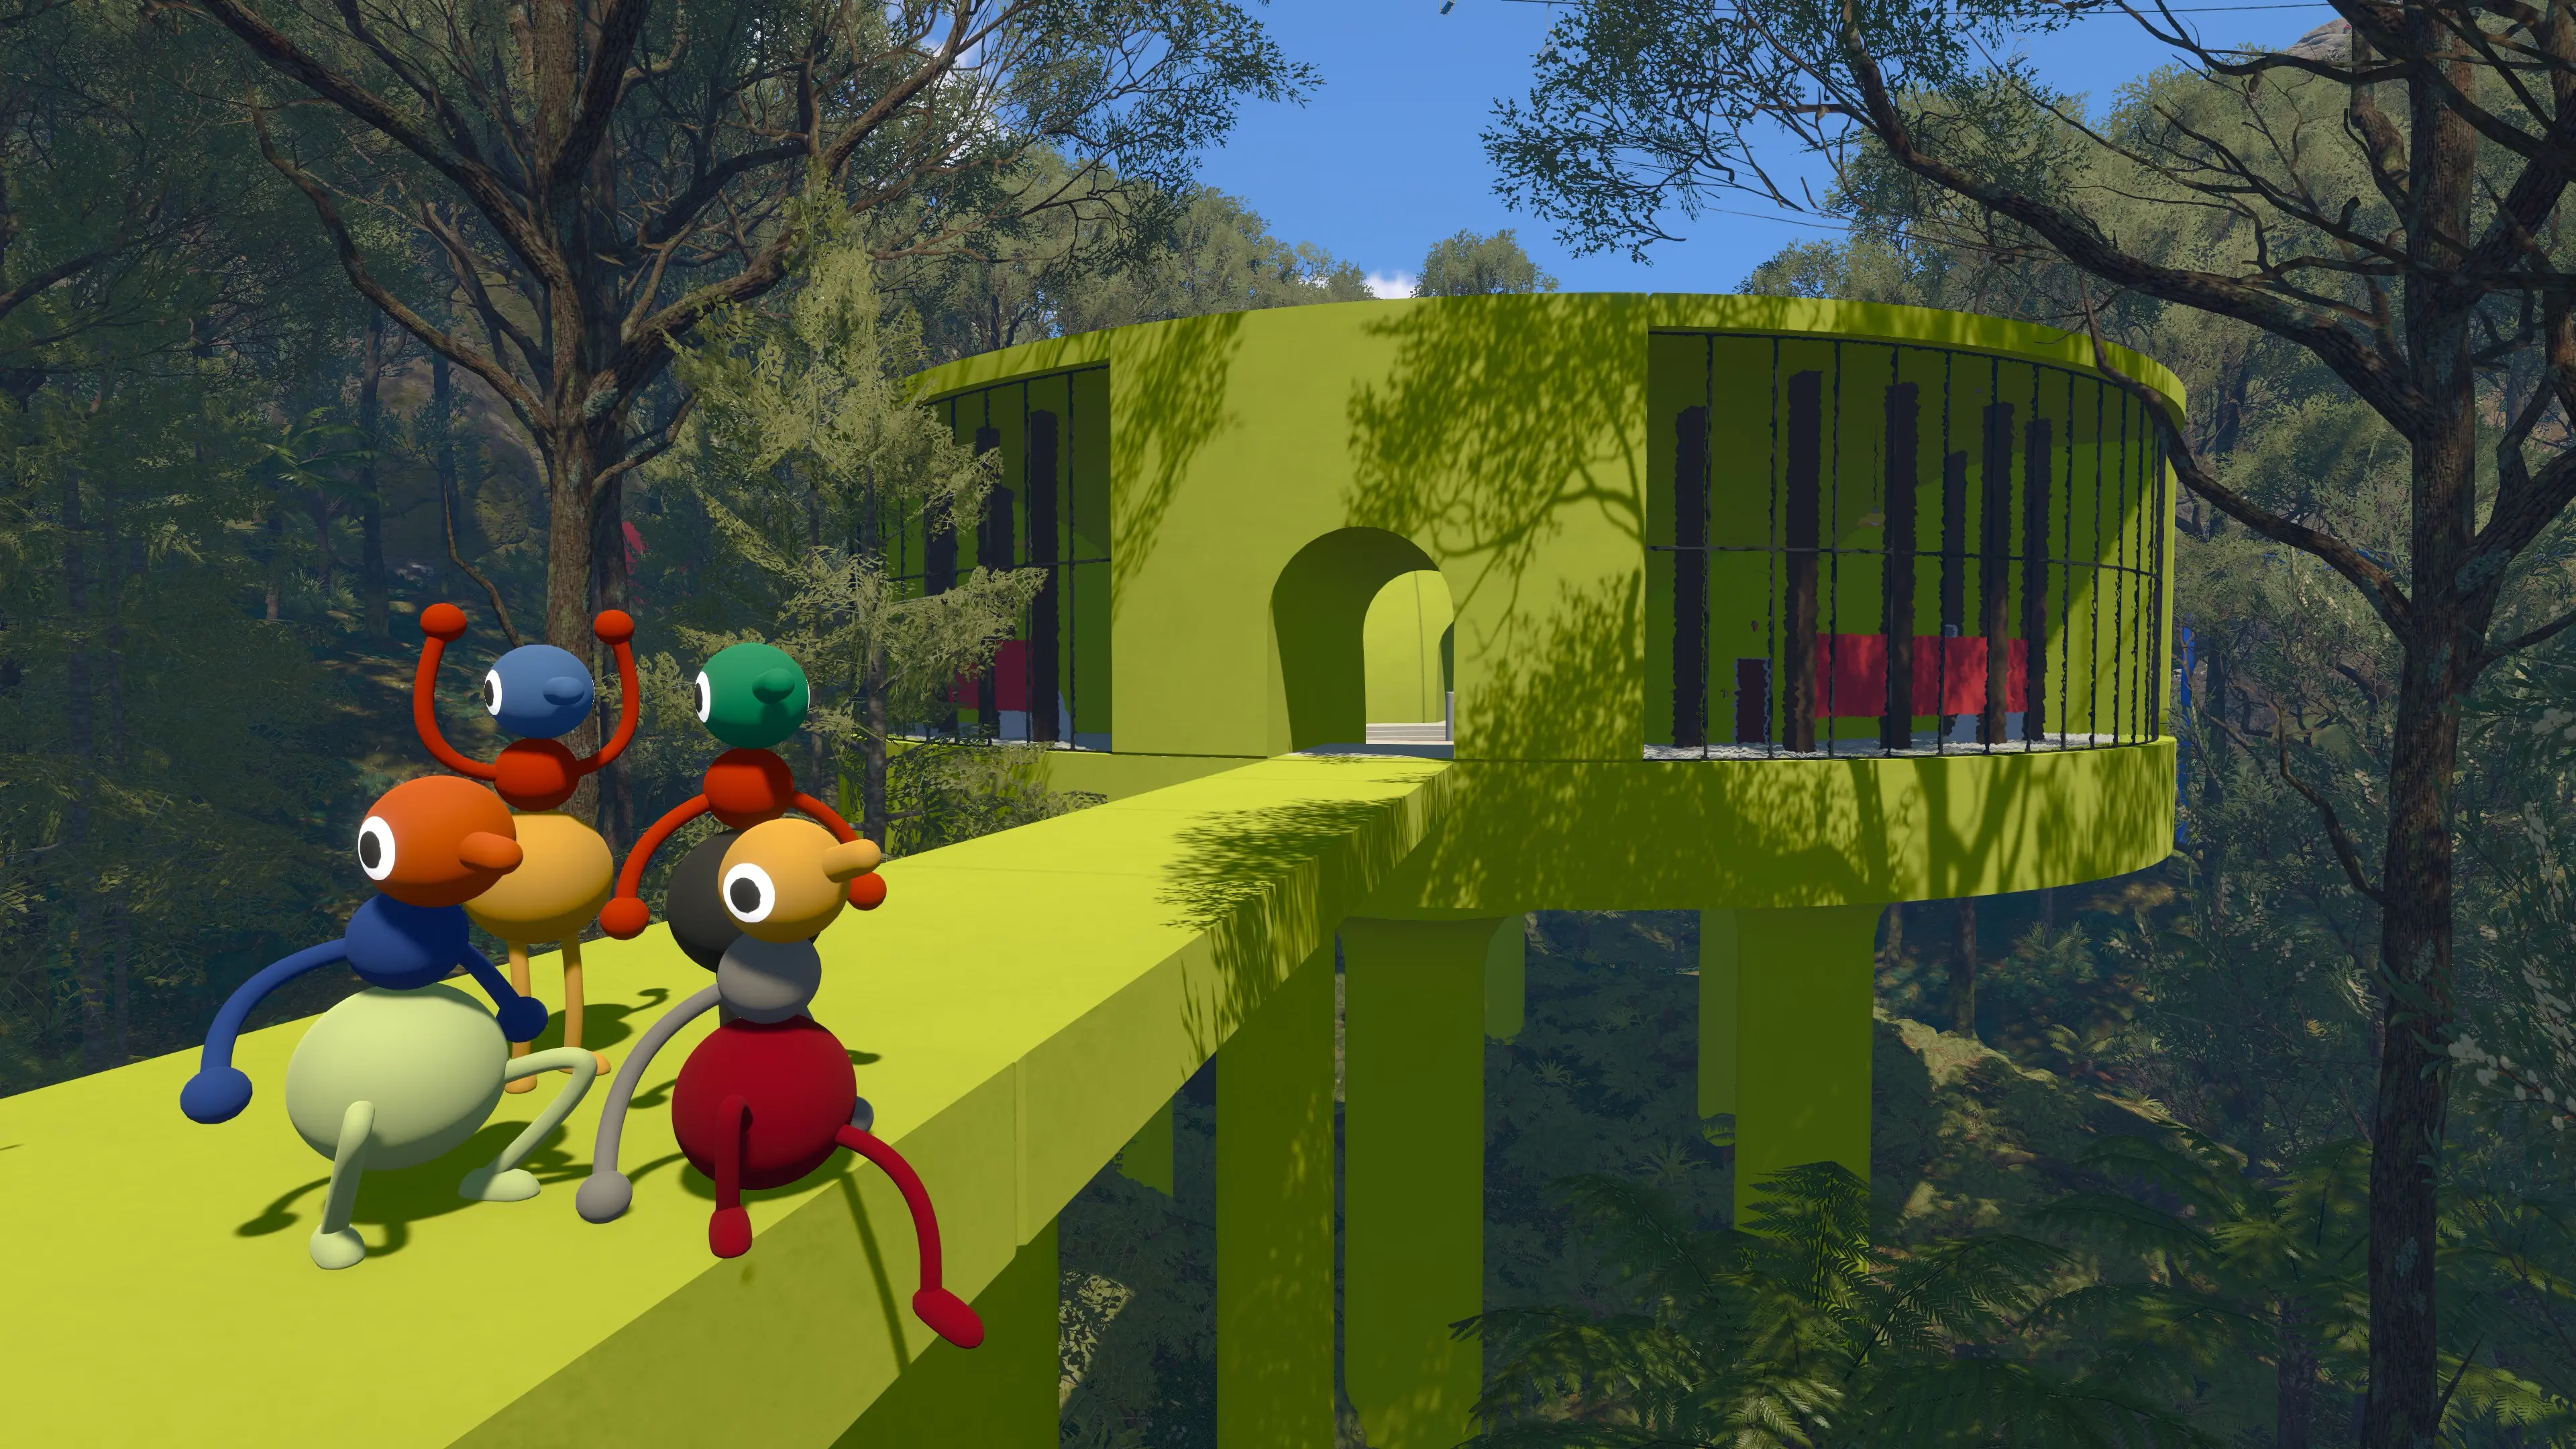
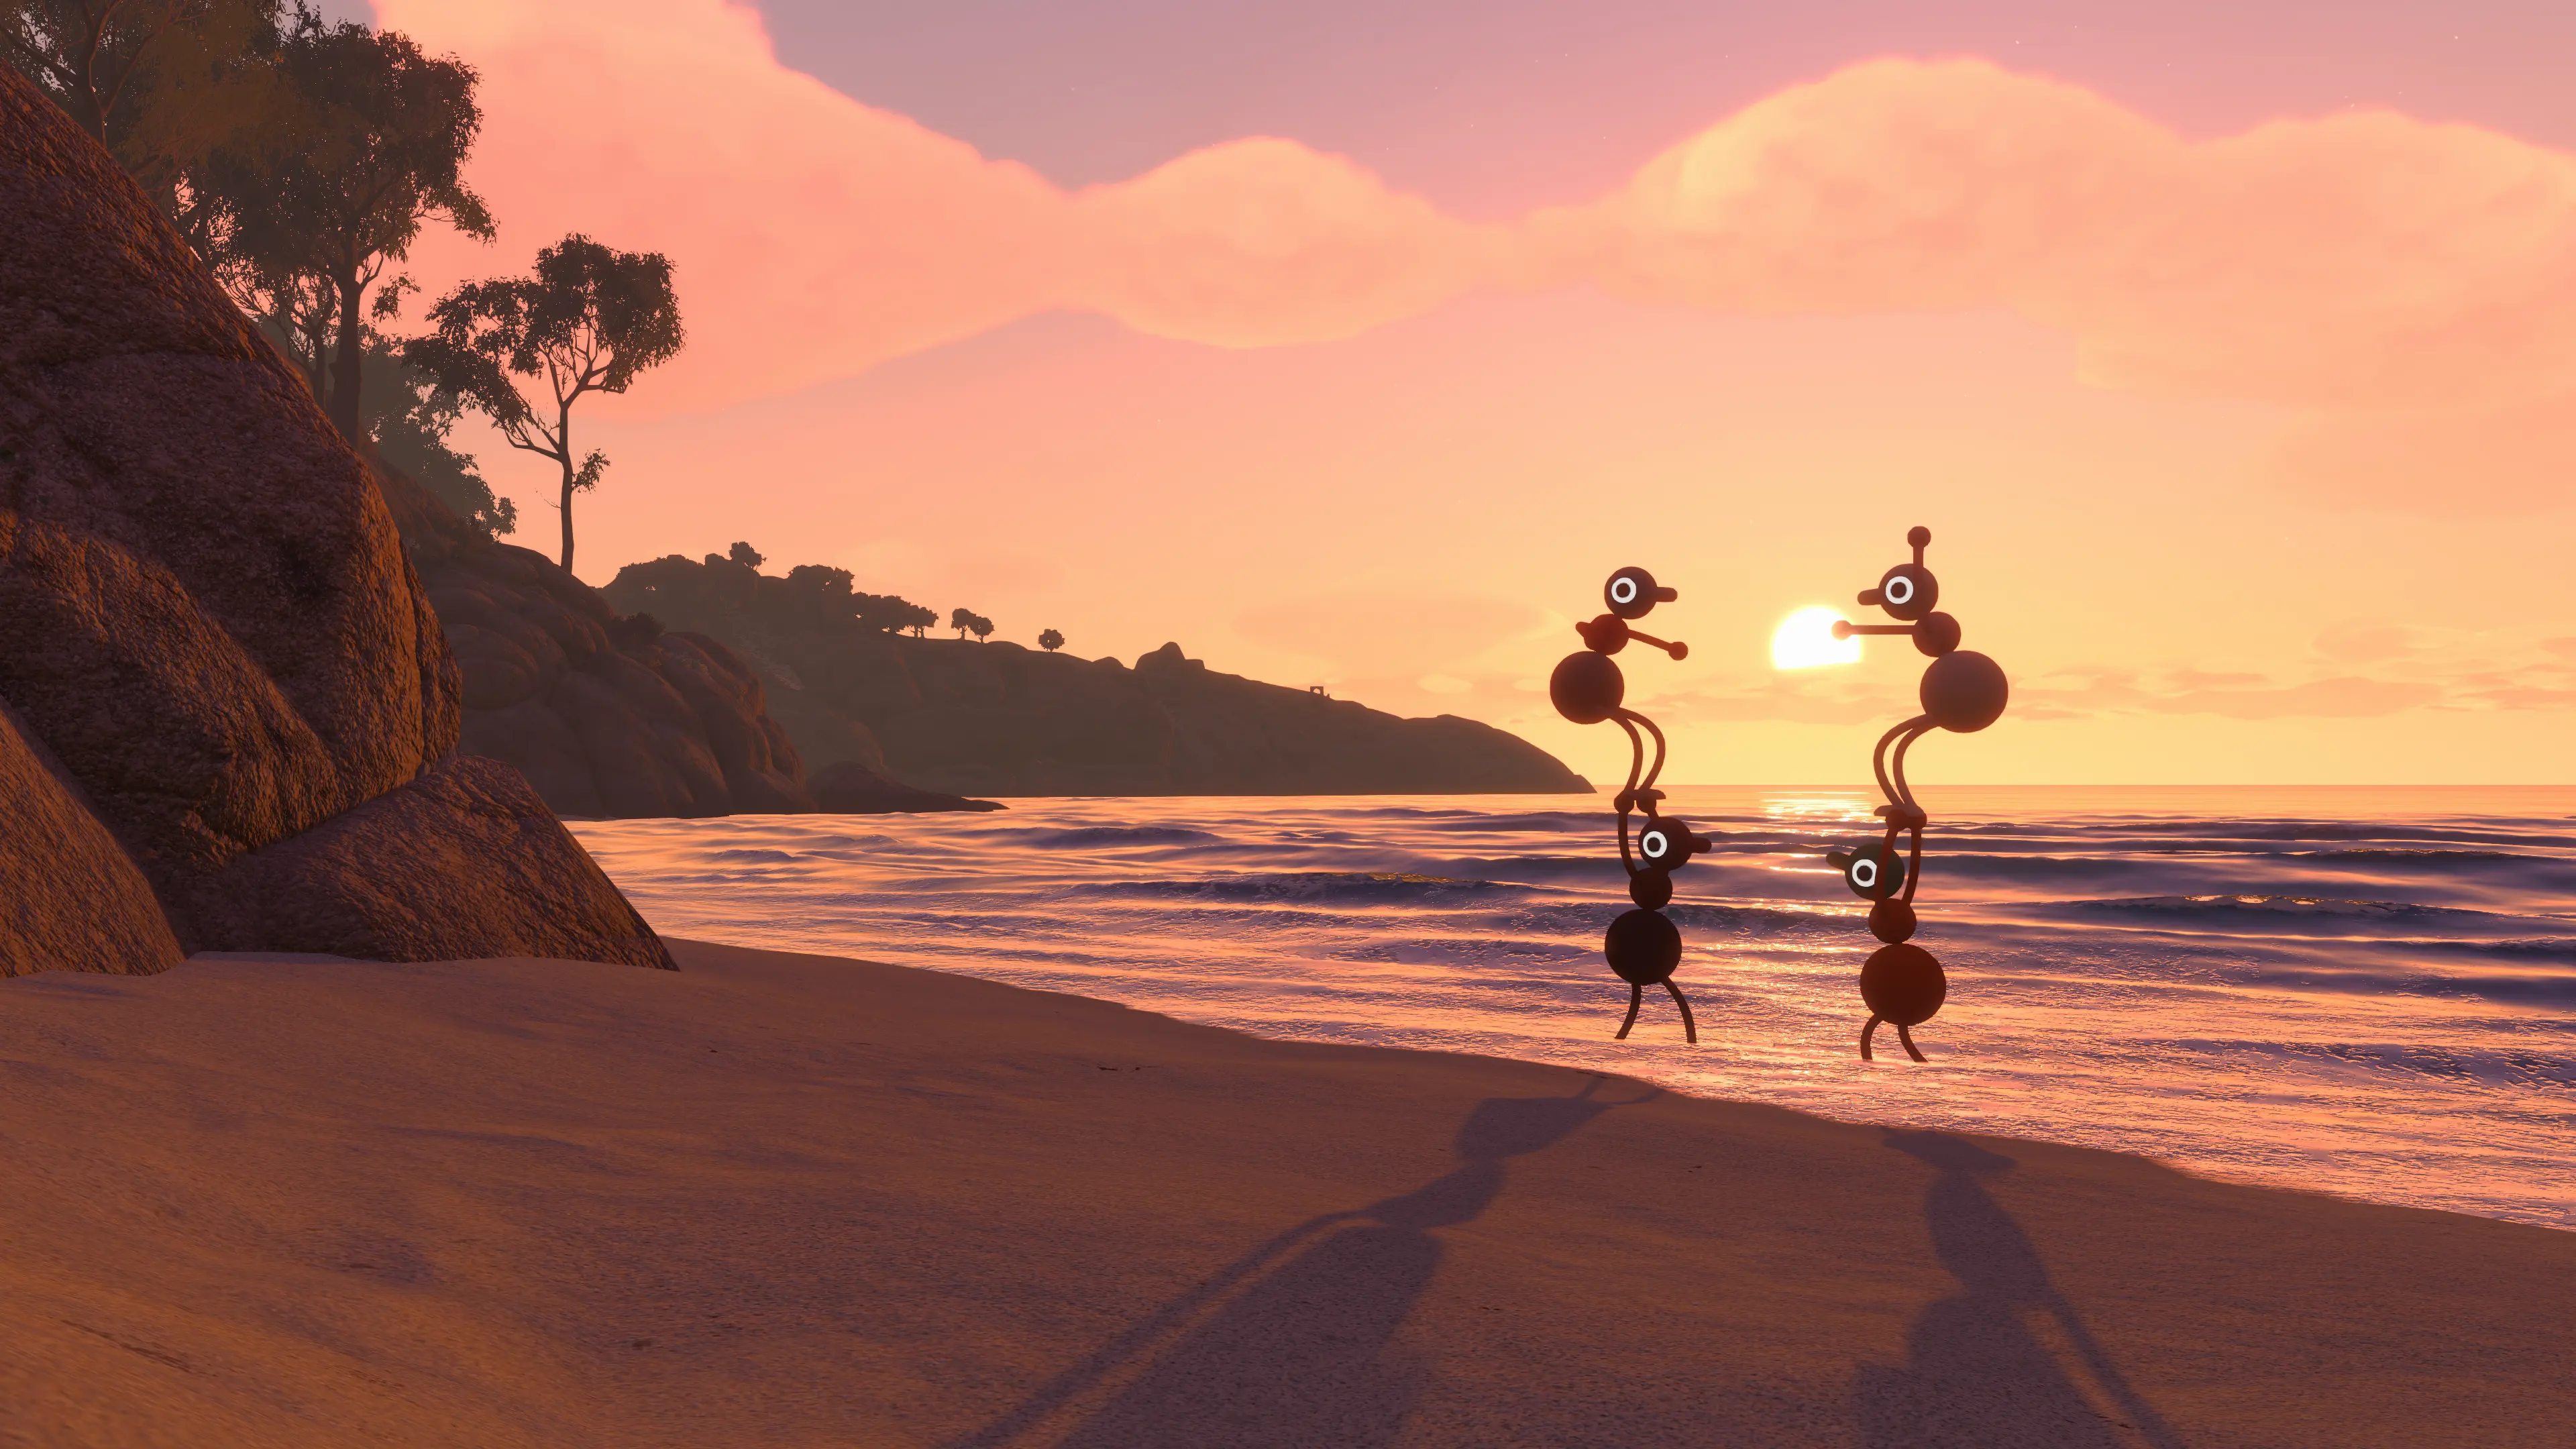
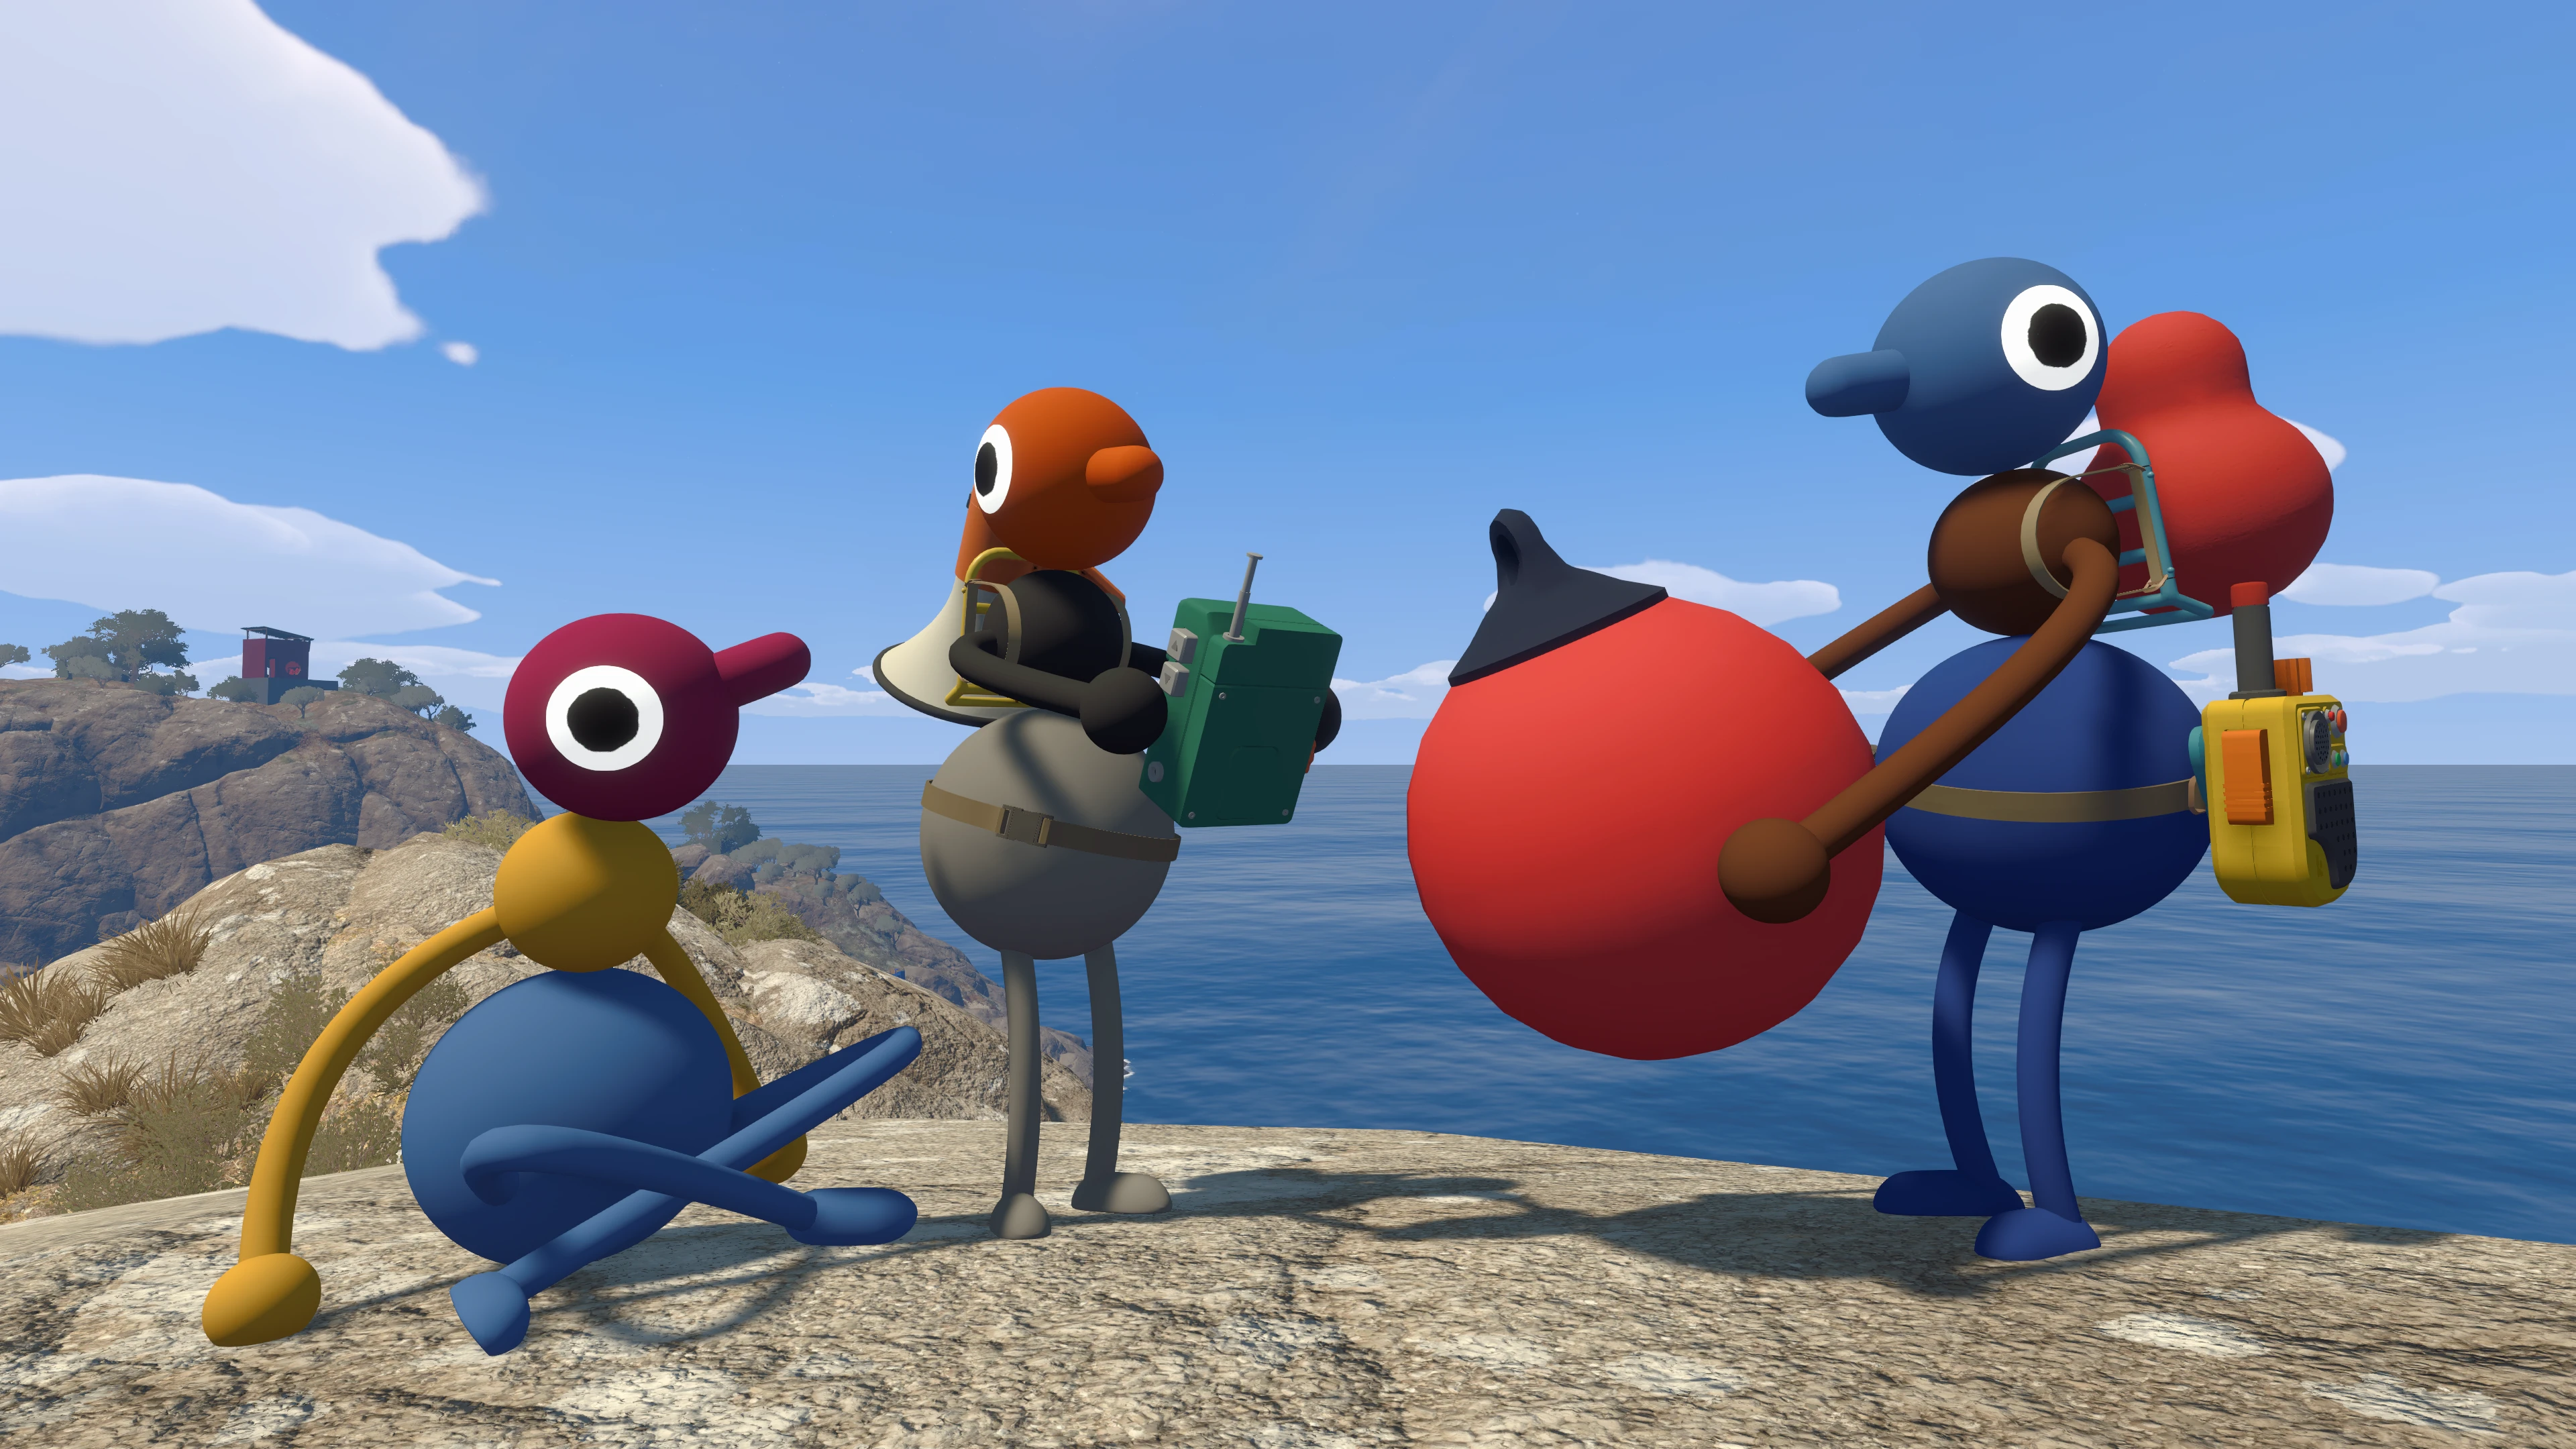
Big Walk gives you only one pair of hands, but bags let your group carry the tools it needs without constantly leaving useful items behind. There are 10 bags: six backpacks and four smaller hip bags, also searched as hip packs or hip pouches. Equip one of each and you can carry two stored items while keeping a third item in your hands.
The catch is wonderfully appropriate for Big Walk: you cannot put a bag on by yourself. A friend has to pick it up and attach it to your Walkling. Wearing a backpack also unlocks the Big Pack achievement or trophy.
Big Walk bag locations at a glance
All 10 bags appear inside small blue shelters. These structures are circular, open on one side, and have a short blue ramp. Nine shelters are spread across the map, with the far-southeast shelter containing both a backpack and a hip bag.
- Yellow backpack — 1380, 3750 — Southwest of the Red Tower
- Green backpack — 1660, 3720 — Central mountain, north of the light-green radio area
- Pink backpack — 1775, 4275 — West of the southern chairlift station
- Blue backpack — 1540, 3500 — Northeast of the Map Room
- Pastel red backpack — 3310, 2000 — Beach east of the Yellow Tower, toward the green barrier
- Deep red backpack — 4340, 2025 — Far southeast, beyond the lower chairlift station
- Yellow hip bag — 1860, 3750 — Northwest of the Green Tower
- Green hip bag — 1330, 3440 — Northwest of the Map Room and southwest of the Yellow Tower
- Red hip bag — 3220, 1720 — Northeast of the Yellow Tower
- Blue hip bag — 4340, 2025 — Same southeast shelter as the deep red backpack
If you have not unlocked the in-game map yet, use the landmarks rather than trying to follow the numbers. The Red Tower and Map Room area gives you several nearby options and is a practical place to start.
How to equip a backpack or hip bag
Finding the bag is only half of the job. Big Walk makes equipping it a small co-op interaction.
- Have one player pick up the backpack or hip bag.
- Stand close to the player who wants to wear it.
- Aim the bag at the correct part of that player’s body.
- Wait for the white interaction circle to appear.
- Attach the bag to the highlighted spot.
A backpack sits on the back, while a hip bag attaches around the waist. The same player can wear both types at once. With one item stored in each bag and another item held normally, that player can move three objects at the same time.
If the white circle does not appear, move closer, face the other player directly, and adjust where you are aiming. It is easier if both players stop moving for a moment.
The easiest backpack to get first
The yellow backpack at 1380, 3750 is a good early target once your group reaches the Red Tower region. It is southwest of the tower inside one of the recognizable blue shelters.
Another convenient option is the blue backpack at 1540, 3500, northeast of the Map Room. It is especially easy to collect after you have opened the Map Room and can use the island map for navigation.
You do not need a specific color for extra carrying space. Every backpack works the same way, so take the first one your group reaches and continue exploring.
All six backpack locations
Yellow backpack — 1380, 3750
Look southwest of the Red Tower for a blue circular shelter. Walk up the short ramp and check the inside wall for the yellow backpack.
This is one of the best first bags because the Red Tower area is already part of the route toward the Map Room. A group solving those nearby puzzles can collect the backpack without making a large detour.
Green backpack — 1660, 3720
The green backpack is on the side of the central mountain. Use the light-green radio music area as your main landmark, then search the slope to its north for another blue shelter.
Mountain paths can make a location appear closer than it is. Stay on the paths that climb around the slope instead of trying to approach the coordinate in a straight line.
Pink backpack — 1775, 4275
Travel toward the southern chairlift station and search to its west. The pastel pink backpack hangs inside the blue shelter at 1775, 4275.
This is a useful pickup before a longer trip through the southern section of the map. Give it to the player who normally carries a walkie-talkie, compass, or another tool the group does not want to abandon.
Blue backpack — 1540, 3500
The pastel blue backpack is northeast of the Map Room. After the Map Room is open, this is one of the simplest bag locations to identify because you can check your position against a major building.
If you are still looking for the Map Room itself, it is the large blue building below the Red Tower. Use our Map Room and Red Tower puzzle guide to finish the control panels and cut the golden key before trying to enter.
Pastel red backpack — 3310, 2000
The first red backpack is on the beach far east of the Yellow Tower. Continue toward the green barrier and watch for the familiar blue shelter near the coast.
The long trip is easier with walkie-talkies because distance changes how clearly your group can hear one another. Keep at least two players together while the rest of the group checks nearby paths.
Deep red backpack — 4340, 2025
The final backpack is in the far southeast corner of the island. Ride the chairlift all the way down, then walk southeast until you reach the shelter at 4340, 2025.
This location is special because it holds two bags: the deep red backpack and the blue hip bag. A two-player group can leave with both players carrying more equipment, or one player can equip both pieces.
All four hip bag locations
Yellow hip bag — 1860, 3750
Search the mountainside northwest of the Green Tower. The yellow hip bag is waiting in the blue shelter at 1860, 3750.
Green hip bag — 1330, 3440
The green hip bag sits northwest of the Map Room and southwest of the Yellow Tower. Those two landmarks make this one easier to triangulate once the map is available.
Red hip bag — 3220, 1720
Head northeast from the Yellow Tower to find the red hip bag at 3220, 1720. Keep checking for the blue shelter instead of looking for the small bag from a distance.
Blue hip bag — 4340, 2025
The blue hip bag shares the southeast shelter with the deep red backpack. Take the chairlift down and continue southeast. Because both items are in the same structure, this is the most efficient stop for a group that needs two bags at once.
What can you carry in a bag?
Backpacks and hip bags are meant for the normal tools and toys you find while exploring. They are useful for keeping walkie-talkies, binoculars, small puzzle objects, and other portable items with the group.
Not every object fits. Large round lanterns, for example, still need to be carried normally. If an item will not attach to the bag, keep it in your hands or ask another player to carry it.
The extra space matters most when your group splits up. One player can keep a communication tool stored while carrying the object needed for a nearby puzzle. That reduces the number of return trips and makes it less likely that a useful item gets forgotten on the other side of the island.
How to unlock the Big Pack achievement
To unlock Big Pack, find a backpack and have another player equip it on your character. Simply holding the backpack is not enough; it needs to be attached to your back.
If the achievement does not appear immediately, confirm that you equipped a full backpack rather than the smaller triangular hip bag. You can also try removing the backpack and having your friend attach it again.
Best way to divide bags in a group
For two players, give each person a backpack first. If you later find hip bags, either split them evenly or let the player who carries puzzle tools wear both types.
For larger groups, spread the bags around. Big Walk often separates players or changes how clearly they can communicate. Keeping all the tools on one person can slow everyone down if that player takes a different path.
A simple setup is:
- one player carries communication tools;
- one player carries lanterns or puzzle objects;
- one player carries navigation tools;
- everyone else keeps at least one hand free for passing objects and helping with challenges.
The bags do not replace teamwork, but they make a long walk much easier to organize.
Frequently asked questions
How many bags are in Big Walk?
There are 10 bags: six backpacks and four hip bags. They are found in nine blue shelters because the far-southeast shelter contains one of each.
Are hip bags, hip packs, and hip pouches the same?
Hip pack and hip pouch are common search terms for the same four smaller hip bags in this guide. A hip bag attaches at the waist, can be worn with a backpack, and stores one item.
Can one player wear a backpack and a hip bag?
Yes. A player can wear both types at the same time and still carry another item in their hands.
Can you equip a bag by yourself?
No. Another player must pick up the bag and attach it to your character.
Do bag colors change their capacity?
No. Choose the colors you like or take whichever bags are closest. Backpacks share the same function, and the hip bags share the same function.
Can bags hold lanterns?
The large round lanterns do not attach to bags. Carry them normally or give them to another player.
Is Big Walk playable alone?
Big Walk is designed for cooperative multiplayer and requires at least two players to make meaningful progress. The official FAQ confirms that there is no full single-player mode.
For more help before exploring, read our Big Walk release, crossplay, and player-count guide. PC and Mac players can also check the Big Walk system requirements guide.