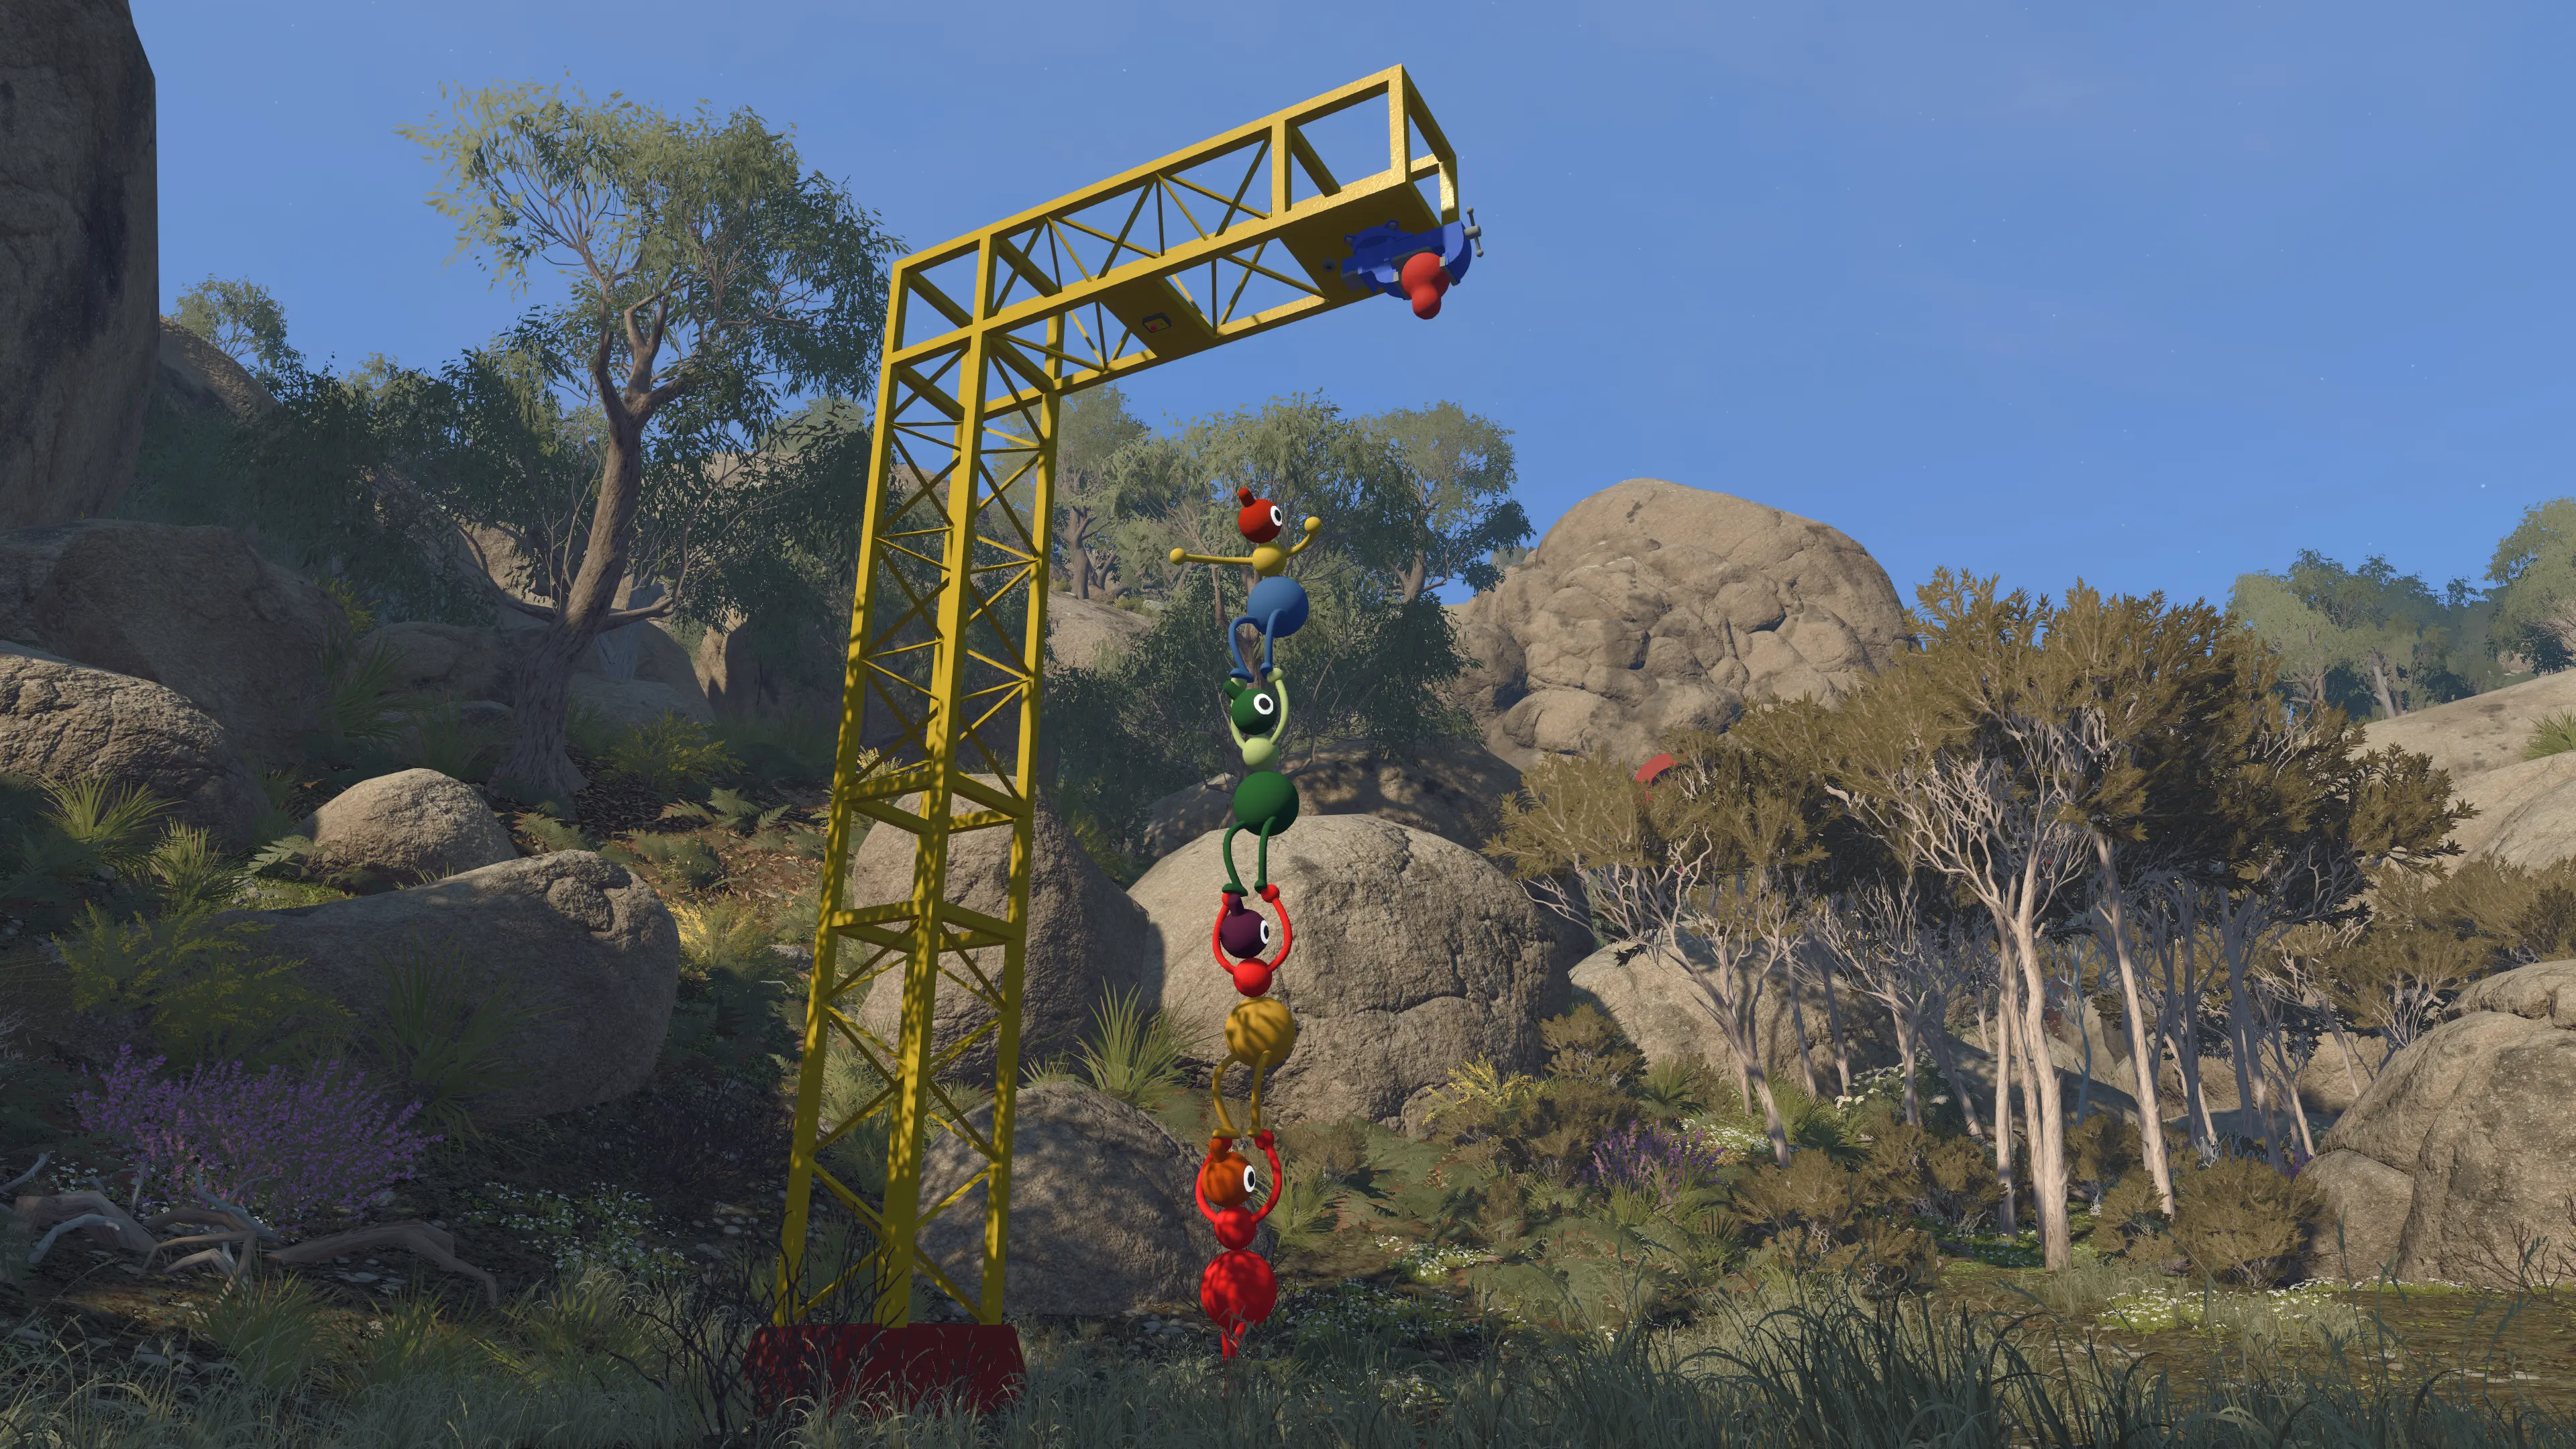
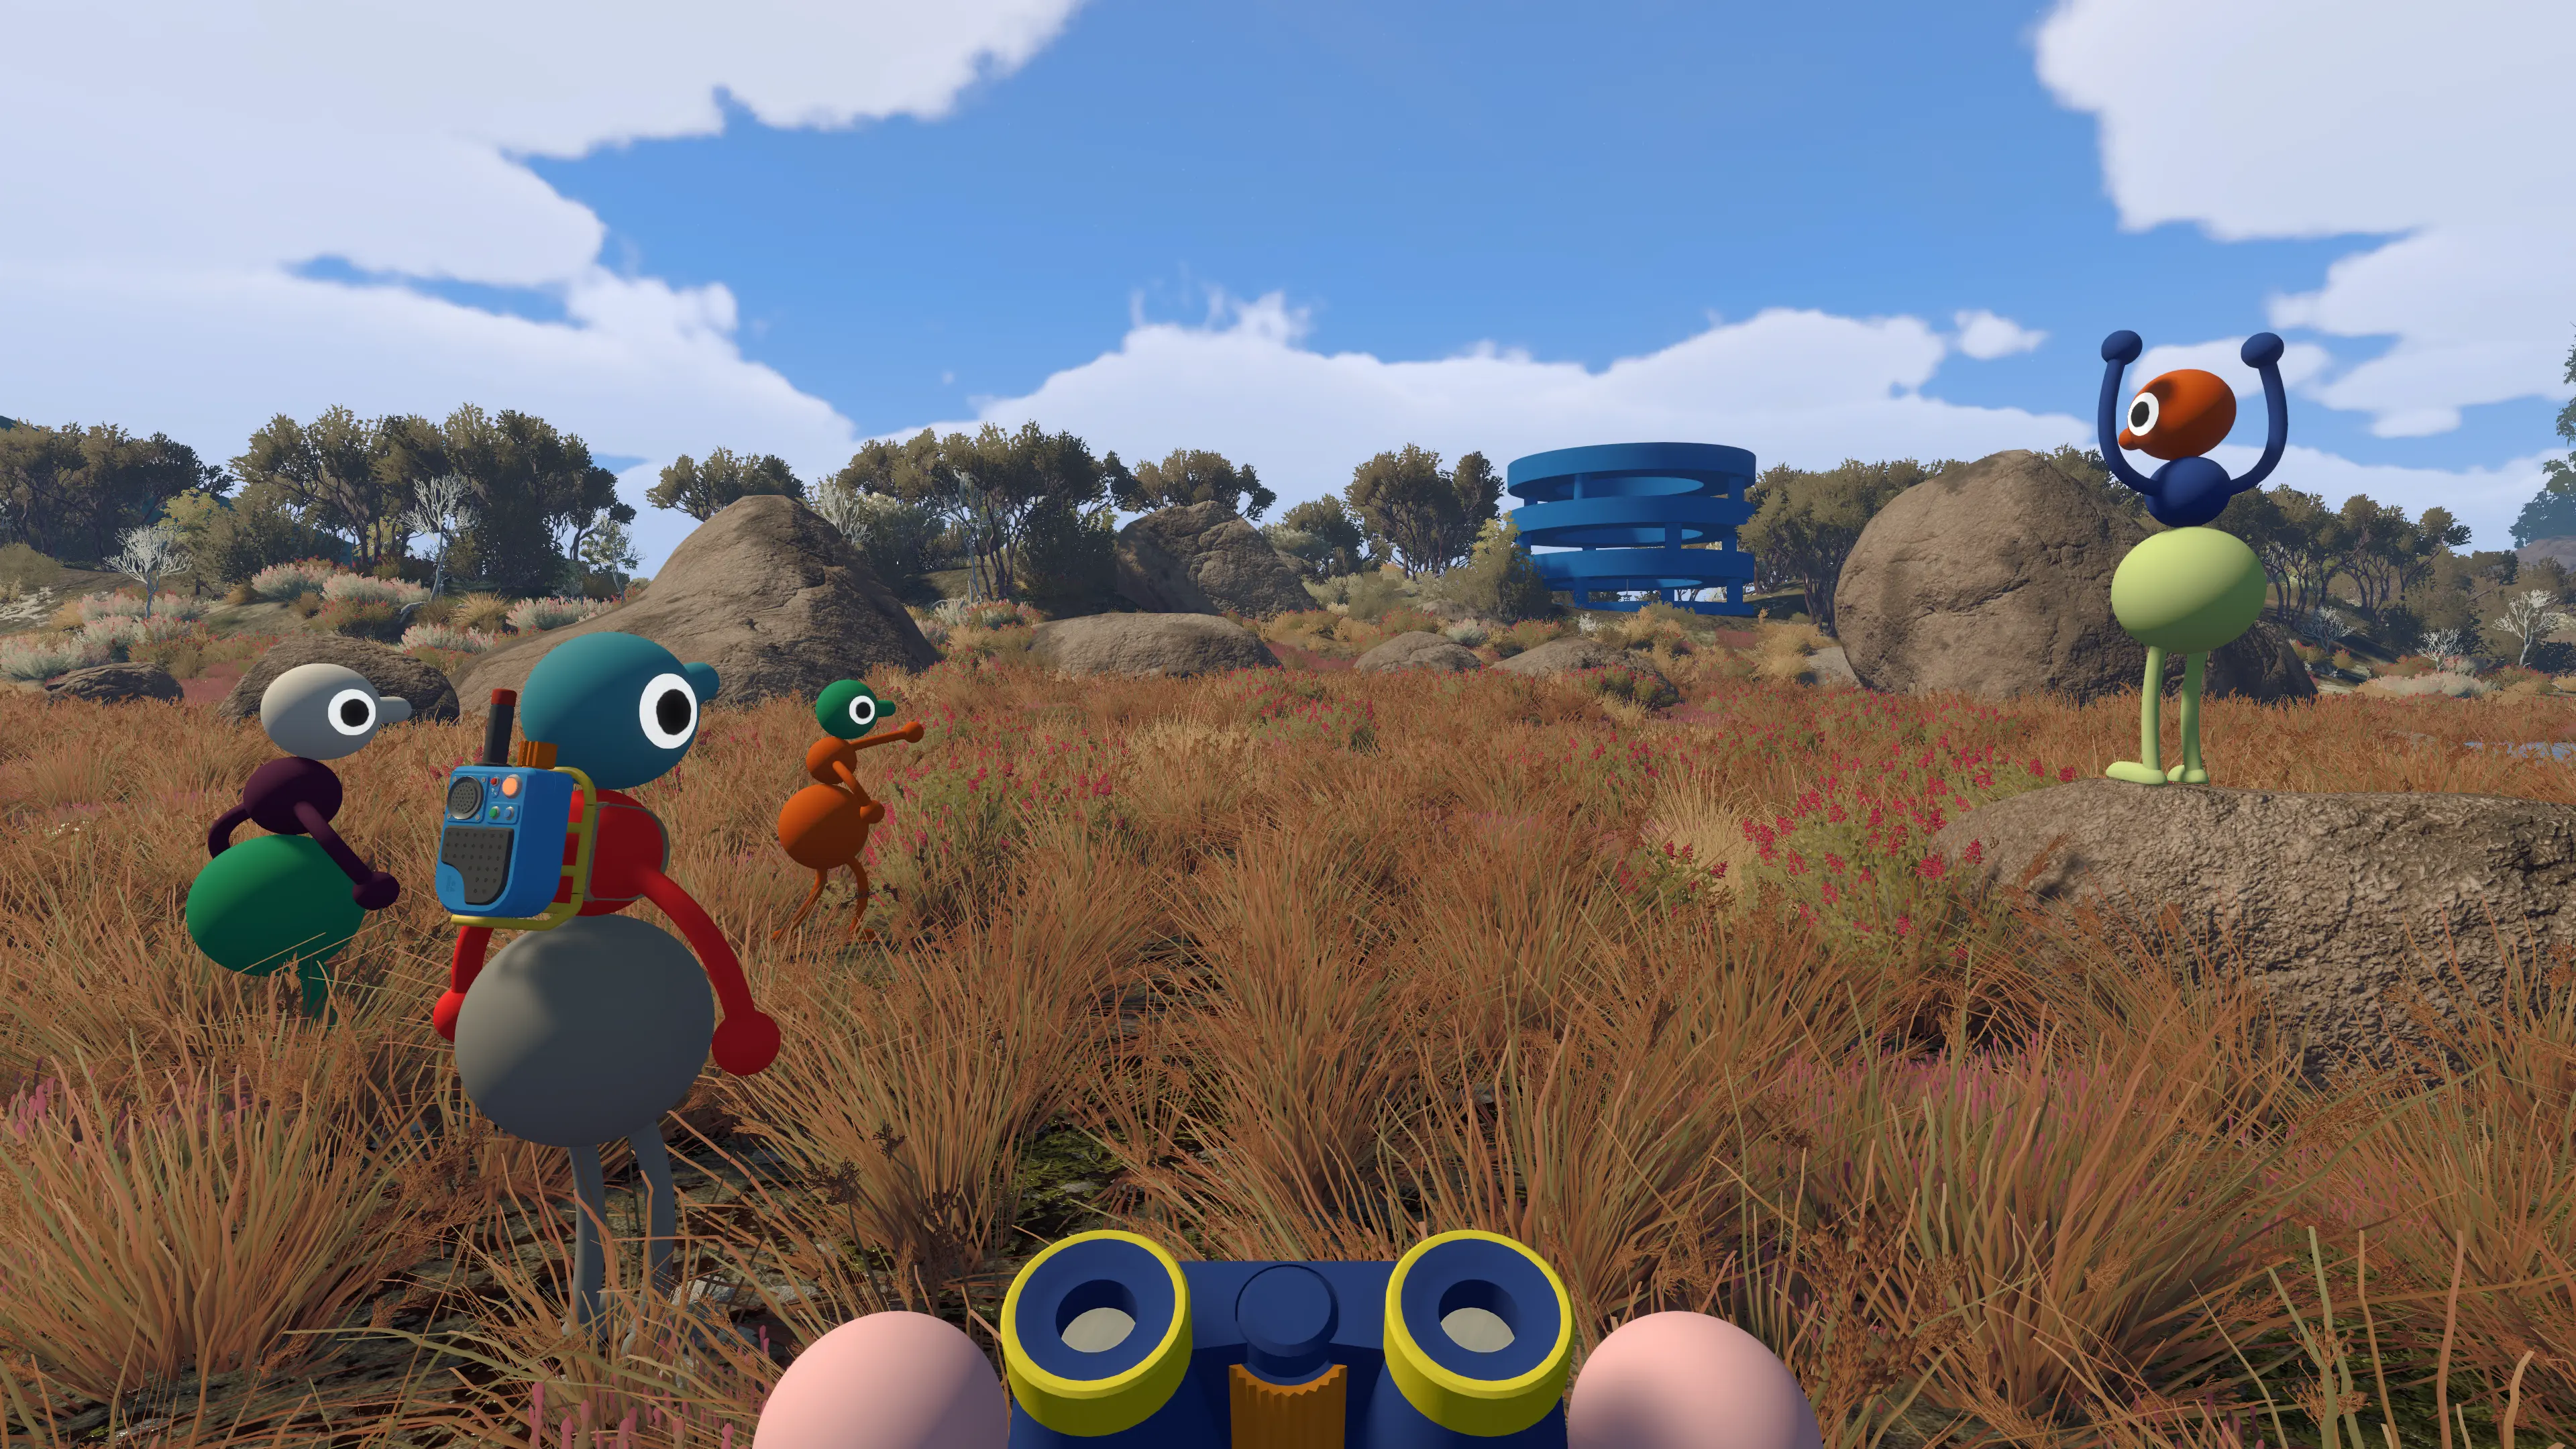
The Big Walk Map Room is the blue building below the Red Tower, at about 3560, 1425. There is no loose key to find: complete five co-op puzzles, insert their red pieces into the control panel at the top of the Red Tower, and collect the golden key that comes out behind it.
Run the blank key through all five cutters, starting beside the Red Tower door and following each arrow down the mountain. The final cutter is left of the Map Room staircase; use the finished key in the slot beside the door.
Where to Get the Big Walk Red Tower Key
The key appears only after the fifth red puzzle piece is installed in the tower panel. It exits from the back of the panel, so walk around it if you do not see the key immediately.
Do not take the blank key straight to the Map Room. Use the cutter beside the Red Tower door first, then follow each arrow down the mountain. The fifth cutter sits left of the Map Room staircase; after that cut, the key fits the slot beside the door.
Big Walk Map Room solution at a glance
- Unlock the crosswalk so your group can reach the Red Tower region.
- Find the Red Tower at approximately 3670, 1400.
- Complete five puzzles and collect their red control-panel pieces.
- Insert all five pieces into the panel on the Red Tower.
- Take the golden key that comes out of the panel.
- Use the five key cutters in the order shown by the arrows.
- Insert the finished key into the Map Room door at approximately 3560, 1425.
The five puzzles below are the closest convenient set, but the control panel is not tied to these exact challenges. Pieces earned from other puzzles can also work. If your group has already solved challenges elsewhere, check the Red Tower panel before repeating anything.
Where to find the Red Tower and Map Room
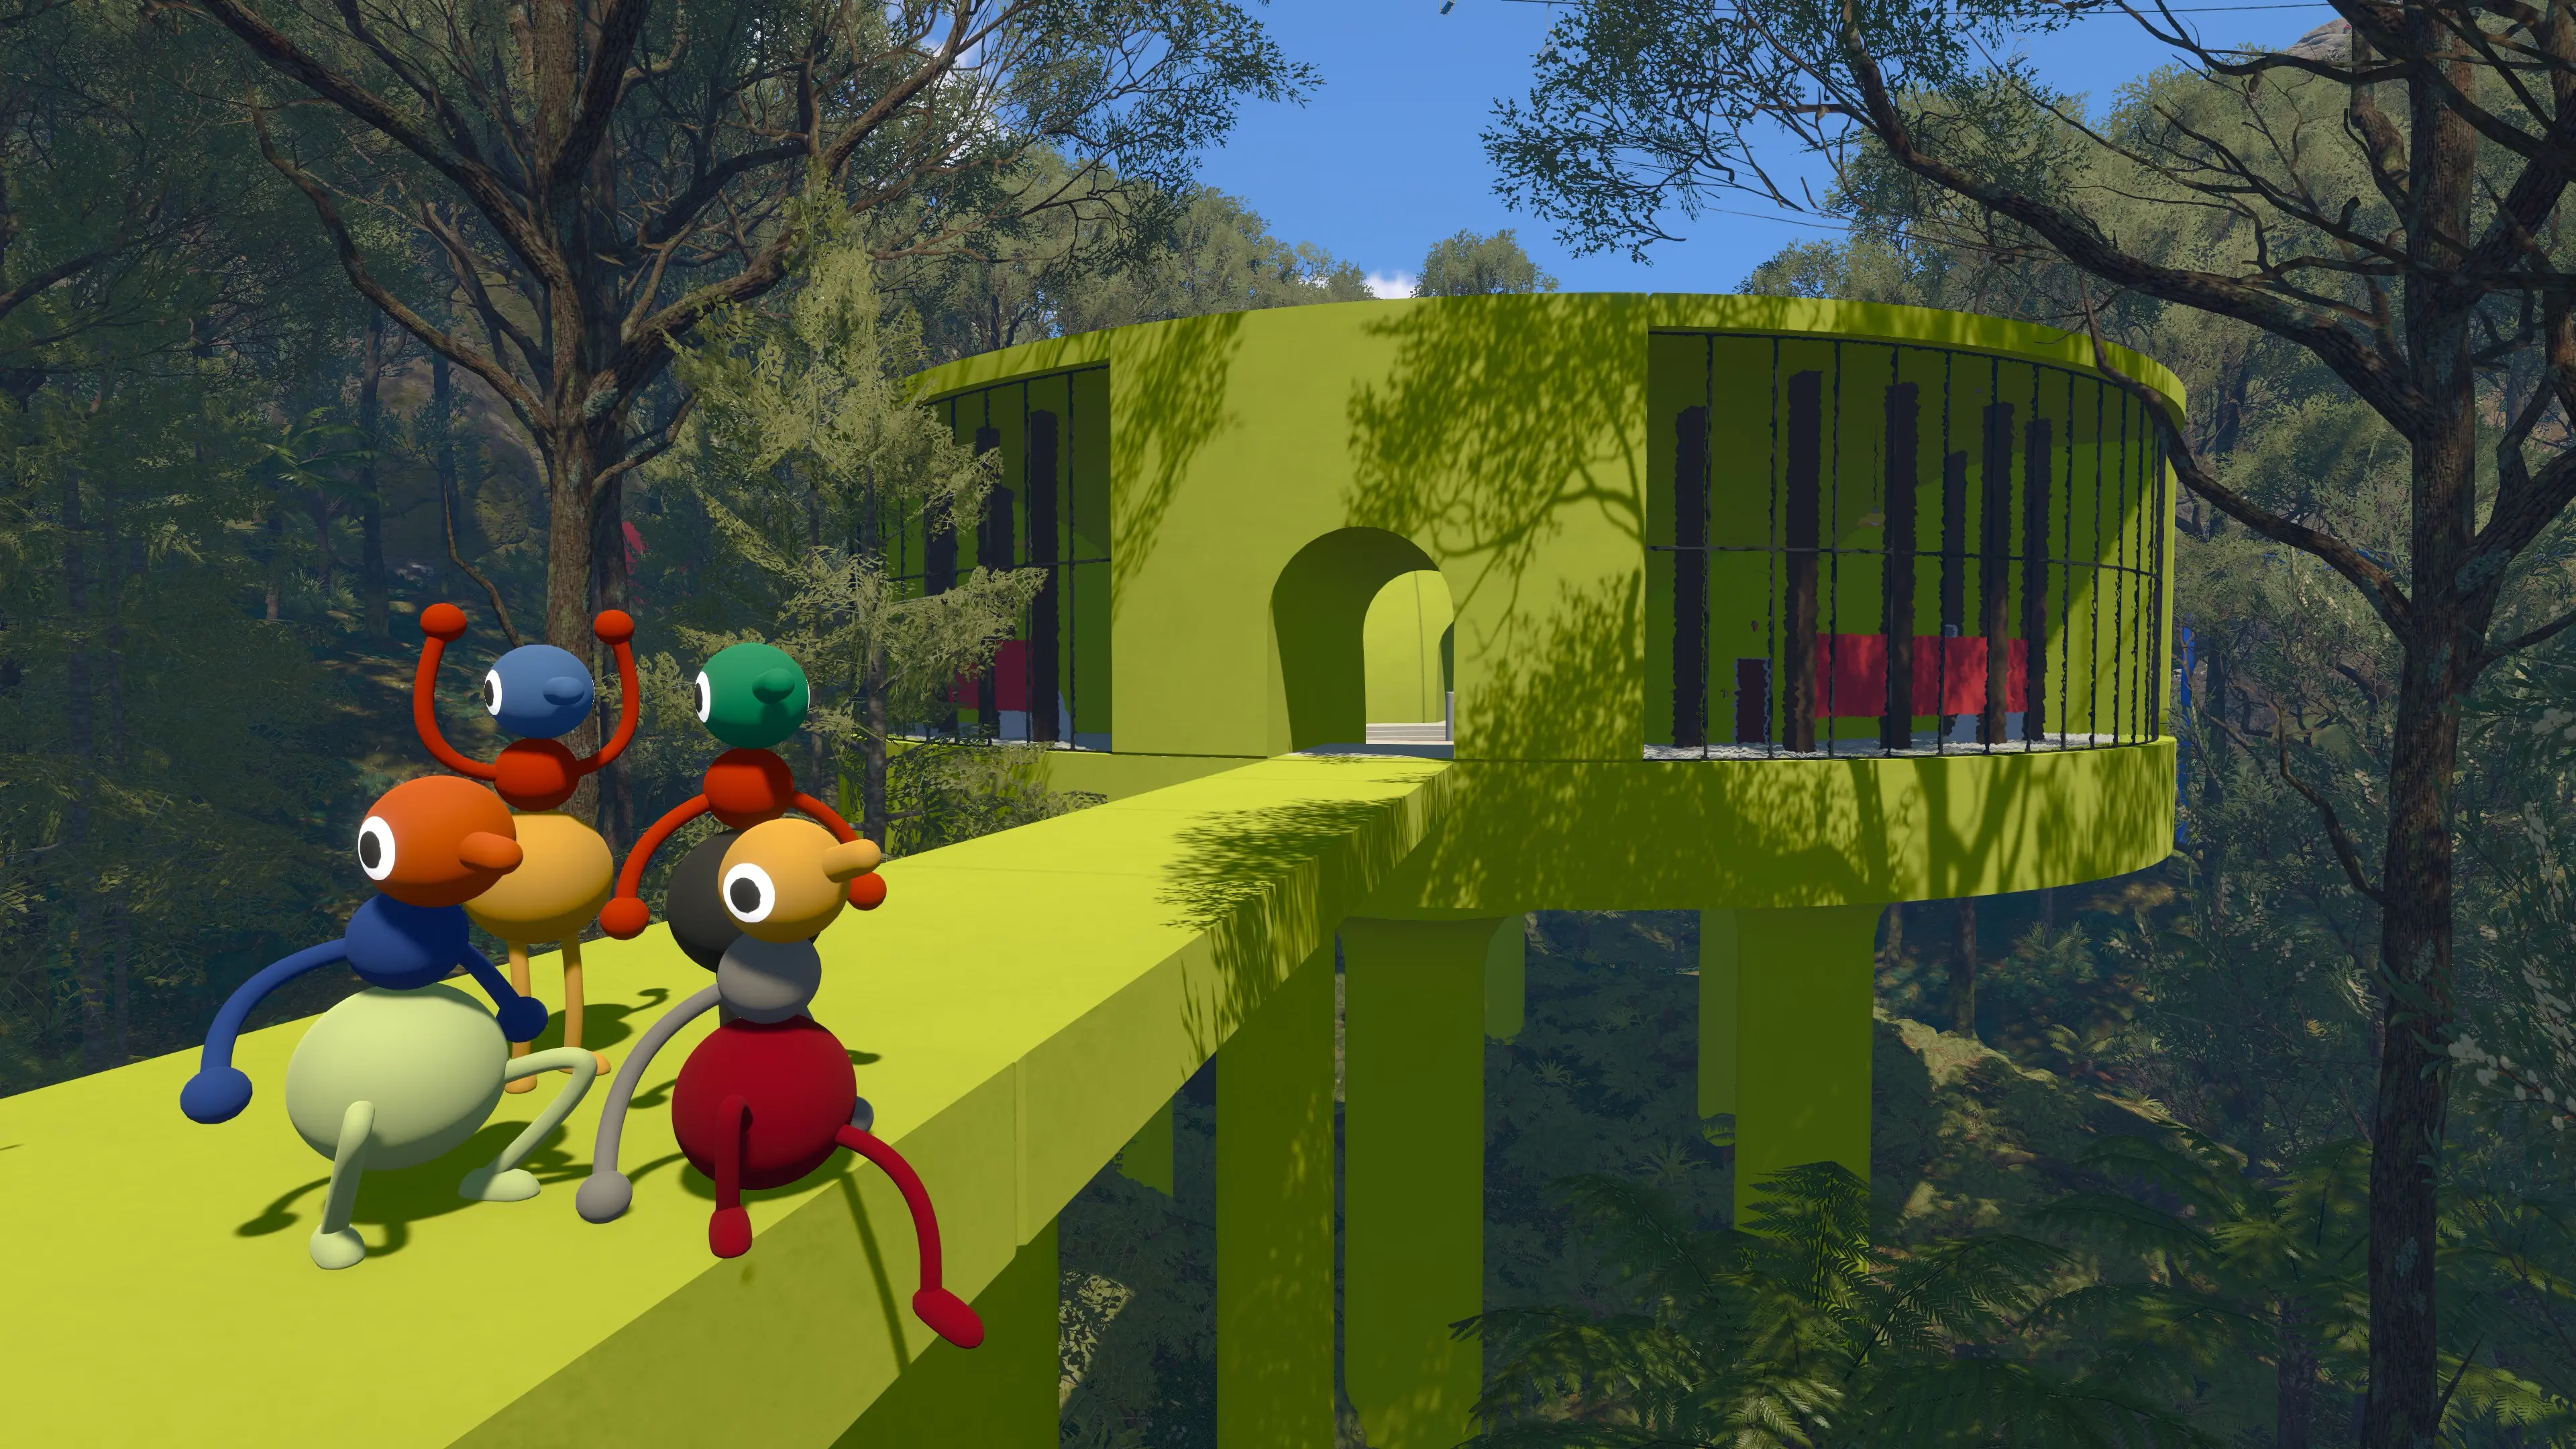
The Map Room is a large blue building with a long red staircase. After crossing into the region, look for two large red circular platforms and the blue building beyond them.
The Red Tower is on the mountain above that building. When you approach the Map Room area, turn back toward the path you just used. A second path climbs the mountain and leads to the tower.
- Map Room: around 3560, 1425
- Red Tower: around 3670, 1400
You will not have the in-game map yet, so coordinates are mainly useful if you return later. On your first visit, follow the crosswalk, red platforms, red staircase, and mountain path.
All five Red Tower puzzles
- Silent Room — 3760, 1430 — Signal the correct buttons through soundproof glass
- Beach Maze — 3840, 1350 — Pass a timer between two separated paths
- Heavy Ball — 3740, 1620 — Move a ball by taking it from player to player
- Basketball Hoop — 3830, 1560 — Throw lanterns through the hoop until the meter fills
- Cannon Timer — 3880, 1520 — Fire, catch, return, and insert the timer before it expires
The game changes some puzzle requirements depending on whether the host selected the 2-player, 3-player, or 4+ player version of the world. The logic stays the same, but you may see more targets or a larger requirement.
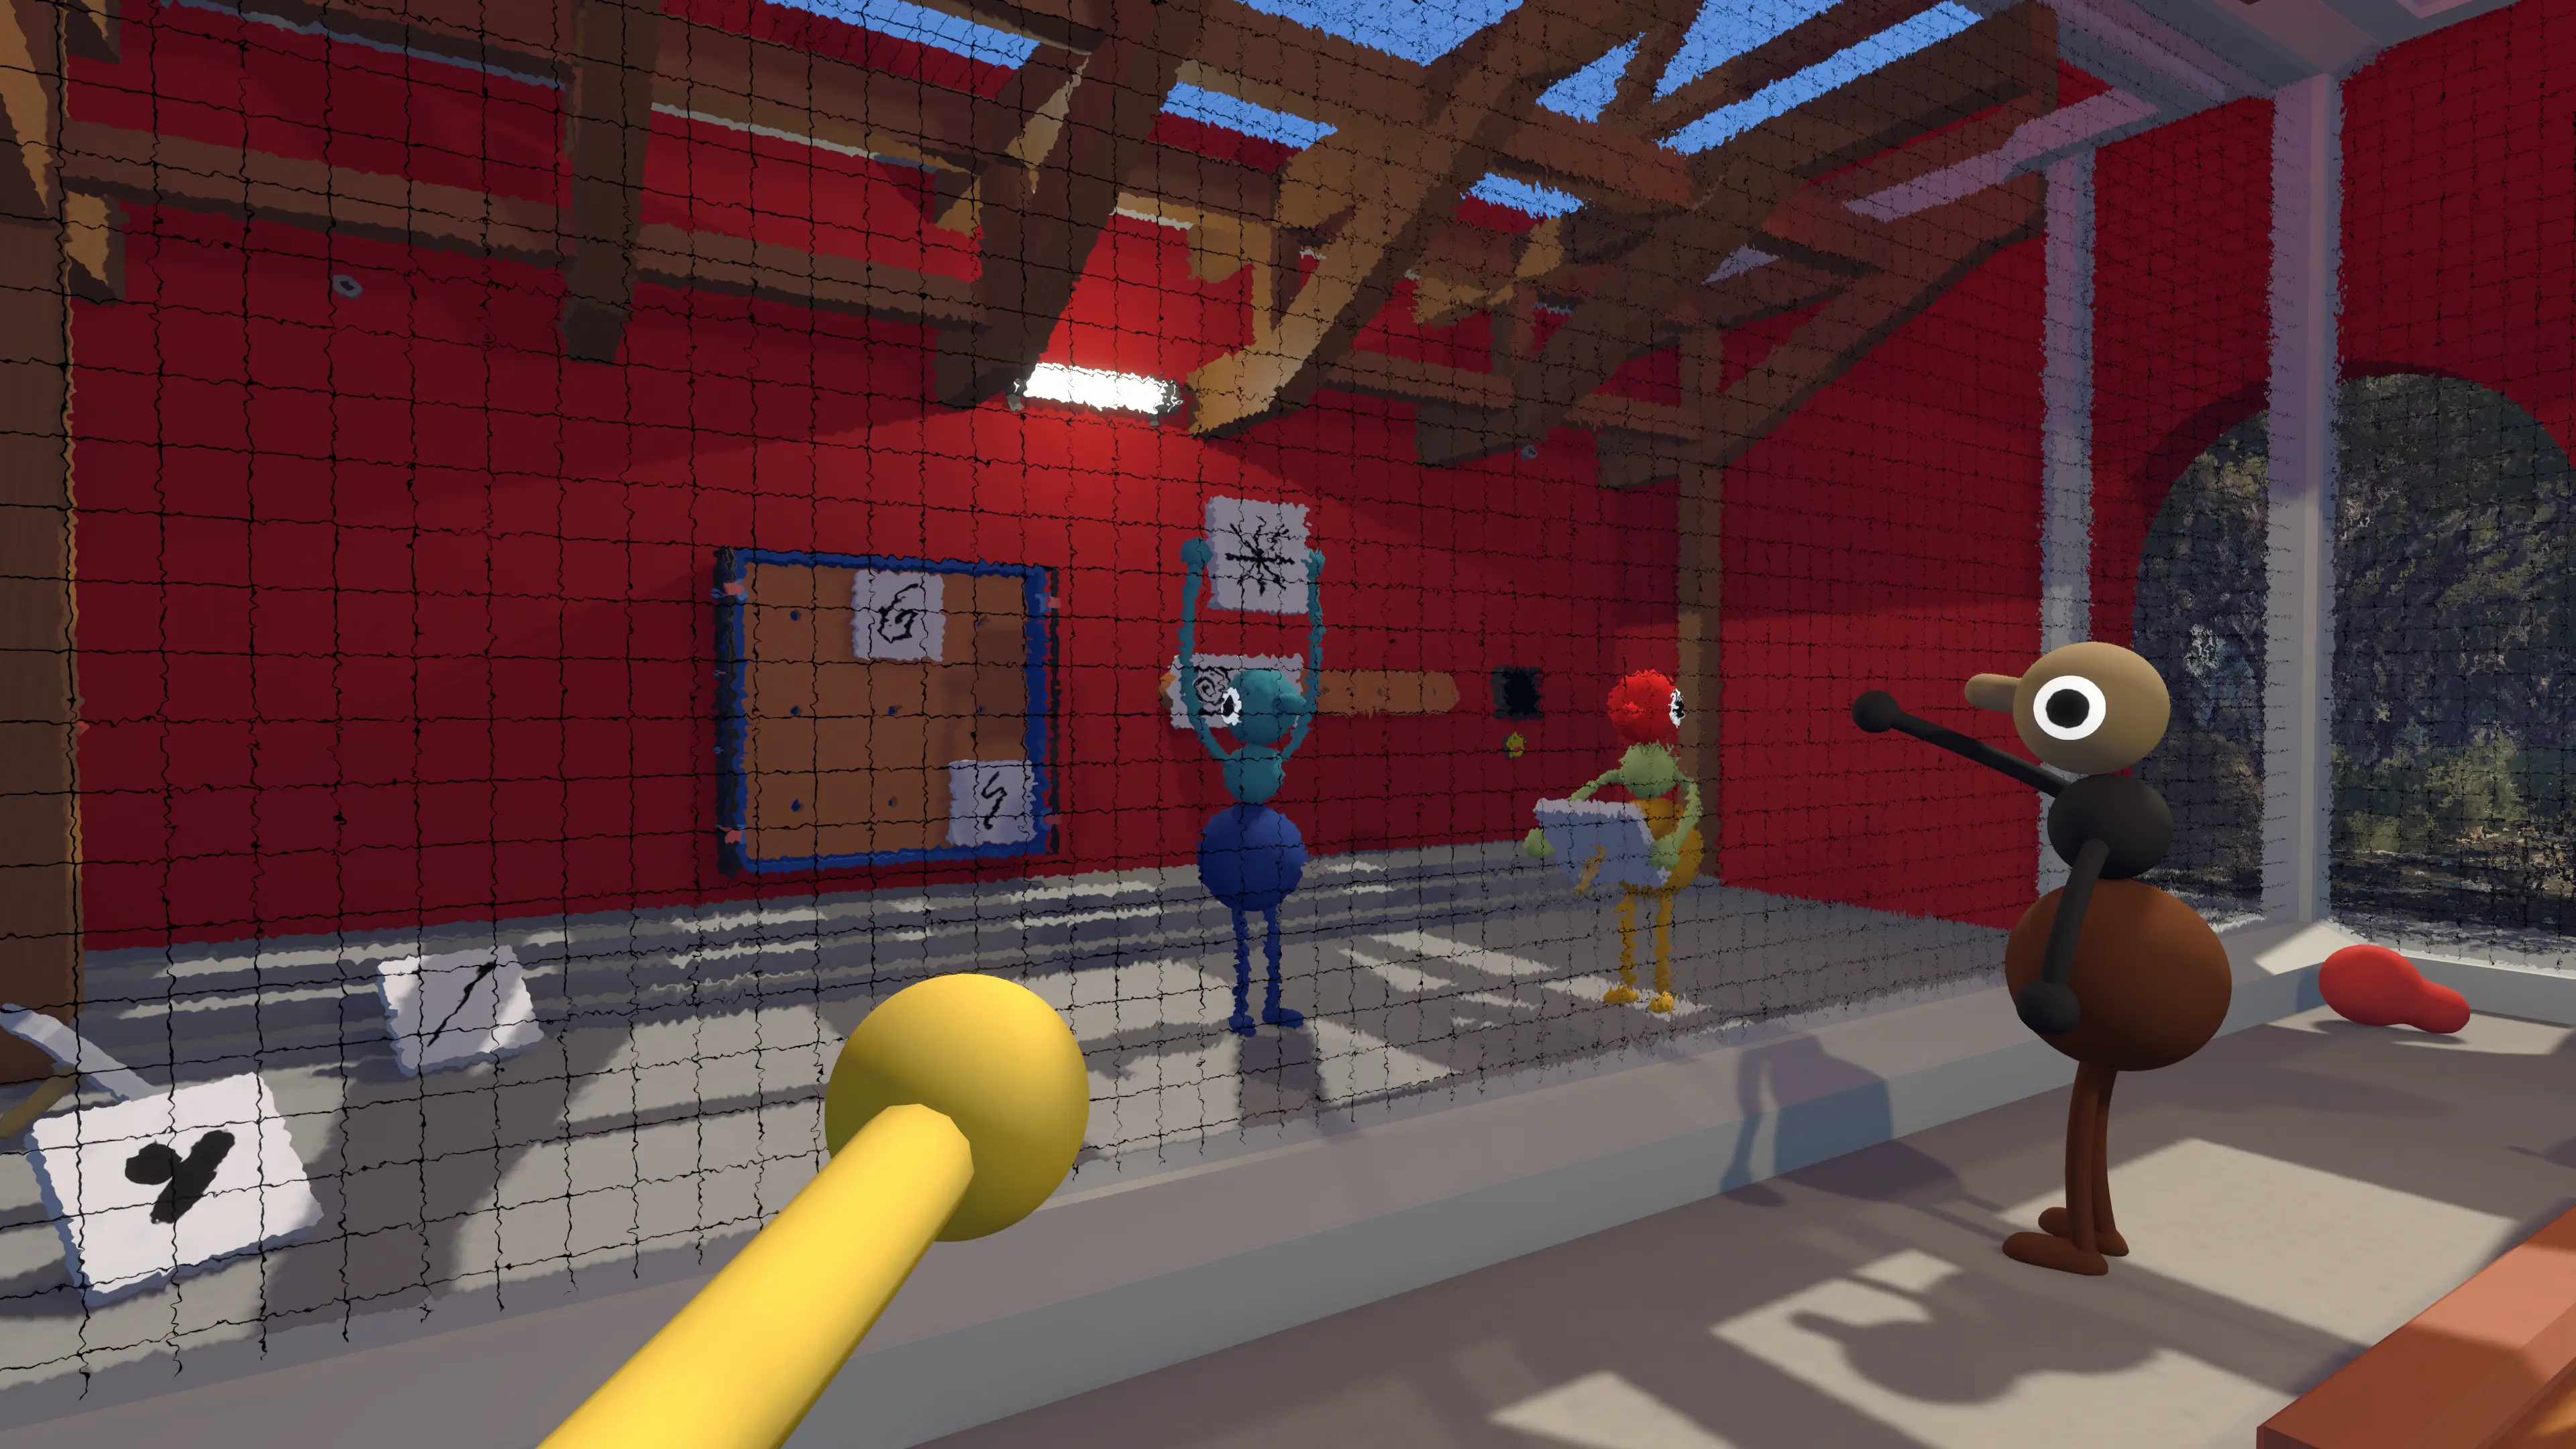
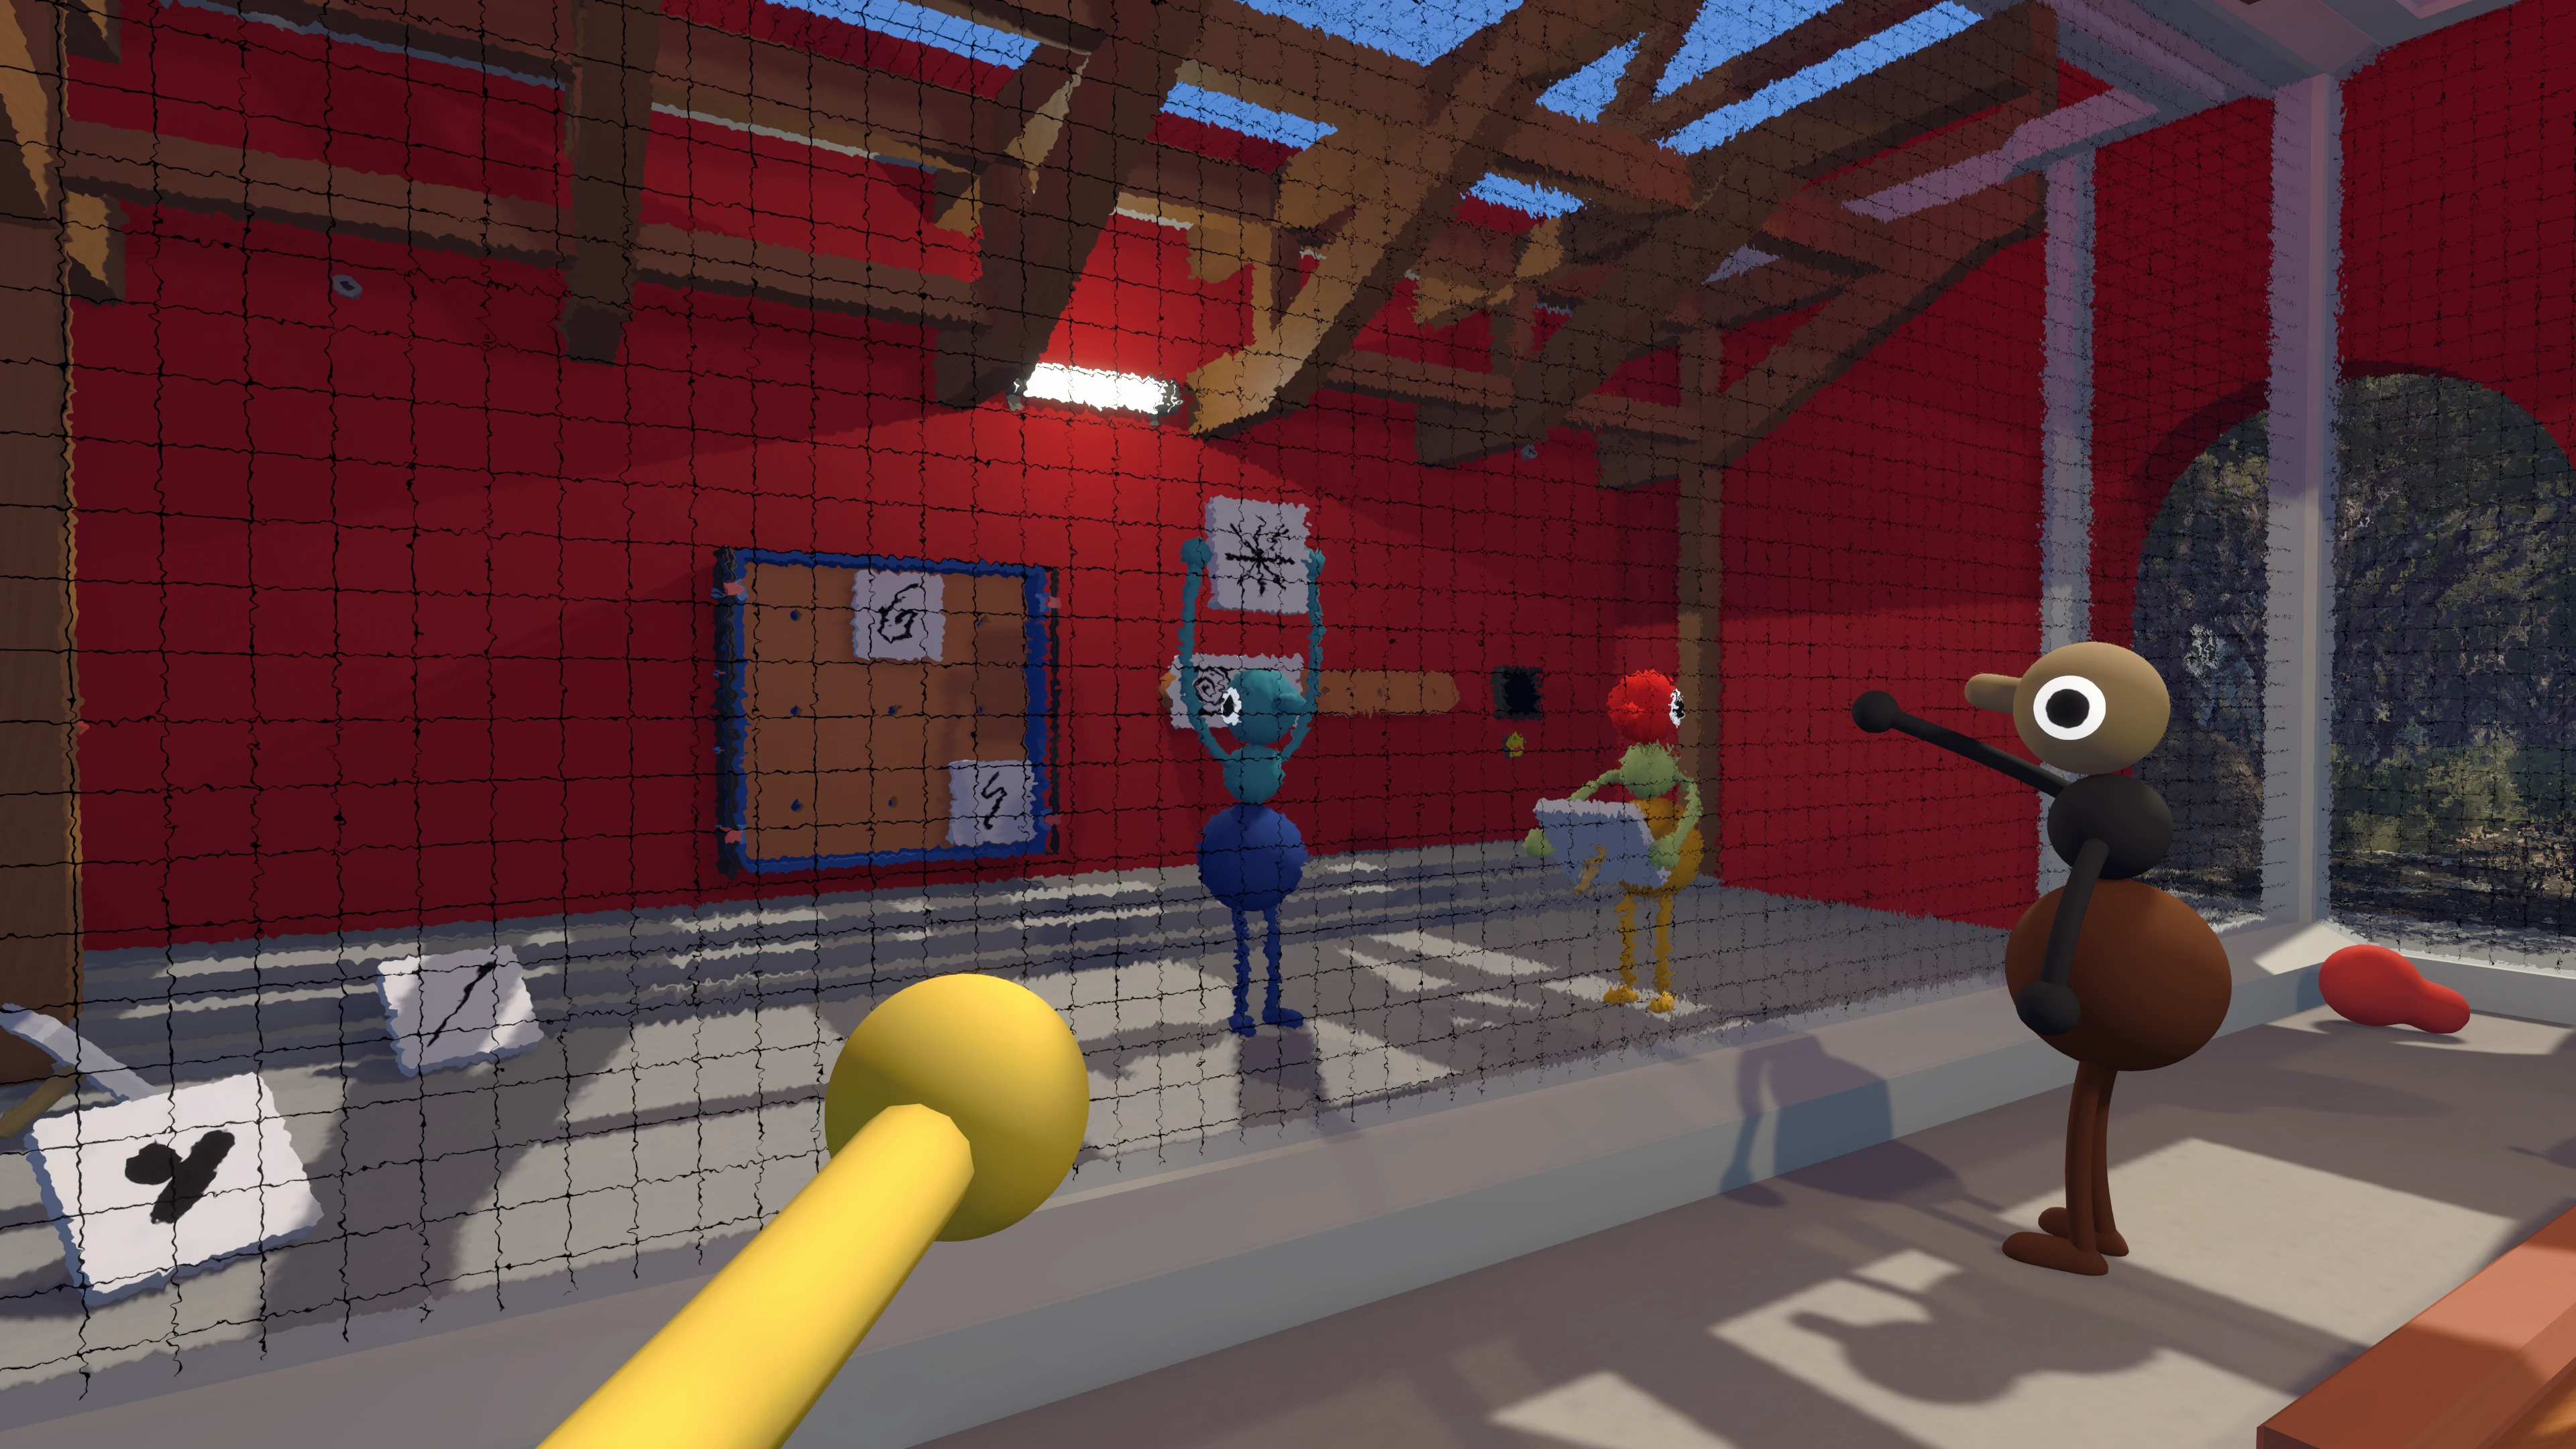
Puzzle 1: Silent Room solution
The Silent Room is in the green building near the bottom of the path leading away from the Red Tower. Its approximate coordinate is 3760, 1430.
Inside the building, you will see a glass room with a semicircular panel. Five buttons are mounted outside the glass.
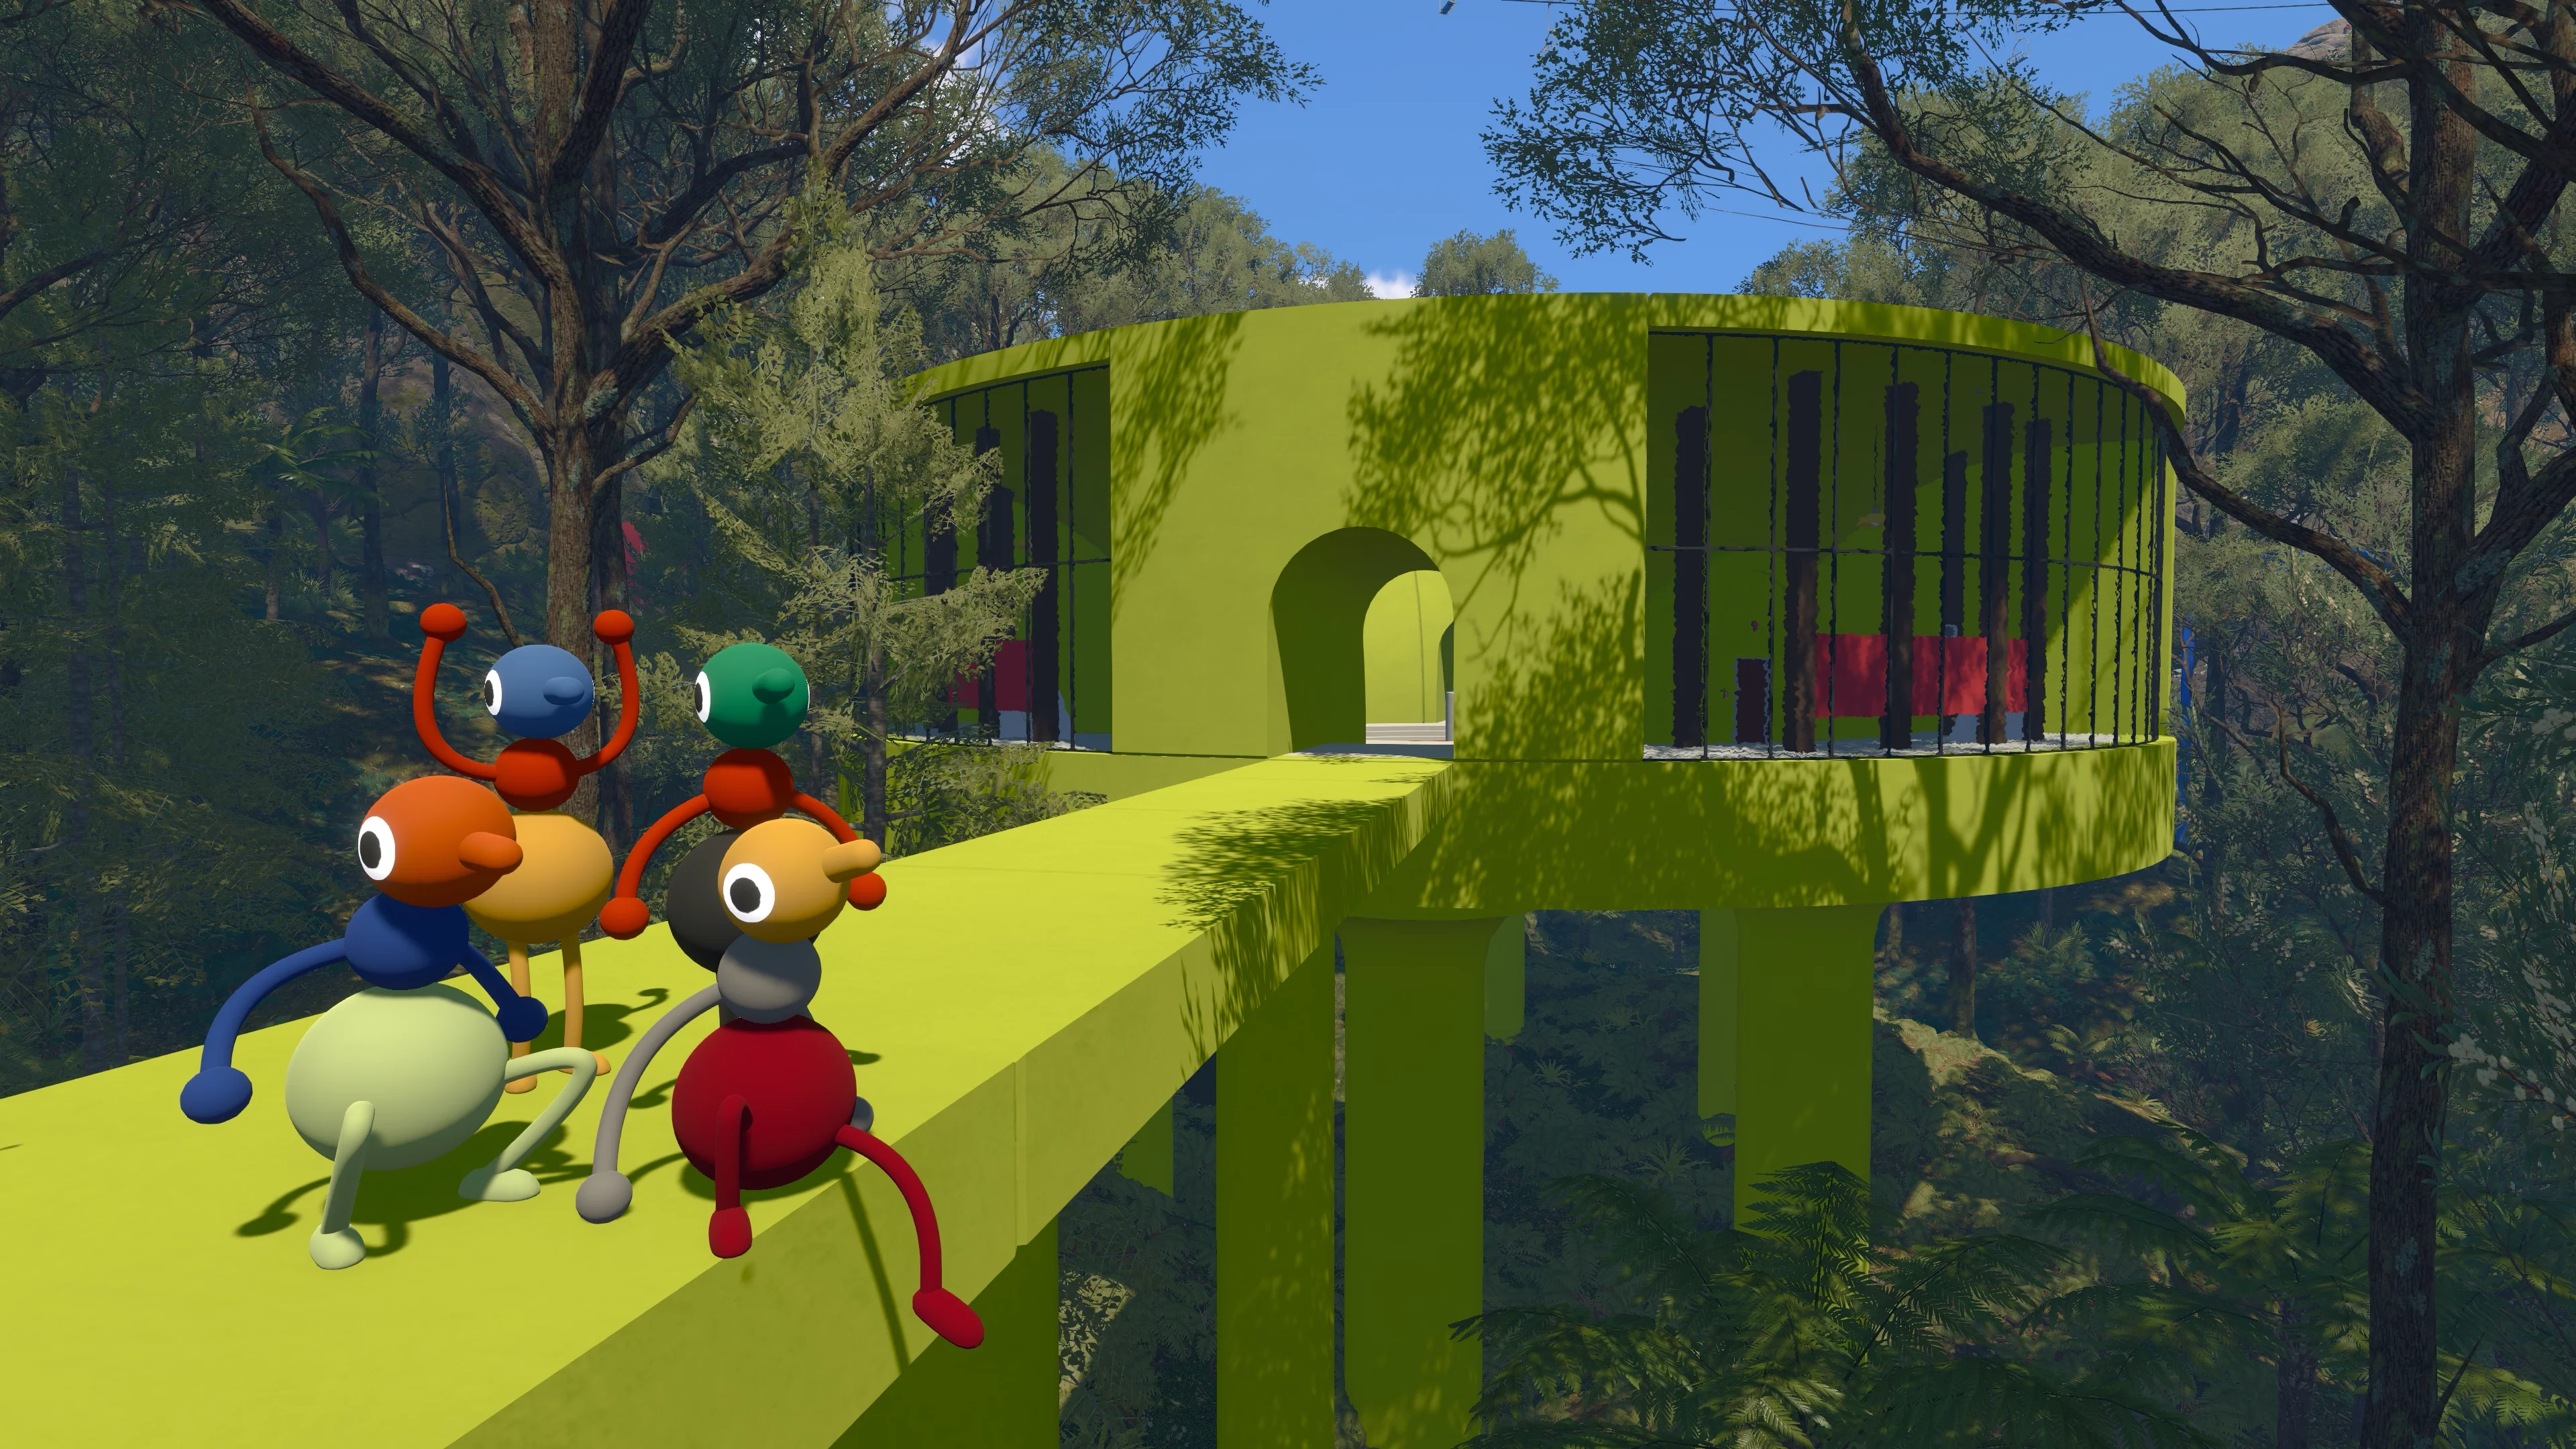
- One player enters the glass room.
- The door locks behind that player.
- Watch the semicircular panel until one stone lights up.
- The player inside points toward the matching button.
- A player outside presses that button.
- Repeat until the black progress display is full.
With the glass blocking normal communication, pointing is the safest method. Agree on a simple left-to-right numbering system before the inside player closes the door. If there are five buttons, calling them one through five with hand gestures prevents confusion.
The nearby guide route requires 10 correct inputs. If your world version presents a different requirement, keep following the same pattern until the display completes and the red panel piece appears.
Puzzle 2: Beach Maze solution
The maze is southwest of the Silent Room and Red Tower at approximately 3840, 1350. It divides two players onto separate routes.
One path begins beside a timer, while the other ends beside a holder for that timer. A small window near the far end lets the players pass the object between paths.
- Put one player on each side of the maze.
- The first player picks up the timer and follows their path.
- The second player follows the opposite path toward the window.
- Meet at the window and pass the timer through.
- The second player carries it to the holder and inserts it.
Do not start the timer before both players understand their routes. Walk the paths once without the object if necessary, then reset and make the timed attempt. Keeping both players moving at the same pace makes the handoff much easier.
Puzzle 3: Heavy Ball solution
The heavy-ball challenge is southeast of the Red Tower at approximately 3740, 1620. Look for a dark blue-purple platform in the forest and a large ball resting on a spike.
The important rule is that the player holding the ball cannot walk. Your group moves it by passing control from one stationary player to another.
- One player takes the ball from the starting point.
- A second player stands several steps ahead.
- The second player takes the ball from the first player.
- The first player moves ahead and takes it back.
- Continue leapfrogging until the ball reaches the goal platform up the mountain.
Do not throw the ball. Treat the puzzle like a relay where possession changes every time the group wants to move forward. In a larger group, form a short chain and pass possession along the route.
Puzzle 4: Basketball Hoop solution
The basketball challenge is in the same forest region at approximately 3830, 1560. It has a hoop and a meter that fills when the group scores with lanterns.
Bring at least one round lantern. Stand close enough to control the arc, then throw it through the hoop and repeat until the meter fills.
In a 2-player world, one documented solution required eight successful baskets. Treat the meter as the final authority because the requirement can change with the world version chosen by the host.
If your shots keep hitting the rim, move slightly closer and use a gentler throw. A second lantern lets two players shoot in quick succession, but one lantern is enough if you retrieve it after each attempt.
Puzzle 5: Cannon Timer solution
The cannon challenge is visible from the Red Tower and sits near a small train station at approximately 3880, 1520.
This puzzle needs at least two clear roles:
- the launcher activates the device on the left side of the yellow platform;
- the catcher waits in the field where the tomato-shaped timer lands.
When the launcher fires the timer, the catcher grabs it and throws it back up. The launcher then inserts it into the hole on the green pedestal at the right side of the platform.
Position the catcher before firing. The timer gives you limited time, and running into the field after the launch wastes the easiest part of the attempt. If the throw back is difficult, have the launcher stand close to the platform edge and use a short, controlled pass.
How to use the Red Tower control panel
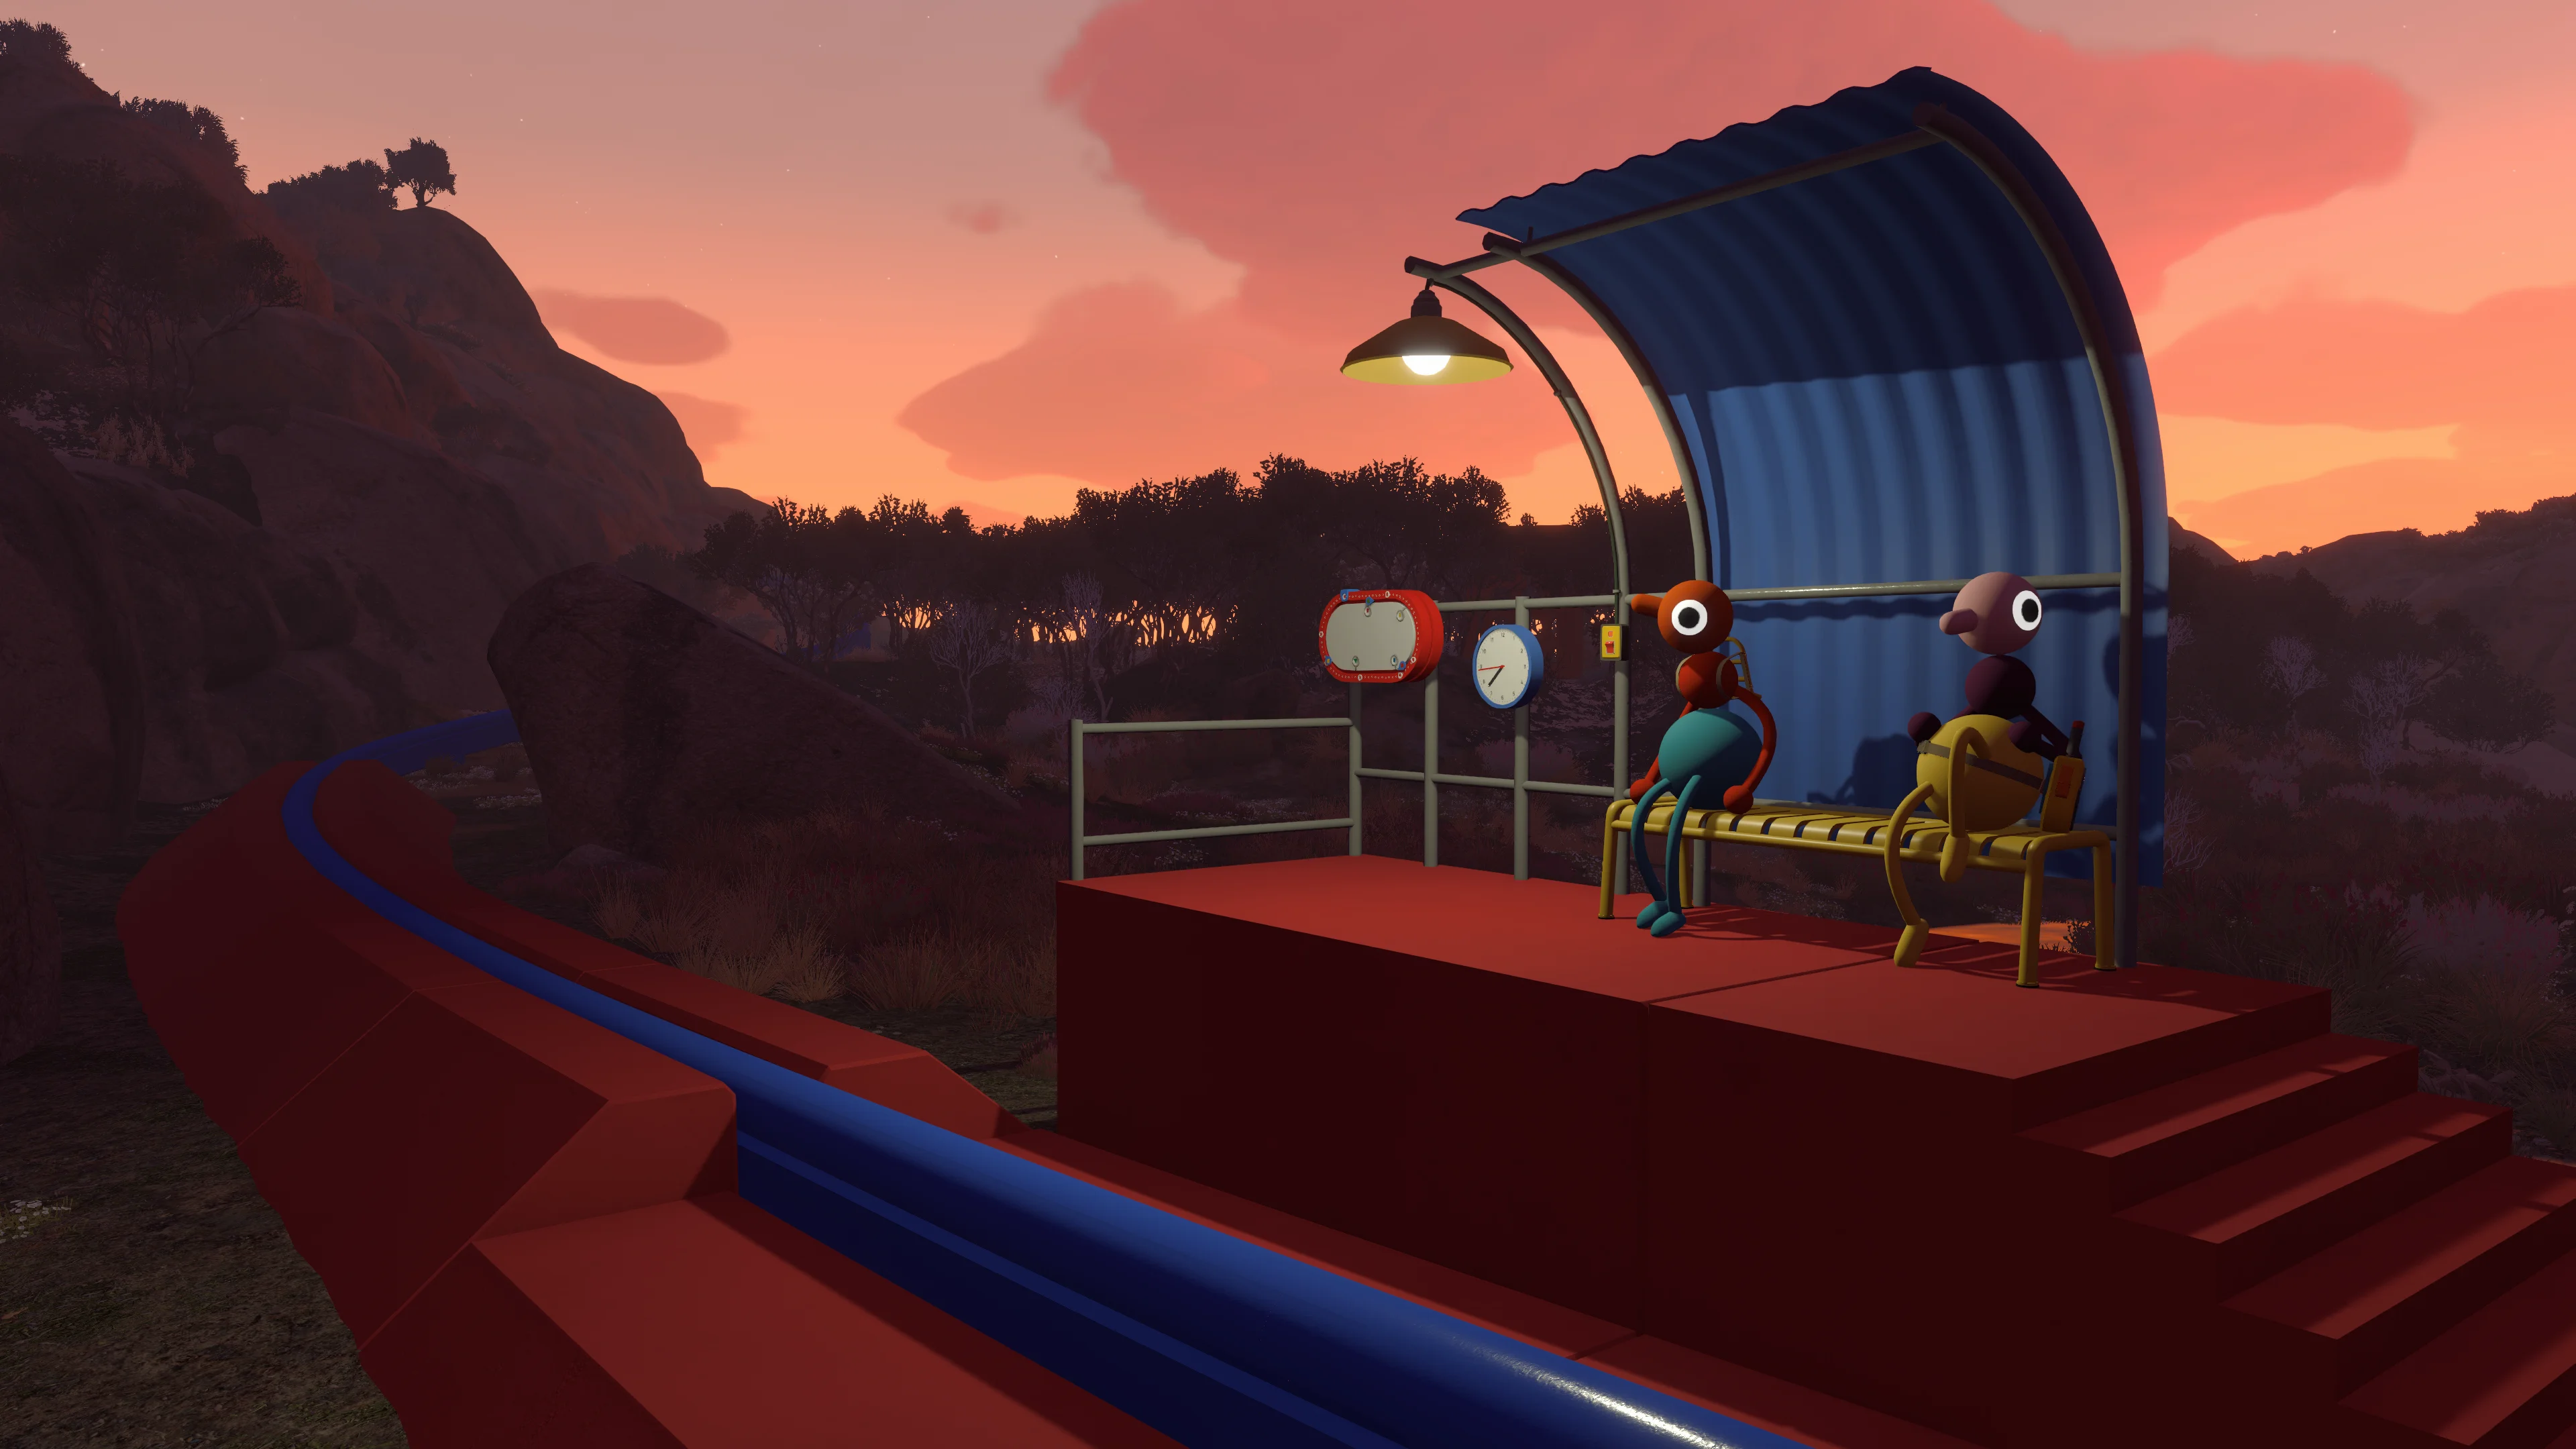
Return to the top of the Red Tower after collecting five red pieces. Insert each piece into an empty slot on the control panel.
When the fifth piece is installed, a large golden key comes out of the back of the panel. Pick it up, but do not walk directly to the Map Room door yet. The key starts as a blank and must pass through five cutters to match the lock.
All five key cutters
The key-cutting route runs down the mountain toward the Map Room. Each cutter points toward the next one, so follow the arrows rather than trying to move in a straight line.
Key cutter 1
The first cutter is beside the Red Tower door. Insert the golden key, wait for it to be shaped, and follow the arrow down the mountain path.
Key cutter 2
The second cutter is near the edge of the path beside several rocks. Use it and continue in the direction of its arrow.
Key cutter 3
The third cutter is near a tree farther down the route. It points toward the lower path and the entrance to the red area.
Key cutter 4
The fourth cutter is at the edge of the area with the two large red circular platforms. After using it, follow the arrow toward the Map Room staircase.
Key cutter 5
The final cutter is to the left of the staircase leading to the Map Room entrance. Shape the key one last time, carry it up the stairs, and place it in the slot beside the door.
The door opens once the correctly shaped key is inserted, giving the group access to the island map.
What to do if a puzzle is not working
Check for the old-save reset bug
Version 1.5.1 fixed a bug affecting a challenge in saves made before version 1.4.9: it could reset after completion and become impossible to finish. The patch notes do not name the affected challenge. If that matches what happened in your save, update the game before retrying; do not assume that repeating the same puzzle inputs will fix it.
Check the selected world version
The host chooses a 2-player, 3-player, or 4+ player version when starting the session. Some targets and requirements change to match that choice. Make sure enough players are present for the version the host selected.
Use in-game communication
Big Walk is built around proximity voice and text chat. Soundproof rooms and distance intentionally change how communication works. The Silent Room, for example, expects the player inside to use gestures rather than an outside voice app.
Try another puzzle
The Red Tower needs five pieces, but they do not have to come from the five challenges listed here. If one puzzle is giving your group trouble, solve another challenge and check whether its piece fits the panel.
Enable challenge skipping for accessibility
The official Big Walk FAQ says the host can enable challenge skipping from the accessibility menu when starting a session. This option exists for challenges involving hearing, reading, speaking, typing, reaction speed, or fine motor control.
Frequently asked questions
What does the Map Room unlock?
It gives your group access to the Big Walk island map, making later navigation and coordinate-based searches much easier.
Do you need to complete the five puzzles in this exact order?
No. The order does not matter, and the panel can accept pieces earned from other puzzles. This route is recommended because all five challenges are close to the Red Tower.
Does Big Walk scale puzzles for different group sizes?
Yes. The host selects a 2-player, 3-player, or 4+ player world. Some targets and requirements change, but the basic solution remains the same.
Can you unlock the Map Room alone?
No. Big Walk is a co-op game, and these challenges depend on teamwork. The official FAQ states that there is no complete single-player mode.
Does the host need to be present?
Yes. The host owns the save and must start the session before other players can reconnect and continue the group’s progress.
Before starting the route, read our Big Walk release, crossplay, and player-count guide. If performance is making timed throws difficult, use the fixes in our Big Walk PC requirements and settings guide.
After opening the Map Room, use the Big Walk tower walkthrough for the Blue, Green, and Yellow tower routes.