
Gold bars are the fastest clean money in Red Dead Redemption 2 Story Mode. Each one sells for $500, and the standard game contains a route to 24 bars worth $12,000. There is also one $300 gold ingot, while eligible Special, Ultimate, or qualifying pre-order editions can add a separate six-bar treasure.
This guide avoids money glitches and separates early pickups from story-locked and epilogue rewards. Location names and treasure solutions follow below, so stop after the first section if you only want a small early boost without solving the rest of the map.
Where to Sell Gold Bars
Gold bars count as stolen goods. General stores and gunsmiths will not buy them, so take them to a Fence. Fence shops operate in Emerald Ranch, Rhodes, Saint Denis, and Van Horn. The story introduces the Emerald Ranch Fence during Chapter 2, making it the easiest first stop for many players.
Sell only what you need if you enjoy keeping valuables in the satchel, but there is no special crafting use for ordinary gold bars. A single early bar covers useful weapons and camp costs; six or more can remove money pressure from most of the story.
Six Early Gold Bars Without a Treasure Chain
Limpany Sheriff's Office - 1 Gold Bar
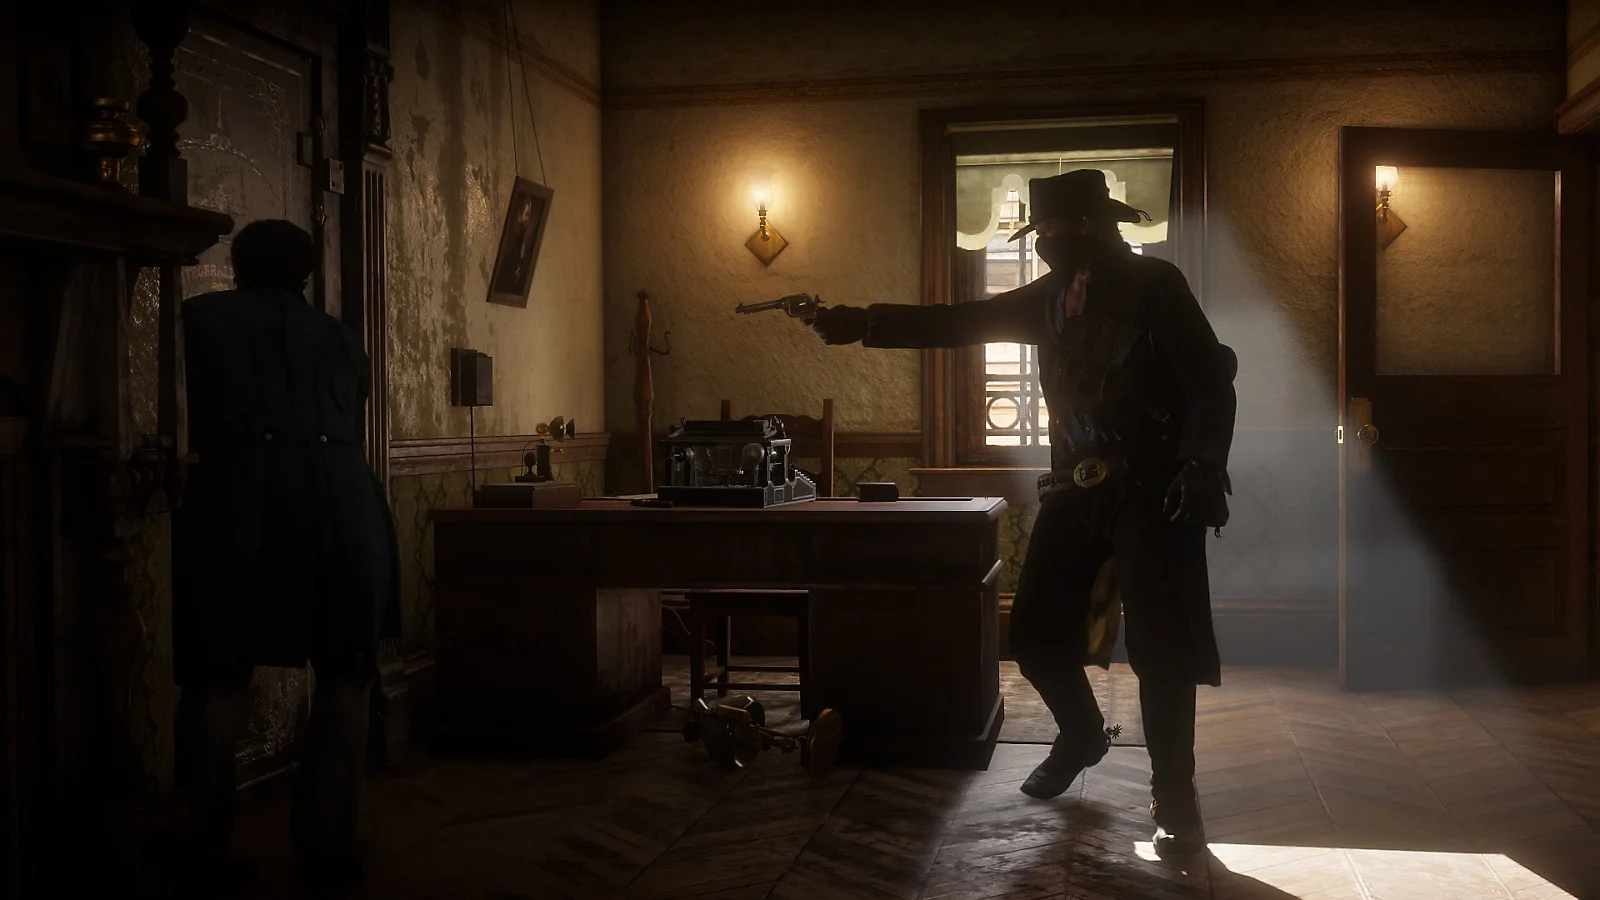
Ride southwest from Horseshoe Overlook to the burned town of Limpany. Enter the Sheriff's Office and pull out the lockbox beneath the desk. The gold bar is inside. This is available from Chapter 2 and is the simplest $500 pickup in the game.
Cotorra Springs Train Wreck - 2 Gold Bars
Go south of Cotorra Springs and northwest of Fort Wallace, where several train cars lie below the rail bridge. The two bars are inside the upright derailed car. Reaching its open top requires climbing the slope beside the wreck, jumping across a gap, and dropping into the car. Make a manual save before the jumps.
Strange Statues - 3 Gold Bars
Inspect the cave painting at Window Rock, then find the hidden cave northeast of Fort Wallace, just below the I in Ambarino on the world map. Inside, press the statue buttons for the prime-number finger counts: 2, 3, 5, and 7. The center statue opens and reveals three bars.
Landmarks of Riches - 6 Gold Bars
This is the biggest treasure reward available from Chapter 2 in the standard game. Start at the Obelisk northwest of Lake Owanjila and search the plaque. Each clue points to a landmark rather than a normal drawn treasure map.
- Obelisk northwest of Owanjila: search the plaque for the first clue.
- Tiny Church in Bayou Nwa: climb up and search behind the bell.
- Mysterious Hill Home east of Donner Falls: inspect the roof window.
- Bolger Glade east of Braithwaite Manor: search the damaged tree in the battlefield.
- Mount Shann sundial: search the correct rock at the stone sundial for 6 gold bars.
Six bars sell for $3,000. If you want one treasure chain that pays for most early camp upgrades and leaves room for a good horse or weapon, do this before chasing the smaller maps.
Advertisement

Jack Hall Gang Treasure - 2 Gold Bars
Find Maximo on the ridge west of Flatneck Station and buy his map. If you miss the encounter, the map can later become available through a Fence. The clues lead through three locations.
- Caliban's Seat: follow the narrow ledge along the rock formation and search the wall.
- Cotorra Springs: inspect the correct pile among the stone circles.
- O'Creagh's Run: search beneath the rock on the small island for 2 gold bars.
High Stakes Treasure - 3 Gold Bars
The first map comes from a treasure hunter who appears as a random encounter in New Hanover or West Elizabeth. Take or buy the map when the opportunity appears. If repeated encounters are missed, the map can eventually show up at a Fence.
- Cumberland Falls: enter the space behind the waterfall and search the rock.
- Barrow Lagoon: cross the fallen tree bridge to reach the next clue.
- Mountain path near Bacchus Station and Fort Wallace: follow the narrow ledges carefully to the final crevice and 3 gold bars.
The Poisonous Trail - 4 Gold Bars
The first map is in the lockbox inside Flaco Hernandez's cabin at Cairn Lake. You can collect it while working through The Noblest of Men, and a Woman, or return to the cabin after that encounter.
- Face Rock: search the hollow tree west of Ringneck Creek for the second map.
- The serpent-shaped mound west of Van Horn: search the center of the formation for the third map.
- Elysian Pool: go behind the waterfall and navigate the dark cave. Bring a lantern, take the right-side passages carefully, and search the final ledge for 4 gold bars.
The cave has drops that are harder to climb back from than they look. Save outside, keep the lantern equipped, and do not sprint through the dark. The reward is $2,000 at any Fence.
Story-Locked and Missable Gold Bars
Braithwaite Manor Ruins - 1 Gold Bar
After Chapter 3, return to the burned ruins of Braithwaite Manor south of Rhodes. Enter the remains of the main house and search the lockbox beneath the rubble in the room left of the entrance.
Shady Belle Story Pickup - 1 Gold Bar
This pickup appears during the late Chapter 3 mission that clears Shady Belle for the gang. After the encounter with the elderly man in the upstairs bedroom, search the dresser across from the bed before going downstairs. The chance is tied to the mission, so this is the standard bar most likely to be missed.
The Elemental Trail - 1 Epilogue Gold Bar
This treasure begins in New Austin and cannot be completed during Arthur's normal Chapter 2 exploration. In the epilogue, find the hanging body west of Tumbleweed near the Sea of Coronado, shoot the rope, and loot the first map.
- Greenhollow: search the fireplace in the ruined house southwest of MacFarlane's Ranch.
- Benedict Point: walk along the wooden aqueduct and search the gap for the next clue.
- Coot's Chapel south of Armadillo: search the grave beneath the tree for 1 gold bar and the other rewards.
One Gold Ingot Worth $300
The Annesburg Sketched Map leads to a gold ingot rather than a bar. Search the chimney inside Reed Cottage north of Annesburg for the sketch. At the cliff above Elysian Pool, use the marked tree to line up the hidden rock and search it. The ingot sells to a Fence for $300.
The Six-Bar Edition Bonus
Le Tresor des Morts is not available in every copy of RDR2. It was tied to qualifying pre-orders and Special or Ultimate Edition access. If the first map appears on a corpse inside the Limpany jail, your game has the treasure. The trail moves through Cornwall Freight Station and ends in the Saint Denis cemetery with 6 gold bars.
If the map is missing, there is no ordinary story requirement that makes it appear. Your standard 24-bar route is still complete without it, and the Landmarks of Riches treasure gives the same six-bar payout to everyone on updated versions of the game.
The Full Standard Total
- Fixed and story pickups: Limpany 1, train wreck 2, Strange Statues 3, Braithwaite Manor 1, Shady Belle 1.
- Treasure chains: Landmarks of Riches 6, Jack Hall Gang 2, High Stakes 3, Poisonous Trail 4, Elemental Trail 1.
- Standard total: 24 gold bars worth $12,000, plus the $300 Annesburg gold ingot.
- Eligible edition bonus: Le Tresor des Morts adds 6 bars worth $3,000.
Start with Limpany if you only need quick cash. Add the train wreck and Strange Statues for an early $3,000 total, or follow Landmarks of Riches and leave Chapter 2 with enough money to stop worrying about every hotel room, horse, and camp upgrade. The later bars can wait until the story naturally brings you closer.