
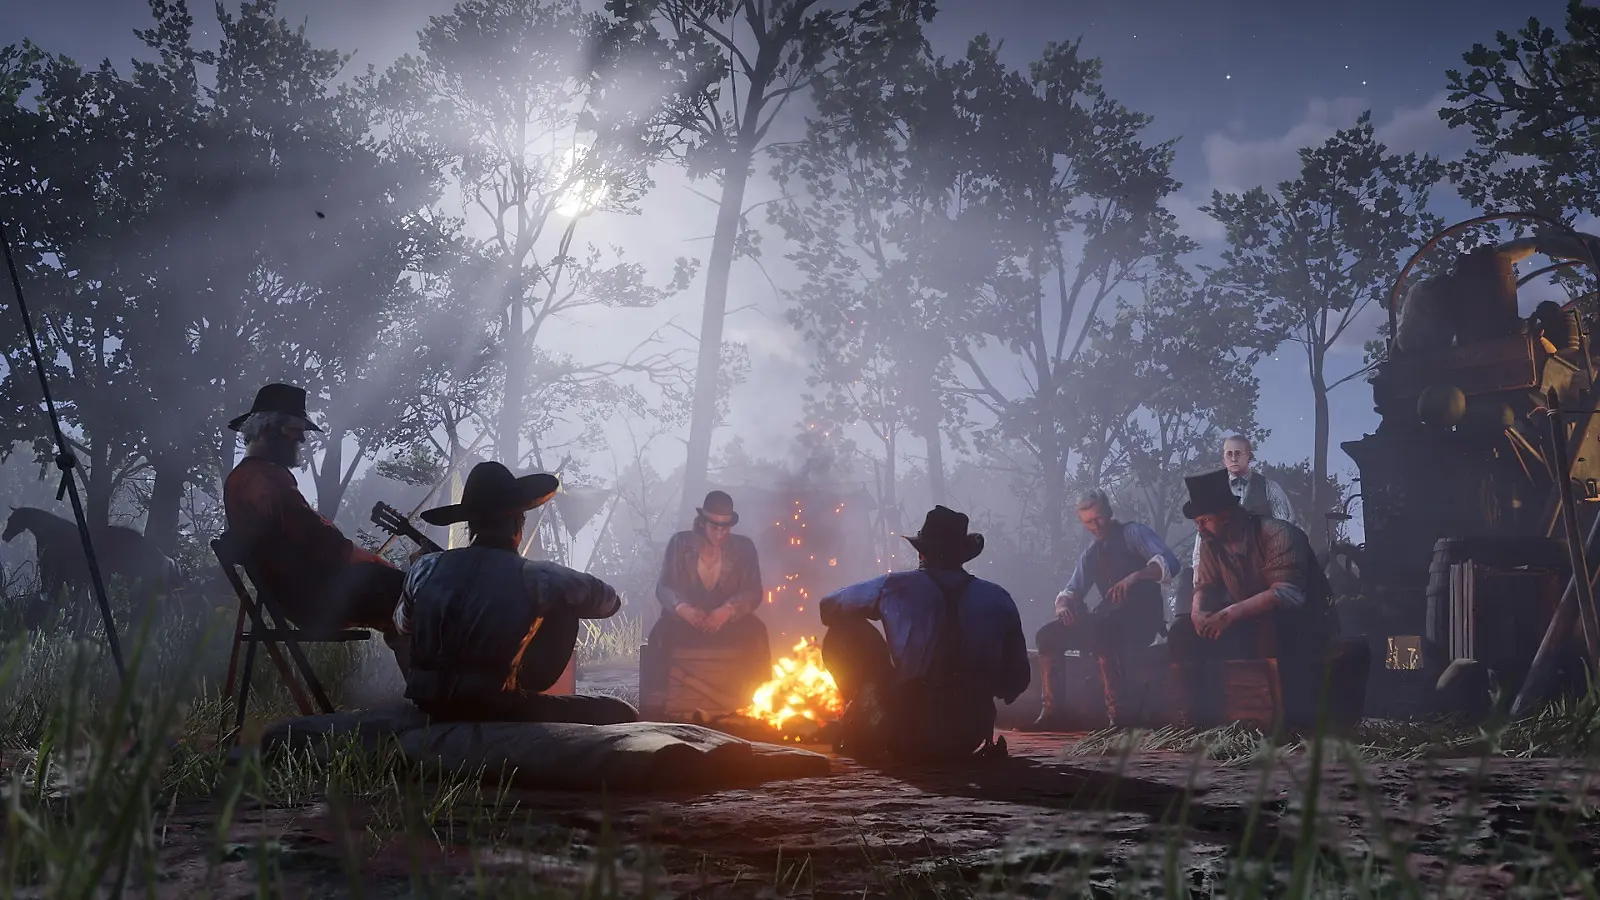

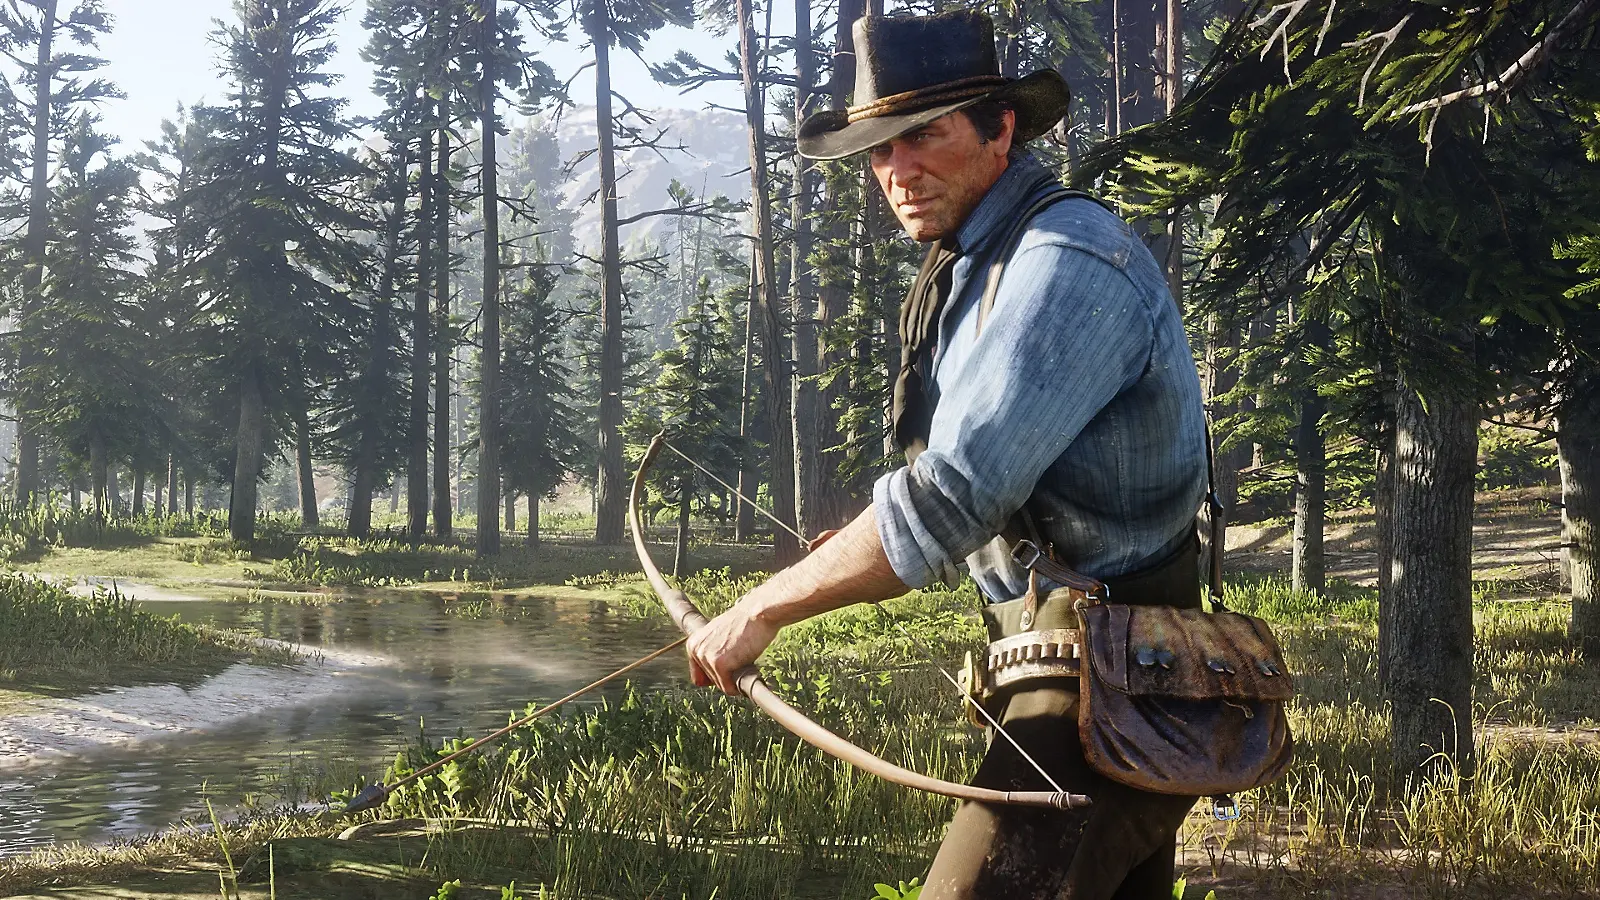





Red Dead Redemption 2 has 90 Story Mode challenges across nine tracks: Bandit, Explorer, Gambler, Herbalist, Horseman, Master Hunter, Sharpshooter, Survivalist, and Weapons Expert. Each track has 10 ranks, and the ranks must be completed in order.
The best approach is to start travel and combat tracks early, combine hunting and crafting in the middle chapters, and leave luck-heavy or region-locked ranks for later. Trying to clean up all 90 after the story creates unnecessary trips.
All nine tracks are required for the full challenge section of the RDR2 100% completion checklist.
Best Challenge Order at a Glance
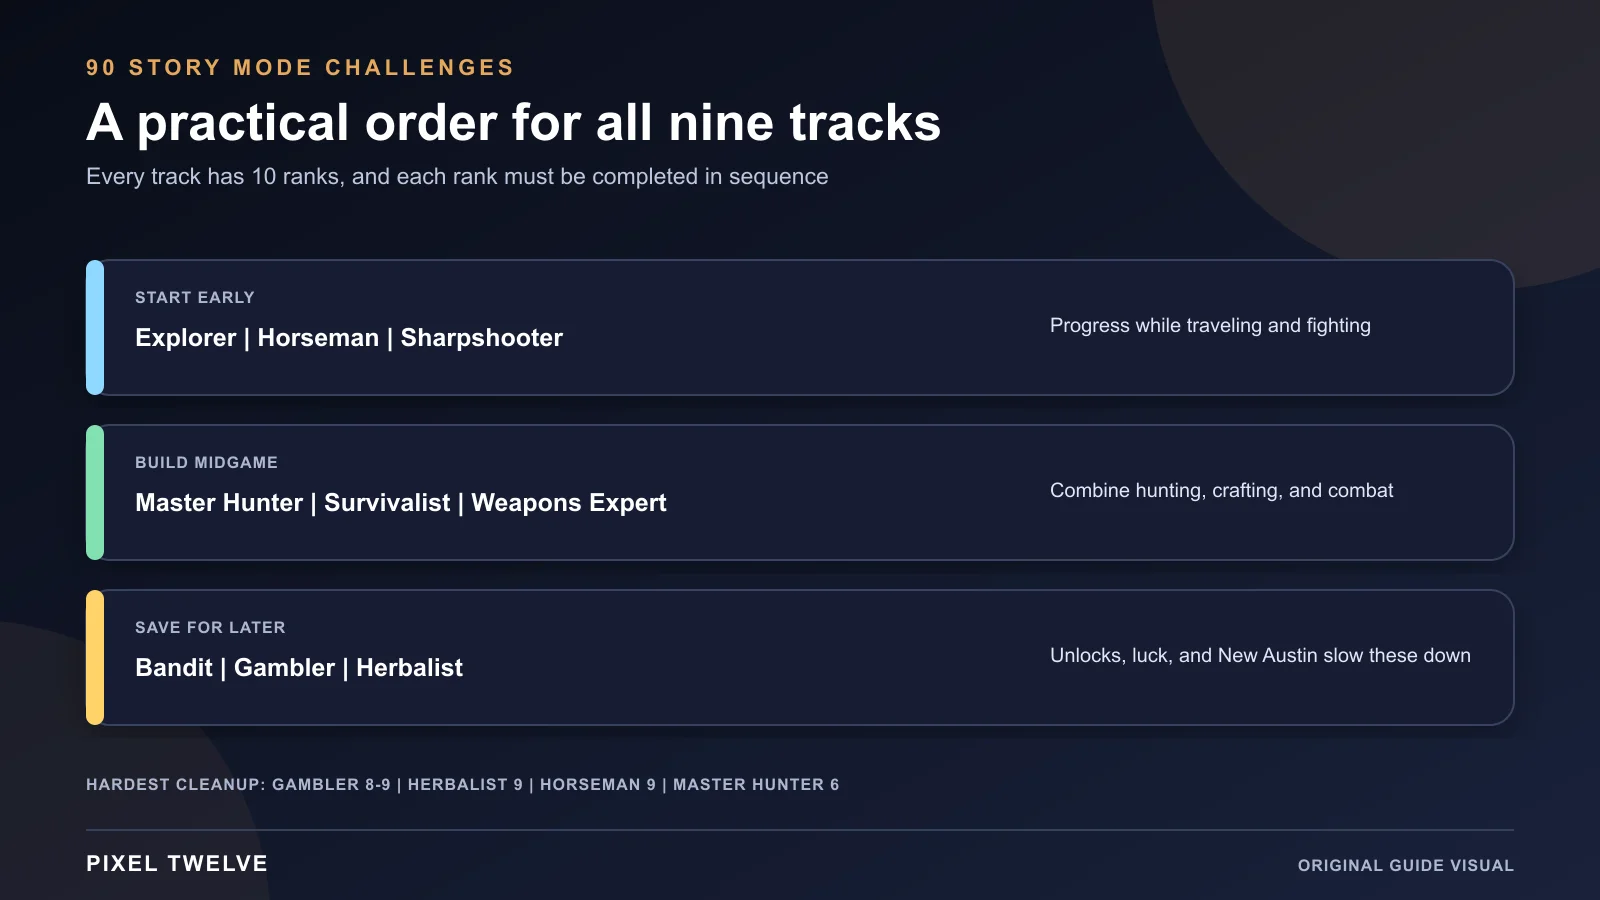
- Start early: Explorer, Horseman, and Sharpshooter.
- Build through the middle chapters: Master Hunter, Survivalist, and Weapons Expert.
- Save the slow cleanup: Bandit, Gambler, and Herbalist.
This is a planning order, not a hard lock. Work on the current rank whenever the game naturally puts the right animals, towns, trains, weapons, or table games in front of you.
How Challenge Progress Works
Only the active rank in a track counts. If Horseman 4 asks Arthur to drag a victim, work toward Horseman 5 done earlier will not be remembered. Check Progress, Challenges before starting a route.
Some tracks depend on story unlocks. Fishing, fences, the horse fence, upgraded Dead Eye tools, and access to later regions affect when individual ranks become practical.
Save before gambling, long rides, train robberies, and rare-animal routes. A manual save protects the time spent traveling even when luck or the law ruins an attempt.
1. Explorer: The Best Track to Start First
Explorer advances by finding treasure. It pays for itself with gold bars and unlocks reinforced equipment while teaching you the map. Start a treasure chain as soon as you obtain a map and continue whenever the story sends Arthur near the next clue.
- Rank 1: Find a treasure map.
- Rank 2: Find a treasure.
- Rank 3: Find another treasure.
- Rank 4: Find another treasure.
- Rank 5: Find another treasure.
- Rank 6: Find another treasure.
- Rank 7: Find another treasure.
- Rank 8: Find another treasure.
- Rank 9: Find another treasure.
- Rank 10: Find the ninth treasure needed to finish the track.
Use the RDR2 treasure maps guide to connect all nine Explorer ranks without wandering between unrelated landmarks.
2. Horseman: Complete Rides During Normal Travel
Early Horseman ranks involve rabbits, jumps, dragging, and fast trips between towns. Keep a fast bonded horse, carry Horse Reviver, and use railroad lines or major roads when the challenge forbids touching water.
- Rank 1: Kill five rabbits from horseback.
- Rank 2: Jump over three obstacles in 15 seconds.
- Rank 3: Ride from Valentine to Rhodes in under five minutes.
- Rank 4: Drag a victim 3,300 feet with the lasso while mounted.
- Rank 5: Trample five animals while on horseback.
- Rank 6: Ride from Strawberry to Saint Denis in under nine minutes without touching water.
- Rank 7: Kill seven enemies from horseback without dismounting.
- Rank 8: Kill nine predators from horseback.
- Rank 9: Ride from Van Horn to Blackwater in under 17 minutes without touching water.
- Rank 10: Break every wild horse breed.
Horseman 9: Van Horn to Blackwater
Plan the route before starting, place a waypoint, use a fully fed horse, and avoid river shortcuts. Story progress changes how dangerous Blackwater is, so the intended low-risk cleanup is late in the game or the epilogue.
3. Sharpshooter: Build It Into Story Gunfights
Sharpshooter ranks test birds, Dead Eye, distance, disarms, hats, and consecutive shots. Read the active wording before a mission and equip the weapon it expects.
- Rank 1: Kill three flying birds.
- Rank 2: Kill two different animal species in one Dead Eye use.
- Rank 3: Kill five flying birds while on a moving train.
- Rank 4: Kill an enemy from at least 80 feet with a tomahawk.
- Rank 5: Kill six animals without switching or reloading the weapon.
- Rank 6: Kill an enemy from at least 660 feet with a long-scoped rifle.
- Rank 7: Get seven headshots in a row.
- Rank 8: Disarm three enemies without reloading or switching the weapon.
- Rank 9: Shoot the hats off three people in one Dead Eye use.
- Rank 10: Kill three flying birds with three consecutive long-scoped rifle shots.
Sharpshooter 8: Disarm Three Enemies
Use a weapon with low enough damage to hit hands or held guns without killing immediately. Do not reload or switch weapons between disarms, and avoid any Dead Eye behavior that automatically reloads the gun.
Sharpshooter 9: Shoot Three Hats in One Dead Eye
Find three enemies wearing visible hats, mark the hat area rather than the head, and use a weapon that does not kill with a near miss. A gang camp or a controlled law response gives more targets than random travelers.
The refreshed RDR2 best weapons guide explains dependable sidearms, repeaters, rifles, and free Chapter 2 locations.
4. Master Hunter: Combine It With Perfect-Pelt Work
Master Hunter covers deer, rabbits, binocular tracking, clean kills, bears, cougars, bait, fish, opossums, and the Legendary Panther. Work on it while collecting pelts for Pearson and the Trapper.
- Rank 1: Skin three deer.
- Rank 2: Collect three perfect rabbit pelts.
- Rank 3: Track 10 different animal species with binoculars.
- Rank 4: Call an animal and make a clean kill five times.
- Rank 5: Skin three black or grizzly bears.
- Rank 6: Kill five cougars with a bow, then skin them.
- Rank 7: Use bait to lure and kill one herbivore and one predator.
- Rank 8: Catch three fish without using a fishing rod.
- Rank 9: Catch an opossum while it is playing possum.
- Rank 10: Find and kill the Legendary Panther Giaguaro.
Master Hunter 6: Five Cougars With a Bow
Use a regular or Improved Arrow, Dead Eye, and a reliable cougar route west of Strawberry or through Roanoke Ridge. Save outside the spawn area, ride slowly, and listen for the attack cue. Skin every cougar before leaving.
Master Hunter 9: Opossum Playing Possum
Search at night in open country, approach until the opossum collapses, then confirm the interaction while it is pretending to be dead. Shooting too early can prevent the correct state from registering.
For animal quality and satchel materials, use the Perfect Pelts guide and the Hunting Requests guide.
Advertisement

5. Survivalist: Start After Fishing Unlocks
The first Survivalist rank begins with Bluegill, so normal progress starts after Arthur learns to fish. Later ranks use camp donations, small-game arrows, crafted weapons, heavy fish, and every fish species.
- Rank 1: Catch three Bluegill.
- Rank 2: Give five animals to camp or the Trapper.
- Rank 3: Kill five animals with the Varmint Rifle.
- Rank 4: Craft a Dynamite Arrow, Fire Arrow, Improved Arrow, Poison Arrow, and Small Game Arrow.
- Rank 5: Catch a fish from a riverboat and another while standing on train tracks.
- Rank 6: Kill five scavenging animals while they are feeding on corpses.
- Rank 7: Kill eight small-game animals with consecutive Small Game Arrow shots.
- Rank 8: Craft a Homing Tomahawk, Improved Tomahawk, Volatile Dynamite, and Volatile Fire Bottle.
- Rank 9: Catch a fish weighing at least 19 pounds.
- Rank 10: Catch one of every fish type.
Survivalist 7: Eight Consecutive Small-Game Arrow Kills
Choose a place with several tiny animals or birds, use Dead Eye carefully, and do not miss between kills. Toads, rats, small birds, and chickens are easier targets than animals that immediately scatter across open ground.
Survivalist 10: Catch Every Fish Type
Keep a checklist by habitat and carry the correct river, lake, and swamp lures. You do not need to make every catch legendary; the
RDR2 Legendary Fish guide is useful for the separate collectible quest and the best lure locations.
6. Weapons Expert: Carry Crafted Tools Before Missions
Weapons Expert asks for knives, throwing knives, tomahawks, crafted shotgun ammunition, dynamite, stealth bow kills, and a grizzly. Craft the required ammunition before entering a mission or gang hideout.
- Rank 1: Kill three enemies with a knife.
- Rank 2: Kill three enemies in 10 seconds using only throwing knives.
- Rank 3: Kill three birds of prey using only a tomahawk.
- Rank 4: Kill 10 enemies with a shotgun using crafted ammunition.
- Rank 5: Kill five mounted enemies with one throwing knife per kill.
- Rank 6: Kill four enemies with one stick of dynamite.
- Rank 7: Kill four consecutive enemies by throwing and retrieving the same tomahawk.
- Rank 8: Kill 15 enemies with a long-barreled shotgun.
- Rank 9: Kill nine unaware enemies from behind with the bow.
- Rank 10: Kill a grizzly bear without taking damage using only throwing knives.
Weapons Expert 6: Four Enemies With One Dynamite
Use a tightly grouped camp or hogtie enemies and place them close together. Save first, stay outside the blast, and confirm all four kills came from the same stick.
Weapons Expert 10: Grizzly With Throwing Knives
Use Improved or Poison Throwing Knives, create distance, and keep Dead Eye ready. The challenge requires throwing knives and no damage from the bear, so do not soften it with a firearm.
7. Bandit: Wait Until Fences Are Available
Bandit ranks generate bounties and ask for robberies, coaches, horses, wagons, train crimes, and cash from travelers. Complete them after Seamus and the horse fence are available so stolen property has somewhere to go.
- Rank 1: Hold up five townsfolk.
- Rank 2: Rob two coaches or return two stolen coaches to a Fence.
- Rank 3: Rob the cash register in four shops in one day.
- Rank 4: Rob three coaches or return three stolen coaches to a Fence in one day.
- Rank 5: Build a $250 bounty in one state.
- Rank 6: Steal five horses and sell them to the horse fence at Clemens Cove.
- Rank 7: Rob $50 in cash and valuables from townsfolk and travelers.
- Rank 8: Steal seven wagons and sell them to the Fence at Emerald Ranch.
- Rank 9: Hogtie three people and leave each one on railroad tracks.
- Rank 10: Complete five train robberies without dying or being caught.
Bandit 10: Five Train Robberies
Board a train away from a major station, rob one passenger or item, then leave before the law closes in. Repeat with a fresh train. A full cinematic robbery is not required for every rank.
Clear or manage bounties between ranks. Challenge profit disappears quickly when every town visit turns into a gunfight.
8. Gambler: Do It in Short Sessions
Gambler is mostly table-game knowledge until ranks 8 and 9 introduce long streaks and heavy luck. Stop after a bad run instead of chasing lost time and money for another hour.
- Rank 1: Win five poker hands.
- Rank 2: Double down and win five blackjack hands.
- Rank 3: Win three games of Five Finger Fillet.
- Rank 4: Bust out one poker opponent at Flatneck Station, Saint Denis, and Valentine.
- Rank 5: Win three dominoes rounds without drawing tiles against two or fewer opponents.
- Rank 6: Beat the blackjack dealer in Rhodes and Van Horn.
- Rank 7: Beat a Five Finger Fillet opponent in Strawberry, Valentine, and Van Horn.
- Rank 8: Win three blackjack hands after taking three hits or more.
- Rank 9: Win three dominoes games in a row.
- Rank 10: Win three poker hands in a row.
Gambler 8: Three Blackjack Wins With Three Hits
Sit where hands cycle quickly, take the required three hits on low starting totals, and leave the table when the deck rhythm becomes frustrating. The three qualifying wins do not need to happen in a row.
Gambler 9: Win Three Dominoes Games in a Row
Play against one opponent when possible and learn the scoring rules of that table. Emerald Station is a common choice because the draw game is easier to read than a crowded match.
Gambler 10: Three Poker Hands in a Row
Play assertively at a low-stakes table and fold weak hands before committing. This rank often finishes faster than Gambler 8 or 9 once you understand when opponents will abandon the pot.

9. Herbalist: Save Rank 9 for the Late Game
Herbalist uses Yarrow, berries, Sage, mushrooms, Indian Tobacco, tonics, poison weapons, every plant species, and seasoned meat. Pick unfamiliar plants during normal travel, but remember that they do not count toward Herbalist 9 until that rank is active.
- Rank 1: Pick six Yarrow.
- Rank 2: Pick and eat four berry species.
- Rank 3: Craft seven items using Sage.
- Rank 4: Pick five mushrooms and feed them to the horse.
- Rank 5: Craft nine items using Indian Tobacco.
- Rank 6: Pick 15 different herb species.
- Rank 7: Craft and use five Special Miracle Tonics.
- Rank 8: Use Oleander to craft six poison weapons.
- Rank 9: Pick one of every plant species.
- Rank 10: Season and cook all 11 meat types.
Herbalist 9: Pick One of Every Plant Species
Use a written checklist and mark every plant immediately. Several required plants grow in New Austin, making the intended completion point the epilogue. Do not rely on the Compendium total alone because previously discovered plants still need to be picked again while rank 9 is active.
Herbalist 10: Season Every Meat Type
Cook the required meat types with Creeping Thyme, Oregano, or Wild Mint. Store meat during hunting trips so the final cooking session becomes a checklist rather than another map tour.
The Four Hardest RDR2 Challenges
- Gambler 8: luck-heavy blackjack hands with three or more hits.
- Gambler 9: three complete dominoes wins without losing the streak.
- Herbalist 9: every plant species, including New Austin plants.
- Horseman 9: a timed Van Horn-to-Blackwater ride without touching water.
Master Hunter 6 and Weapons Expert 10 are also dangerous, but a repeatable spawn route and the correct crafted weapon make them more controllable than the luck-heavy ranks.
Challenge Rewards and the Legend of the East Outfit
Challenge ranks award cash, core experience, and reinforced equipment sold by the Trapper. Completing sets unlocks themed holsters, gun belts, bandoliers, and off-hand holsters.
Finishing all nine tracks unlocks the Legend of the East Outfit. Buying complete reinforced equipment sets also improves Arthur's core capacity, so the rewards matter before the final outfit appears.
The RDR2 camp upgrades guide helps prioritize fast travel, supplies, and useful camp spending while the long challenge run is still in progress.
RDR2 Challenge FAQ
Do challenges count before their rank is active?
No. Only the current unlocked rank in each track records progress.
Can Arthur complete every challenge?
Most ranks can be completed as Arthur, but the intended normal route for Herbalist 9 uses New Austin access in the epilogue. Challenge or exploit runs can behave differently.
Do challenges count toward 100%?
Yes. The total-completion checklist requires all nine challenge sets.
New players can use the RDR2 beginner guide for spoiler-light priorities and the missable content guide before moving into full completion cleanup.