



Pixel Twelve
The Sims 4 Pond Guide: Build a Garden Pond

How To

The Sims 4 Pond Guide: Build a Garden Pond

Make a decorative base-game pond with the terrain and water tools: dig a hollow, add water, keep a dry bank and finish the garden around it.

By Nova RainesGame: The Sims 4Verified Oct 4, 2026
Add to list

A pond made from terrain, not pool walls

A natural pond starts with a hollow in the ground, then water inside it. The updated base game includes the tools; Cottage Living is not required. This guide builds a decorative garden pond, not a swimming pool or a stocked fishing spot.

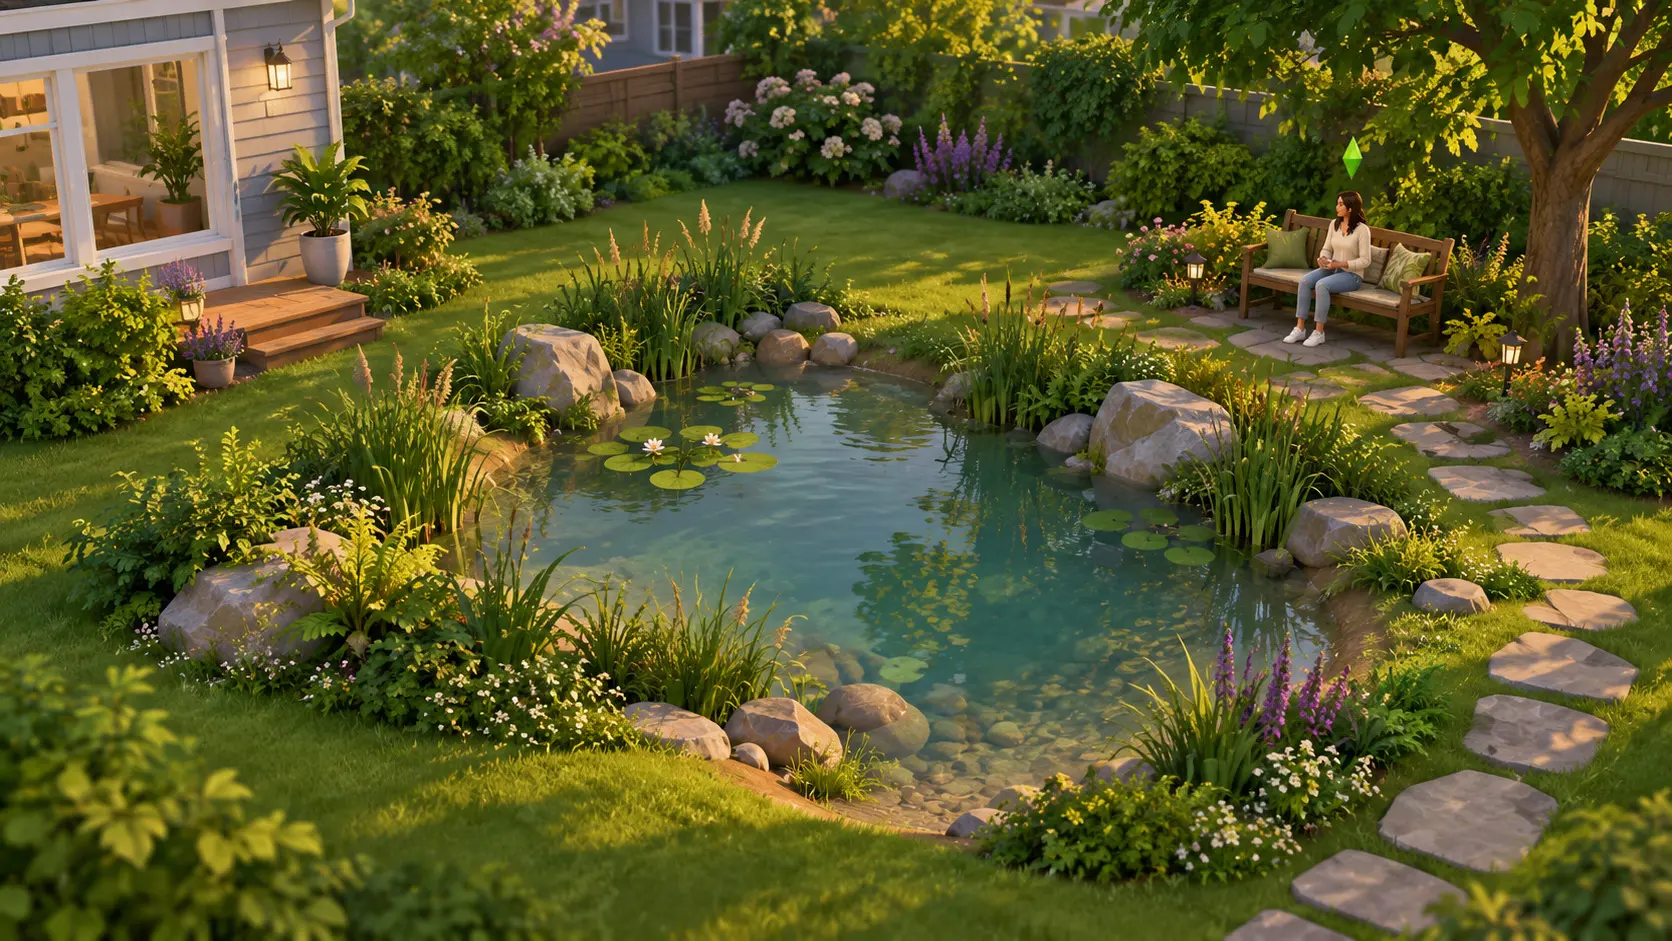
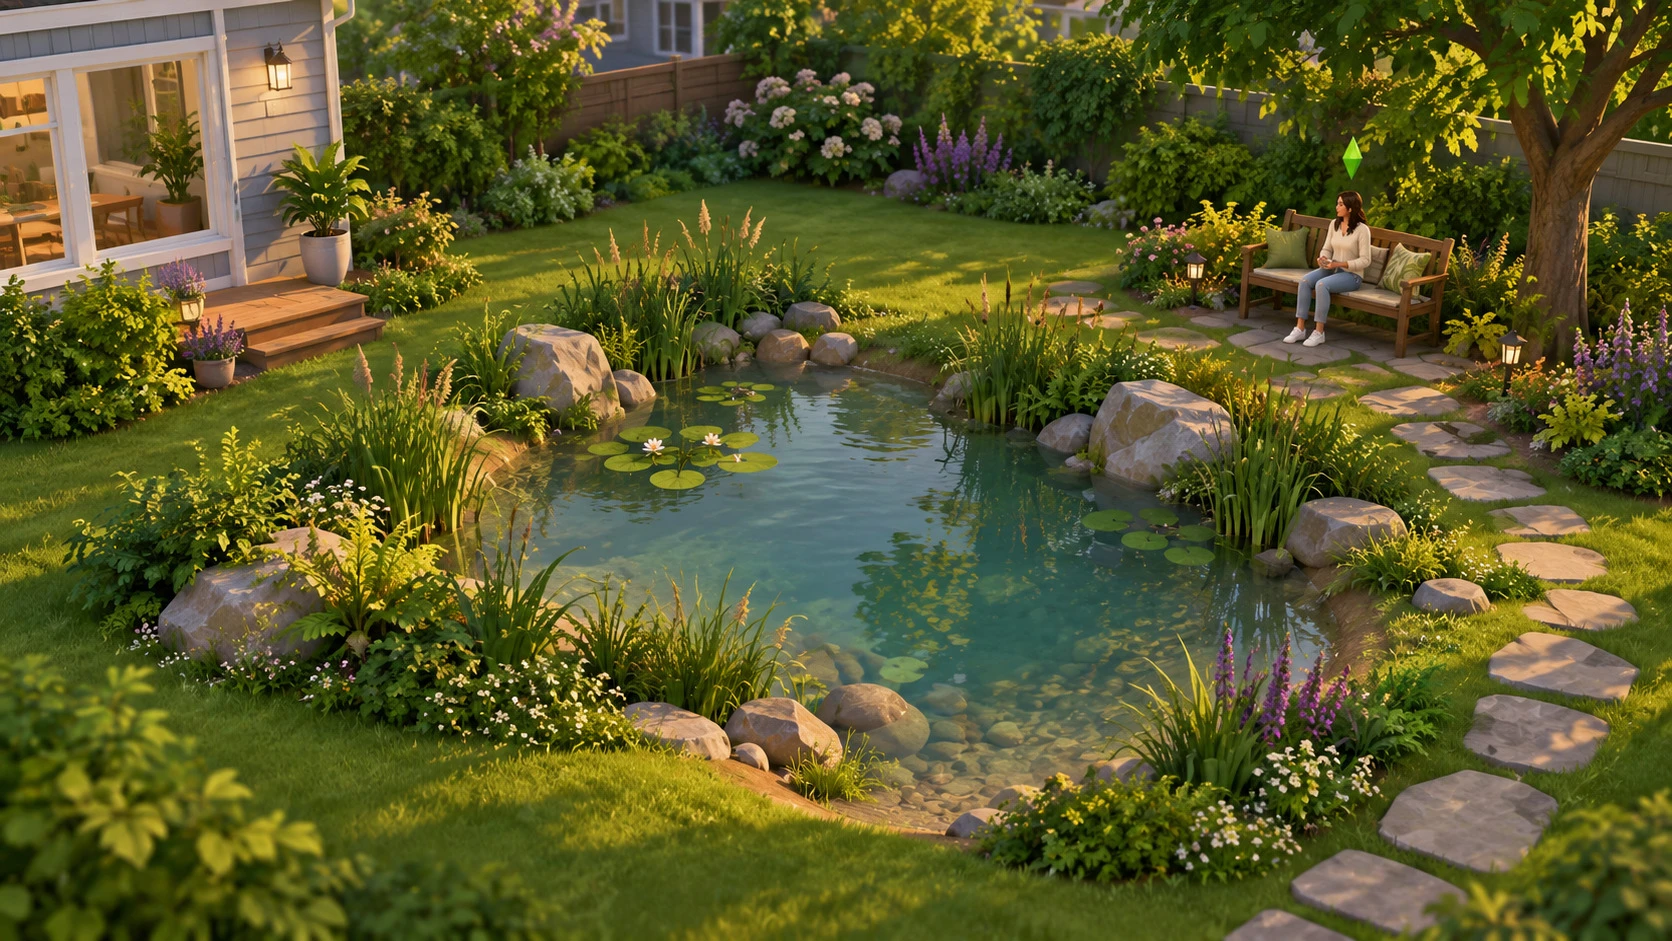
The warm garden art and earth cutaway are original Pixel Twelve illustrations. The controls shown below are cropped from official 2021 gameplay, so your lot and nearby buttons may differ. Follow the tool’s shape and label, not the exact scenery.
1. Leave room for the water and a dry bank

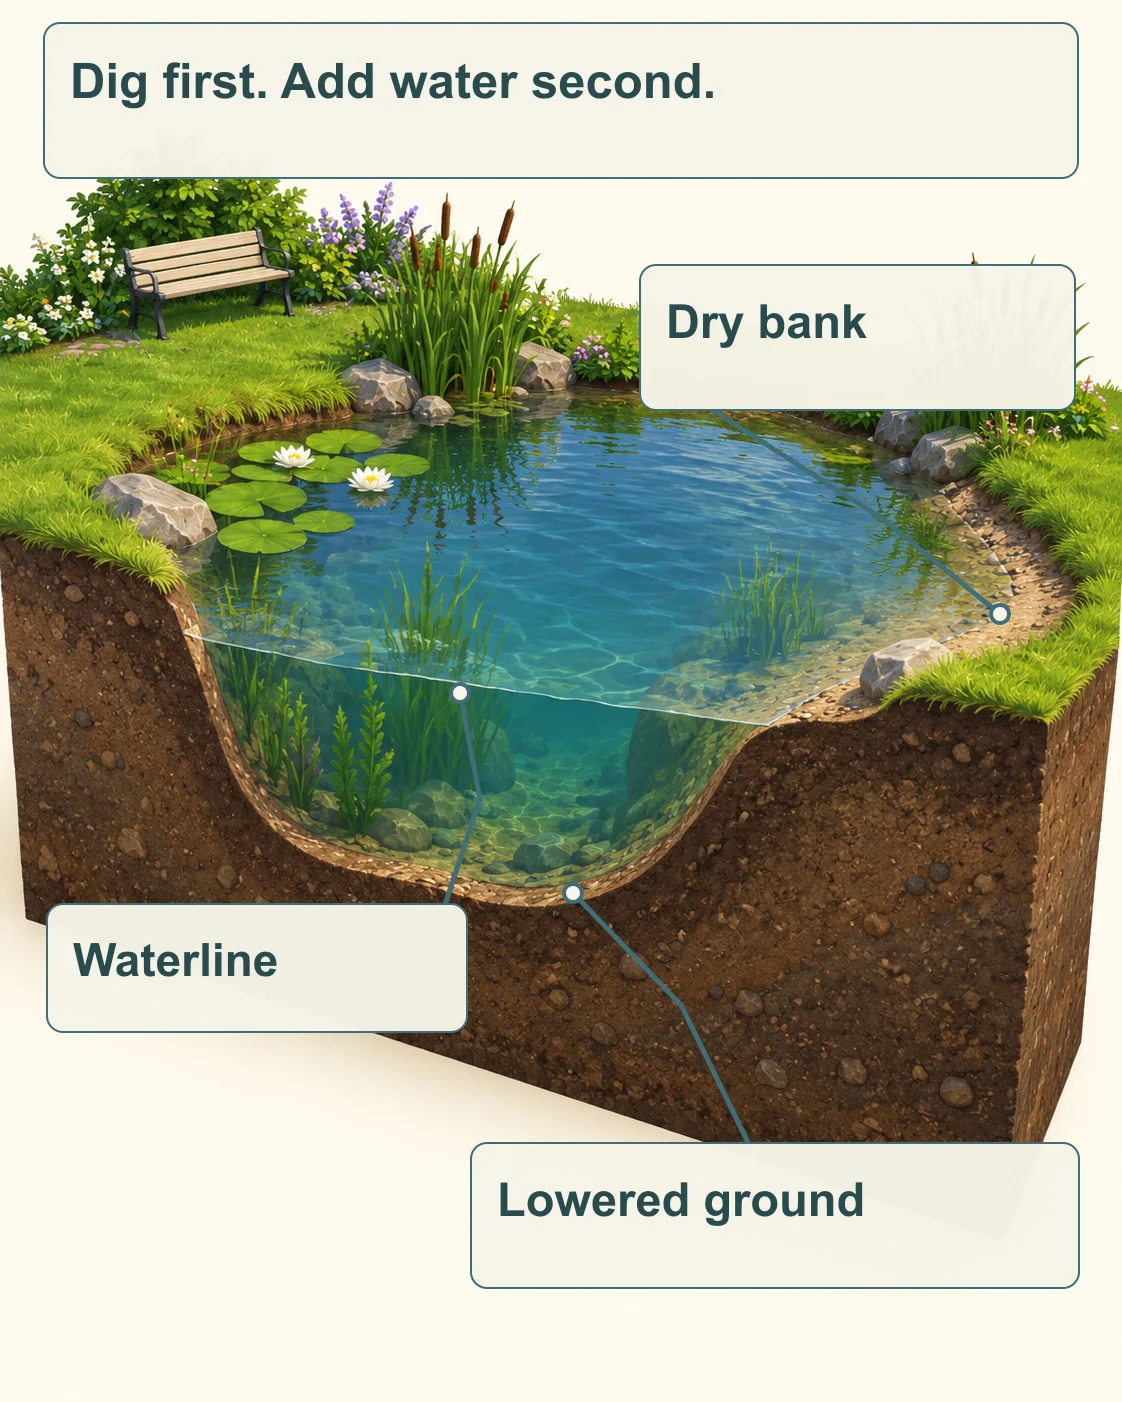
Choose an open part of your household’s lot away from house foundations. For a first try, plan a modest oval rather than a lake covering the yard. Leave ordinary flat ground along one side for a path or bench. The cutaway below shows the key relationship: lowered ground holds the water, while a higher edge stays dry.

Original landscape cutaway labels the dry bank, waterline and lowered ground that forms a pond bowl.
Pixel Twelve terrain diagram, not an in-game screenshot or a fixed depth requirement. Keep the water below the surrounding ground so the pond retains a visible bank.
CreditsOriginal Pixel Twelve illustration.

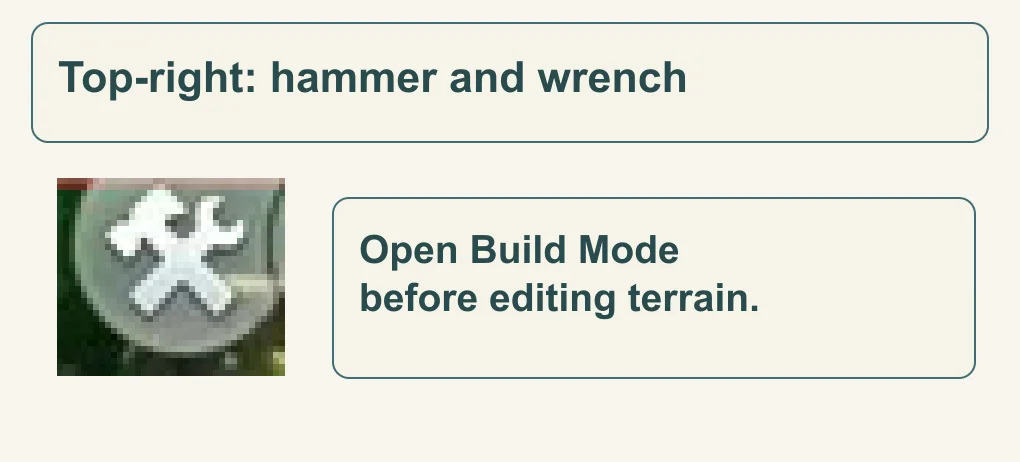
Look at the top-right toolbar and select the crossed hammer-and-wrench button to enter Build Mode. You will edit the lot’s terrain there, not buy a filled pond as a piece of furniture.

Enlarged native crossed hammer-and-wrench icon identifies the Build Mode button.
Official 2021 UI detail: start with Build Mode at the top right.
CreditsElectronic Arts

2. Use the downward terrain arrow to dig a hollow

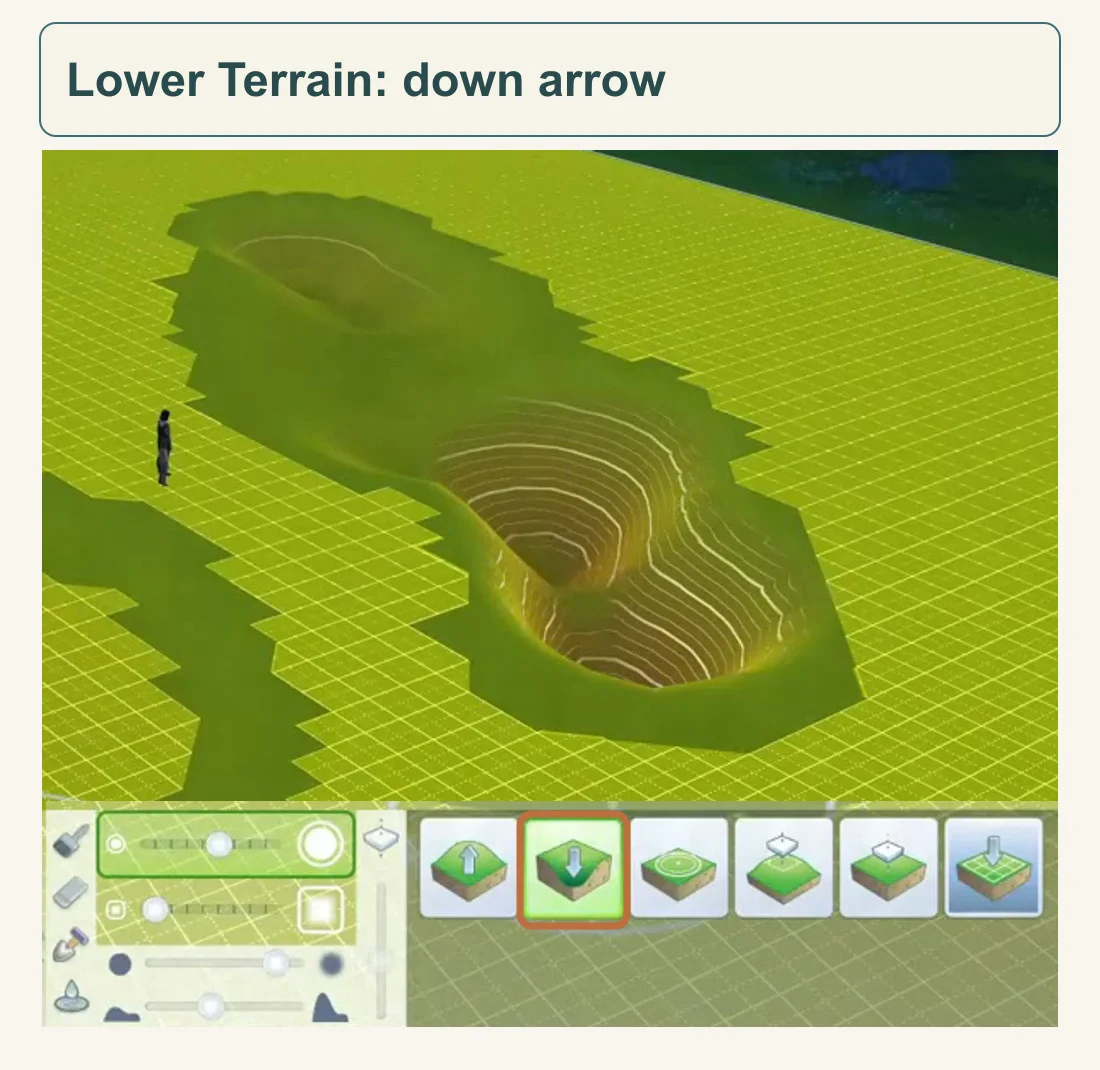
At the bottom-left Build Mode controls, find the small vertical terrain-icon column shown in the toolbar crop below. Select its raised block of ground, above the eraser and paintbrush icons, to open terrain-height controls. Then choose the down arrow entering green ground: it is the second large shaping button, outlined below. Hover to check Lower Terrain. A paint swatch only changes color; it does not dig a pond.

Official Build Mode view shows a sculpted depression and a zoomed terrain toolbar with its second downward-arrow button outlined.
Official 2021 terrain controls: the outlined down-arrow button lowers ground. The enlarged toolbar and hollow come from the same frame.
CreditsElectronic Arts

Apply the brush over the planned pond area to push that ground down. Start gently and watch the surface form a bowl. Stop once the hollow is clear; you can deepen or widen it later. Keep the outer path side at its original height.

3. Switch from terrain shaping to the Water Tool

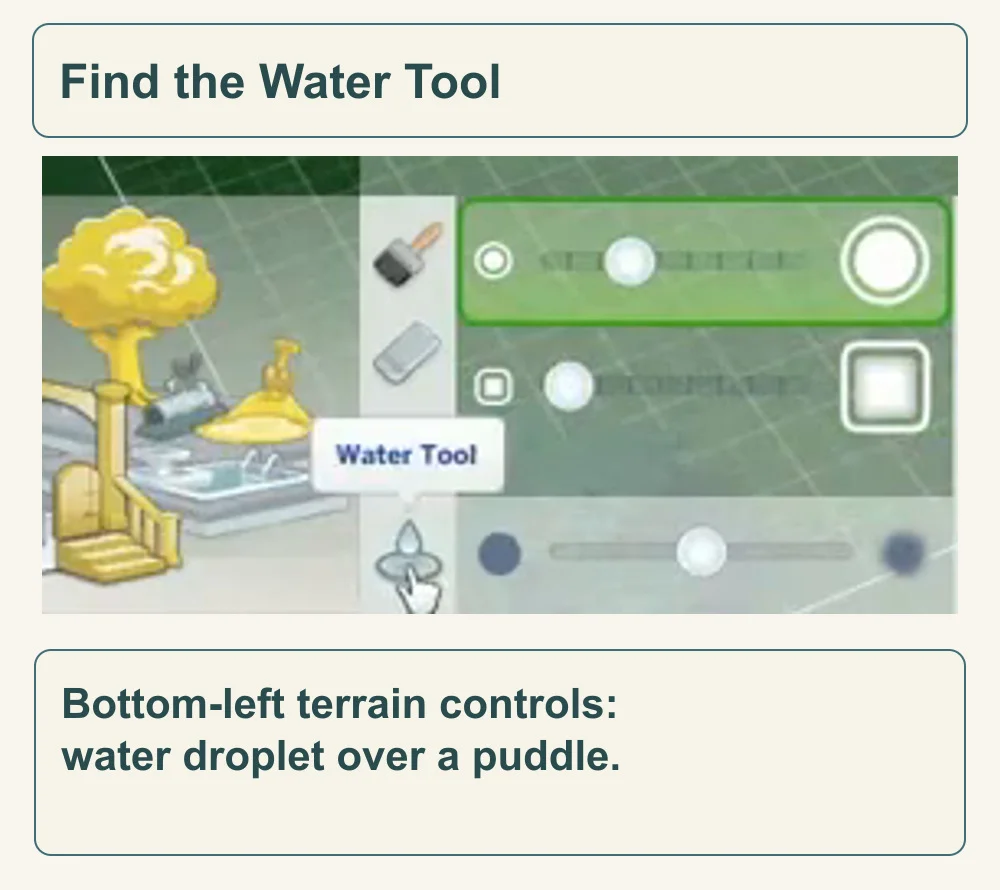
Return to the small terrain icons at the bottom left. Look for a water droplet over a puddle; in the official example it sits near the bottom of that icon column. Hover to see Water Tool and select it. That changes the large buttons to water-level controls.

Official terrain toolbar detail shows the Water Tool tooltip above the droplet-over-puddle icon.
Official 2021 detail: follow the visible Water Tool tooltip and droplet icon. This is different from the down-arrow terrain button used to dig.
CreditsElectronic Arts

4. Add water with the first upward-arrow button

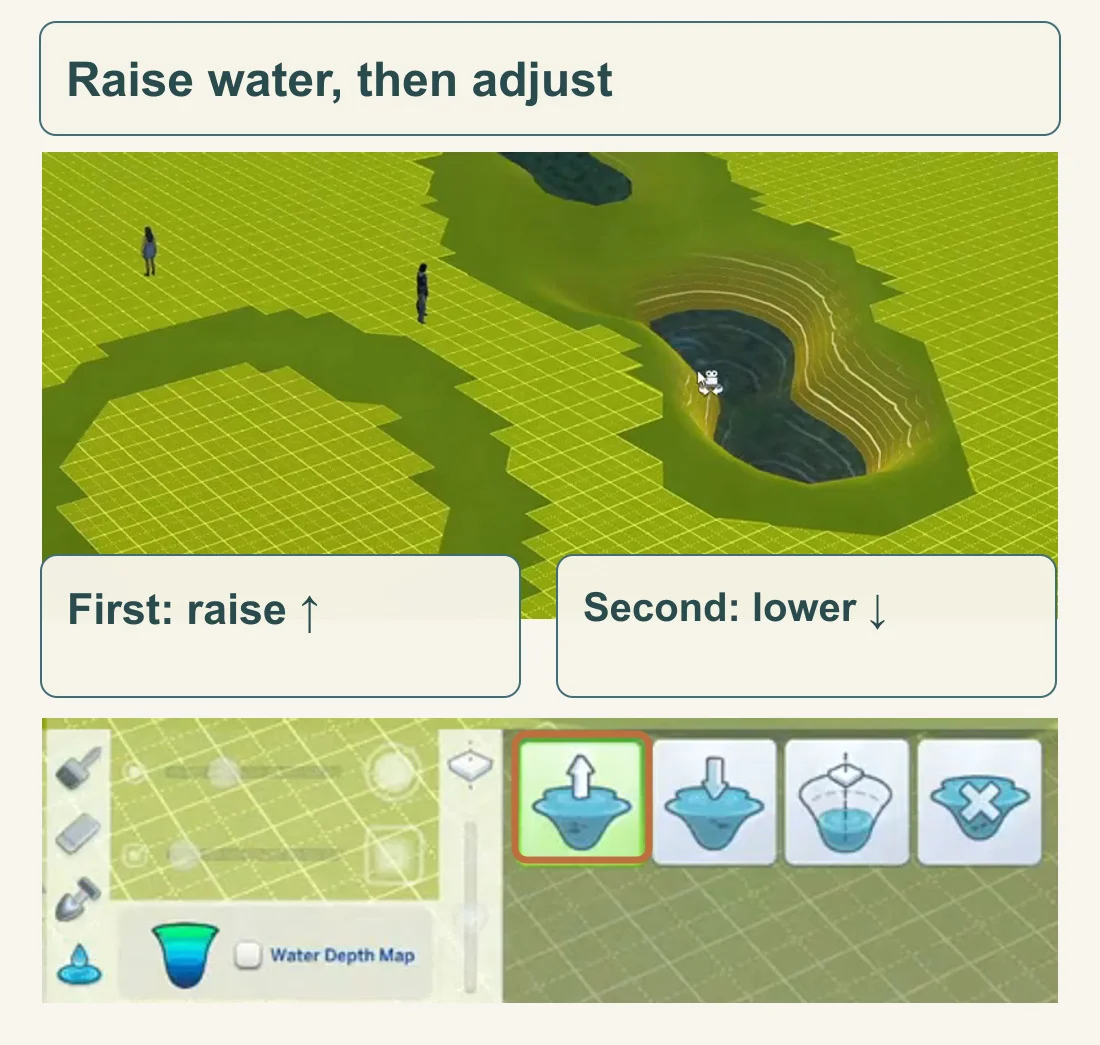
In the water controls, choose the first button: a water surface with an arrow pointing up. Apply it inside the hollow to raise the water level. Watch the water appear within the low ground rather than treating the tool like blue ground paint.

Official Build Mode pond view includes a magnified water toolbar: first button raises water, second lowers it, followed by level and remove-water controls.
Official 2021 water controls: first/up arrow raises water; second/down arrow lowers it. The outlined first button is selected in this example.
CreditsElectronic Arts

If water reaches too far toward the path, choose the second button with the down arrow and lower the level inside the same pond. Compare the result with the cutaway: you want water in the bowl and a dry bank beside it. Adjust the level a little at a time rather than lowering the entire yard.

5. Keep the garden edge simple and usable

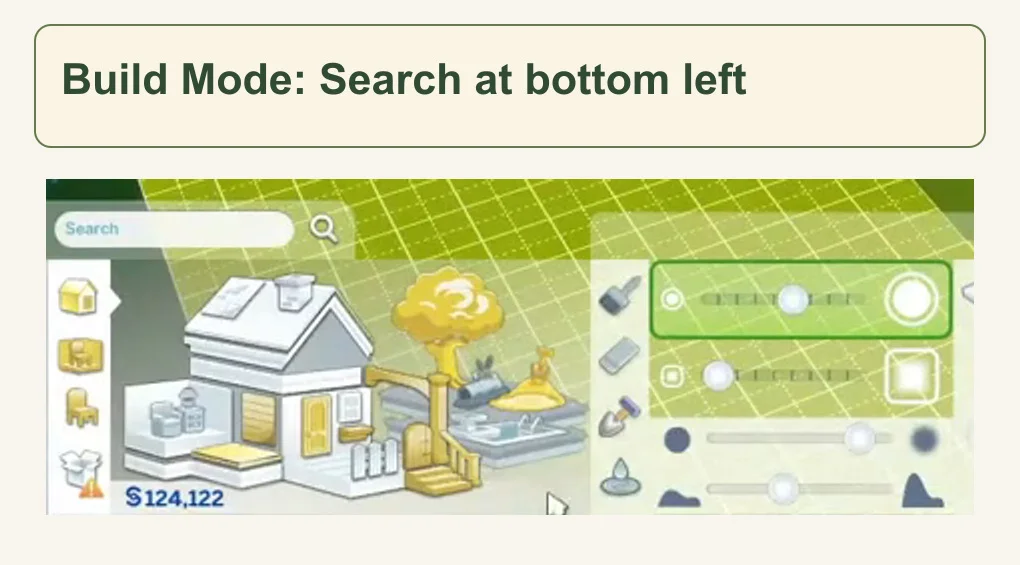
Once the water shape works, add a few stones or ordinary plants around the dry edge. In the bottom-left catalog Search field, try rock, then select a matching item card that is available in your game. Place the decorations on the bank, not across the route to the house or bench. Extra packs change your object choices; they are not needed for the pond tools.

Official Build Mode detail shows the lower catalog Search field and magnifying glass at the left.
Official 2021 catalog detail: Search is above the lower-left catalog. Type rock to look for stones; choose a result available in your own game.
CreditsElectronic Arts

For a themed finish, group the stones on one edge, keep the other side open and use a nearby bench as the destination for the path. This is a landscaping suggestion, not a rule the game requires. Make the hollow and water work first; decorations cannot fix a pond that was only painted onto flat ground.

Turn the pond into part of a home

Pair it with the first-seeds gardening guide for a working planter beside the water. The first-home Build Mode guide covers the rooms, doors and furniture around your yard; the Sims 4 guide hub brings the related tutorials together.

This website is not endorsed by or affiliated with EA or its licensors.

Get Pixel Twelve's biggest stories first.

Add as a preferred source on Google