


Pixel Twelve
The Sims 4 Build Mode Guide: Make a First Home That Works

How To

The Sims 4 Build Mode Guide: Make a First Home That Works

A practical The Sims 4 first-house guide with a labeled floor plan, Build/Buy explanation, furnishing order, object rotation controls, budget checks and Live Mode routing test.

Game: The Sims 4Verified Sep 23, 2026
Add to list

Before you build: pick a lot and a small goal

You do not need a giant mansion for your first Sim. You need a home that your household can enter, sleep in, cook in and use the bathroom in. If you start with a small rectangle and a working front door, you can decorate later without fighting a broken floor plan.

Move a household onto an empty residential lot, then select the hammer-and-wrench Build Mode icon near the top right of Live Mode. The bottom catalog is where you switch between structural Build items and movable Buy objects. On console, use the on-screen button prompt for Build Mode; controller prompts replace keyboard shortcuts.
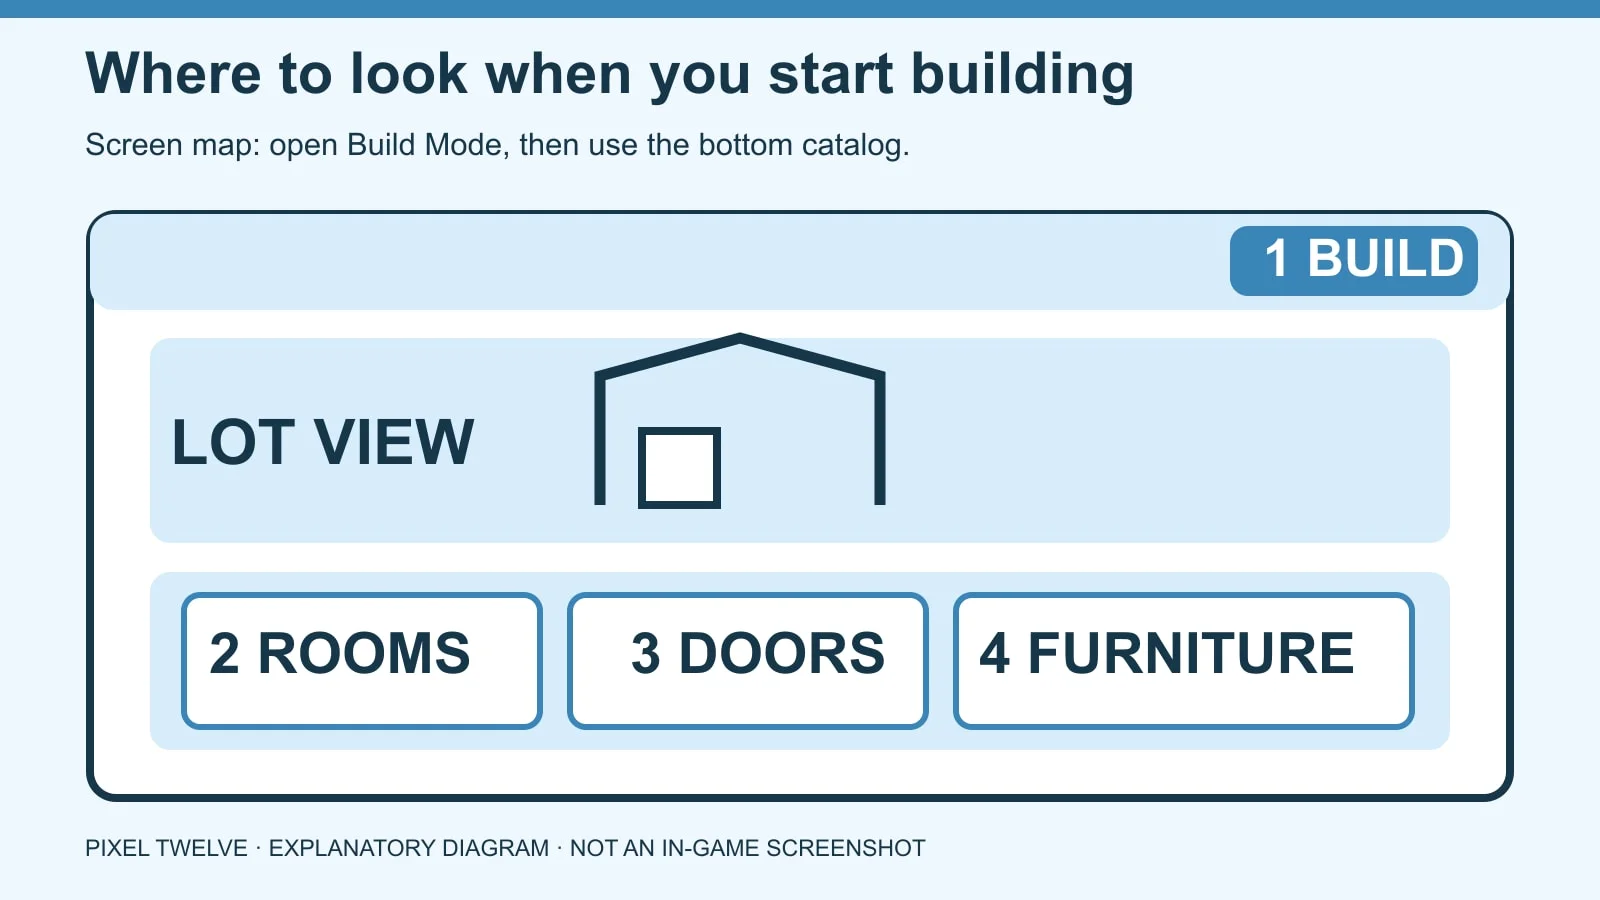
Schematic map of The Sims 4 screen: Build Mode at top right, then rooms, doors and furniture in the bottom catalog.
This is a screen map, not a game screenshot: open Build Mode at the top right, then use the bottom catalog to find room tools, doors and furniture.
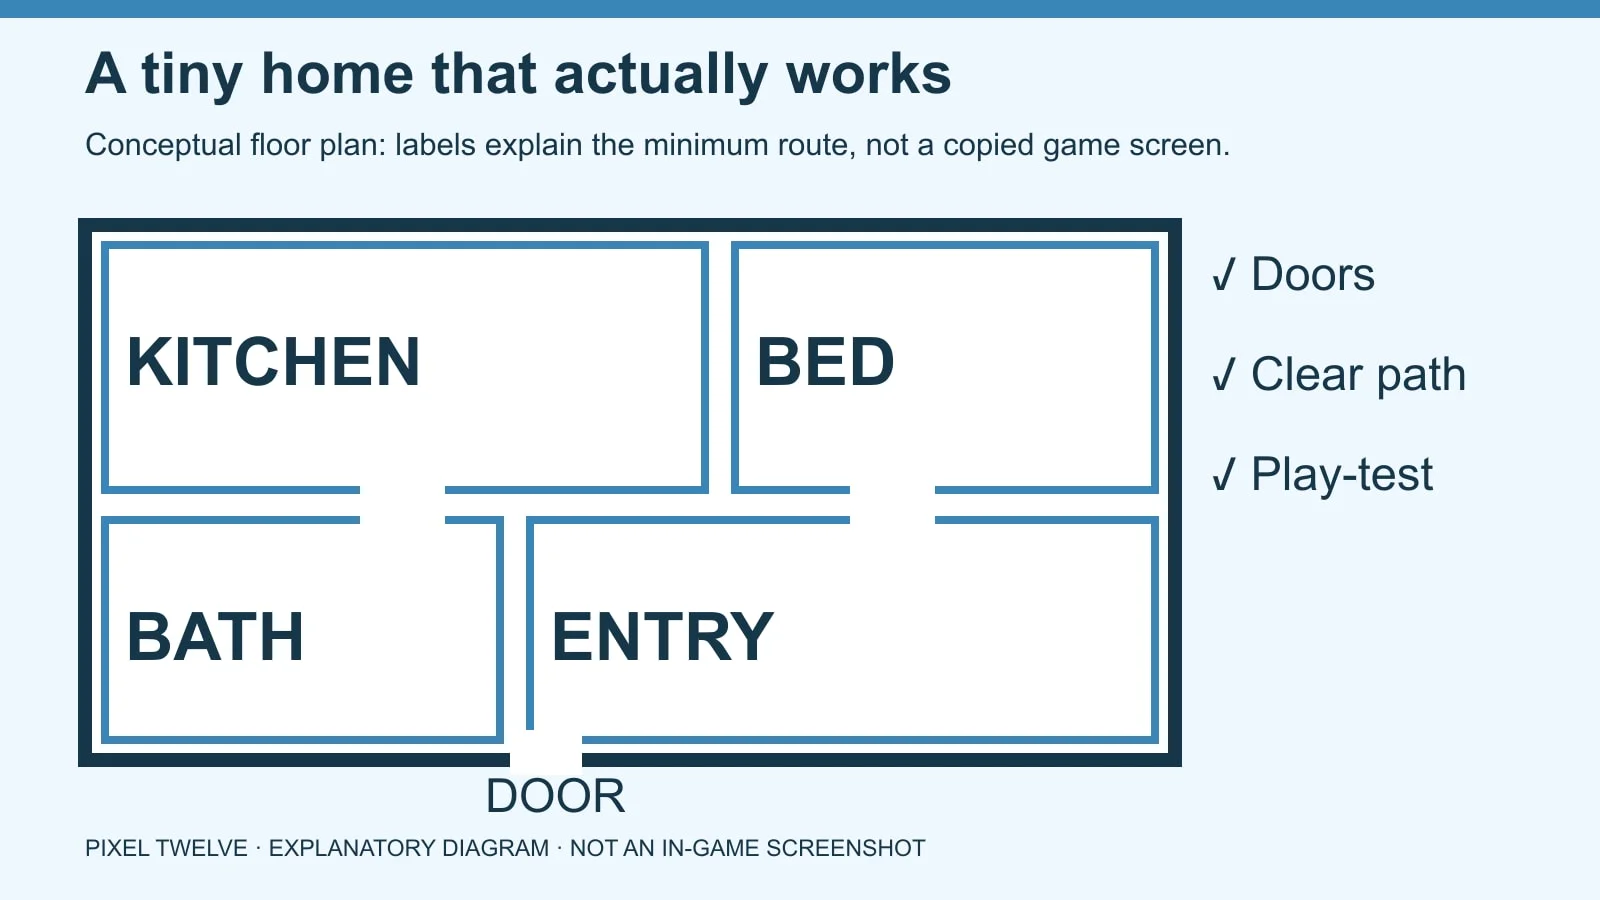
Conceptual labeled first-home floor plan showing living kitchen, bedroom, bathroom, entry and door positions.
Start with four zones. The breaks labeled DOOR are openings to keep clear; this is a planning diagram, not an in-game screenshot.

Step 1: draw the shell and make it enterable

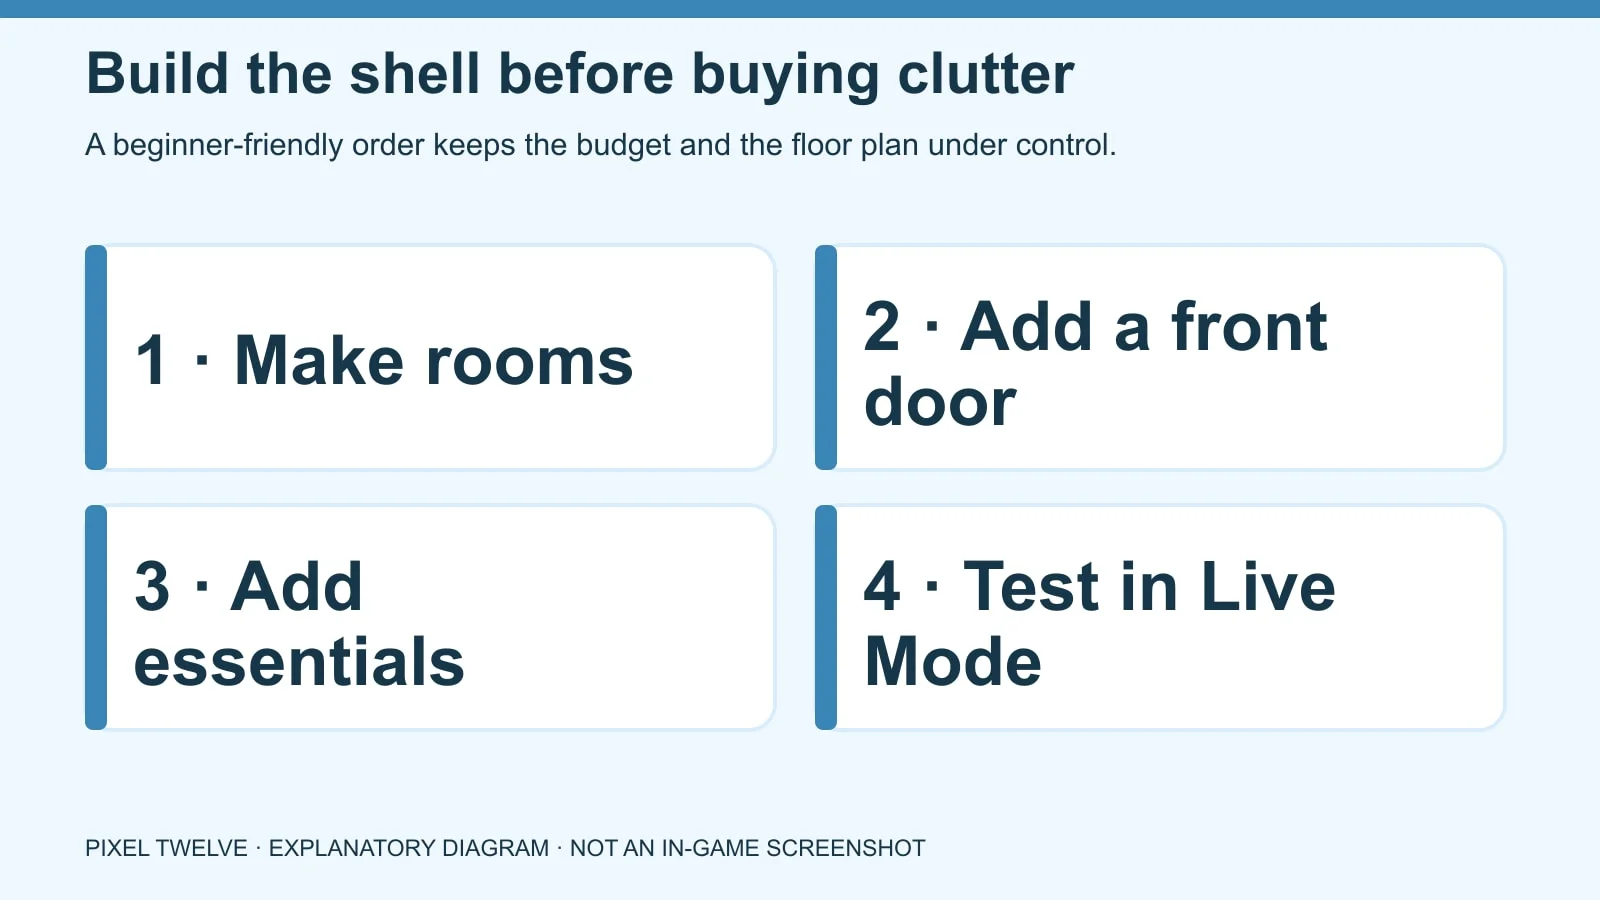
Four-step illustrated order: rooms, front door, essentials, then Live Mode test.
Build the shell first. Decorations can wait until your Sim can use the space.
  1. In the bottom catalog, choose Build and find the Walls and Empty Rooms tools. Place a simple room or draw four walls around one floor area. A closed outline is easier to furnish than an open maze.
  2. Add a second small room for a bathroom and, if you like, another for a bedroom. Keep enough tiles for a Sim to walk from the front door into each room.
  3. Open the Doors category and place a door on the outside wall. Add interior doors where the rooms meet. A window looks lovely, but it does not let a Sim enter.
  4. Use floor and wall finishes after the rooms and doors work. Spend the early Simoleons on function before wallpaper, fences or landscaping.

If your wall tool seems to be drawing in the wrong place, cancel the placement and zoom in on the lot grid. Short, rectangular rooms are easier to fix than a complicated shape.

Step 2: buy the essentials in a sensible order

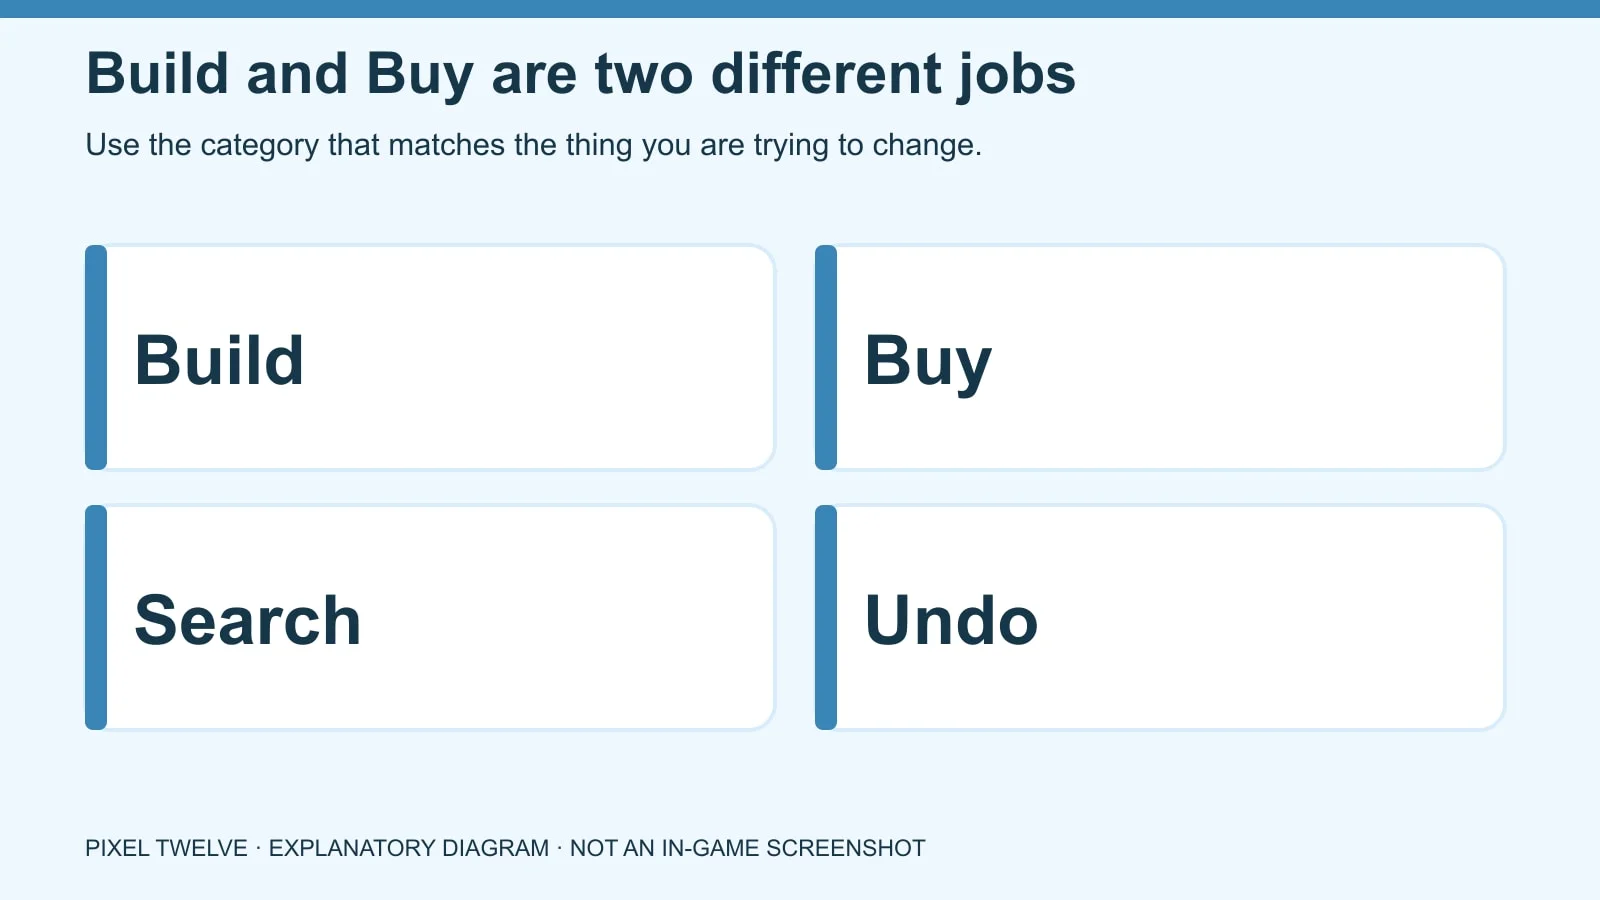
Diagram distinguishing Build structure, Buy furniture, catalog search and undo.
Walls and doors belong to Build; beds and appliances belong to Buy.

Switch to Buy in the bottom catalog. Search by object name if you cannot find a category. For a one-Sim starter home, this checklist covers the immediate needs; choose affordable versions so you keep money for food and bills.

  • Sleeping: a bed with clear space on a side the Sim can reach. Hygiene: a toilet and shower or bathtub, plus a sink if the budget allows. Hunger: a refrigerator, a usable counter and a stove or another way to prepare food. Light: at least one fixture so you can see what is happening.

Place the fridge and stove where the Sim can stand in front of them, not behind a chair or inside a decorative corner. If you are building for several Sims, increase beds and bathroom access accordingly. A baby or infant will need suitable care objects later; the first build does not need every family item immediately.

Step 3: rotate and resize without breaking the room

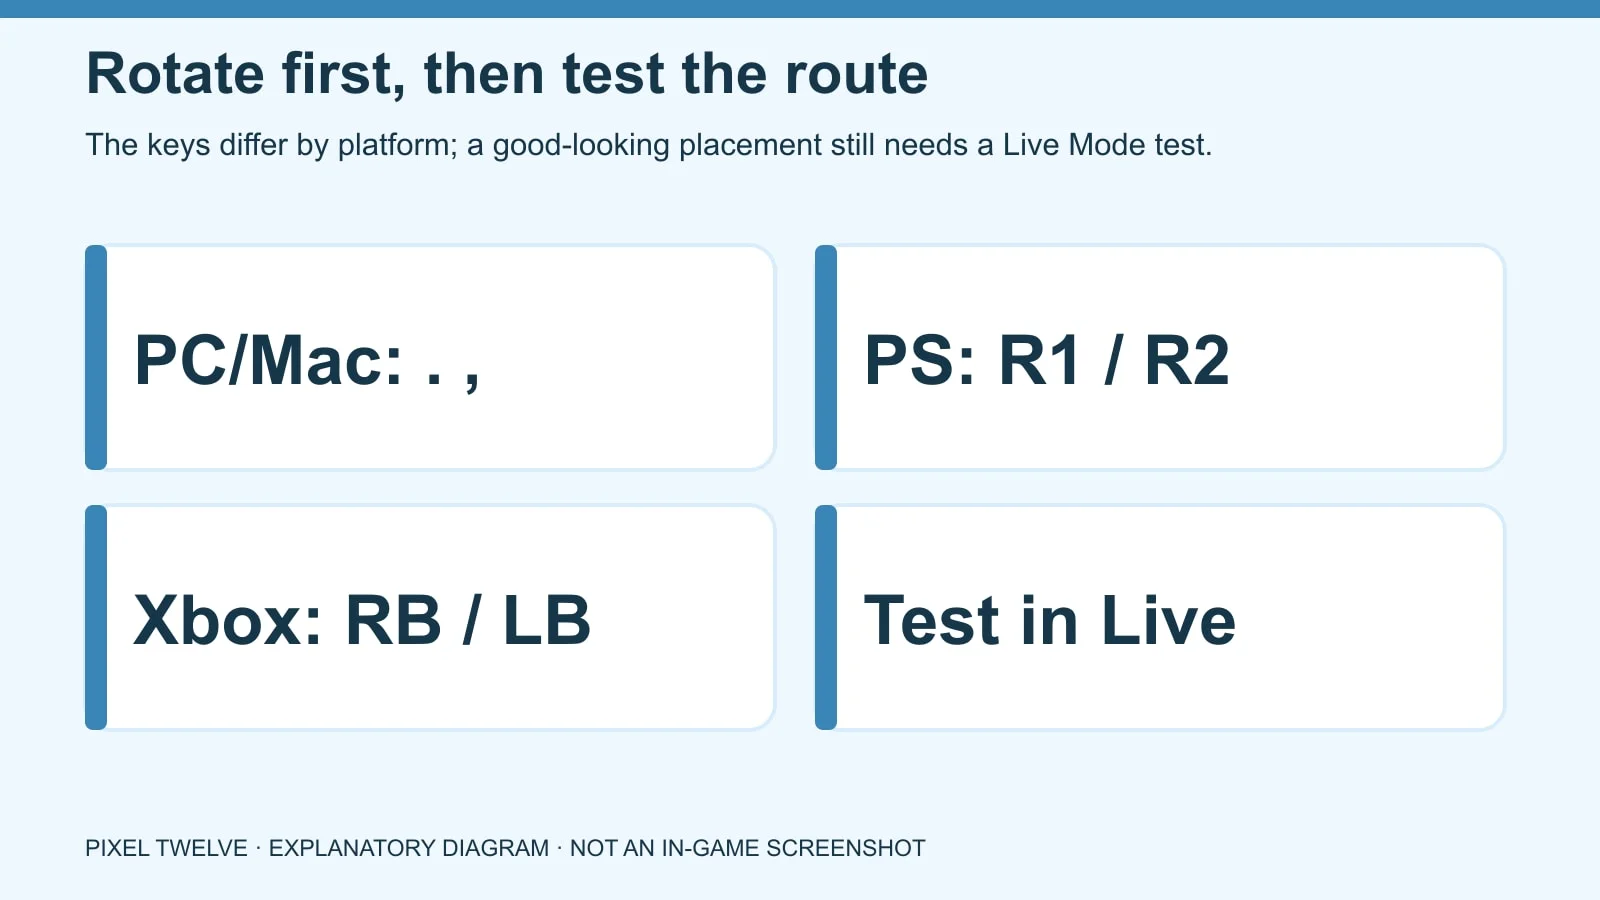
Platform controls diagram for rotating a selected object: period or comma on PC and Mac, R1 or R2 on PlayStation, RB or LB on Xbox.
Select the object before using these controls. After placement, switch to Live Mode and test whether the Sim can reach it.
  1. To rotate on PC or Mac, select an object in Build Mode, then press . (period) or , (comma) while it is selected; EA says each press turns it by 45 degrees. On PC, right-clicking a selected object also rotates it.
  2. On PlayStation, use R1/R2 while placing an object; on Xbox, use RB/LB. Look at the object’s front before you set it down, especially for chairs, desks, toilets and appliances.
  3. If you want to enlarge a decoration on PC/Mac, select it and use Shift + ]; Shift + [ shrinks it. Enlarging a functional object can create placement or routing problems, so save this for decoration until your home works.

The moveobjects cheat is not needed to make a first home. It lets objects overlap in ways that can look great but can also block the Sim. Learn normal placement first; the existing Pixel Twelve cheats guide covers that separate topic.

Step 4: switch to Live Mode and play-test the house

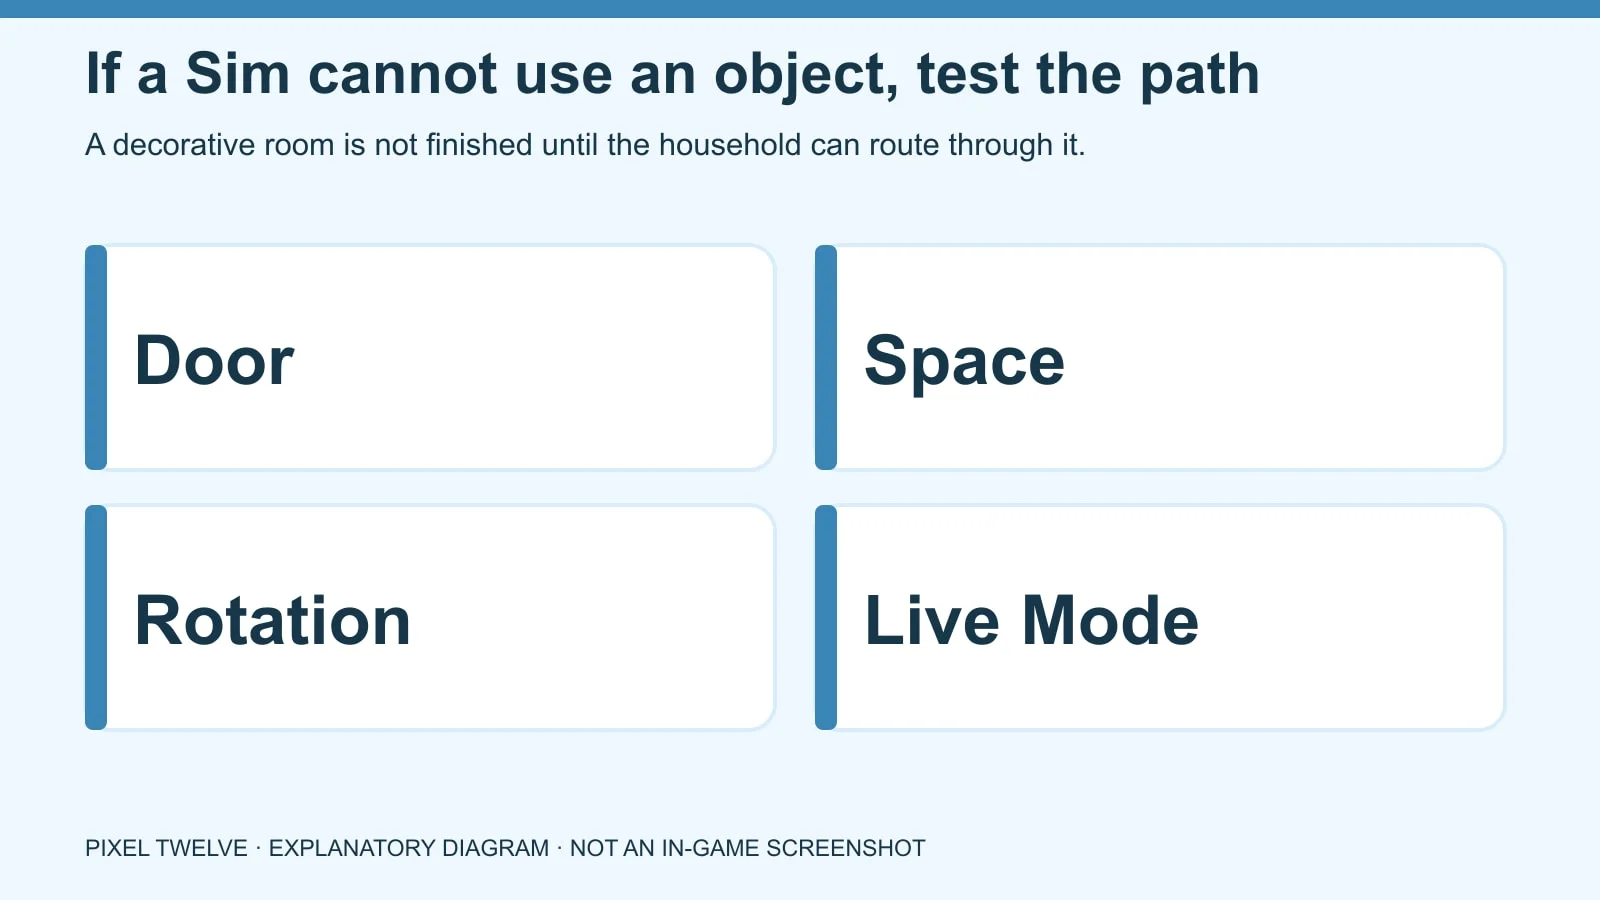
Diagram showing the four routing checks: door, space, rotation and Live Mode action.
A house is functional only when the household can reach and use its objects.
  1. Return to Live Mode. Select your Sim and click the front door or a spot inside the home. Watch whether they walk in.
  2. Click the bed and choose Sleep or another available interaction. Then test the toilet, shower and refrigerator. Do not just assume the green placement outline meant the object is usable.
  3. If the Sim waves and refuses, return to Build Mode. Check for a missing door, blocked walking tile, object facing the wrong way or furniture too close together. Move one item at a time, then repeat the Live Mode action.

Save the game once the core route works. Now you can add couches, windows, plants and a roof knowing the basics will not trap your Sim in an expensive dollhouse.

First-home mistakes that are easy to fix

  • No front door? Add one to an outside wall. Kitchen not usable? Leave walking space in front of the fridge, counter and stove. Bed works for one Sim but not another? Check which sides of it are blocked. Bathroom privacy issue? Put its door on a real wall and leave room for the door’s opening.

If your budget runs low, delete decorative objects first and keep the essentials. If you would rather start from a finished shell, the Gallery guide explains how to place a lot that fits your lot size—and why packs and custom content can change how a downloaded house looks.

Roof, windows and polish come after the route test

Once you know the floor plan works, return to Build Mode and add windows to the exterior walls. Look at where the furniture sits before placing a window: a window directly behind a tall cabinet may be hidden. Then open the Roofs category and try one simple roof piece over the rectangular shell. You can drag its handles to change its footprint and pitch; undo a shape that does not cover the house cleanly.

Use wall and floor patterns to make each area easier to read. A light kitchen floor and a separate bedroom texture can show where one zone ends and another begins, even when the house is tiny. This is decoration with a purpose: it helps you see your own layout.

Save again after the roof and furniture are done. If you later use the Gallery to replace the lot, make a library copy of a build you want to keep. A first build is allowed to be small, imperfect and changeable. The important test remains simple: can every Sim get through the door and use the key objects?

Get Pixel Twelve's biggest stories first.

Add as a preferred source on Google