
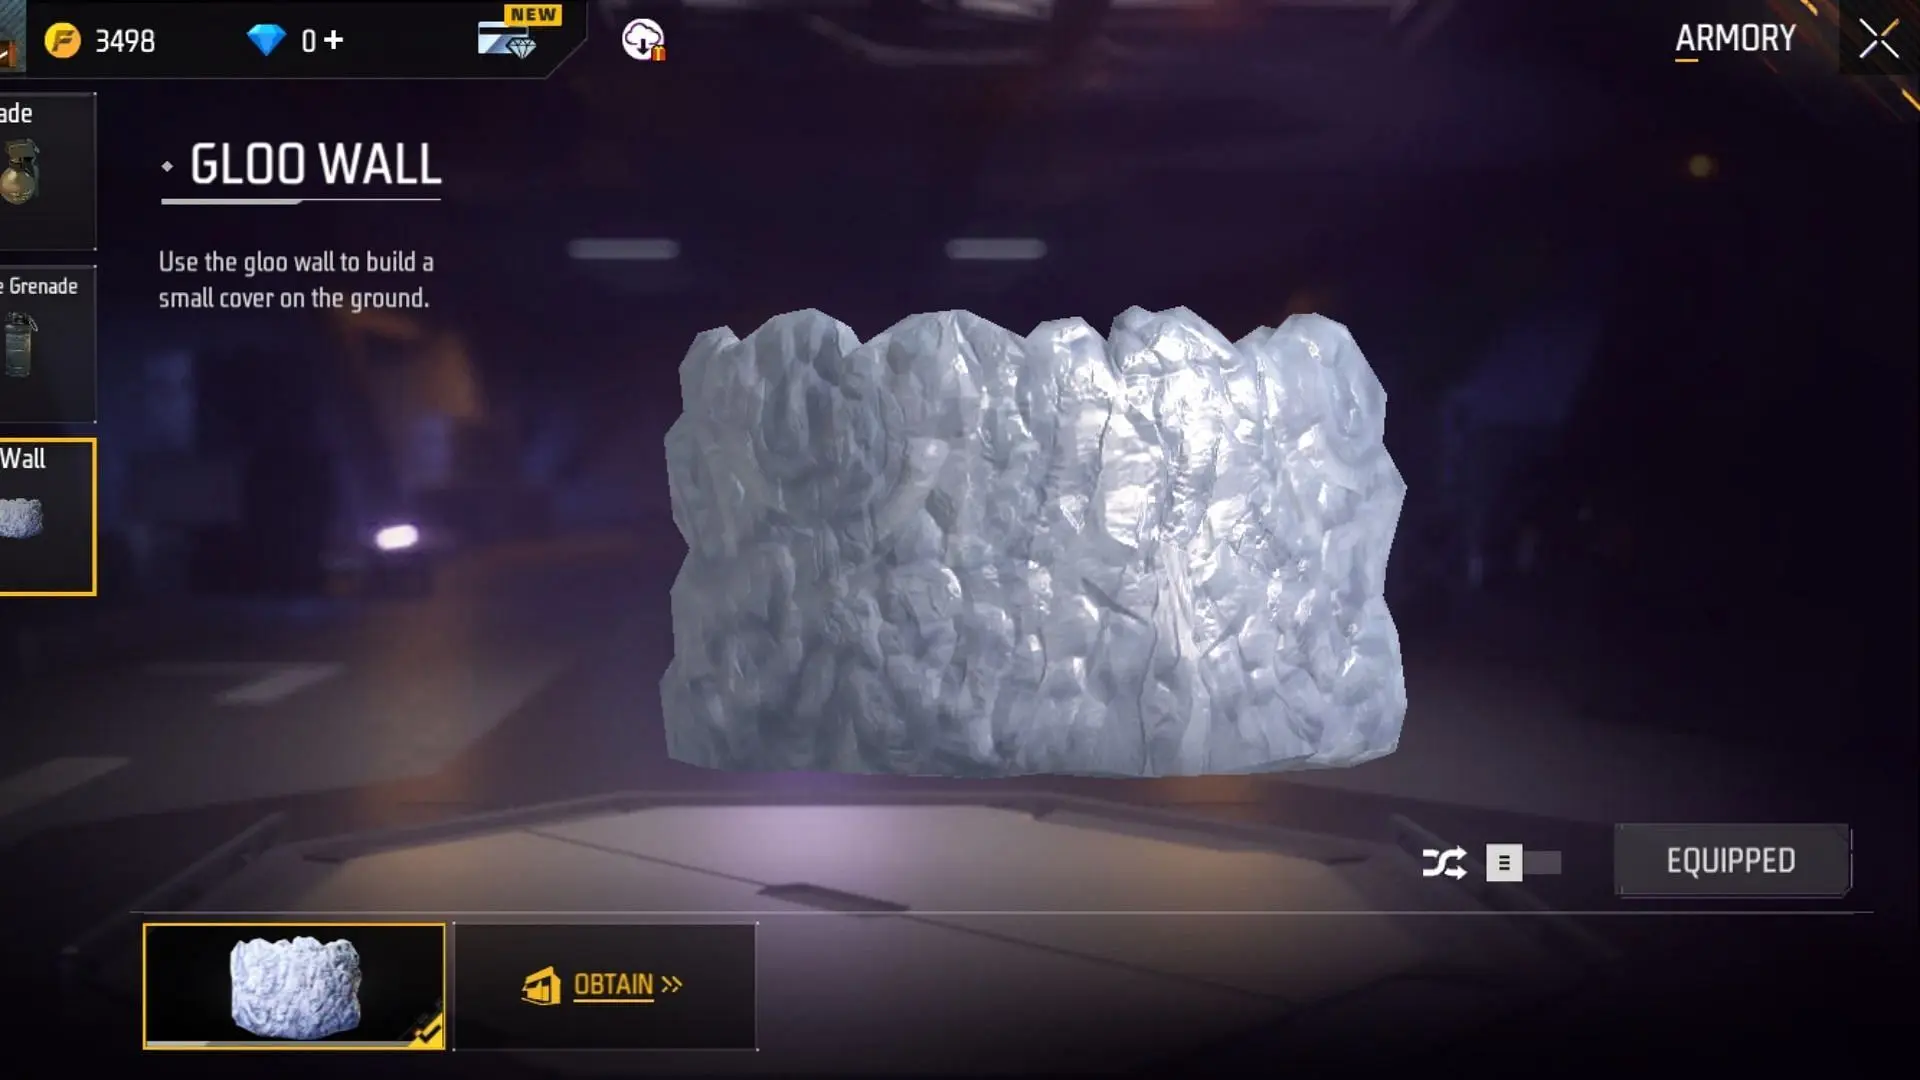

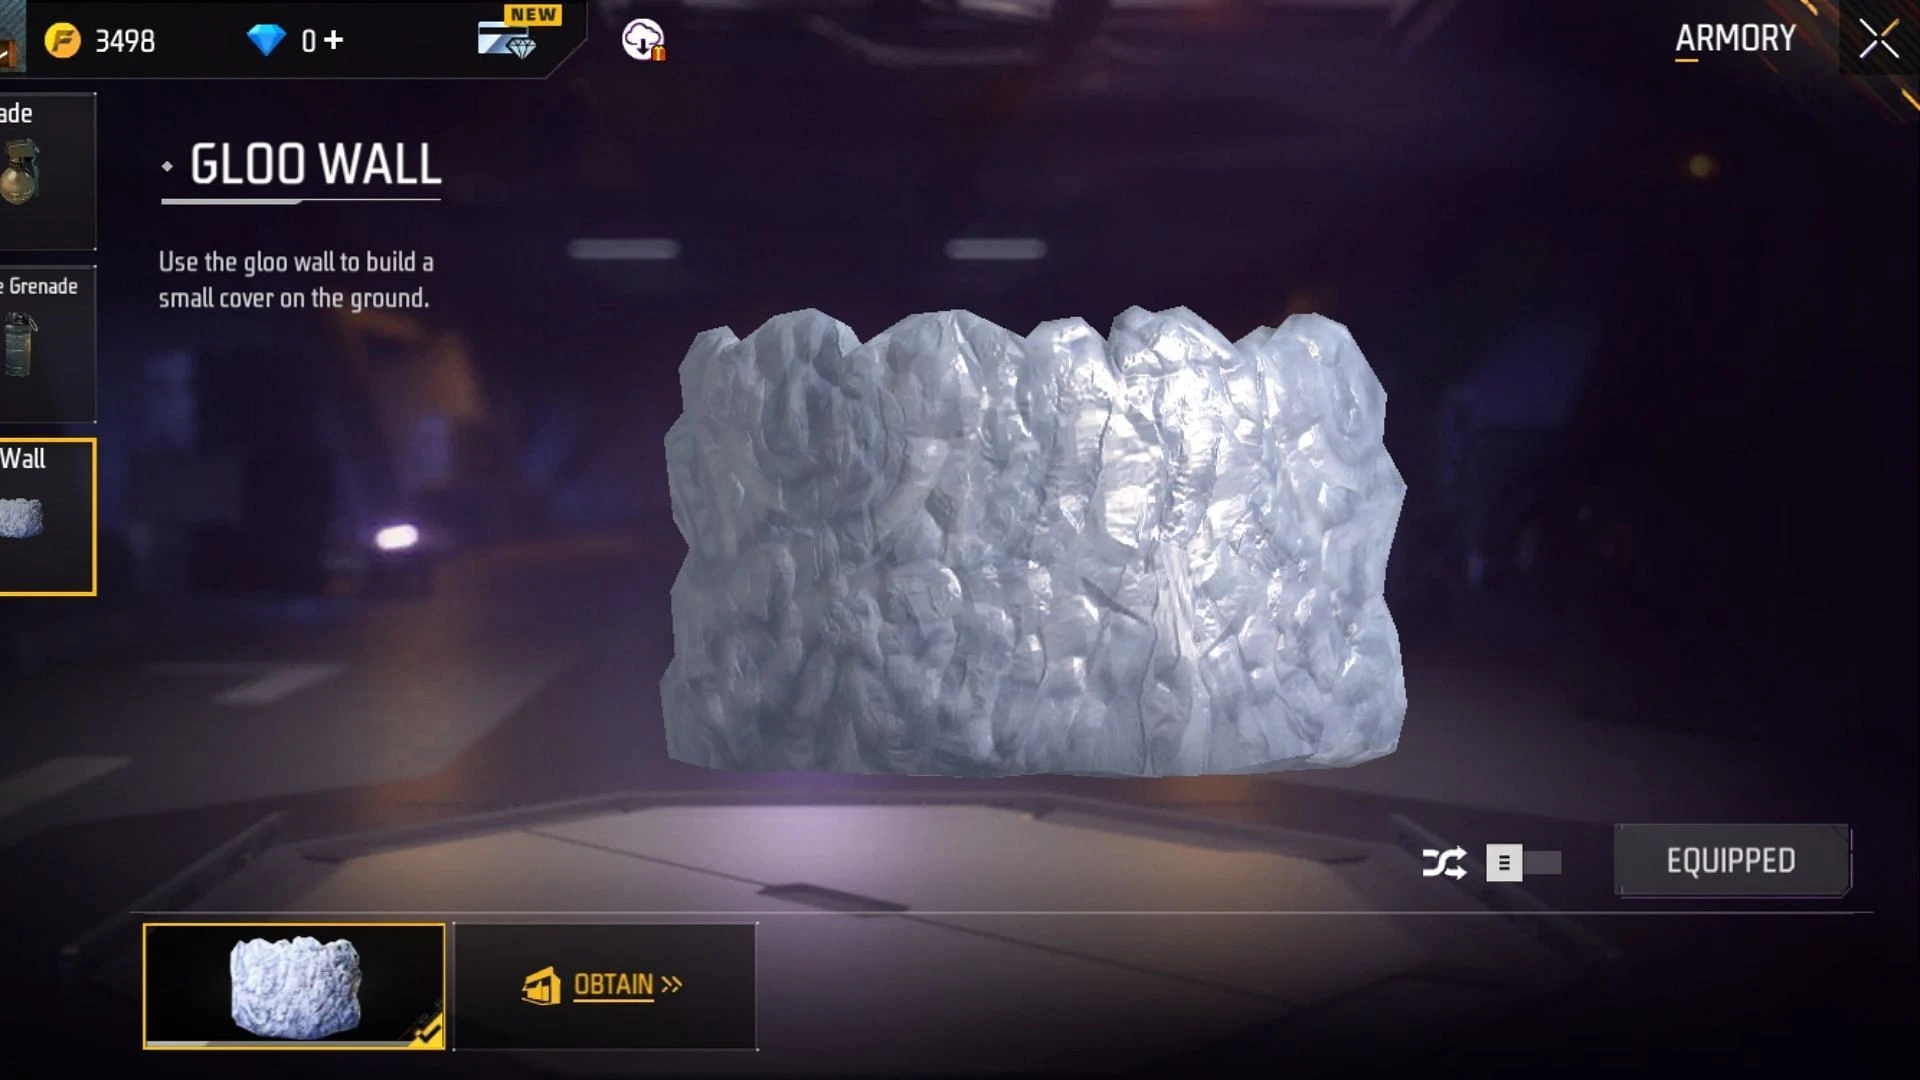
Gloo Walls give Free Fire MAX players temporary cover when a building, rock, or vehicle is not close enough. A wall can stop direct fire long enough to heal, reload, revive a teammate, cross a dangerous space, or change position. It can also be destroyed or bypassed, so placing one does not make the area safe.
Good wall use starts before a fight. The button must be easy to reach, the placement marker must be aimed at useful ground, and the player must know how many walls are available. Fast placement helps, but a wall in the wrong position can leave one side open or block the player's own movement.
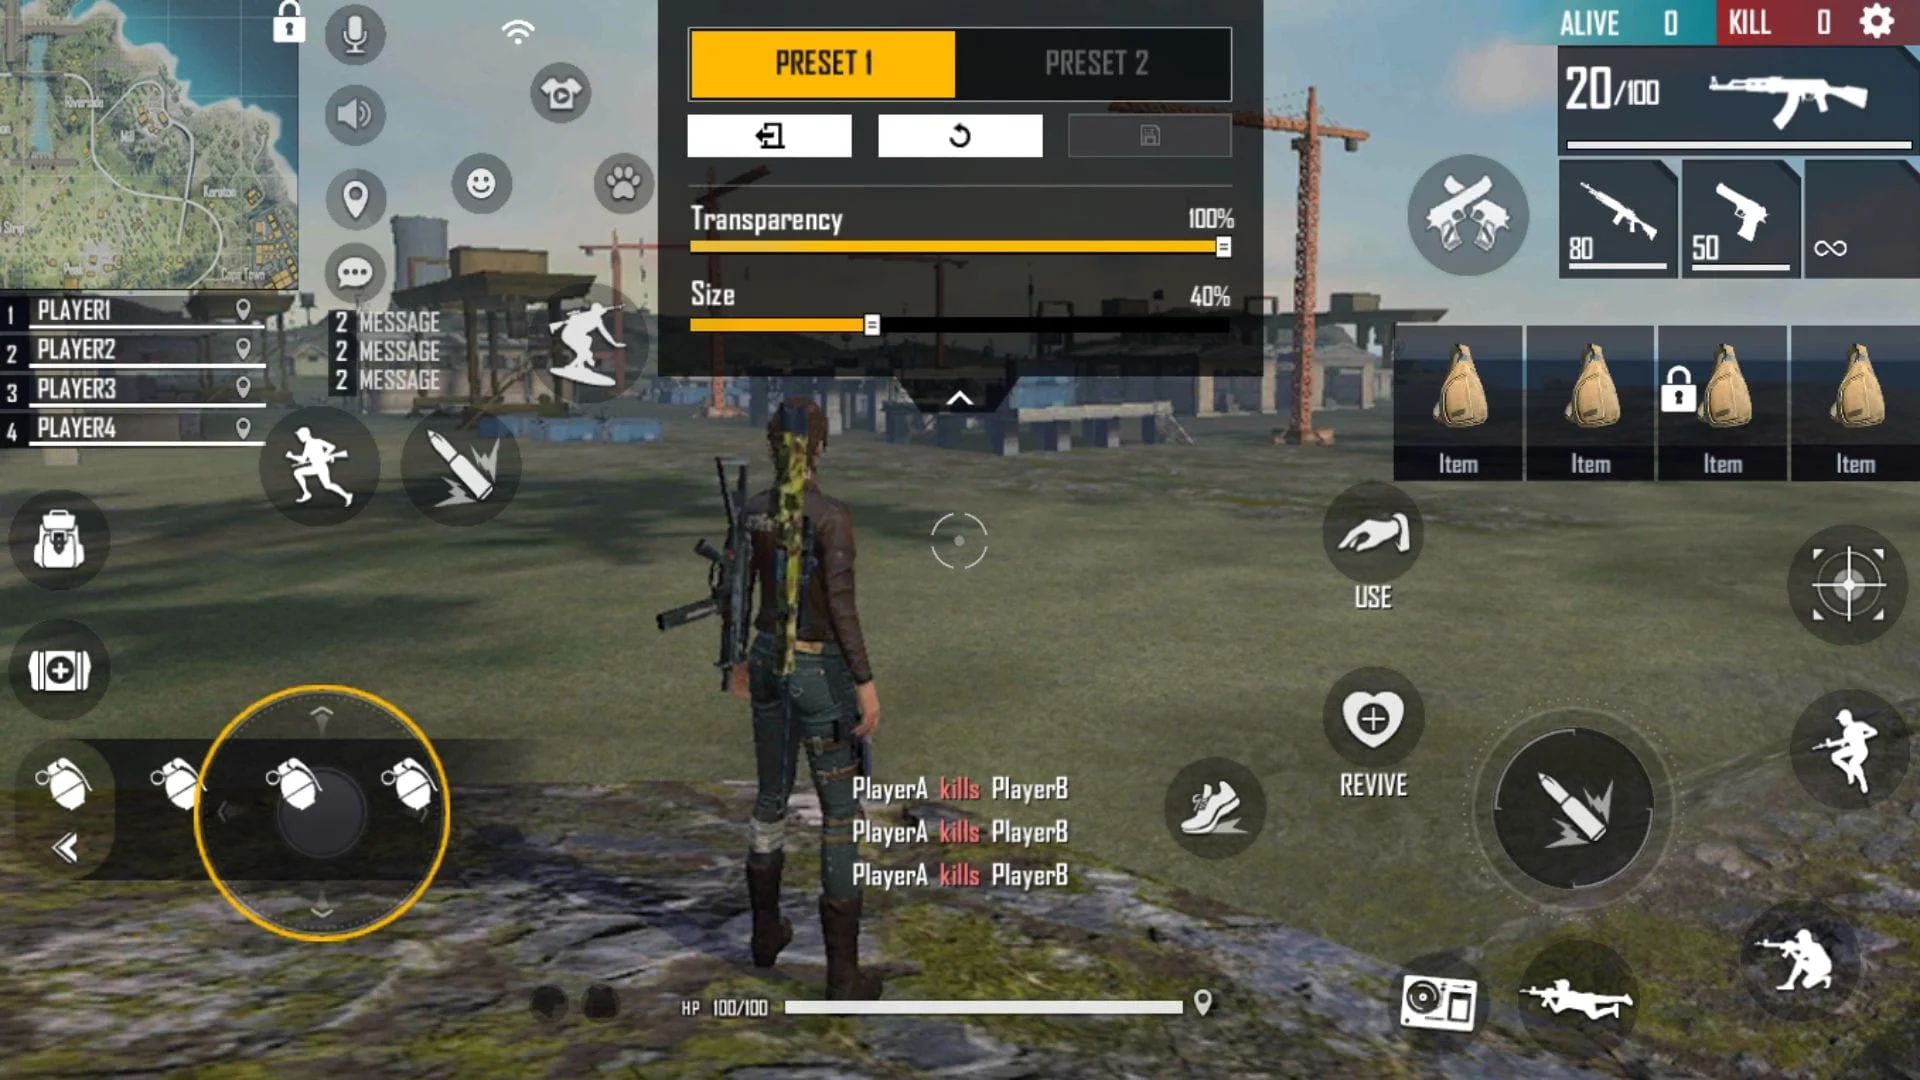
Players who are still changing their button layout should use the Free Fire MAX sensitivity and controls guide first. Keep the Gloo Wall button close to the finger that handles quick actions, but leave enough space to avoid accidental taps. Test the position in training instead of changing it during ranked matches.
Set Up Fast Placement and Use Each Wall Carefully
Garena's Smart Throw option supports two useful inputs. A tap places a Gloo Wall quickly in front of the player. Holding the button lets the player aim and release the wall at a chosen location. Quick placement is useful when shots arrive without warning. Aimed placement gives more control near doors, slopes, corners, and teammates.
Before pressing the button, point the camera toward the ground where the wall should appear. Keep enough room to move behind it. A wall placed too far away may leave the player exposed while running to cover. A wall placed too close can make it harder to see, turn, or leave the position. Uneven ground can also change the amount of protection, so check both sides after placement.
In Battle Royale, the Gloo Maker handles the supply of walls. Garena's official notes have placed it in the Device section of the backpack, although menu labels can change. The current OB54 notes say the wall limit increases by one at each Gloo Maker level, while eliminations and loot boxes provide one wall each. Garena has adjusted these values before, so players should check the latest patch notes after a major update.
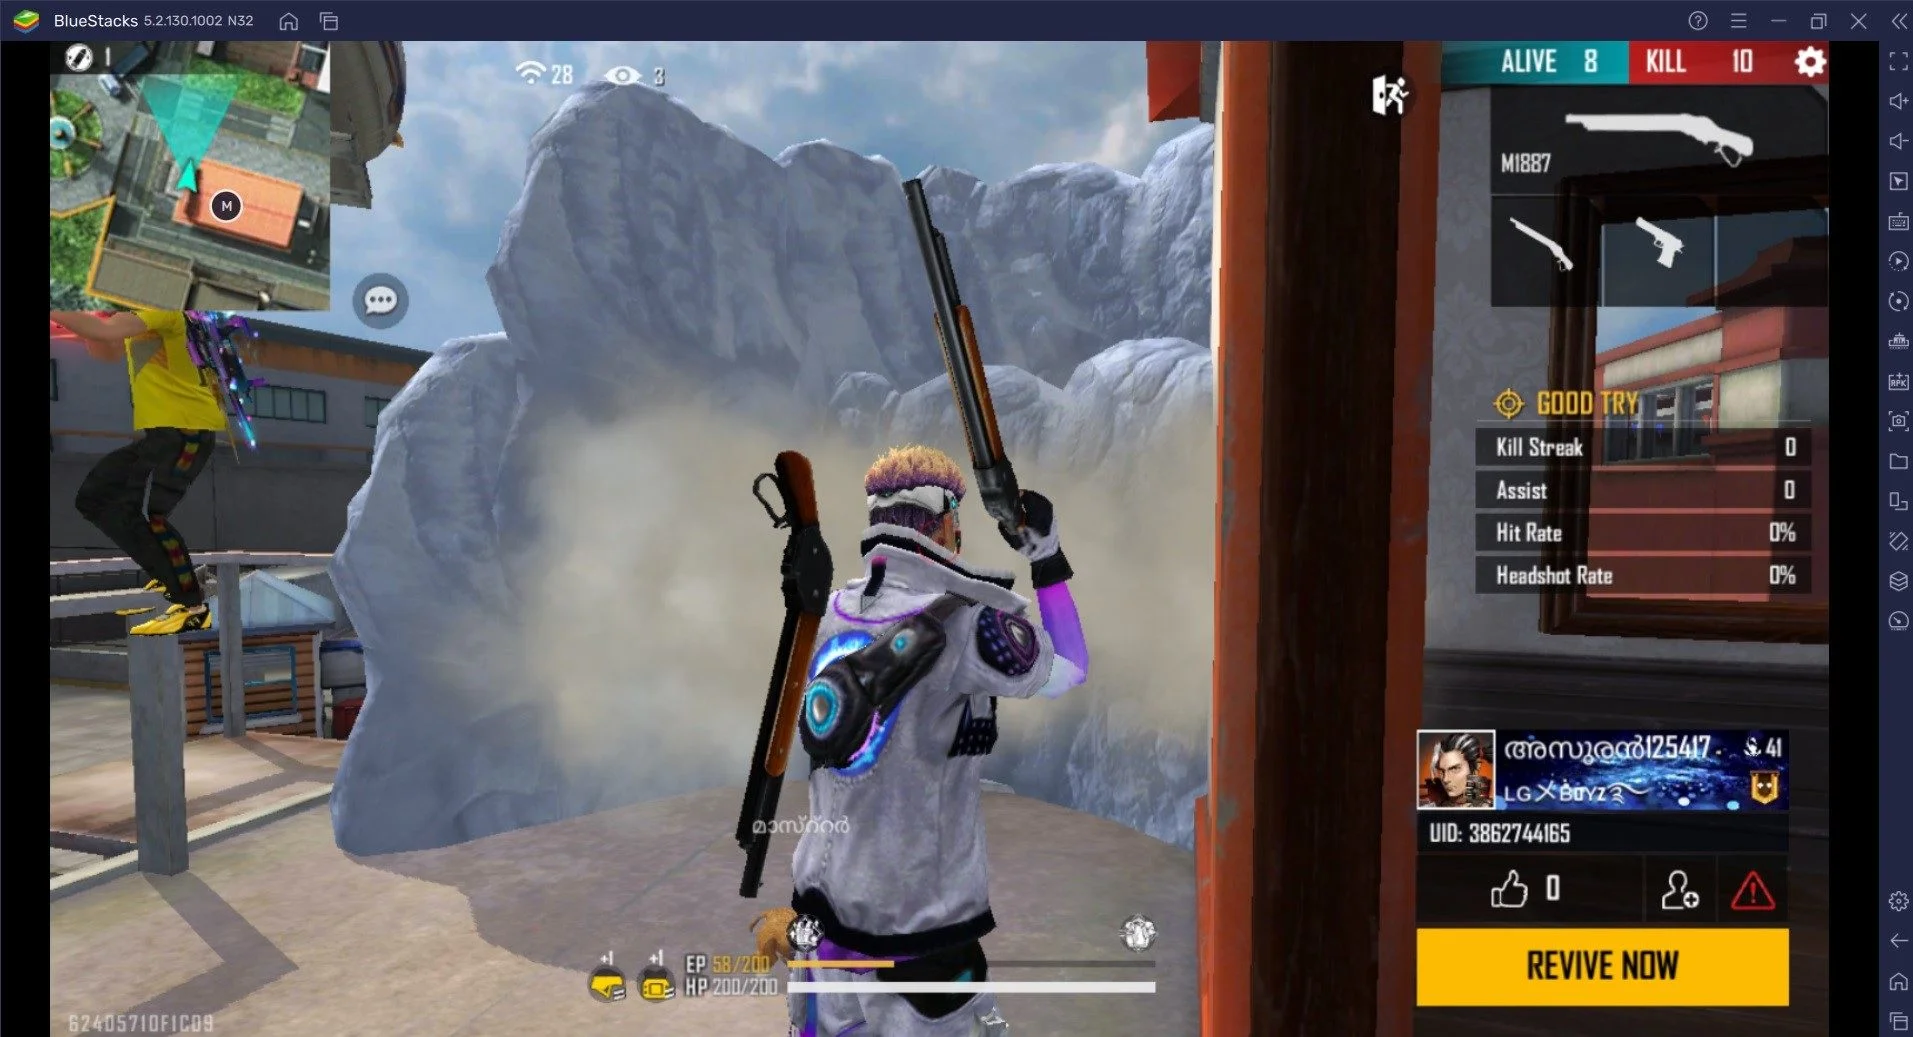
Use one wall when it can solve one clear problem. Block the direction of incoming fire before healing or reloading. Cover a downed teammate before starting a revive. Place a wall across a doorway or narrow route when the team needs time to move. If enemies can shoot from two directions, one wall may not be enough; block the more dangerous angle and move toward solid cover instead of staying between both teams.
Do not spend every wall during the first exchange unless the squad will lose the fight without them. Keeping one available can protect the final movement into the safe zone or make a late revive possible. Clash Squad availability follows the current mode and round rules, so check the shop and inventory at the start of each round rather than assuming the previous round's supply still applies.
Peek, Reposition, and Avoid the Common Mistakes
Stand near an edge of the wall when you are ready to shoot. Move out only far enough to see the target, fire, and return to cover. Showing the full body gives the opponent an easier shot. After firing from one side, consider changing height, moving to the other edge, or leaving the wall. Repeating the same peek lets an opponent hold the crosshair on the exact place where your head will return.
An angled wall can support a side peek, but the angle must still cover the player's body. Look at the wall from the enemy's direction when practicing. If a shoulder, leg, or part of the head is visible before the player can see the target, adjust the placement. Peeking is also risky when another enemy has a clear view of the opposite edge.
These mistakes cause many failed walls:
- Waiting until health is almost gone. Place cover as soon as the fight becomes unsafe, then heal or move.
- Looking at the enemy instead of the placement area. Pre-aim the ground so the wall appears where protection is needed.
- Standing in the middle after placement. Use an edge for a short peek and avoid showing the full body.
- Peeking from the same side several times. Change the angle or reposition before the opponent is ready for the next shot.
- Using one wall against several firing angles. Cover the main threat and move toward a position with solid protection.
- Forgetting the remaining supply. Check the Gloo Maker or inventory before entering open ground or starting a push.
Some weapons and character skills can also punish a player who depends on one wall. As of OB54, Oscar can break the first Gloo Walls in his dash path, Nero can prevent wall placement inside his ability area, and selected rifles can penetrate Gloo Walls. These interactions can change in later updates. When placement fails or a wall breaks unusually quickly, check the current patch notes before assuming the controls are wrong.
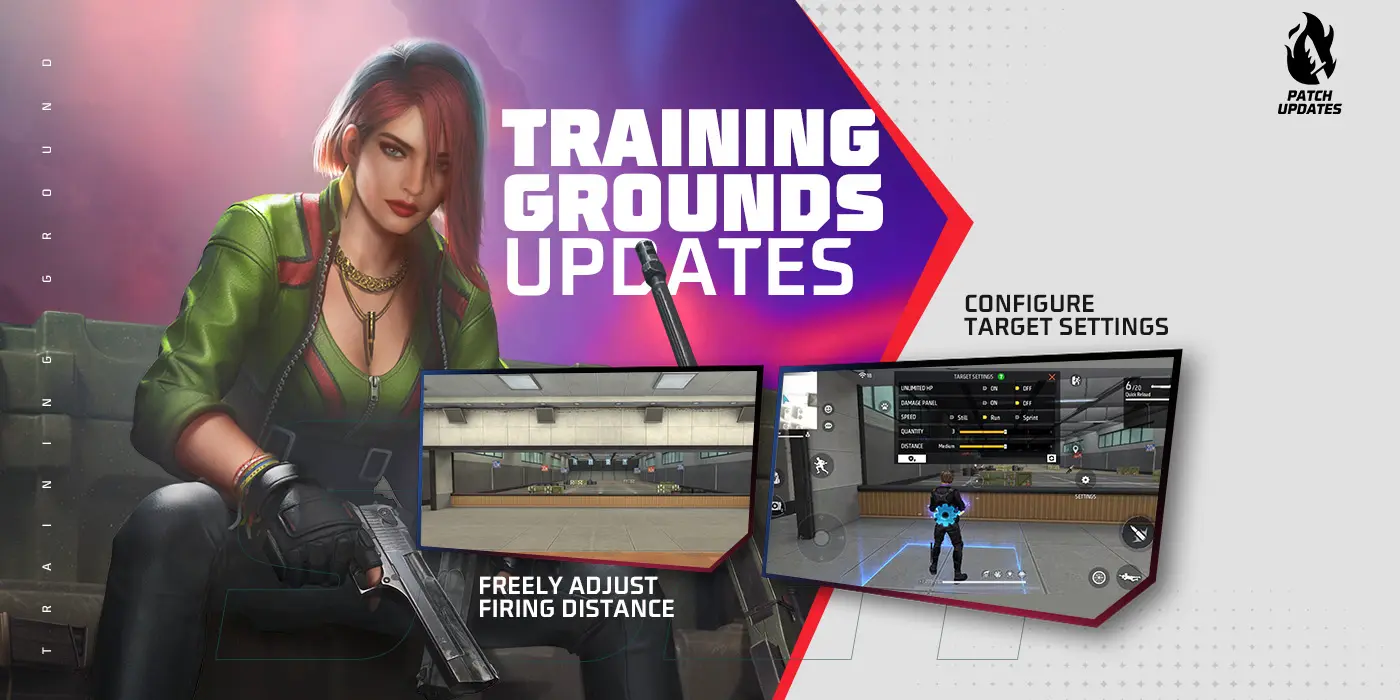
Practice tap placement, aimed placement, left and right peeks, and a wall followed by immediate movement. The Free Fire MAX character guide explains current skill choices, while the rank push guide covers safer fights and rotations. The complete Free Fire MAX guide links the rest of Pixel Twelve's help for the game.