



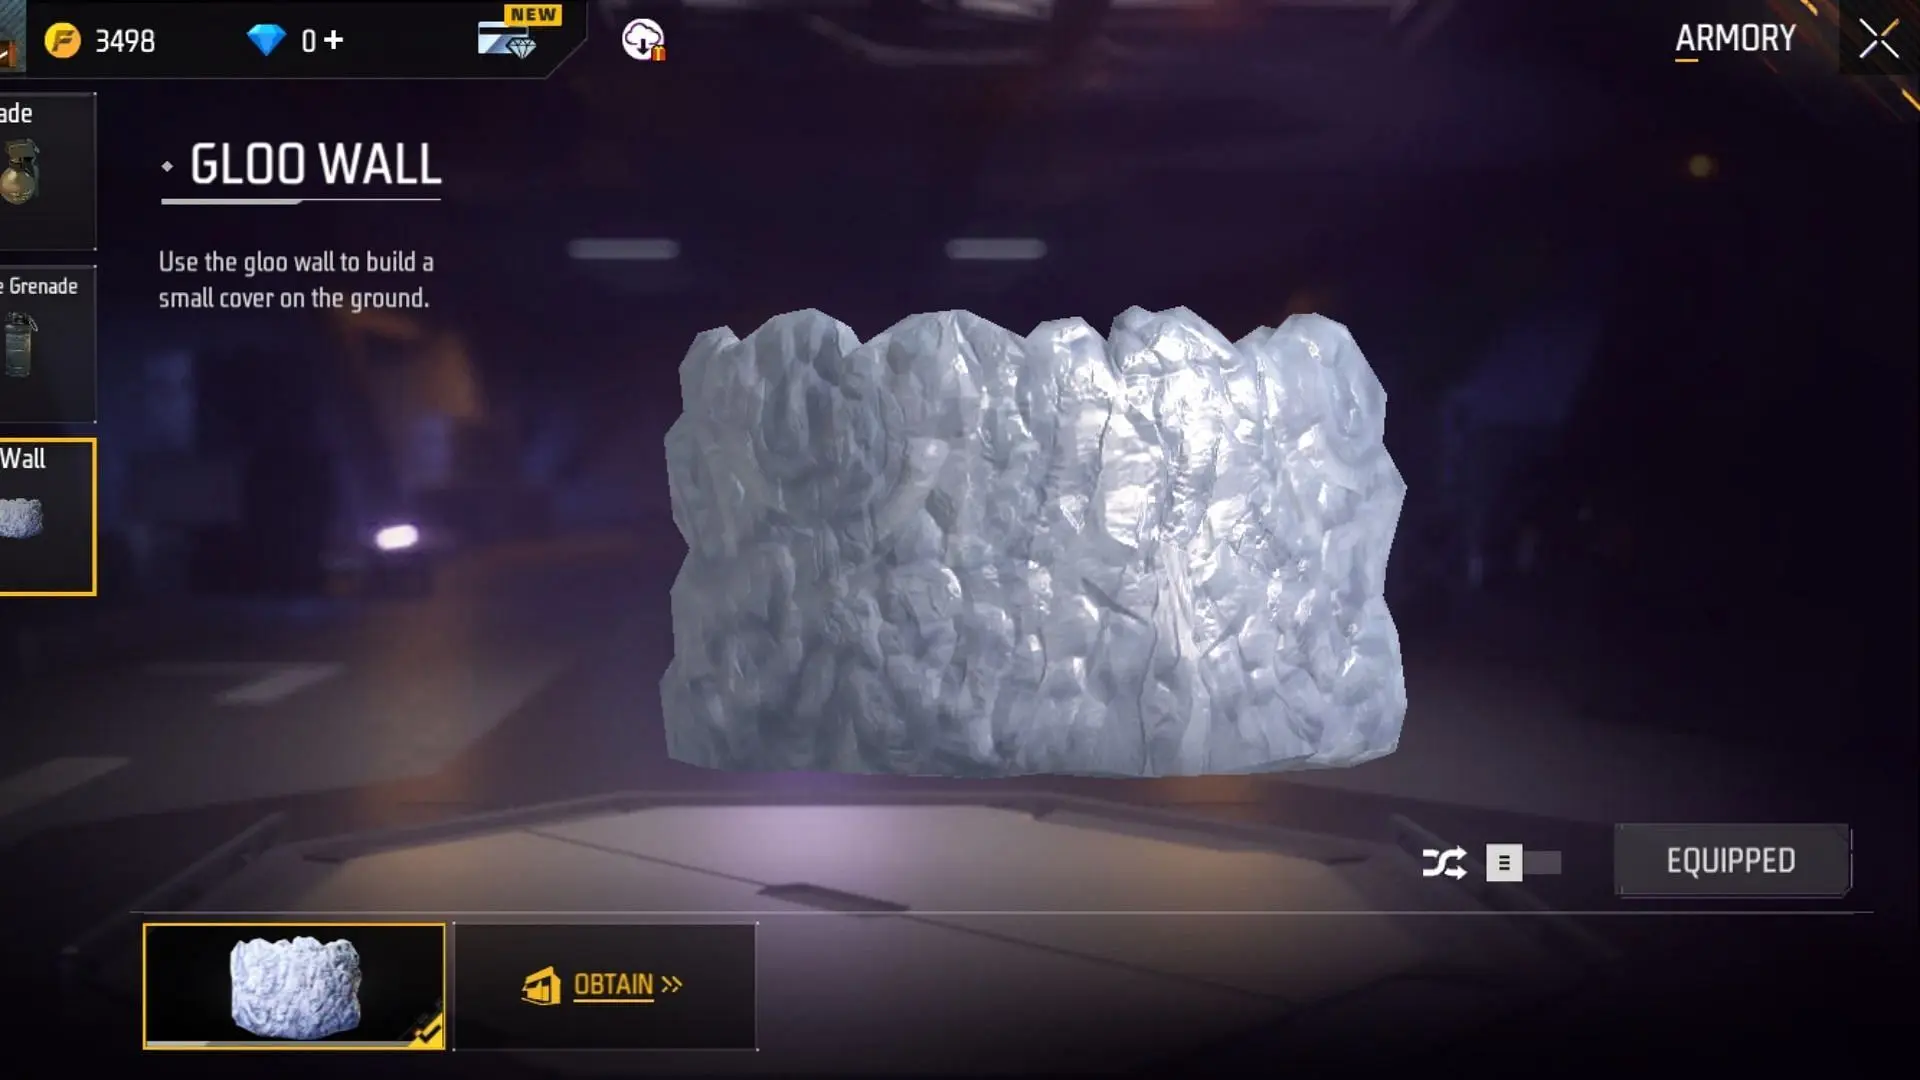

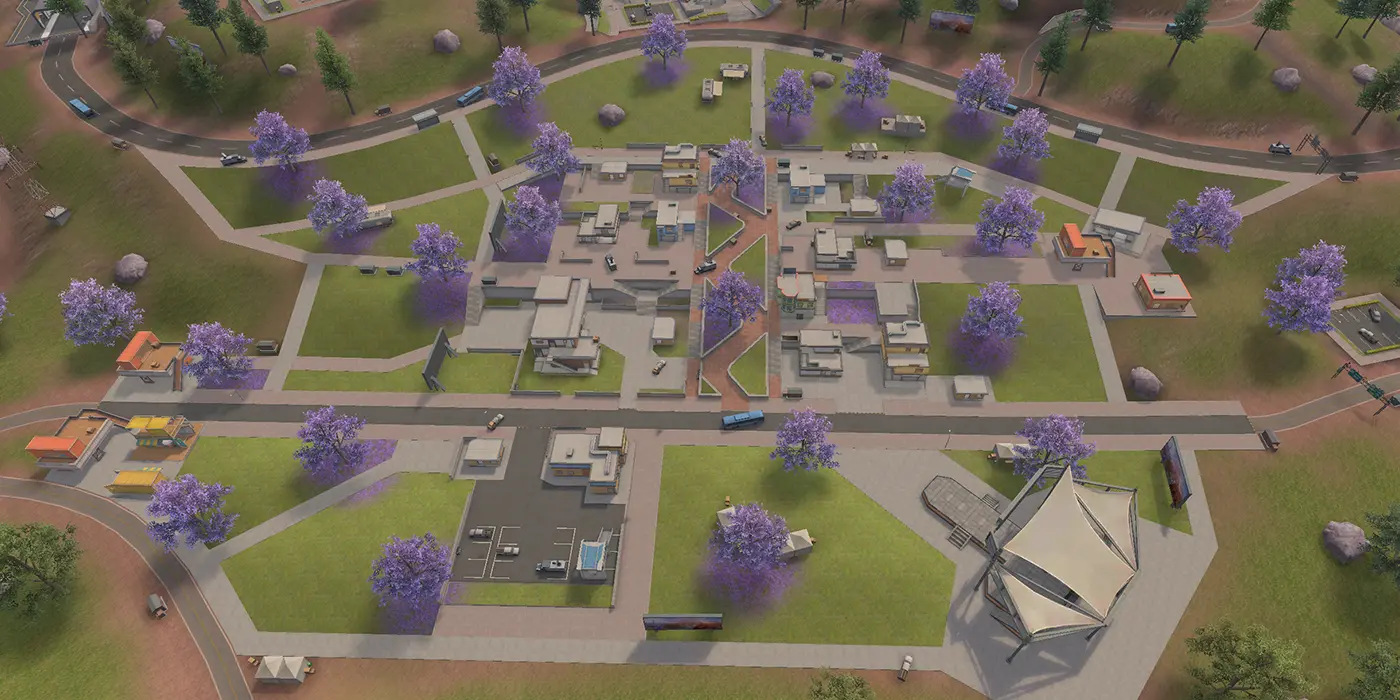
A good landing gives you enough time to collect a usable weapon, armor, healing items, and Gloo Walls before the first important fight. The best place is not always the location with the most loot. It is the place your squad can reach together, clear without wasting time, and leave before the safe zone forces a rushed move.
Landing choices depend on the flight path, nearby teams, the current map, and whether you are playing for eliminations or rank points. Those decisions stay useful across updates. Map availability and small location details can change. In OB54, Garena removed Bermuda 2.0 and Alpine and adjusted several map areas, so older route lists may include places that are no longer in the active game.
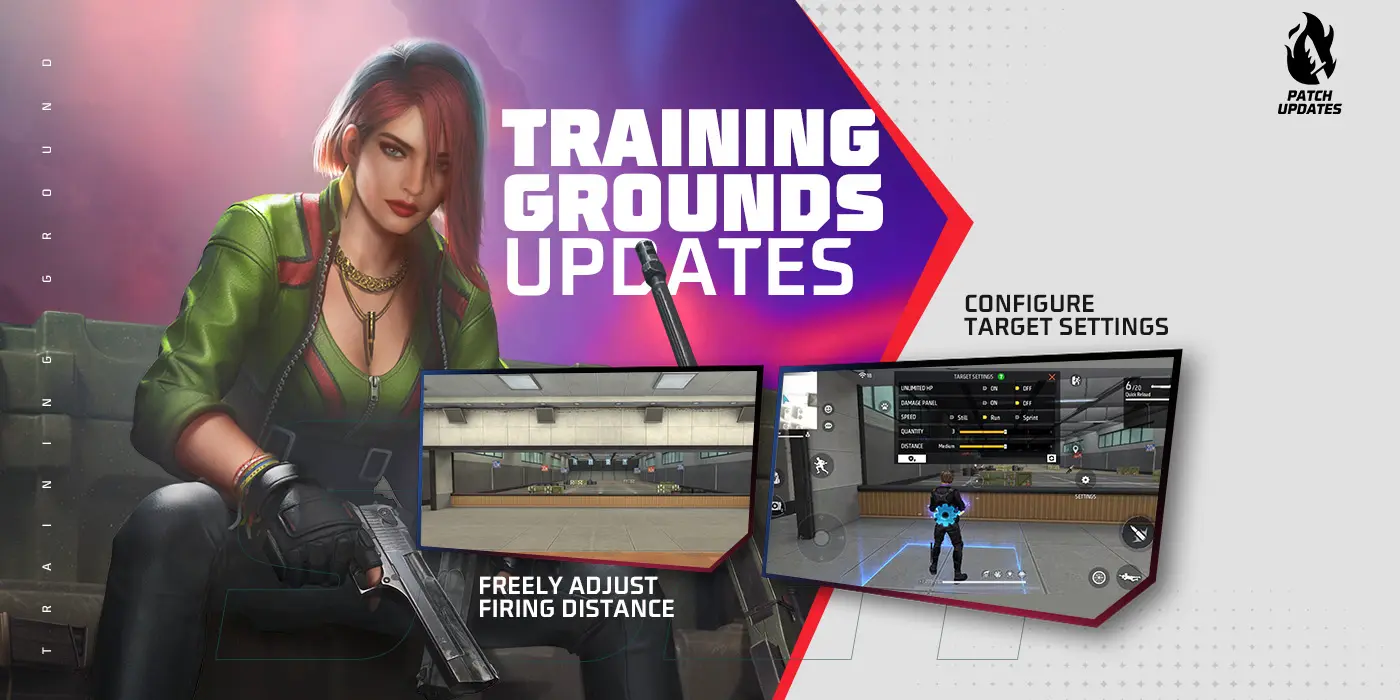
New players should learn basic looting and combat in the Free Fire MAX complete guide. Once those basics are comfortable, use the choices below to plan a landing before leaving the plane.
Choose a Landing Spot for the Match You Want
Start by reading the flight path. A named location directly under the plane is easier to reach, so more players can contest it. A location farther to one side usually takes a longer glide and may give you more time to loot. Mark one main location and one backup before jumping. If several teams leave for the same roofs, turn toward the backup while the squad is still in the air.
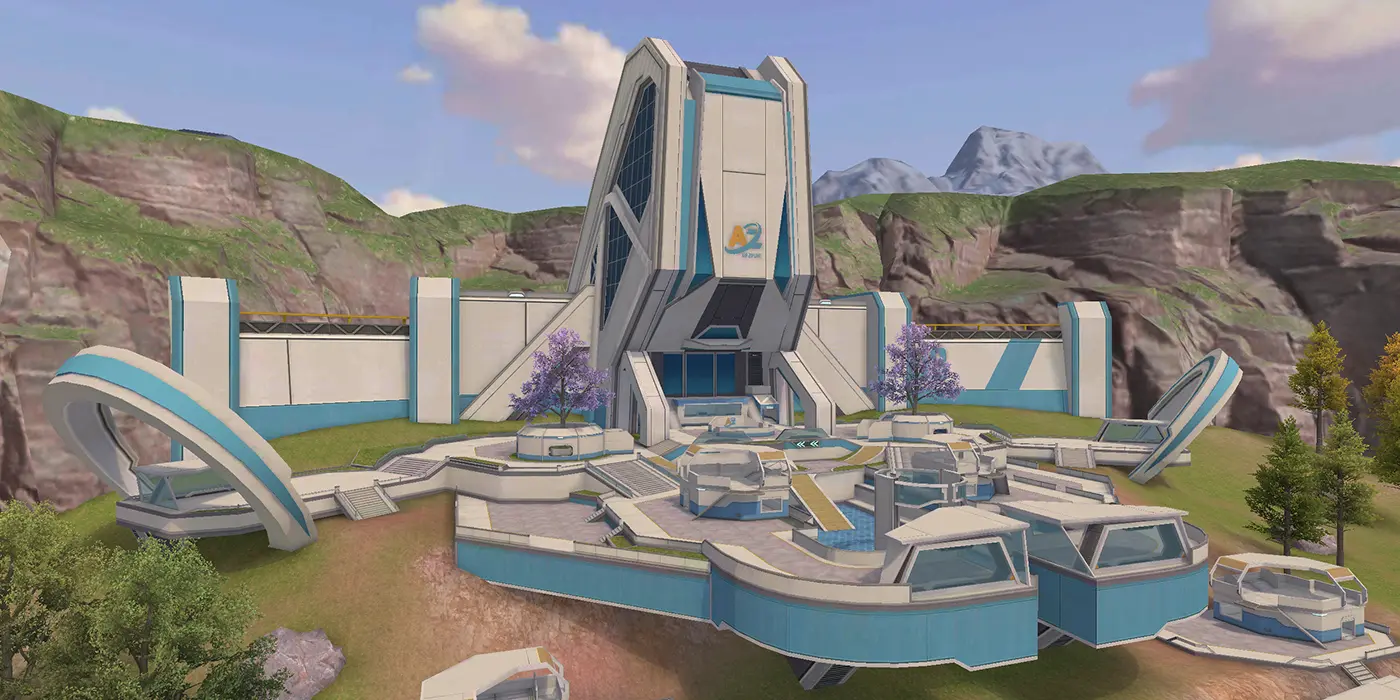
- Bermuda: Clock Tower is a practical choice for players who want buildings, short sight lines, and early fights. Cape Town is farther from the middle and often suits a slower start, but an edge landing can create a long first rotation.
- Purgatory: Brasilia gives quick access to central routes and usually creates more contact. Moathouse is better for a quieter start when the flight path allows it, although the surrounding water and map edge limit escape choices.
- Kalahari: Command Post offers solid structures for a squad that is ready to clear rooms. Santa Catarina gives more separation at the edge. Check the next zone early because open ground can punish a late move.
- NeXTerra: Intellect Center works for confident teams that can hold angles and trade. A less central group of buildings is safer when rank survival matters more than immediate eliminations.
- Solara: The Hub is useful for fast access to several routes, while Bloomtown gives a broader group of buildings to split between teammates. Studio has strong structures but should be treated as contested when several players can reach it easily.
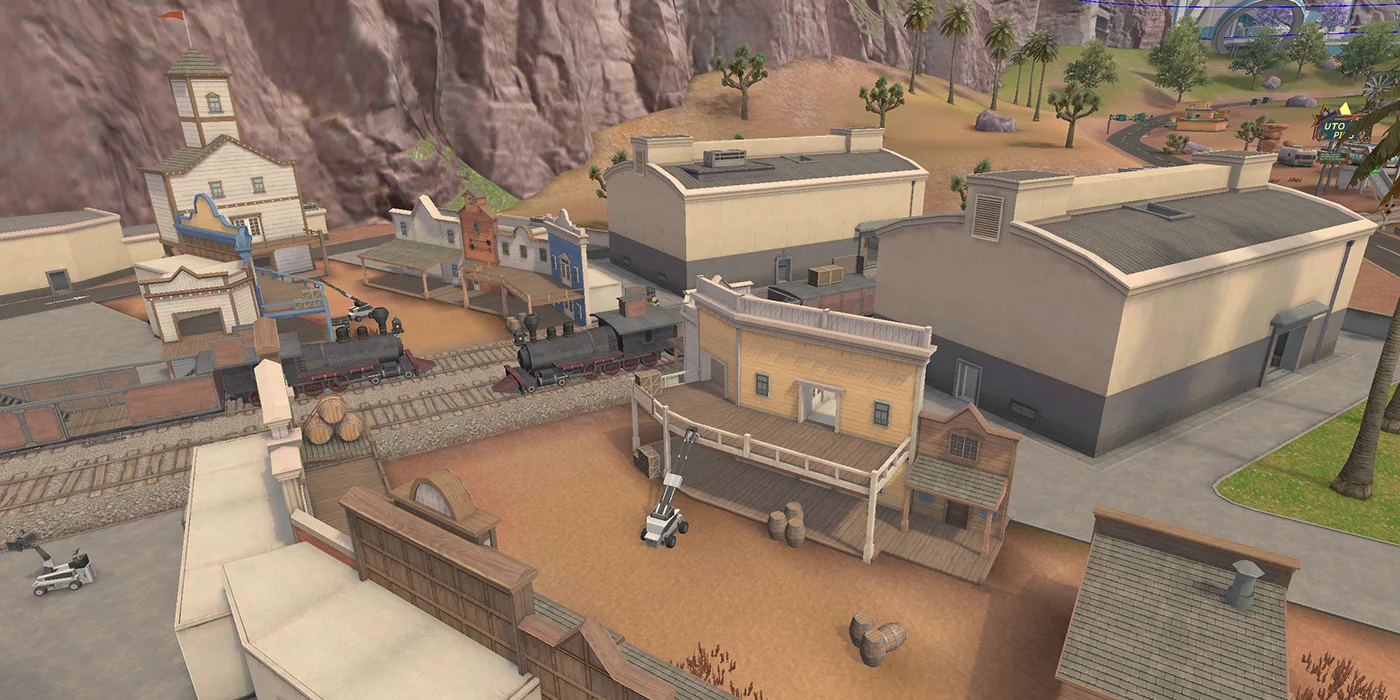
Do not put four teammates through one door unless enemies are already there. Assign nearby buildings or floors, keep each player close enough to trade, and call out the first weapon you find. Leave extra ammunition and healing for the teammate who needs it. A squad with four partly useful kits is stronger than one fully equipped player surrounded by three teammates with poor gear.
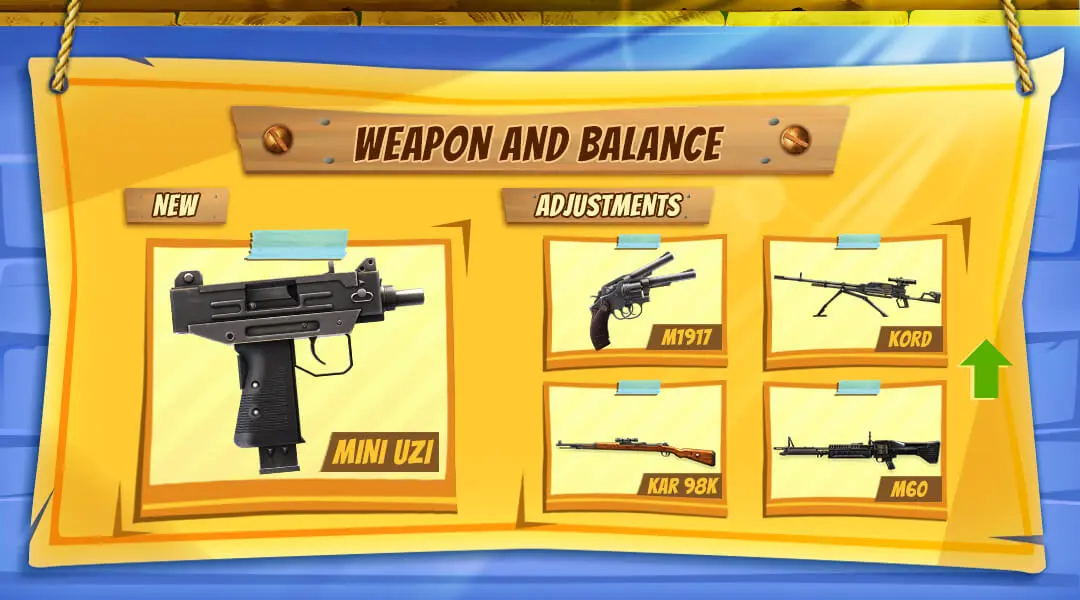
For a hot drop, land on a weapon or beside a doorway and fight with the first workable gun. For a safer rank match, land one group of buildings away from the busiest roof, loot for a short fixed period, then move. The current loot table and weapon balance are patch-sensitive, so use the weapon you can support with ammunition instead of waiting for one exact gun.
Rotate Before the Safe Route Disappears
The first rotation should begin when the squad has basic protection and two useful engagement ranges, not when every backpack is full. Check the safe zone as soon as it appears. Estimate the travel time, mark a route, and decide whether the team is moving through the middle for speed or around the edge for fewer angles. Waiting for the zone to reach the buildings removes that choice.
- Move through buildings, ridges, walls, and low ground that break enemy sight lines. The shortest line across open ground is rarely the safest line.
- Cross roads and fields one piece of cover at a time. Watch the next cover before leaving the current position, then move together so a knocked player can be helped.
- Use a vehicle for a long late move, but leave it before the final approach if its noise will reveal the squad. Park beside solid cover instead of stopping in an open lane.
- When the squad is already inside the zone, hold a useful building or ridge and watch likely entry routes. Do not leave a good position only to chase distant shots.
- If another team blocks the planned route, choose quickly: take one coordinated fight, use Gloo Walls to cross, or turn to the backup route. Four separate decisions usually end the match.
Use the best weapons guide to build a close-range and long-range pair. The Gloo Wall guide covers emergency crossings, and the rank push guide explains when survival should take priority over another fight.
After each early loss, review only three points: where the squad landed, how many opponents arrived, and whether the team left before the safe route became difficult. Change one part of the next drop. A repeatable landing and an early rotation will produce more stable results than choosing a famous location without checking the flight path.