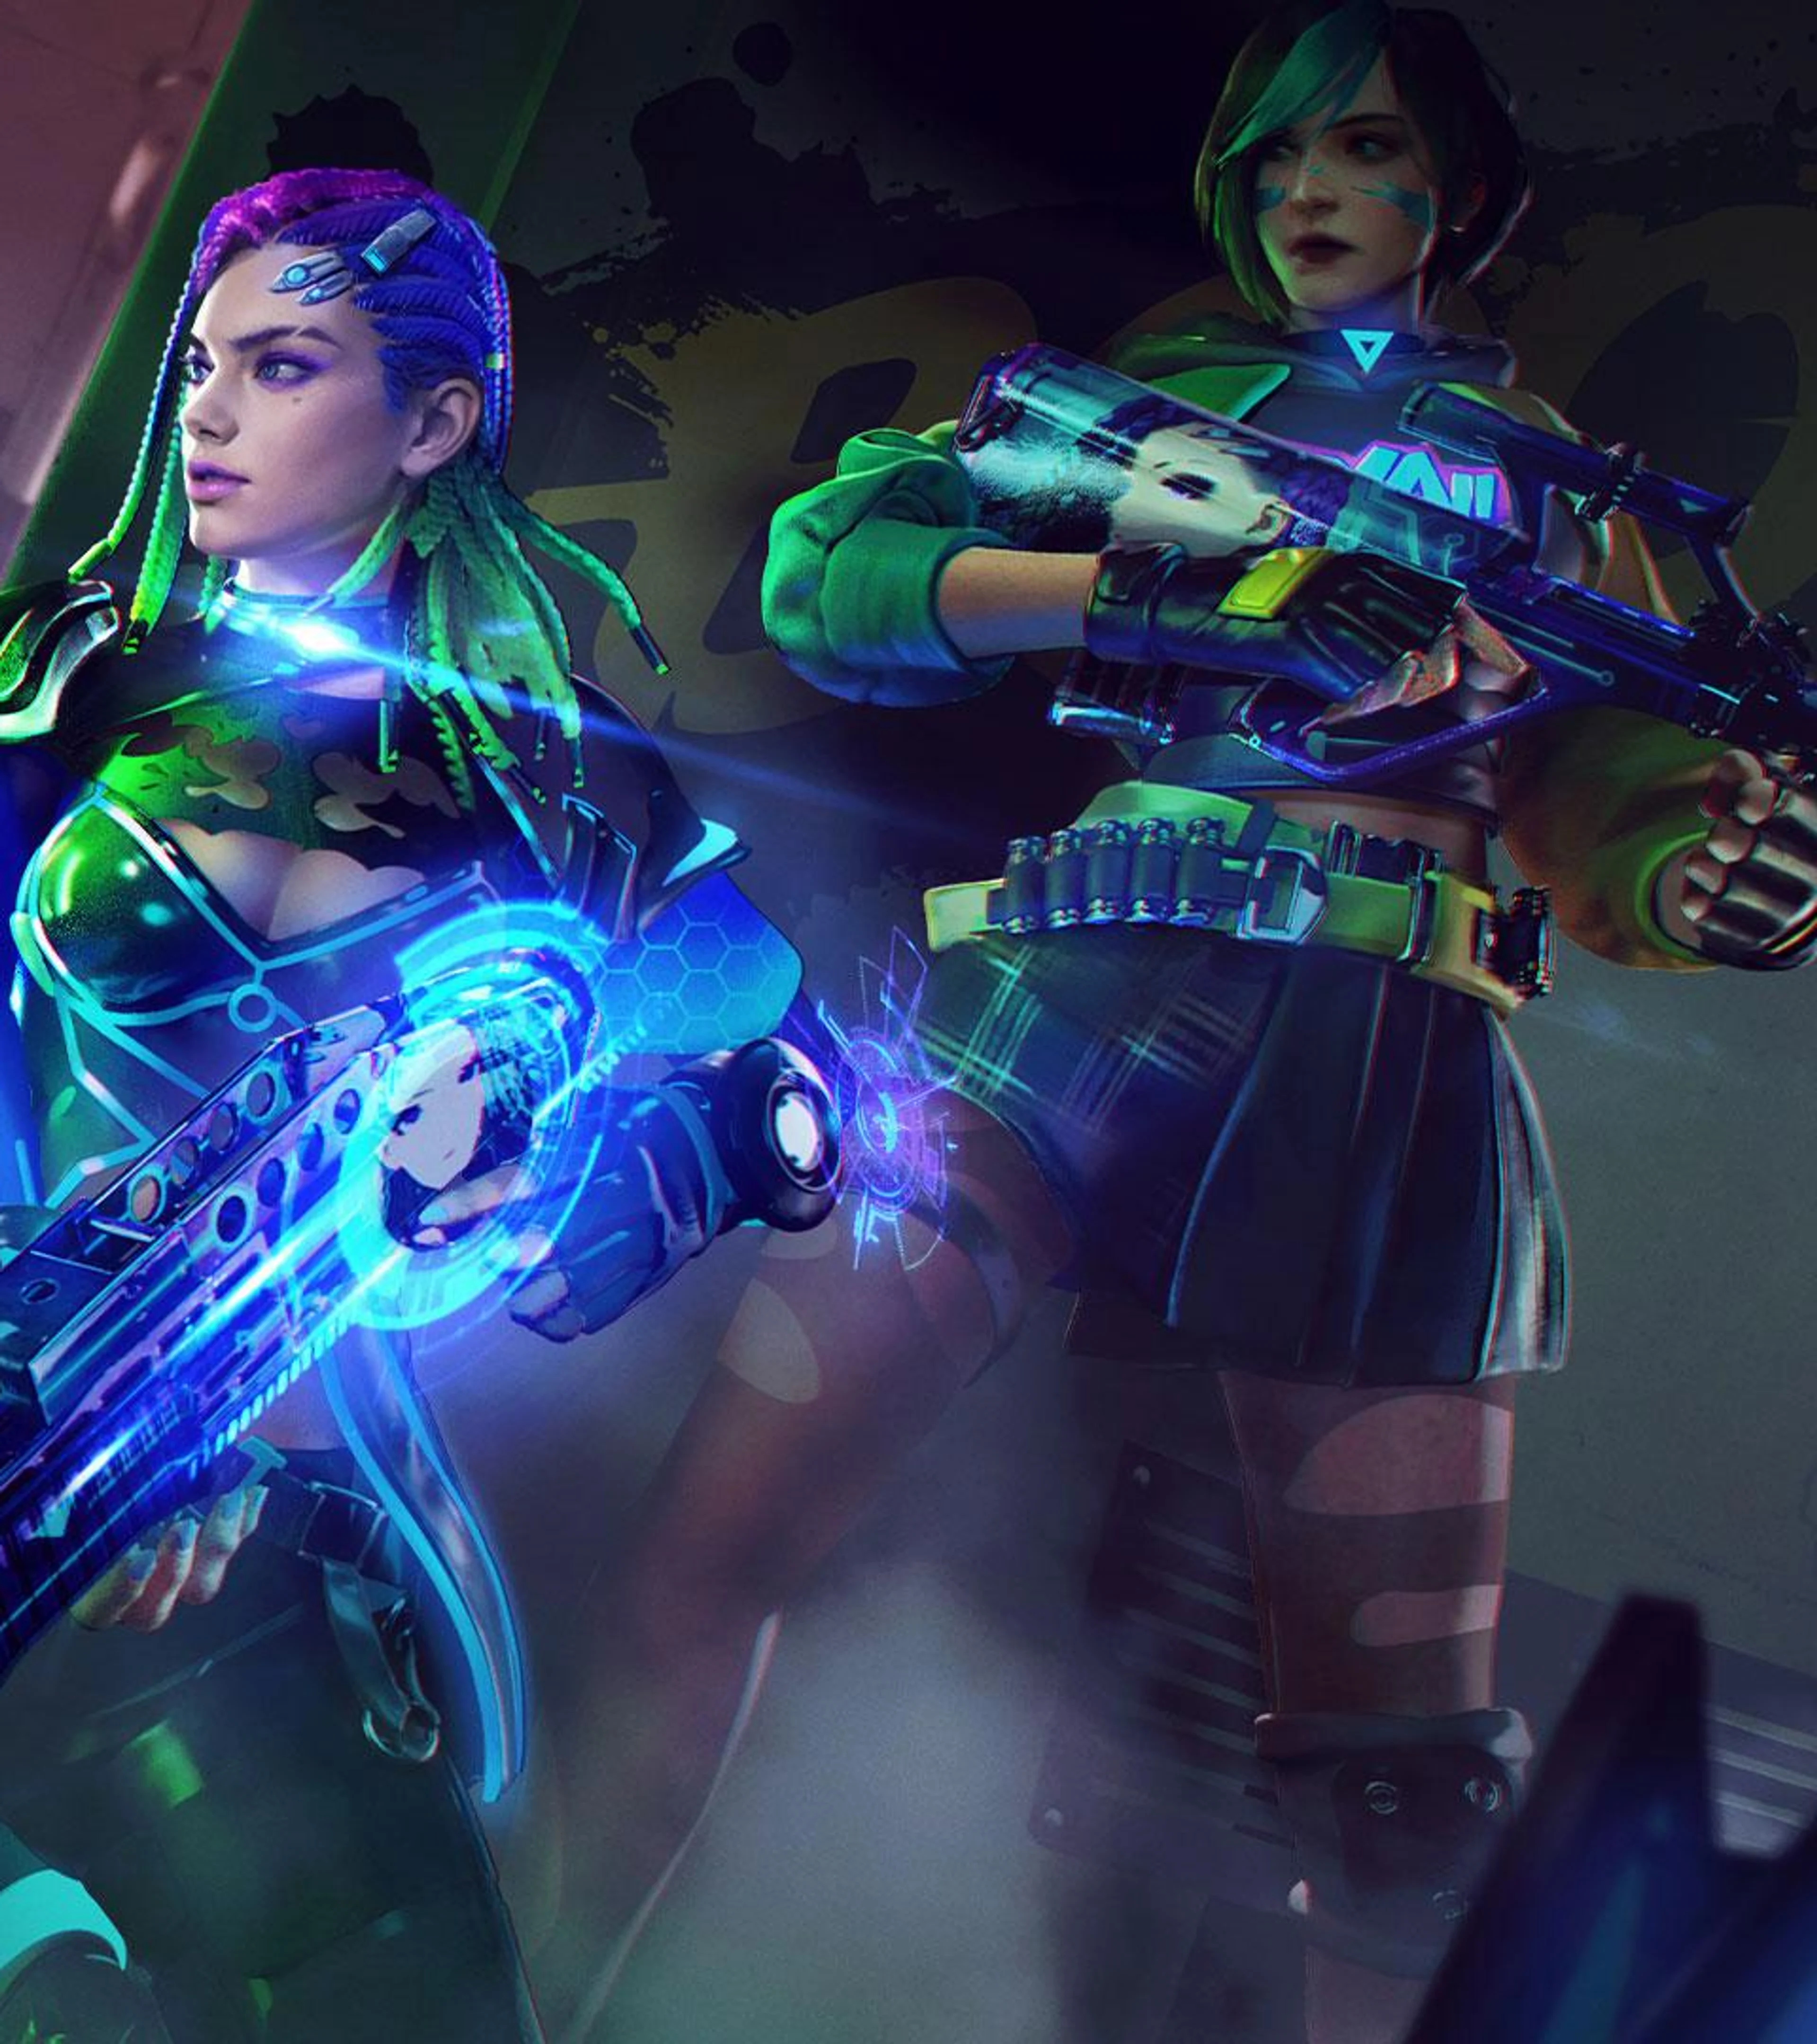


Clash Squad is a short round-based team mode. Each round begins with a purchase phase, then two squads fight in a limited area. Good aim helps, but teams also win by spending cash together, filling useful roles, and reacting to the first knock without giving the opponent several separate fights.
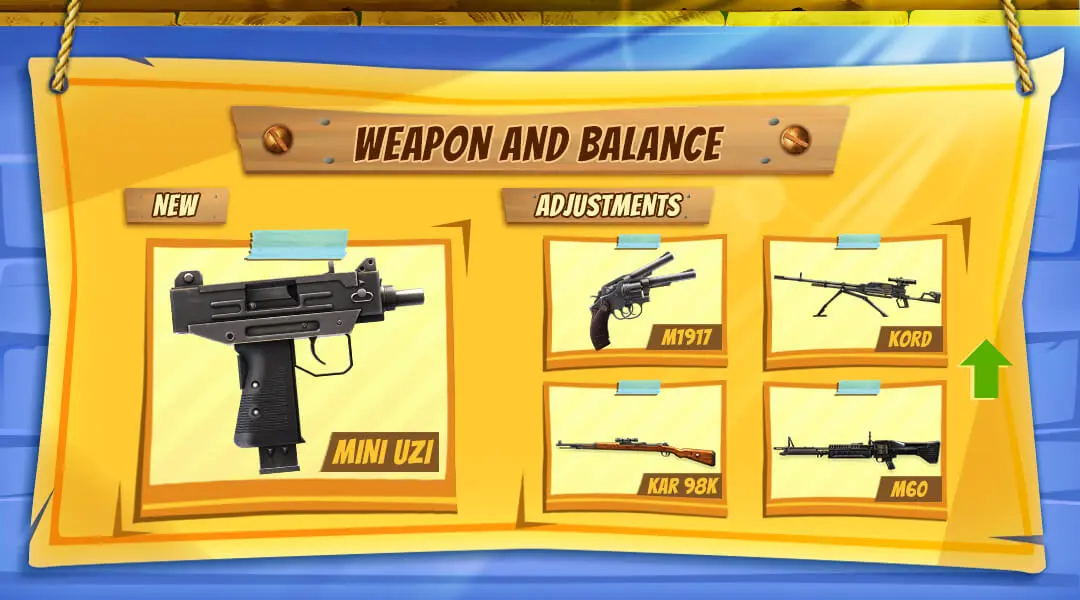
The basic round decisions are stable: buy for the plan, stay close enough to trade, protect a player advantage, and respect the closing play area. Weapon prices, store choices, skills, and map details can change with patches. Treat exact costs from an older video or guide as outdated unless they match the current in-game shop.
Spend CS Cash as a Team and Give Each Player a Job
Open the shop before moving and look at the whole round, not only your favorite gun. A strong purchase normally includes a weapon you can control, enough utility to reach cover, and protection when the budget allows it. Buying the most expensive option while a teammate cannot take a useful fight leaves the team weak on the first contact.
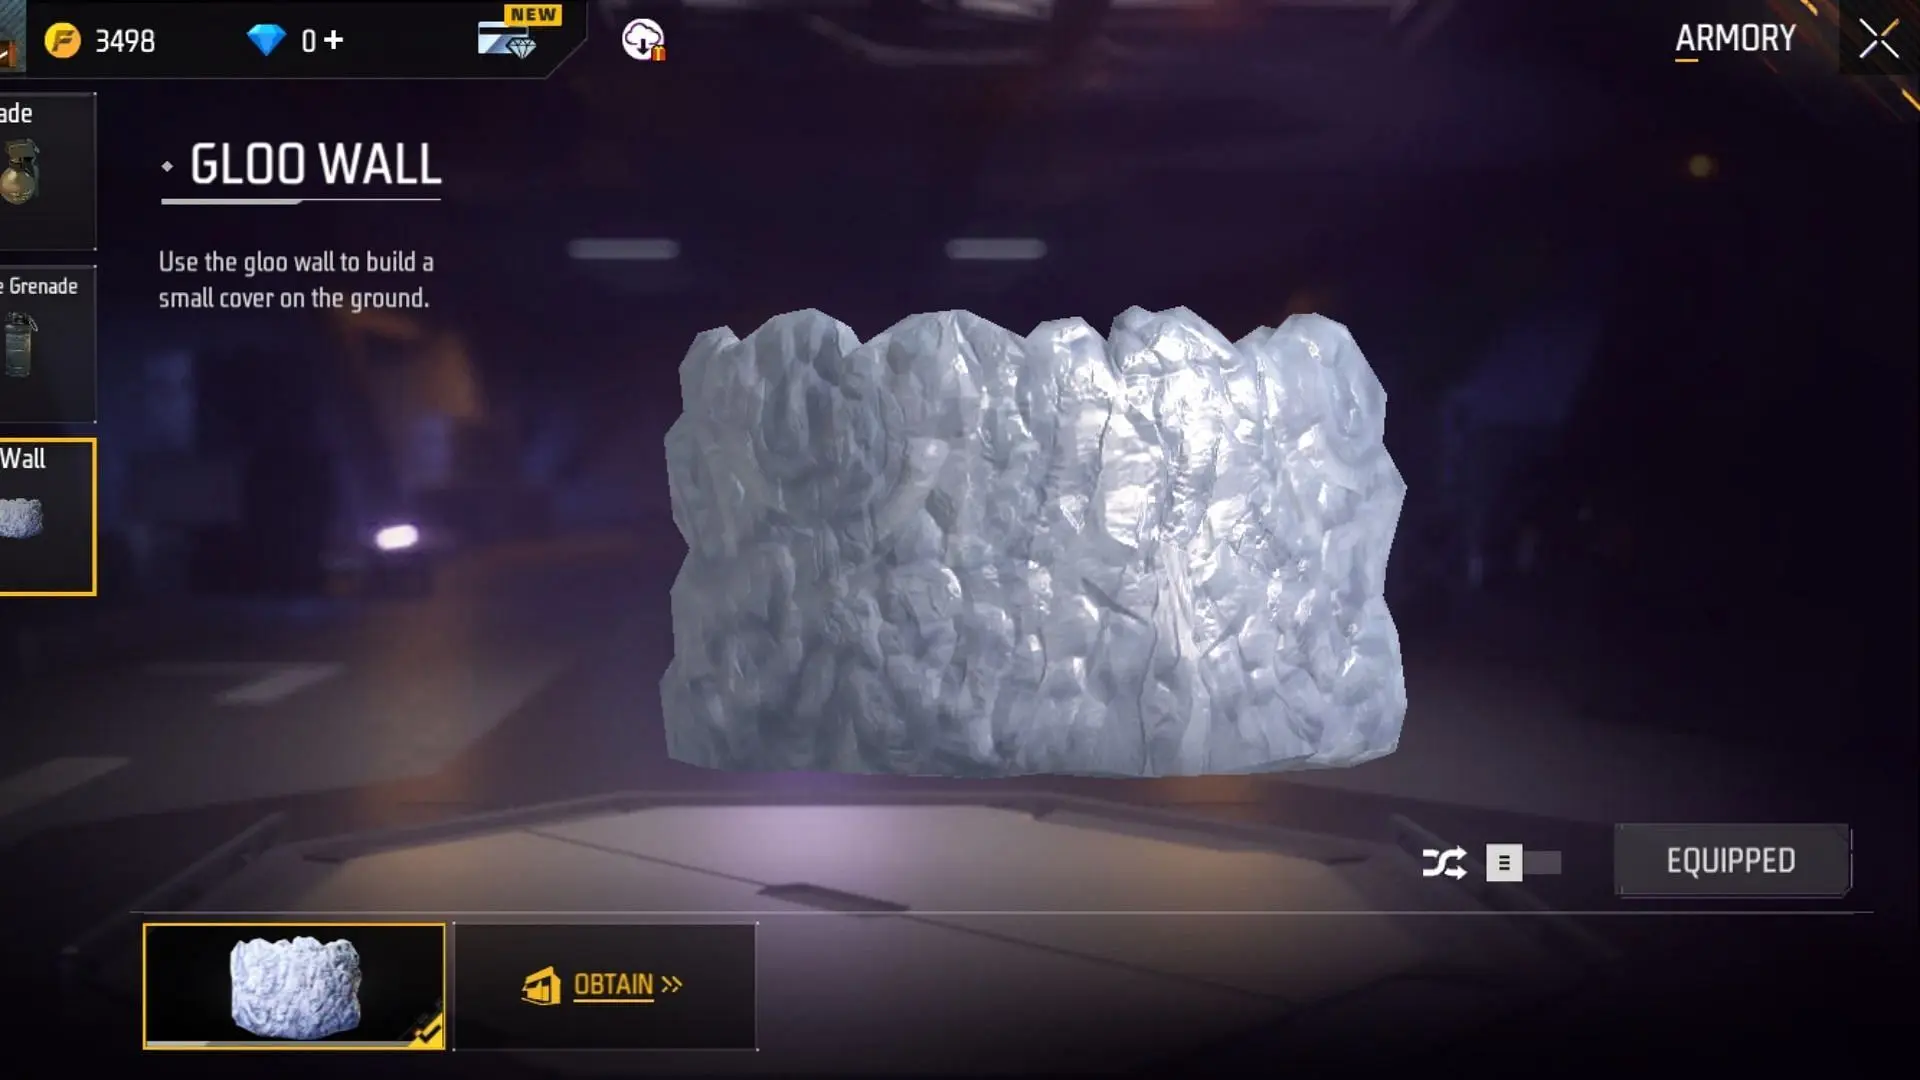
- Full buy: use it when most of the squad can afford a complete setup. Choose weapons for the planned range and make sure at least one player can deal with Gloo Walls or protected angles.
- Limited buy: when cash is low, buy a cheaper weapon you can use well and keep the team together. Four modest purchases can create trades; one premium gun cannot cover four directions.
- Correct a mistake during the purchase phase. Garena added purchase withdrawal for this purpose. If the current shop shows the option, use it before the round starts instead of carrying the wrong item.
- Check teammate requests and inventories. Do not duplicate a specialist item if the squad still lacks healing, close-range pressure, or a way to cross an exposed lane.
The Free Fire MAX weapons guide explains which guns fit close, medium, and long ranges. Use the current shop price shown in Clash Squad because balance updates can move weapons between price levels.
Give each player a simple job before leaving spawn. The entry player takes the first close angle and reports enemy positions. The trader follows close enough to answer if the entry is knocked. The support player carries healing or control tools and watches the path behind the push. The anchor holds a safe angle, stops a flank, and stays alive long enough to reset the round.
Roles describe the next action, not a permanent label. The entry may become the anchor after losing armor. A support player with the best close weapon may lead through a doorway. Say what you are doing in short terms: pushing left, holding stairs, healing, or watching the flank. Long explanations during a fight make useful information arrive late.
Choose character skills that support those jobs. The best characters and skill combinations guide covers current OB54 choices for entry, support, and Gloo Wall pressure.
Make the Round Decision From the Player Count
The first knock changes the round. If your team gets it, do not give the opponent four separate chances to recover. Hold the body from a safe angle, watch for the trade, and take space together. If your teammate is knocked, answer the enemy who fired before starting a revive. A revive in the open usually gives the opponent another easy knock.
- Four versus four: gather information without committing every player. Hold two connected angles and avoid taking damage before the real push starts.
- Player advantage: slow down, cover the revive route, and force the smaller team to enter watched angles. Chasing one opponent alone can return the round to even numbers.
- Player disadvantage: group for one fast trade or isolate one side of the map. Waiting in four different positions lets the full team clear each player in order.
- Low health or weak armor: stop repeating the same peek. Heal behind solid cover, switch with a healthy teammate, or hold a close angle where the opponent must enter your crosshair.
- Closing area: move before the boundary forces the team through one narrow route. One player watches while the others cross, then the last player follows under cover.
Gloo Walls should create a safe action: a cross, a revive, a heal, or a short side peek. Do not place several walls without deciding where the team moves next. An opponent can wait for the supply to run out or attack from another angle. Keep one wall available when possible for the final move into the closing area.
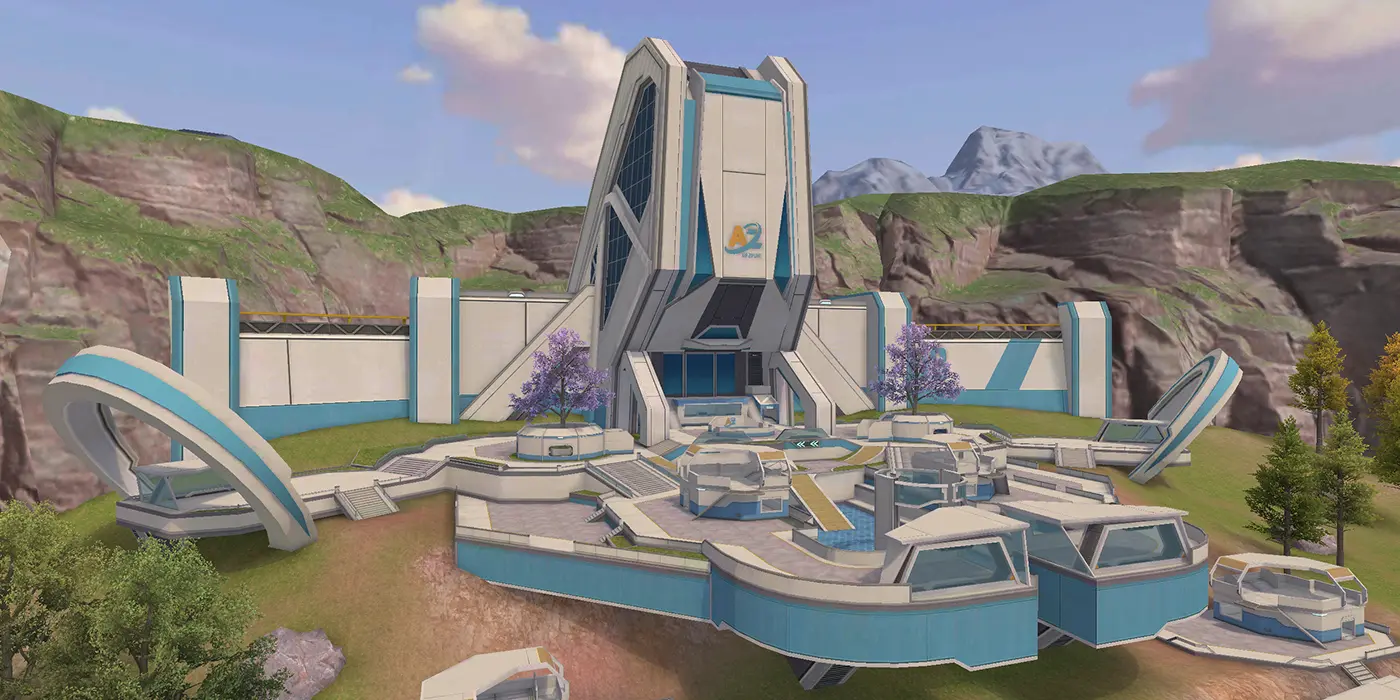
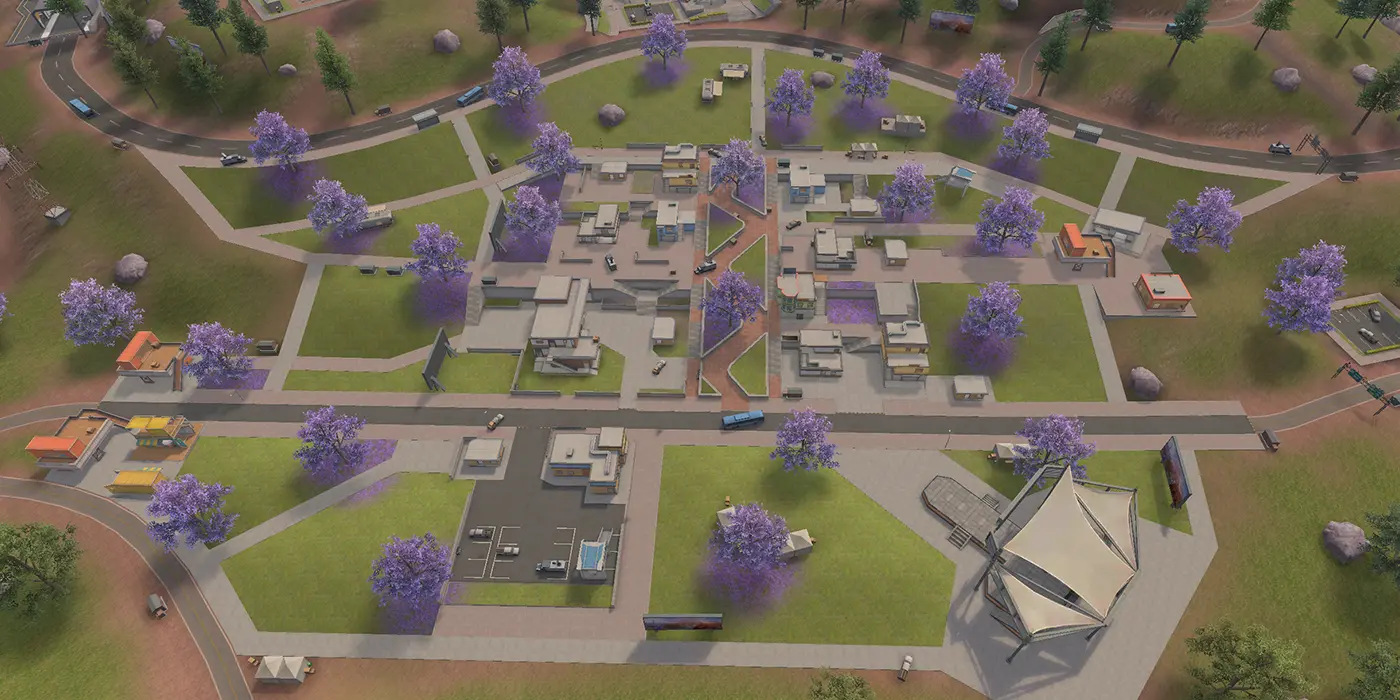
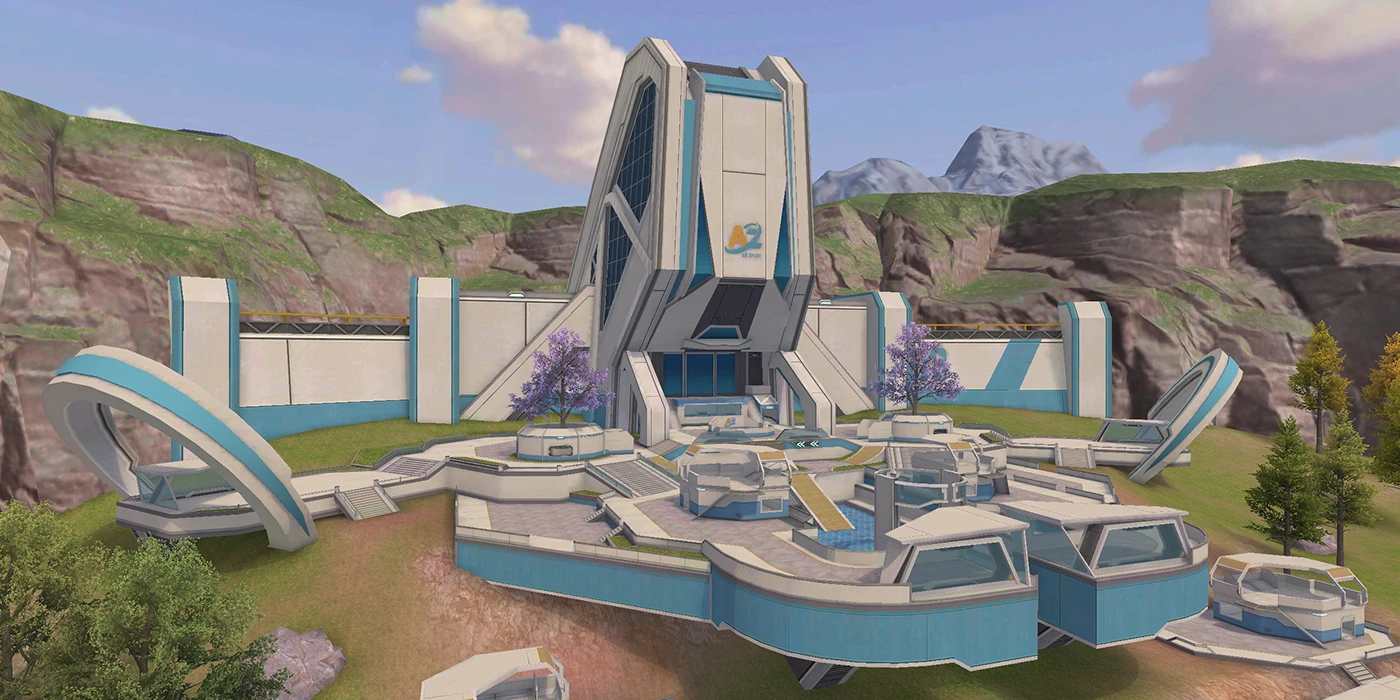
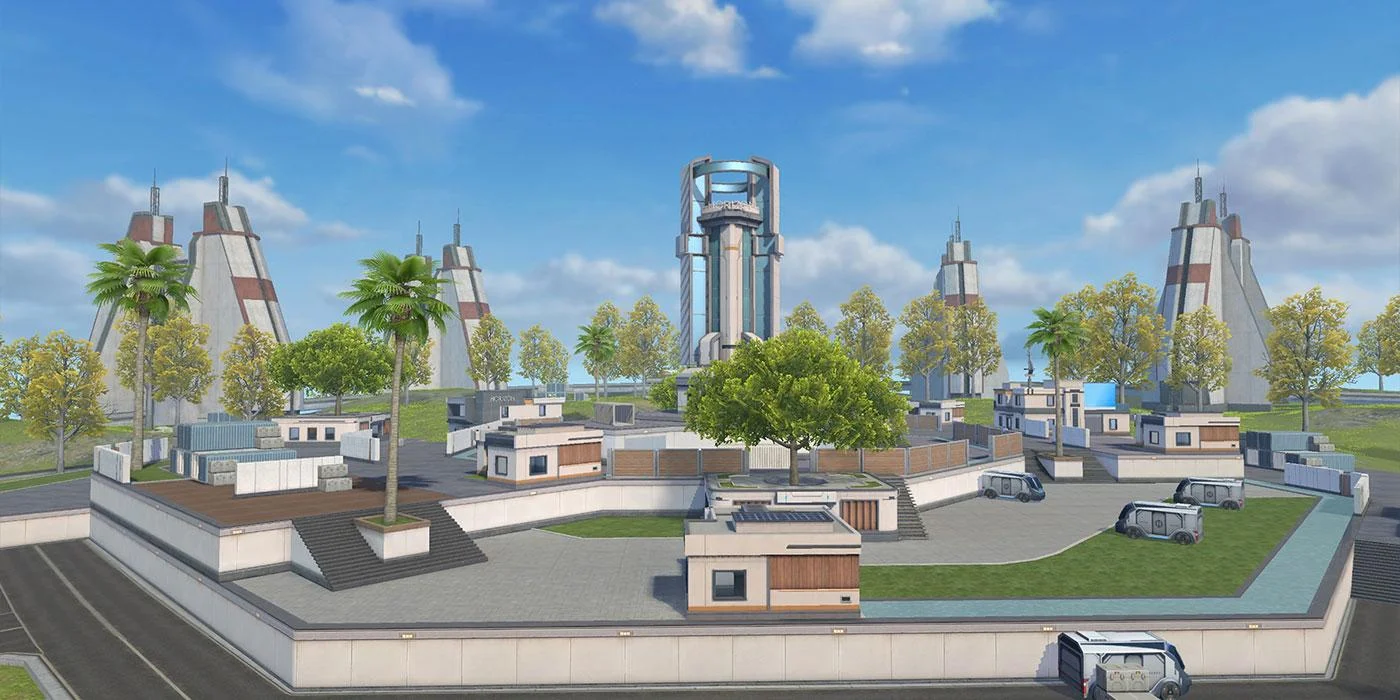
Current map details still matter. OB54 added barriers beside the slide near the spawn point at Solara Hub, removed ziplines from Kalahari in CS mode, and improved some window movement. Those are July 2026 details, not permanent rules. Check a changed route in an unranked round before building a full strategy around it.
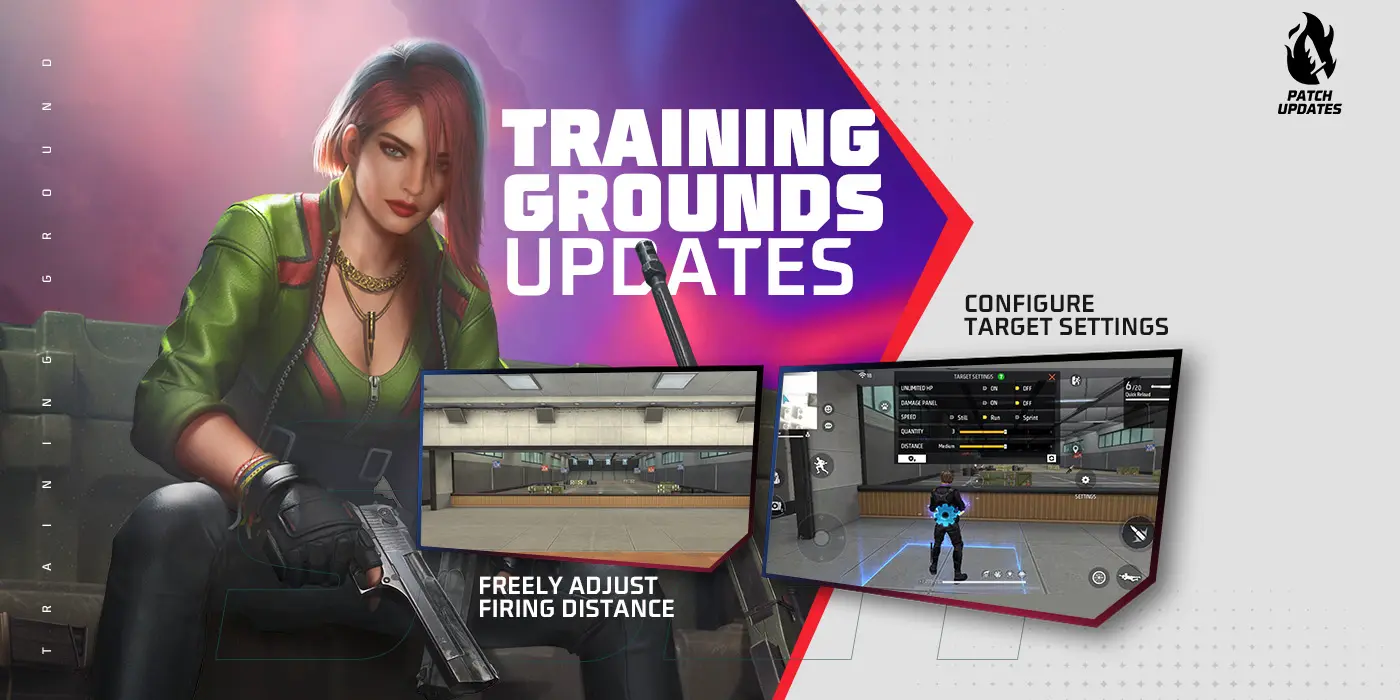
Practice quick cover placement with the Gloo Wall guide. For a longer ranked plan, use the Free Fire MAX rank push guide. After a loss, review the buy, the first knock, and whether teammates could trade. Fix the earliest mistake first.