Find Crab Cages beside the Moosewood Merchant, select one in the G inventory, place it with a green preview and recognize when the catch is ready.
What a basic Crab Cage does
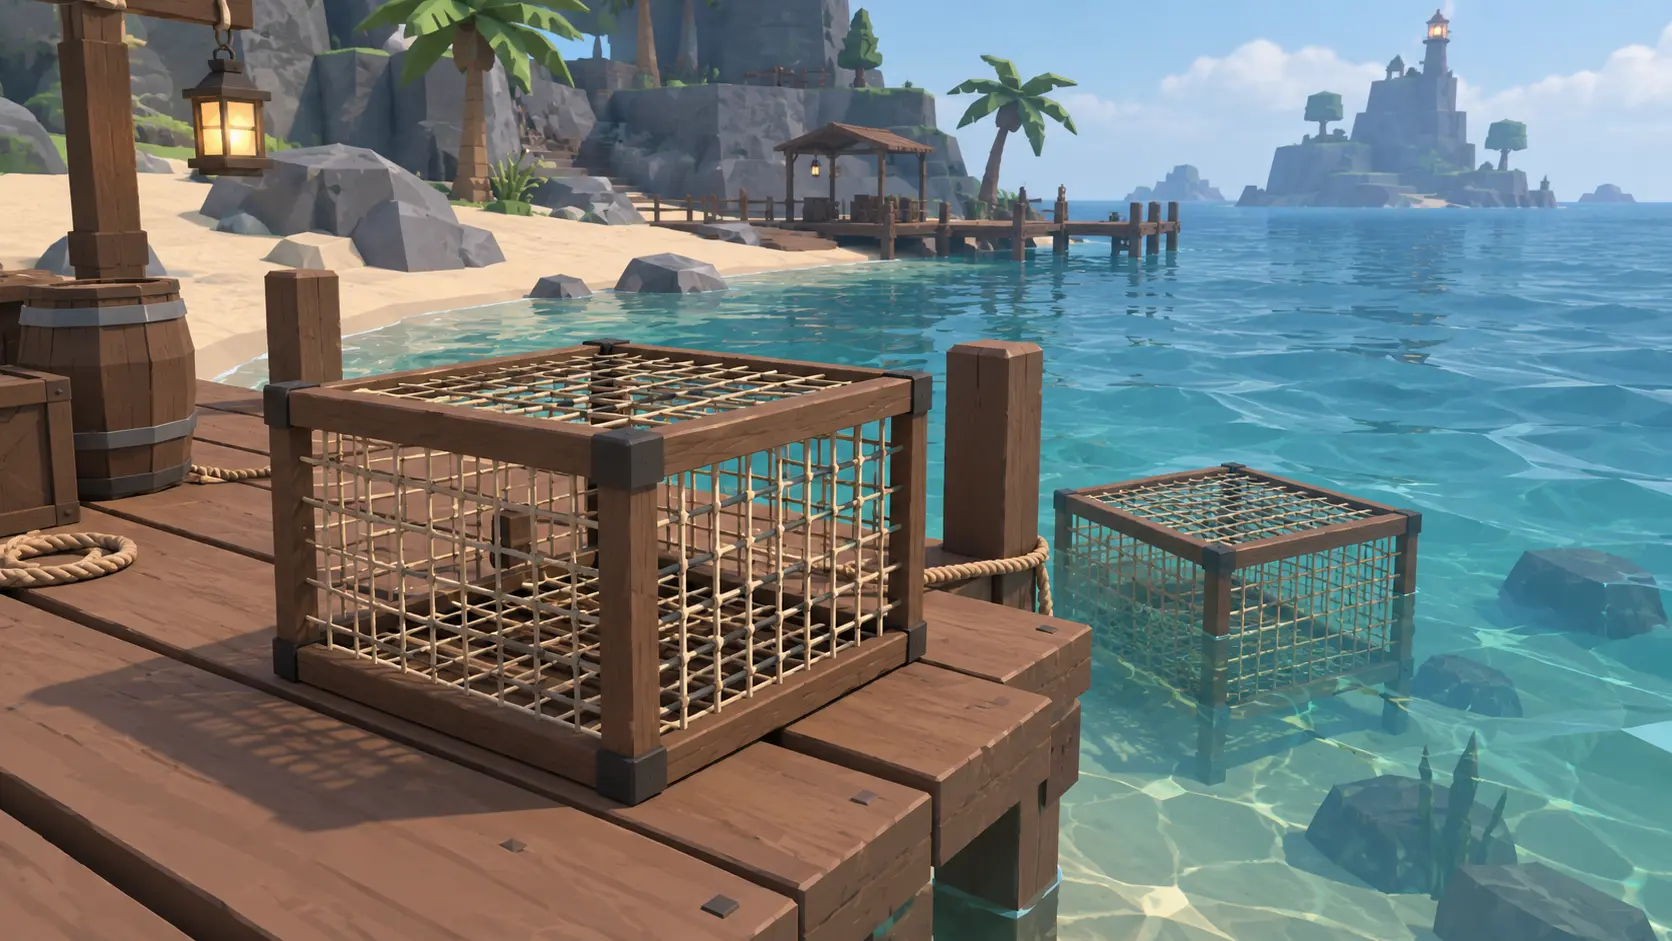
A Crab Cage is a small brown mesh box that catches something after you place it in water and wait. You do not cast a fishing rod or play the rod’s reeling minigame. This PC walkthrough uses one basic cage at Moosewood so you can learn the whole process before buying a pile.
You need enough C$, the game’s money, for one cage. Check the price in the live purchase prompt before paying. The basic cage works in water; this guide does not cover the special cages used in lava or other dangerous liquids.
1. Find the mesh cage pile at Moosewood
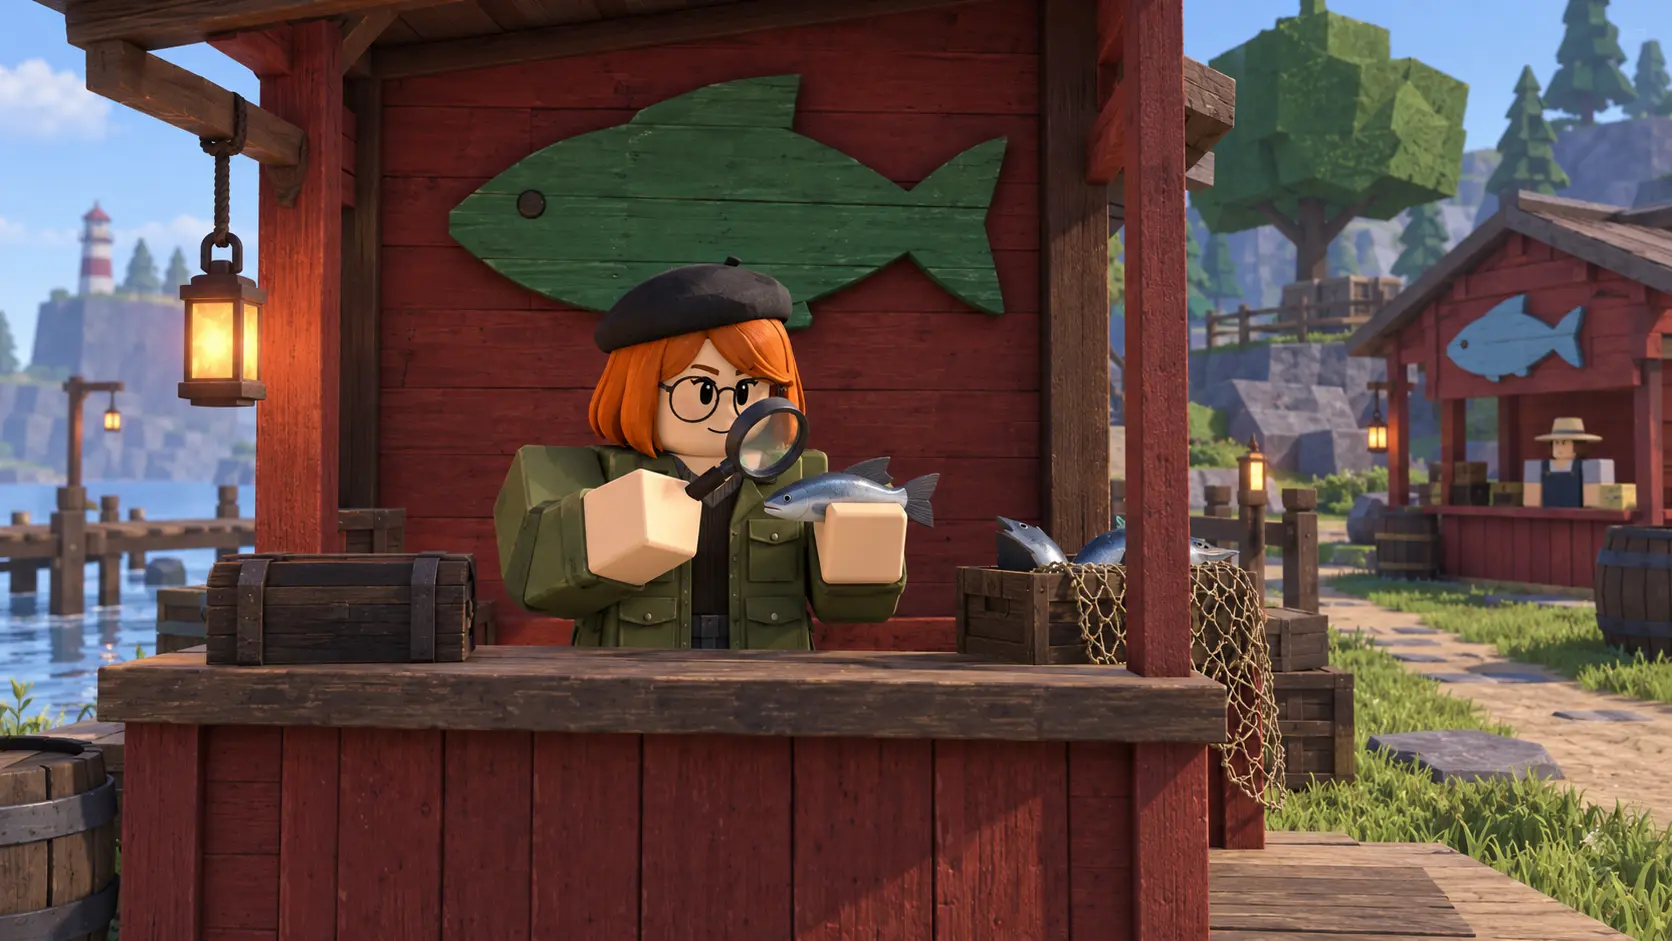
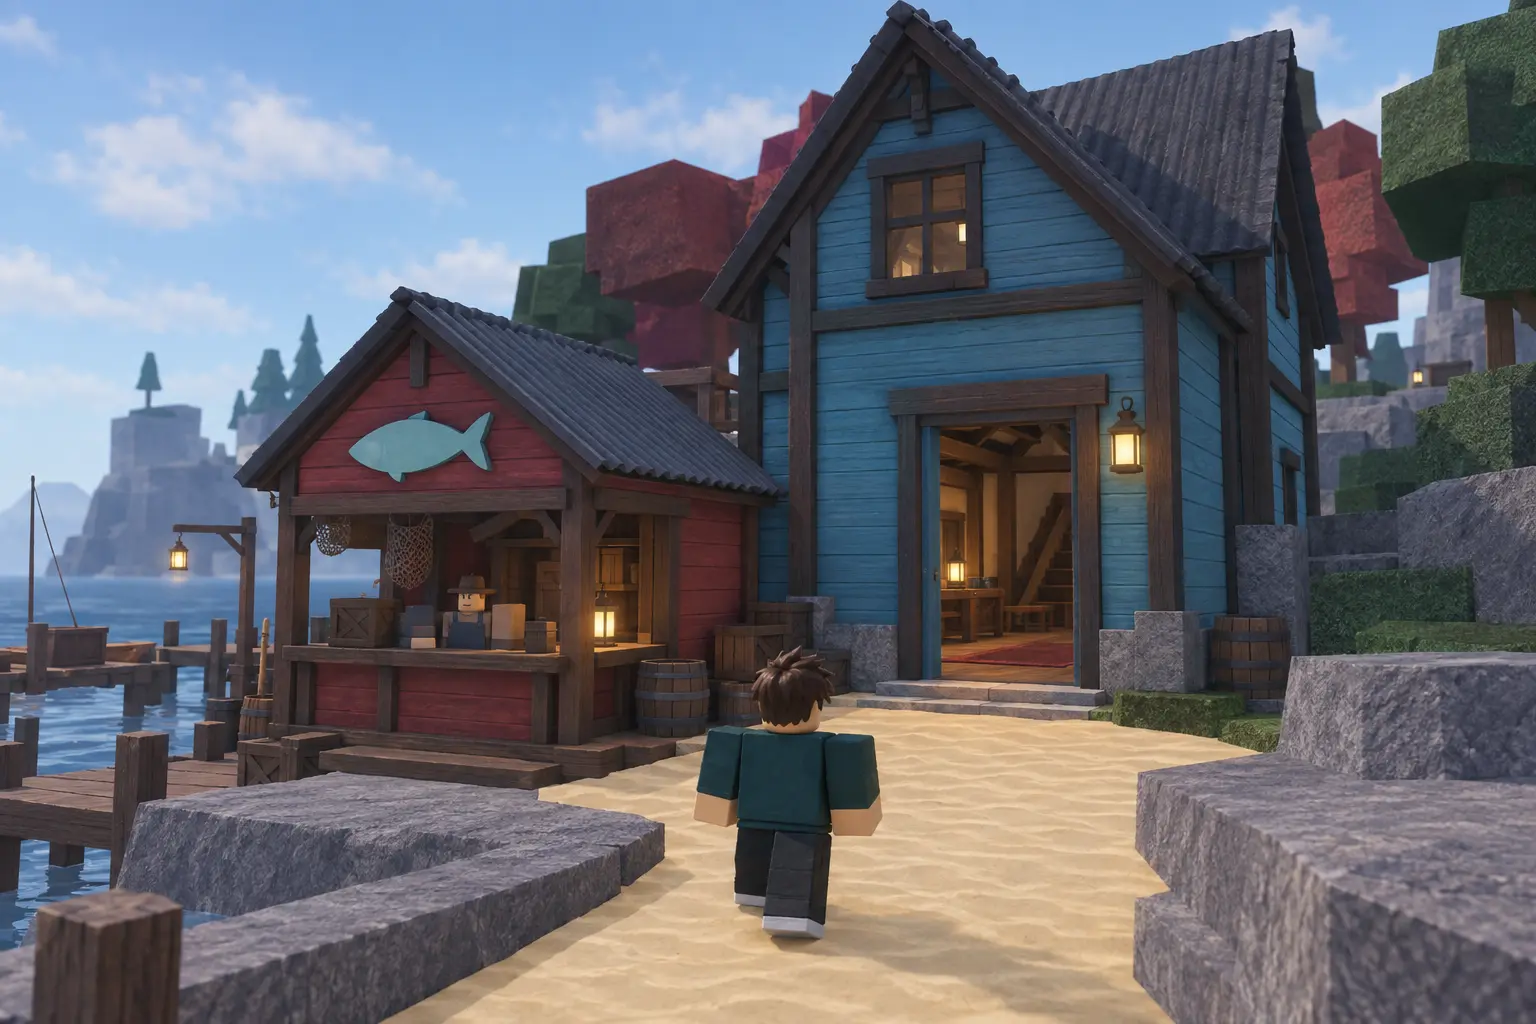
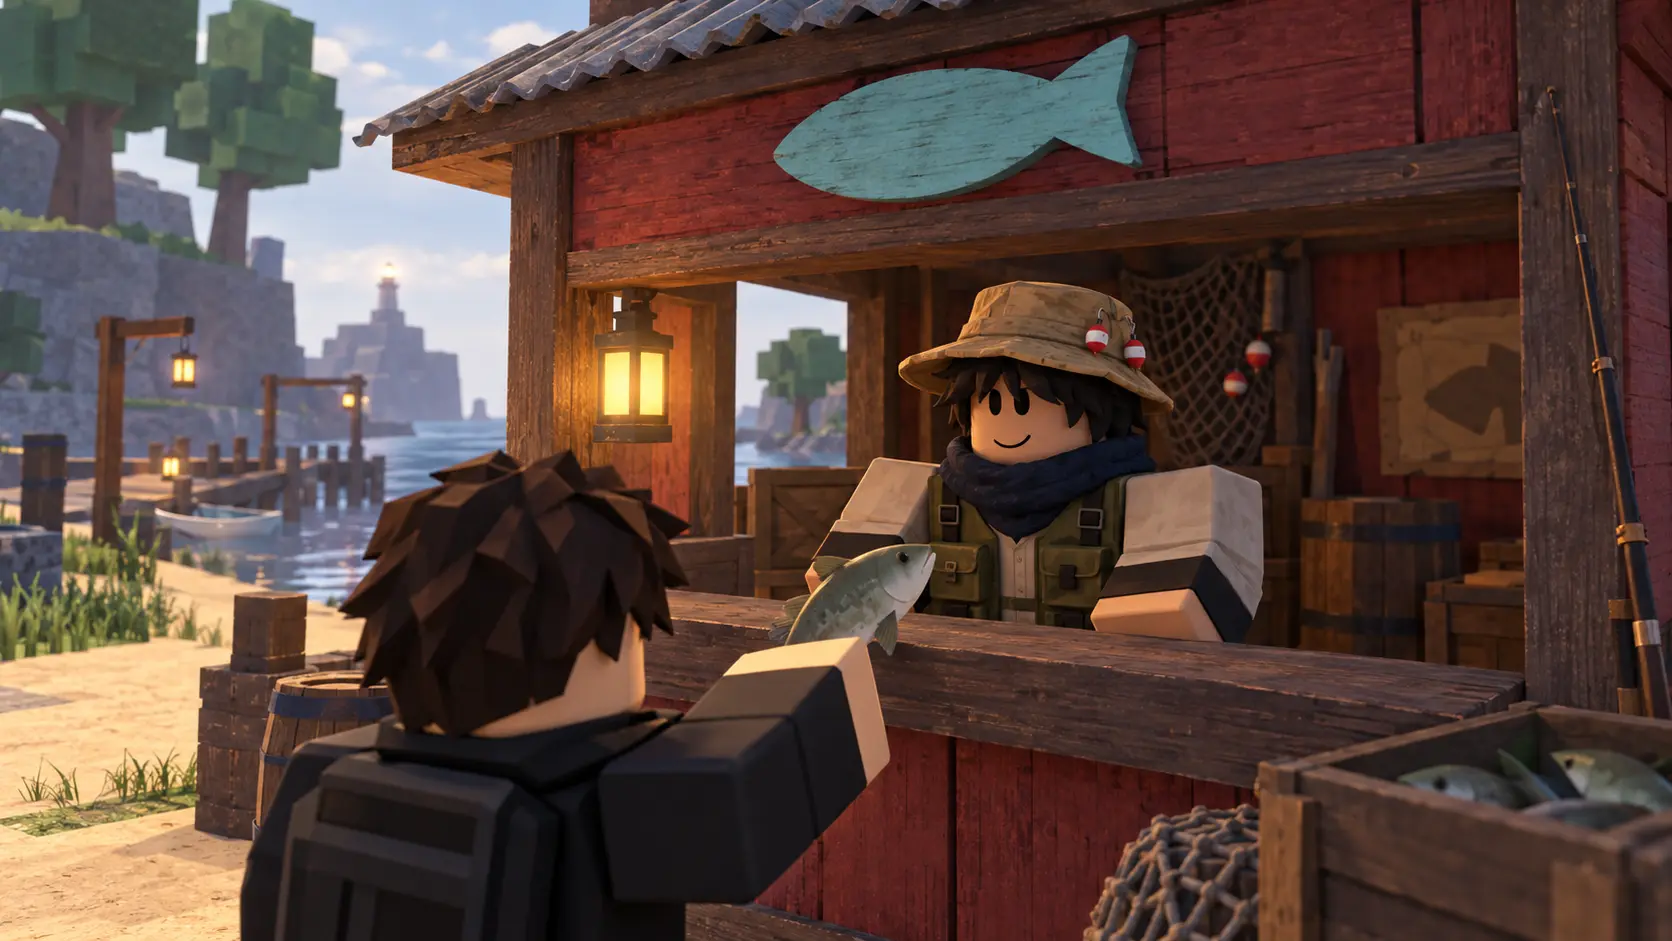
At Moosewood, look for the Merchant’s red hut with a light-blue fish sign above its counter. The Merchant wears a tan fishing hat, dark scarf and a vest with pockets. Look on the ground beside that hut for the stack of small brown boxes with open mesh sides. These are cages, not closed wooden bait crates.
Diagram: find the mesh cages outside the Merchant’s red hut. Interact with that pile, not the fish-selling conversation. Shop proportions are simplified; the live purchase prompt supplies the price and control.
Walk close to the cage pile and look for View beside a cage. Use the control shown next to View to open its purchase prompt. In the classic menu, the box is headed Shop Purchase and names [Crab Cage]. Read the live C$ cost before buying: Yes confirms the purchase and No cancels it. Talking to the Merchant about selling fish is a different interaction.
Original classic-menu diagram: View opens the purchase prompt; Shop Purchase names [Crab Cage]. Yes buys and No cancels. The item and menu are enlarged. The price is omitted because it can change; the cream cost reminder is our annotation, not a game label.
Buy one cage first. The diagram enlarges the classic Yes / No confirmation and omits the price. Check the item name and C$ charge in your live prompt before choosing Yes; choose No if it names another item or the charge would use money you need.
If you already own a GPS, the cage pile is near X 465, Y 150, Z 235. You do not need to buy a GPS just for this first cage.
If the coordinate display is unfamiliar, our GPS reading guide identifies the three numbers and how to read them.
2. Select Crab Cage in your normal inventory
Look along the bottom item bar for Crab Cage. Select its named slot; its number can vary, so do not assume it is always slot 7. Check that your character is holding the brown mesh cage rather than a fishing rod.
If the cage is not in the bar, press G on PC to open the normal inventory. Look for Search at the top of the dark grid, enter Crab Cage and select the tile with that name and mesh-box picture. Press G again to close the grid, then check the named bottom-bar slot and held item.
Diagram: search the normal G inventory for Crab Cage and select its named tile. The card and bar are simplified, and the empty cells are not a claim about your inventory or slot number.
Equipment Bag is the menu for rods and bait. It is not the inventory you need to find this purchased tool. If no Crab Cage appears, clear the search and check whether the purchase completed before spending again.
3. Aim over water and left-click once
Keep the cage selected and stand on the shore or wooden dock. Move your pointer onto the water next to you, beyond the dry sand or dock boards. Watch the cage-shaped placement preview: it needs to turn green before you place it.
Diagram: move the held cage’s preview over water until it turns green, then left-click once. Green is the placement signal, not decoration. Shoreline proportions are simplified; this is not an exact map.
When the preview is green, left-click once on PC. Check that a brown cage remains in the water at that spot. Do not hold the mouse button: holding it can place several cages continuously and use more of your supply.
If the preview does not turn green, keep the cage held and move the pointer to another nearby water spot. Start with ordinary Moosewood water, not a lava pool. Keep your first cage somewhere you can walk back to easily.
4. Wait for the coloured exclamation mark, then claim
A basic cage has a base wait of about five minutes. Boosts and other cage types can change that time, so the ready signal matters more than a stopwatch. Watch your placed cage for a coloured exclamation mark and orange sparkling particles.
Diagram: the coloured exclamation mark and orange sparks mean a catch is ready. E / Claim is a PC prompt example from observed footage; follow the control actually shown beside your cage. The catch-message wording is a check, not a promised fish.
Walk back close to your own ready cage and read the interaction beside it. If the PC prompt shows E and Claim, use E; if your live prompt shows a different control, use that one. Look for a You just caught… message with the catch’s name on screen. That message confirms you collected something, rather than simply walking near the cage.
Collect promptly once it is ready: an uncollected cage can disappear. Basic cages are single-use, so after claiming the catch you need another cage for another attempt. The name Crab Cage does not guarantee that every catch is a crab.
What to do with the catch
Check the catch message before treating the result as money. Cage catches can include low-value items, and the purchase cost still counts. Buy one more only if you want another attempt; do not assume a large batch is guaranteed profit.
To keep important catches and sell the rest, follow the Merchant and favourites walkthrough. It shows the fish inventory, the star used to protect a catch and the Merchant’s selling choices.
For earning and spending C$, compare the Fisch money guide before buying a large cage stack.
If the cage is not working
No placement preview: reselect Crab Cage in the bottom bar and check the held mesh box shown in step 2. Preview not green: move it over nearby water as in step 3. No ready signal yet: wait instead of repeatedly pressing the claim control.
If a ready cage does not respond, move closer, check that you are looking at your own cage and read the live prompt again. Do not use the rod’s casting controls to collect it. The exclamation mark, sparks and Claim example in step 4 show what to look for.
Older advice that every placed cage is lost when you leave the server is outdated: placed cages now save across rejoining. That does not remove the need to collect a ready cage before it expires. This walkthrough uses PC controls; the diagrams are original explanations, not gameplay screenshots or a test of your account.




![Original Fisch classic purchase diagram shows the mesh Crab Cage, View, Shop Purchase, [Crab Cage] and the Yes and No confirmation buttons.](/media/sanity/233f6aaa4b1305bde6ad42b0a952af8adc782c53-1448x1086.png?w=3840&q=85&fit=max&fm=webp)


