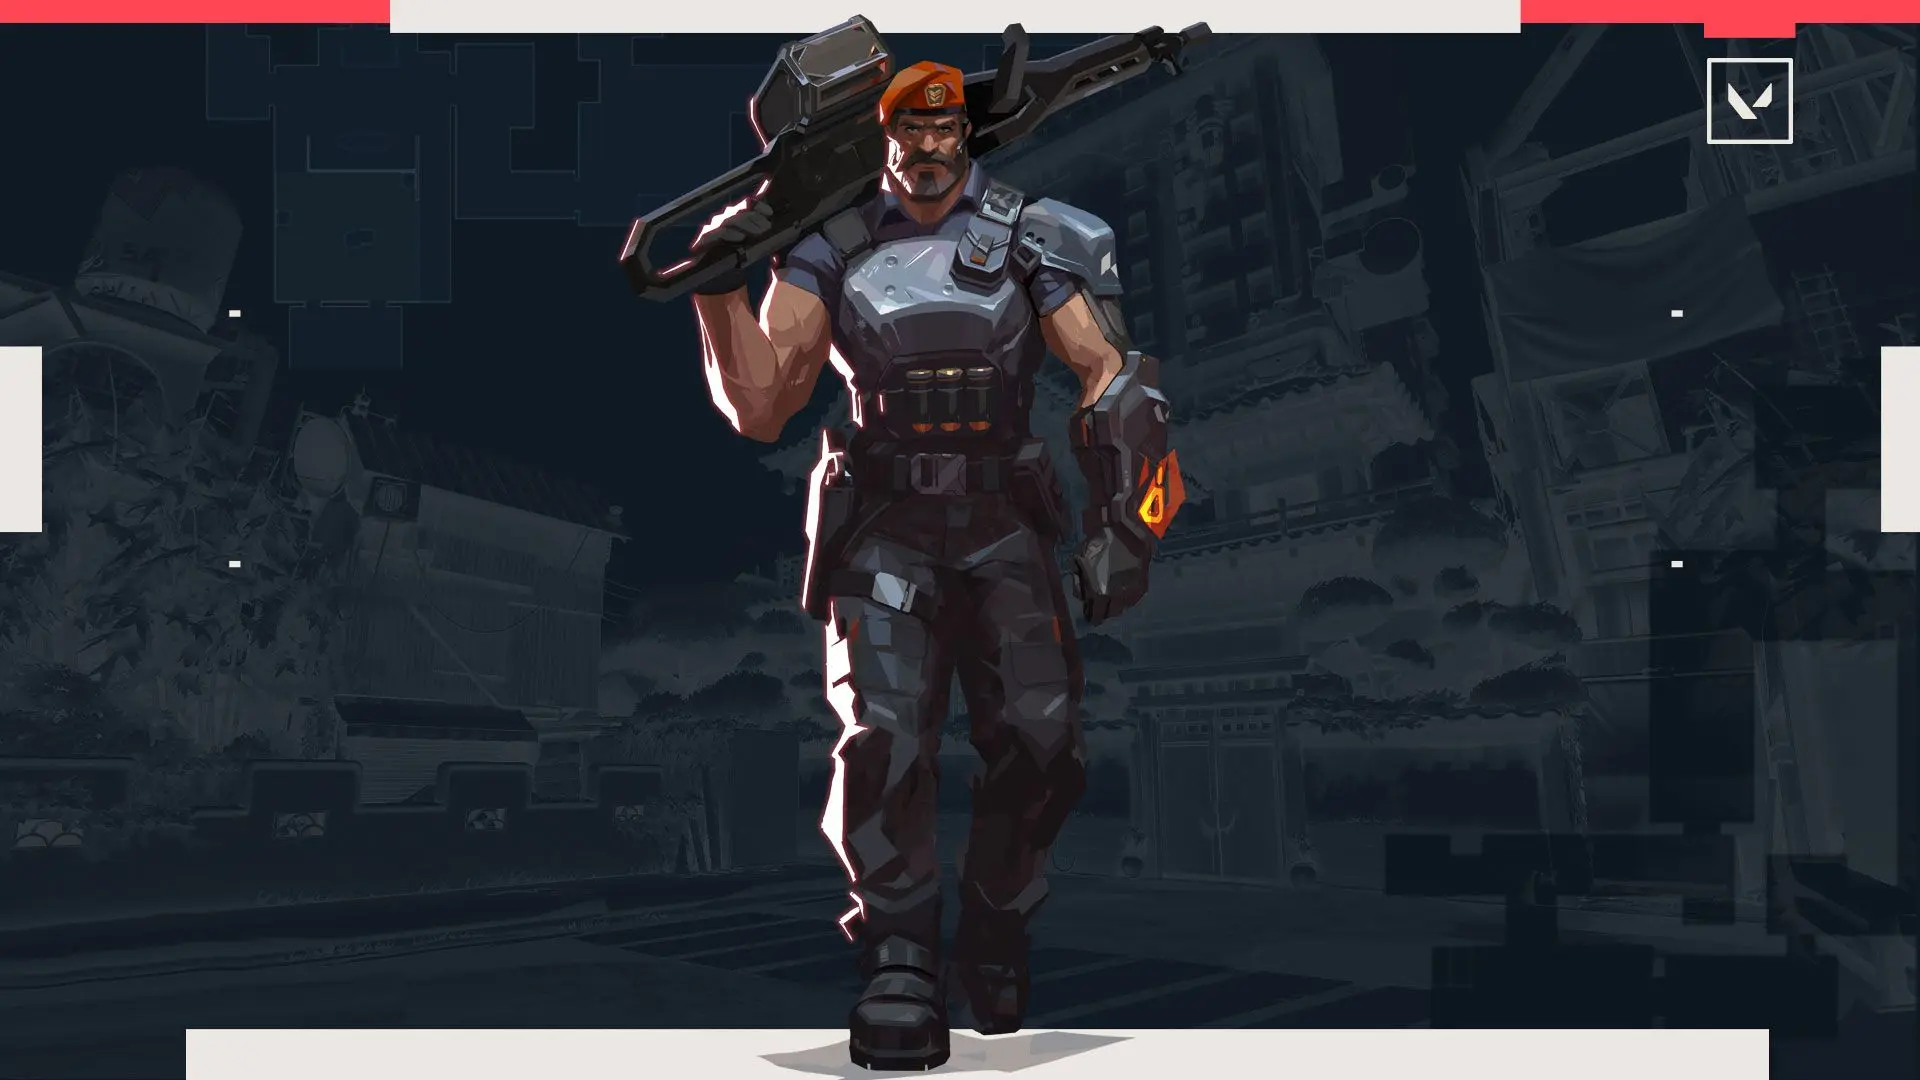
Valorant gives players many ways to change the crosshair and aiming sensitivity. More options do not automatically produce better aim. A small crosshair can disappear against a busy wall, while an extremely low sensitivity can make it hard to turn toward a nearby enemy. Your setup needs to stay visible and let you move the crosshair without fighting your mouse or controller.
There is no single professional setting that works for everyone. Screen size, desk space, mouse grip, controller habits, and eyesight all affect what feels comfortable. Use other players' settings as a starting point, then keep only the parts that help you see targets and stop on them.
Start With a Crosshair You Can Always See
Open Settings and choose Crosshair. Begin with a simple primary crosshair in a bright color that remains visible on light and dark areas. Cyan, green, white, and yellow are common choices, but visibility is more important than popularity. Add a thin outline if the crosshair disappears against part of a map.
Inner lines create the main shape. Keep them short enough that they do not cover an enemy's head. A center dot can help players who prefer one clear point, but a large dot can hide a distant target. Outer lines add more information and movement, although many players turn them off to reduce clutter.
Movement Error makes the crosshair expand when your movement reduces accuracy. Firing Error shows how repeated shots affect accuracy. These options can teach a new player why a shot missed. Turn them on during practice, watch what happens while moving and spraying, then decide whether you want that movement visible during normal matches.
Find a Sensitivity You Can Control
Mouse sensitivity is controlled by the mouse DPI and Valorant's in-game sensitivity. Multiplying those numbers gives eDPI, a simple way to compare two mouse setups. You do not need a target eDPI from a professional player. Keep your normal DPI, enter the Practice Range, and check whether one comfortable swipe lets you turn around without lifting the mouse several times.
Next, aim at a bot's head and move left and right. If the crosshair repeatedly passes the target, lower the in-game sensitivity a little. If you stop short and struggle to reach the target, raise it a little. Change one value at a time and use the new setting for several sessions. A different number every day prevents your hand from learning the movement.
Console aiming has separate controller options, including settings used for normal aim and Focus Mode. Start near the defaults and adjust in small steps. A very fast setting may help you turn, but it can make small corrections harder. A very slow setting may feel accurate until an enemy appears from the side.
Import a Code, Then Test It
Valorant can import and export crosshair profiles with generated codes. On PC, open Settings, select Crosshair, and use the import icon beside the profile controls. Paste the code, import it, and give the profile a name you will recognize. The export icon copies your current profile code so you can save or share it.
An imported code copies a shape; it does not copy another player's aim. Test the profile in the Range, then play Deathmatch or an Unrated game. Check whether the color stays visible, whether the lines cover heads at distance, and whether firing or movement indicators distract you.
- Practice placing the crosshair at head height before an enemy appears.
- Stop moving before the first accurate shot with rifles.
- Use short bursts when distance makes a full spray difficult to control.
- Keep the same sensitivity long enough to judge it fairly.
New players can combine these settings with the basic movement, shooting, and buying lessons in the Valorant Beginner Guide. The Valorant Complete Guide also links the main parts of the Pixel Twelve hub.