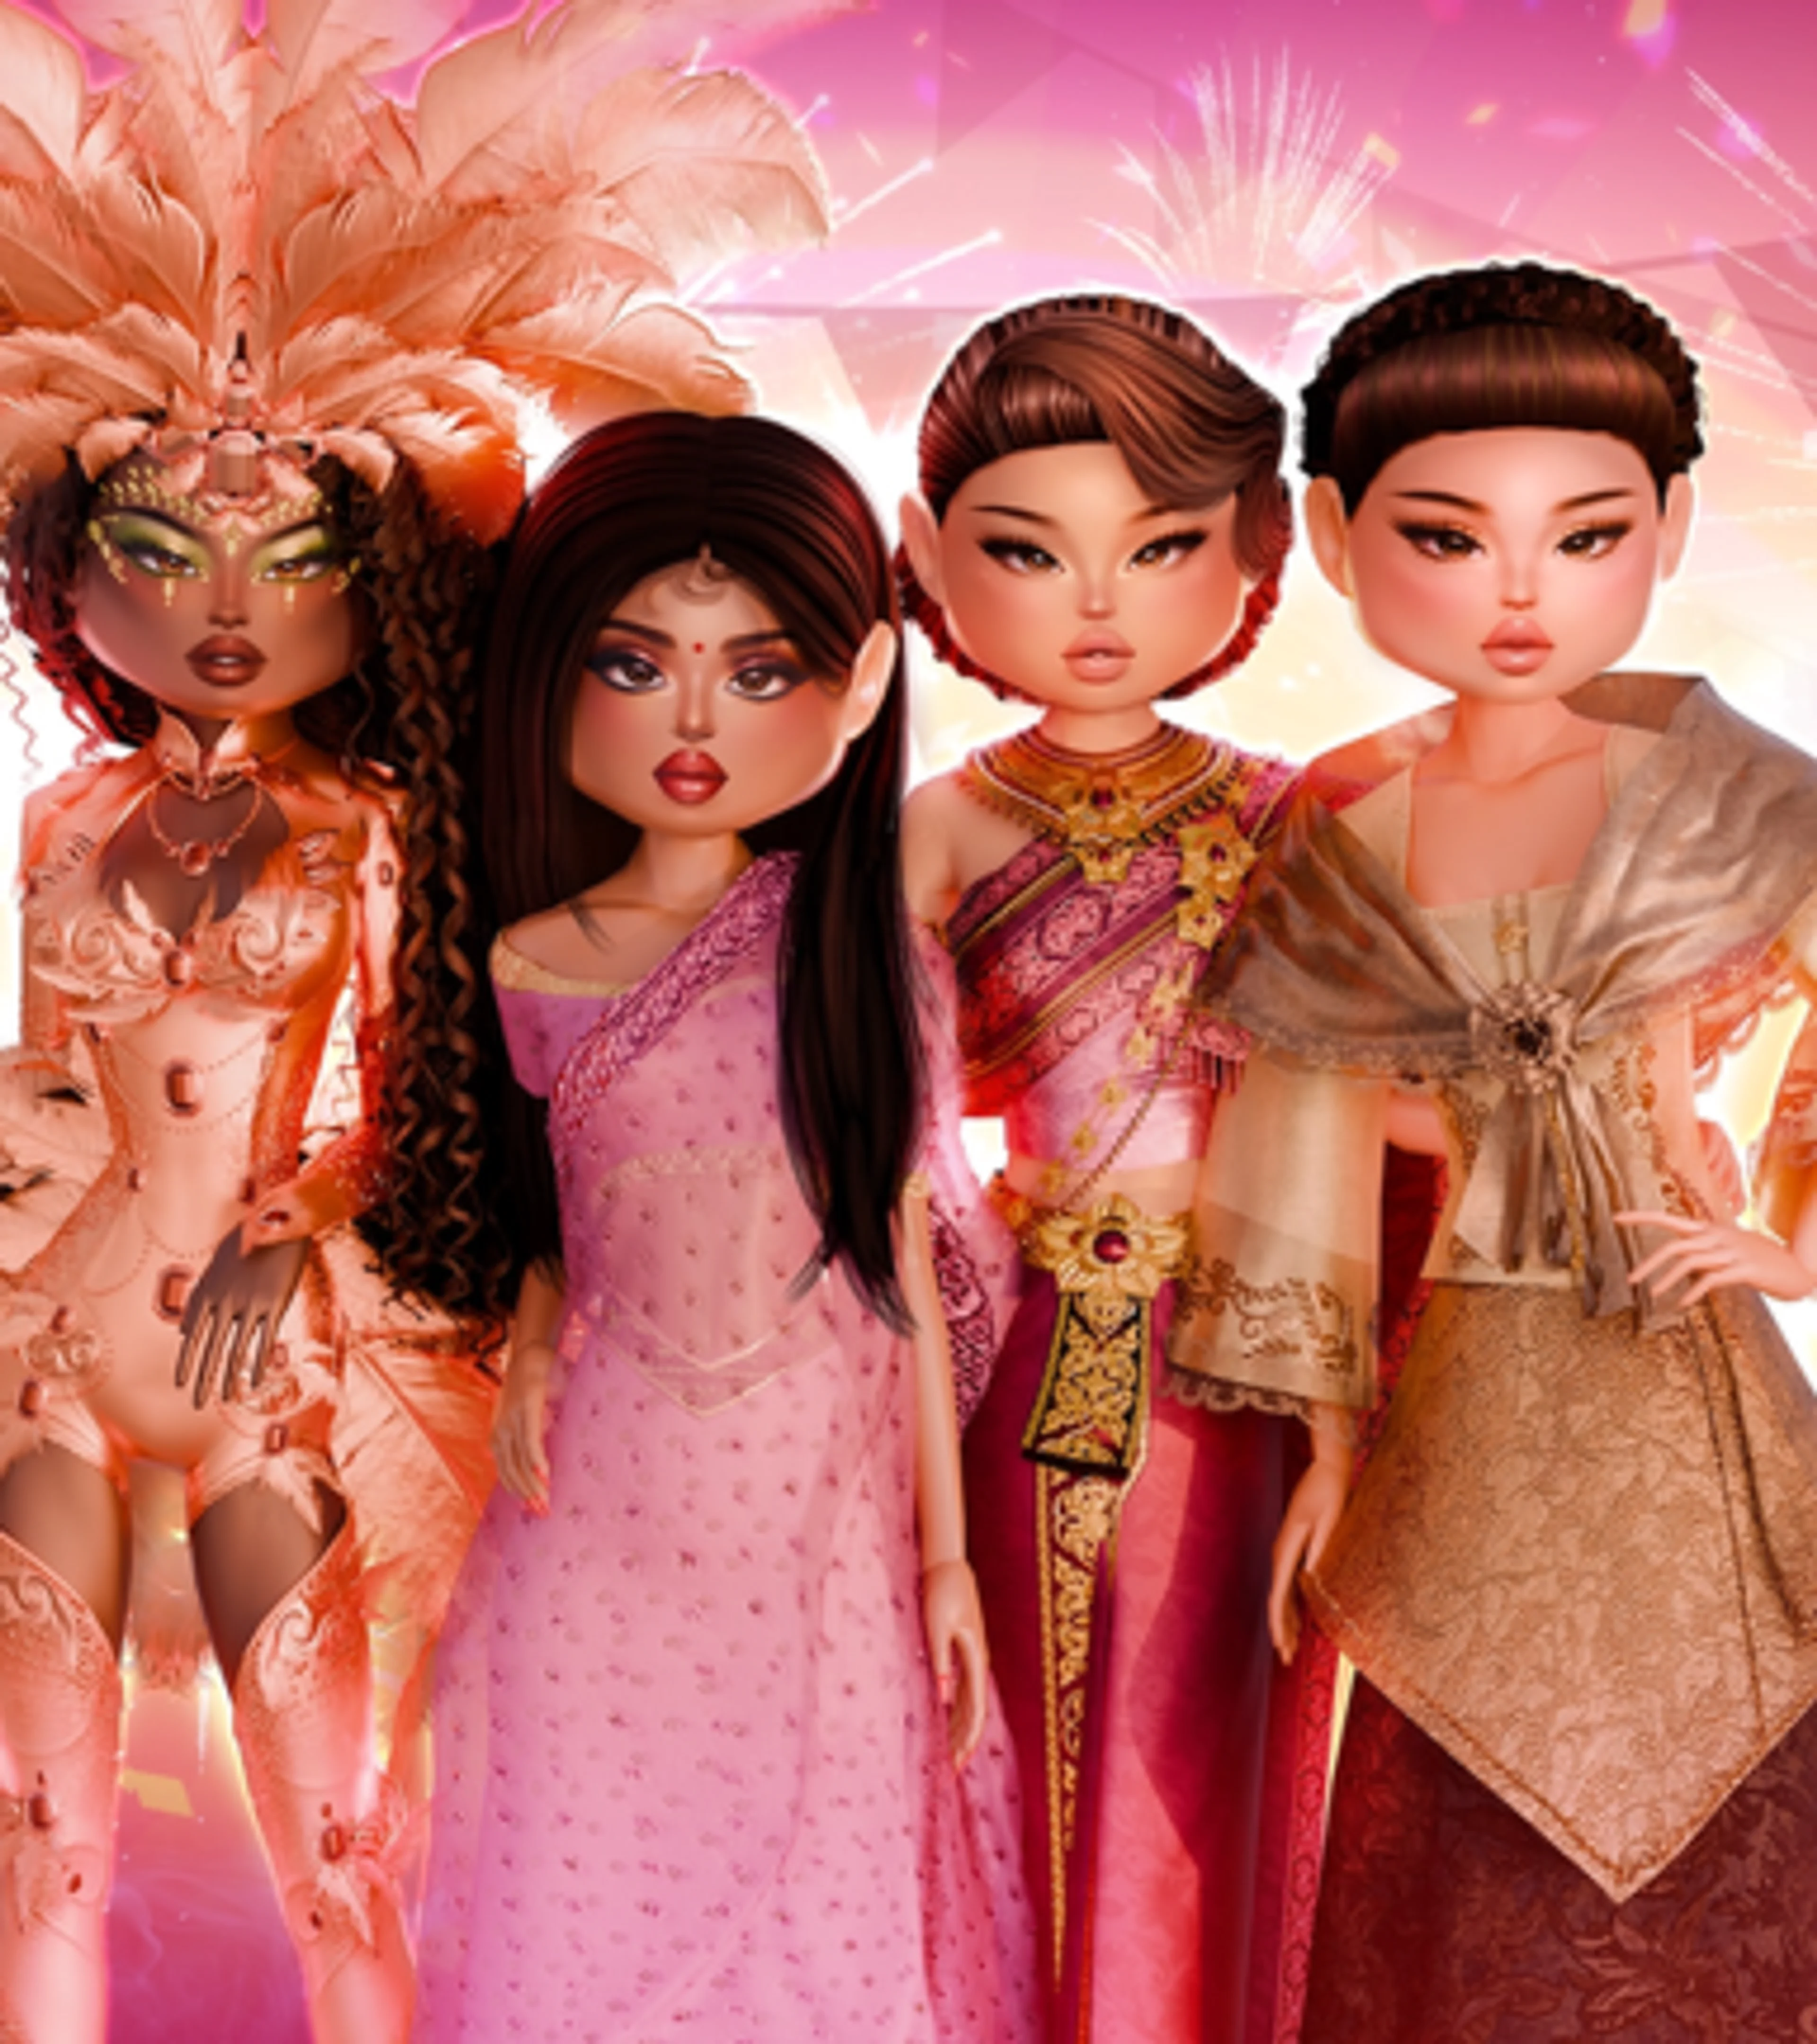
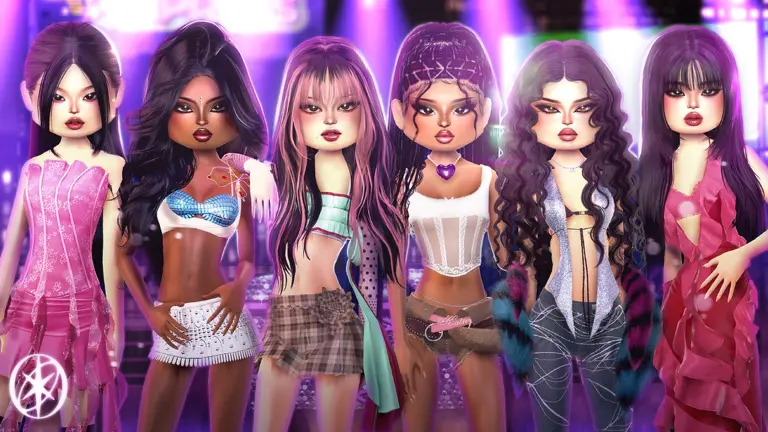
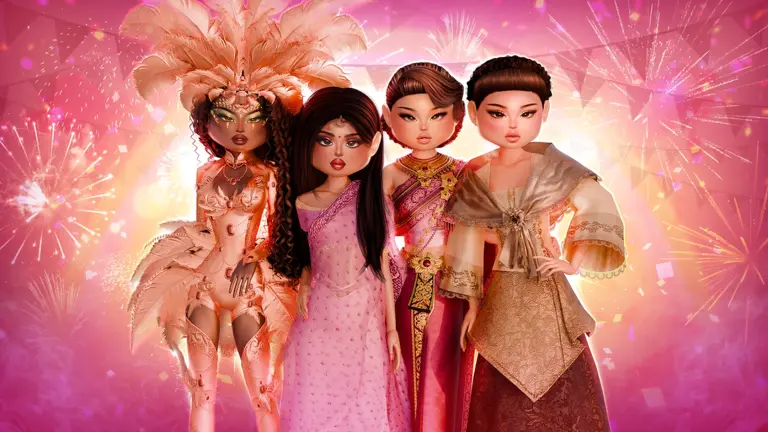


To layer an outfit in Dress To Impress, start with a fitted top, dress, or bodysuit, then add one jacket, corset, or overskirt. Match the colors before adding hair and accessories. Use the Wearing menu to change item toggles or remove an overlapping piece.
Clipping is when one item cuts through another or flickers where they overlap. Check your outfit from the front, side, and back, then walk and test your poses. A shorter or sleeveless toggle can fix the overlap without removing the whole outfit.
The Best Order for Layering a DTI Outfit
- Choose the base shape. Start with the main dress, top and bottom, bodysuit, or fitted layer.
- Add one structure layer. Use a jacket, overskirt, corset, sweater, belt, or second garment to change the silhouette.
- Set colors and patterns. Connect the pieces before adding small accessories.
- Add hair and statement details. Choose only the items that strengthen the theme or character.
- Fix clipping and test movement. Turn the avatar, walk, and use the poses you plan to show.
Check the overall shape, or silhouette, before adding small details. If two bulky garments hide each other, remove one before adding necklaces, bows, or sleeves.
Use the Wearing Menu Instead of Starting Over
Open the Wearing menu to see the items currently equipped. Select one piece to reopen its customization controls. From there, supported items can offer color sections, patterns, materials, toggles, or accessory adjustments.
The Wearing menu is also the quickest way to remove the exact item causing a problem. You do not need to search the dressing room for it again.
Check Toggles Before Adding Another Item
A toggle changes the version of an equipped piece. Depending on the item, it may remove sleeves, shorten a skirt, hide a bow, separate part of a set, change a neckline, or switch the design.
- For bulky overlap: try a sleeveless, cropped, or shorter toggle before replacing the entire outfit.
- For repeated details: turn off one bow, belt, collar, or ruffle instead of stacking two in the same position.
- For shoes and legwear: check footless or shorter toggles where available so socks, tights, and shoes do not fight for the same space.
- For sets: see whether the item can become only the top, skirt, vest, tie, or accessory you need.
Not every DTI item has toggles, and the options differ by piece. Select the item and use what the current menu actually offers.
Make the Colors Connect
Layered outfits look cleaner when the color plan is small. Start with two main colors and one accent. You can still use several shades, but give each one a job.
- Base color: the largest part of the outfit, such as the dress, pants, or coat.
- Support color: repeats across two or three smaller layers to connect them.
- Accent color: appears in a controlled detail such as jewelry, trim, shoes, or a bag.
When an item has several color sections, use the arrows at the top of the customization menu to move between them. Check every section before deciding a piece cannot match. Tiny default colors are easy to miss until the avatar reaches the runway.
How to Use Patterns Without Making the Outfit Noisy
Patterns can be applied through the Wearing menu: select the item, open its customization panel, then choose the Patterns tab. Arrows at the top move between supported parts of a multi-color item.
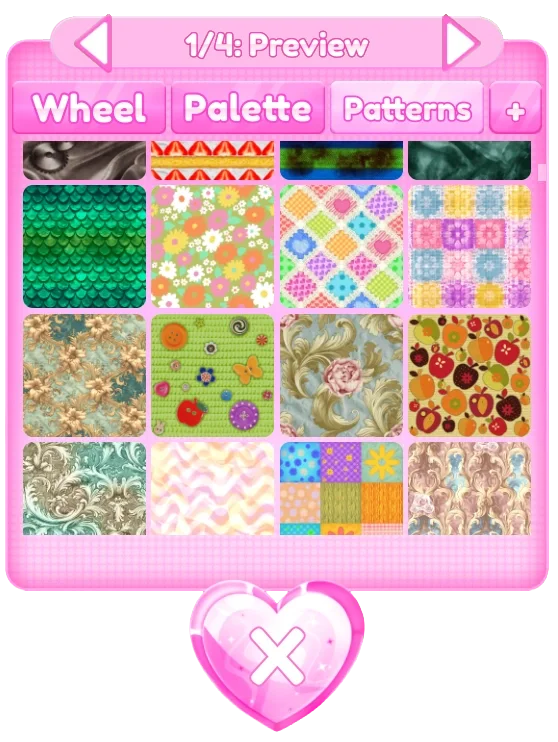
Use one pattern as the main visual idea, then surround it with solids or quieter textures. Three unrelated prints can work for a maximalist theme, but they need repeated colors or a shared style to feel deliberate.
- Put a bold pattern on the layer you want voters to notice first.
- Repeat one color from the pattern on shoes, hair accessories, or trim.
- Keep small accessories solid when the dress or jacket already carries a detailed print.
- If a pattern stretches badly or disappears under another layer, move it to a simpler piece.
Some items or item sections do not support patterns. That is a limitation of the selected piece, not a missing button.
How to Fix Clipping: Use This Order
1. Change the toggle
The quickest fix is often a shorter hem, hidden sleeve, smaller bow, or simpler version of the item.
2. Remove the weakest duplicate layer
If two skirts occupy the same space, remove one and check the remaining shape. If two necklaces overlap, keep the one that fits the theme instead of hiding both designs.
3. Change the length or silhouette around the problem
Pair a fitted top with a wider outer layer, or a short skirt with a longer overskirt. Two pieces with identical volume are more likely to flicker or cut through each other.
4. Adjust supported accessories
Accessory Adjustment lets players reposition, rotate, and scale supported accessories and hairstyles. The feature unlocks after 30 completed rounds outside Style Showdown, with an optional paid instant unlock for players who do not want to wait.
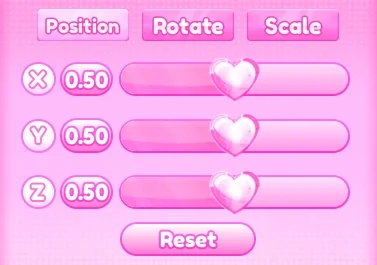
Make small changes. A tiny move can clear hair from a shoulder or center a head accessory. Large adjustments can make the item float, sink into the avatar, or look wrong from the back. Use Reset if the result gets worse.
5. Test the pose and walk
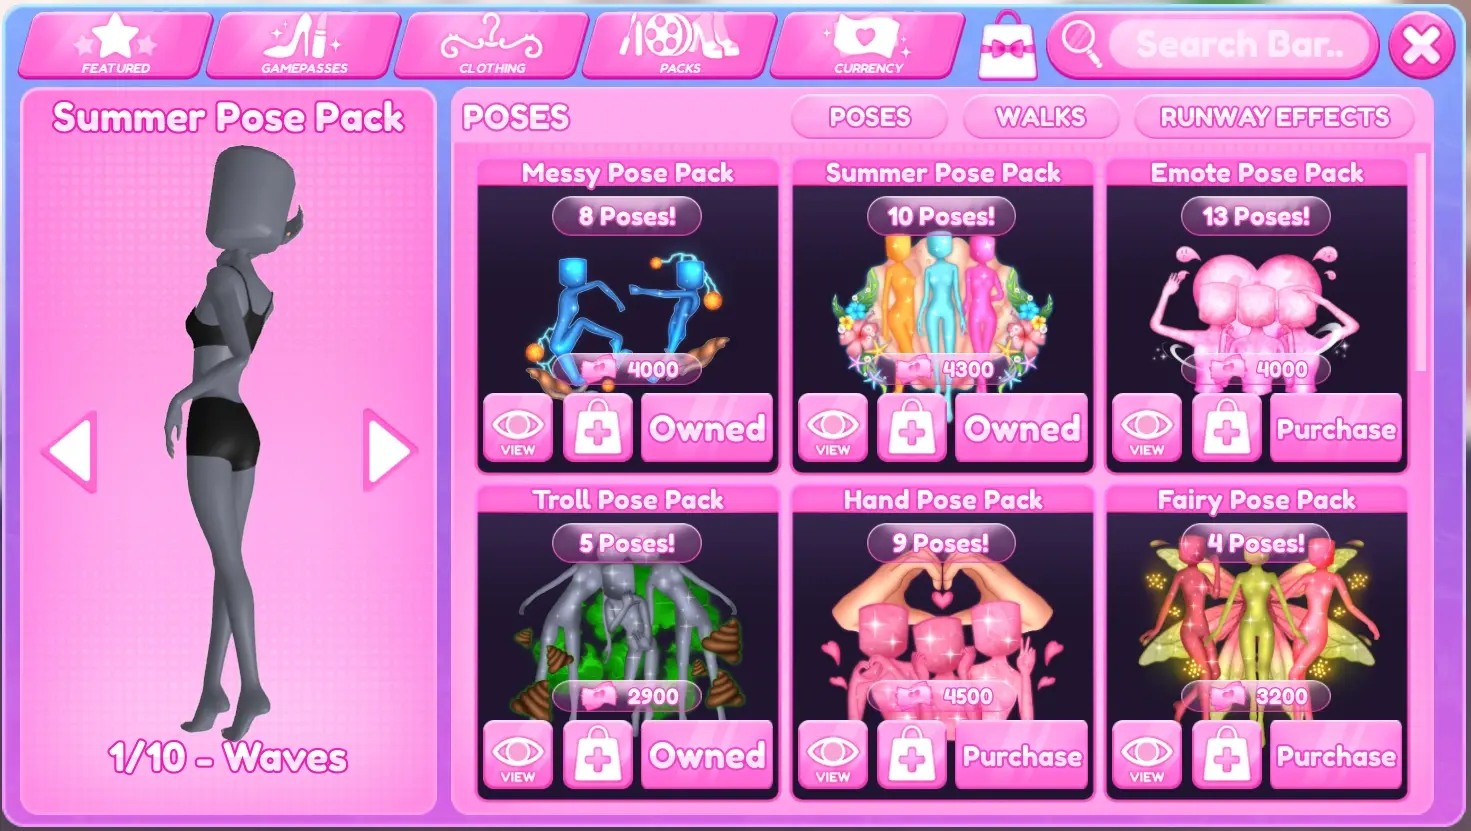
A still avatar can hide clipping that appears when an arm moves or the character turns. Open the pose guide, test your favorites, and replace any pose that pushes the model through the outfit.
The Item Limit Does Not Need to Be Your Target
The standard limit is 18 equipped items. The Increased Item Limit game pass raises it to 24. A higher limit gives advanced players more room for outfit hacks, but it does not make every look better.
Leave a slot empty if another item only covers a detail you want to show. Use extra slots for a visible change, such as a contrasting collar or a belt, and check for overlap after each addition.
Three Layering Formulas to Practice
Clean everyday look
- Fitted base top or dress.
- One jacket, sweater, or overshirt.
- Simple bottom or matching base layer.
- One bag and one jewelry group.
- Two main colors plus one accent.
Detailed fantasy or costume look
- One strong full-body silhouette.
- A controlled overskirt, corset, armor, or wing layer.
- Hair or headpiece that leaves the neckline readable.
- Repeated metallic, magical, or creature detail in two places.
- A pose that shows the shape instead of folding into it.
Pattern-led look
- One patterned hero piece.
- Solid layers pulled from colors inside that pattern.
- A small repeated print only if the scale is different.
- Quiet shoes and accessories so the outfit keeps a focal point.
Use Freeplay as a Layering Lab
A timed round is not the place to learn six toggles on a new item. Use Freeplay Mode to build one look slowly, save a working version, then test alternatives.
- Save the clean base outfit.
- Add one new layer and check every angle.
- Try each toggle and keep the strongest version.
- Set colors and patterns before adding accessories.
- Walk and pose, then remove whatever clips.
- Rebuild the final version against a round timer.
Final Layering Checklist
- The theme is understandable before the small details are explained.
- The front, side, and back silhouettes all look intentional.
- Toggles remove unnecessary volume or repeated details.
- The color palette connects the layers.
- Patterns have a focal point and do not compete everywhere.
- Hair, accessories, shoes, and props stay clean during movement.
- Every equipped item adds shape, color, texture, or theme information.
Layering becomes much faster once you know where DTI keeps its controls. If the full round still feels confusing, start with the beginner guide, practice difficult prompts with the themes guide, or browse the DTI guide hub for the next step.