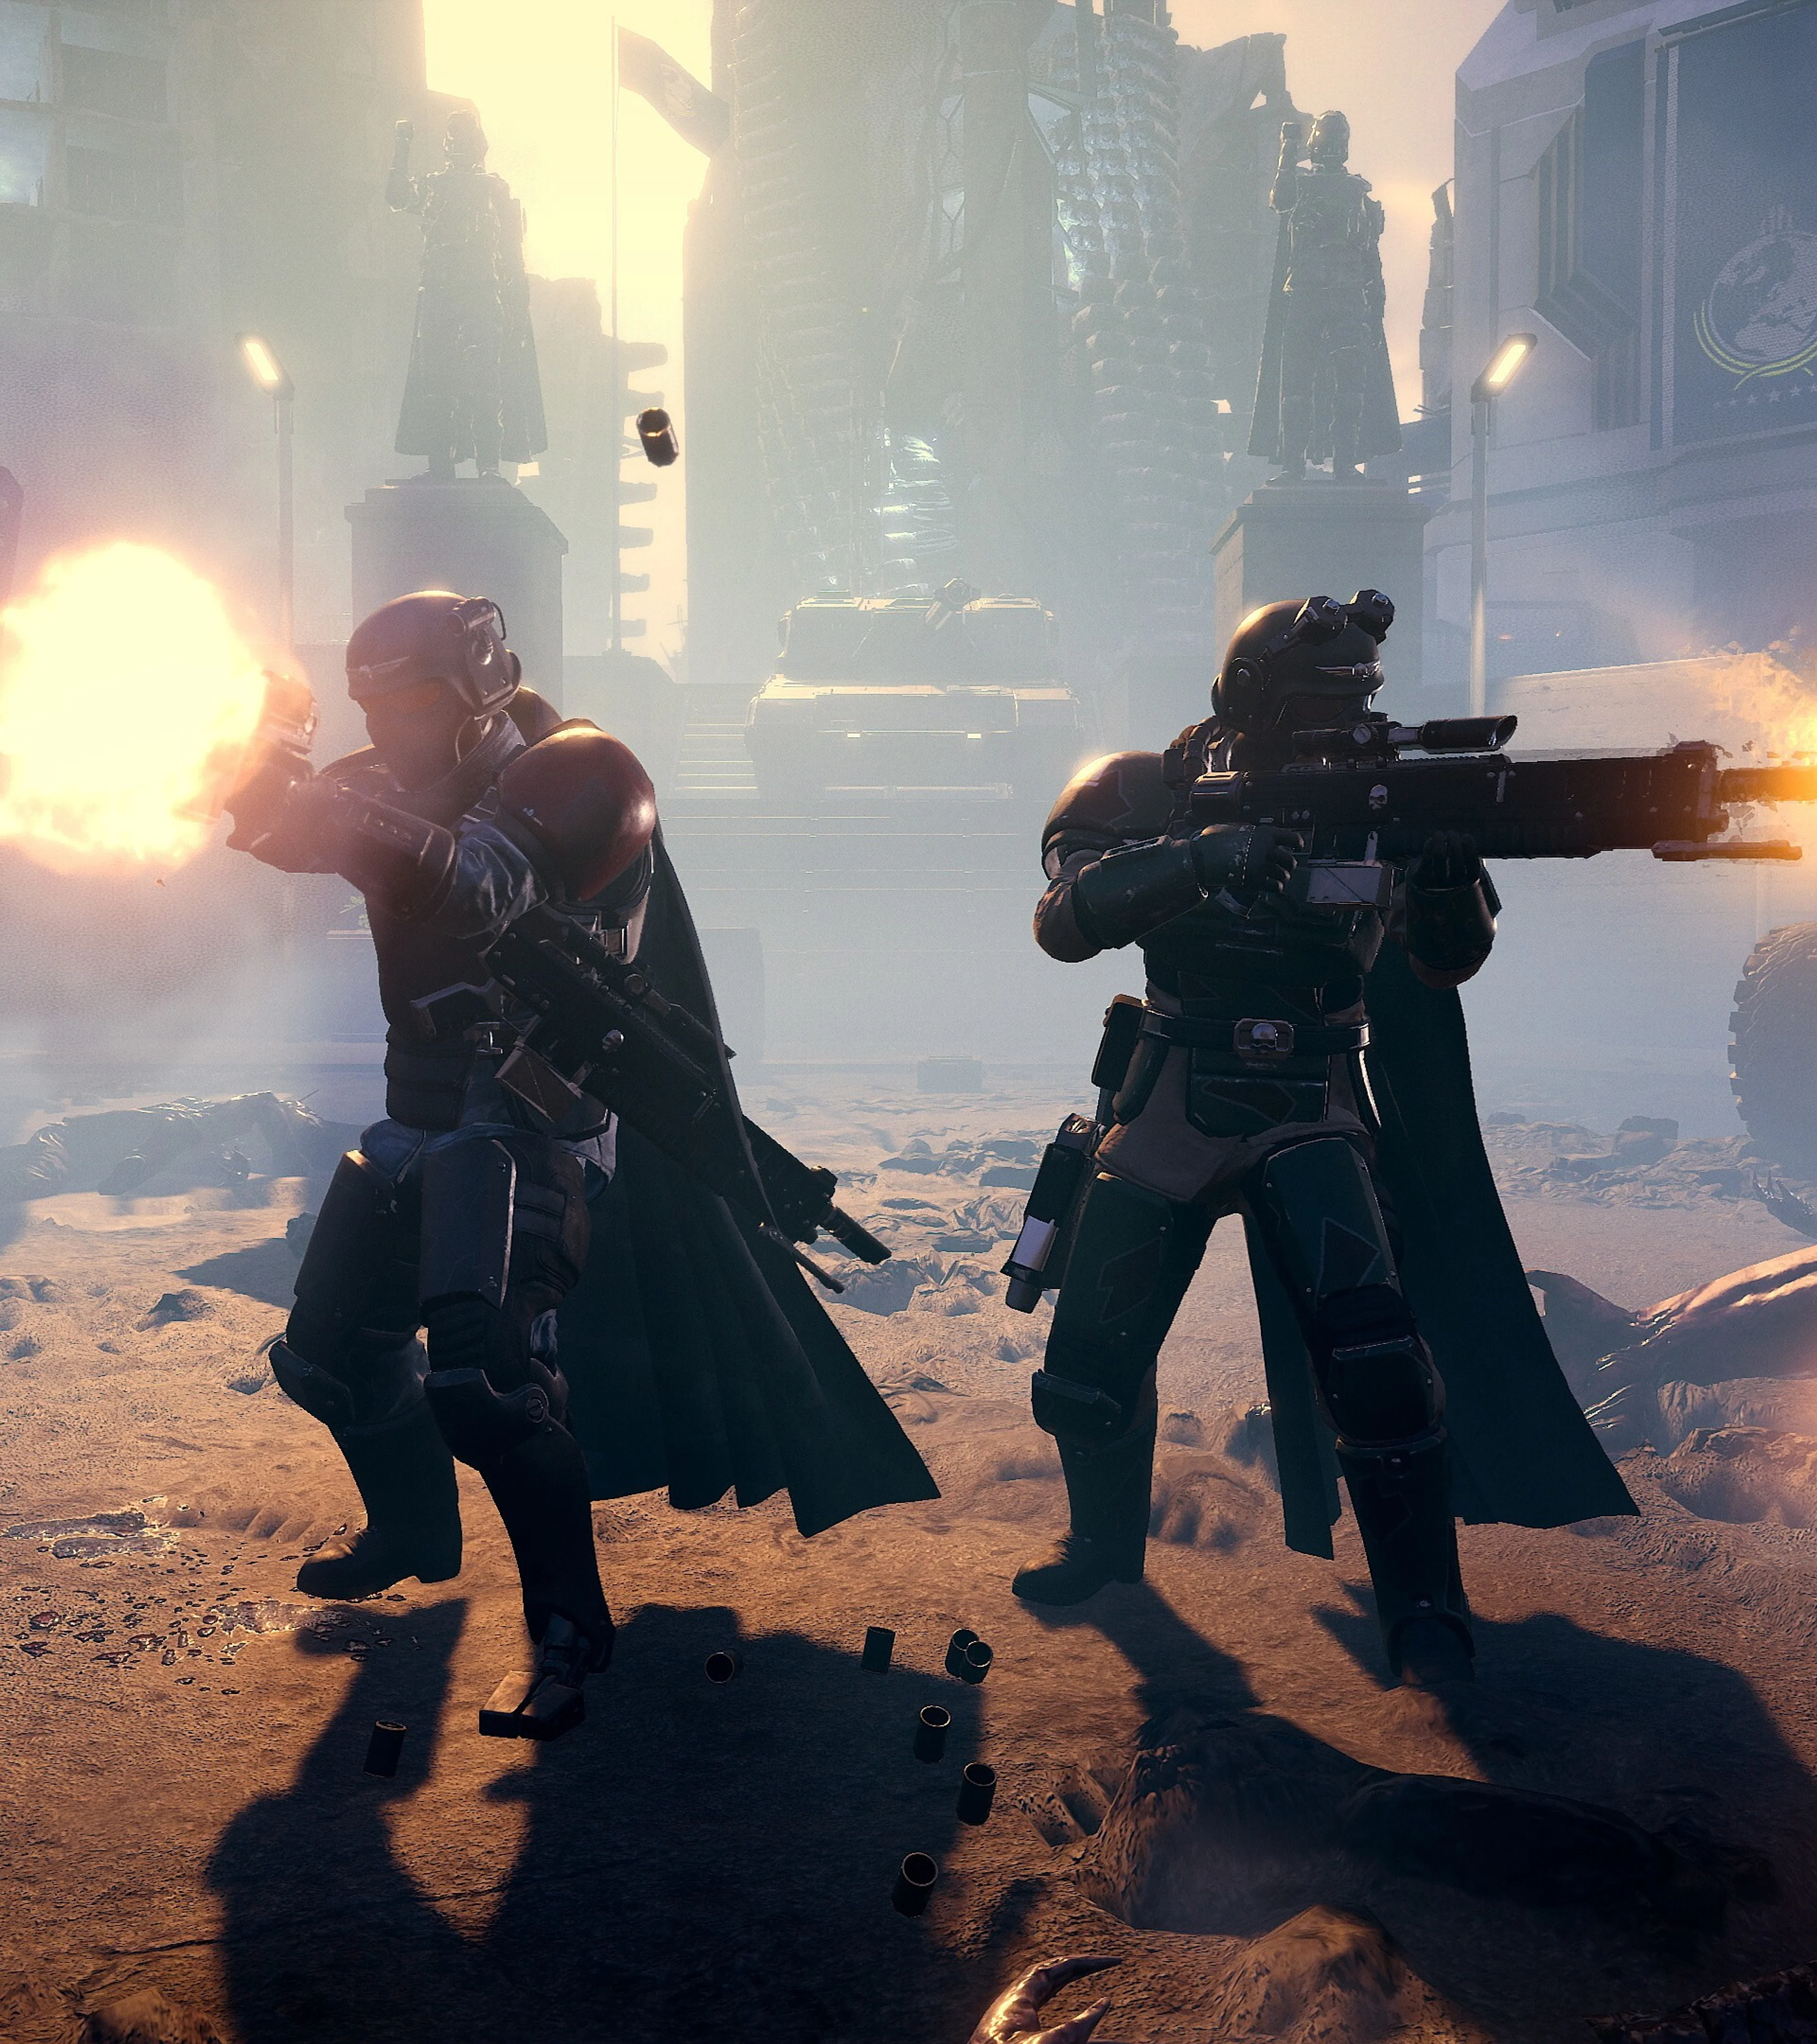
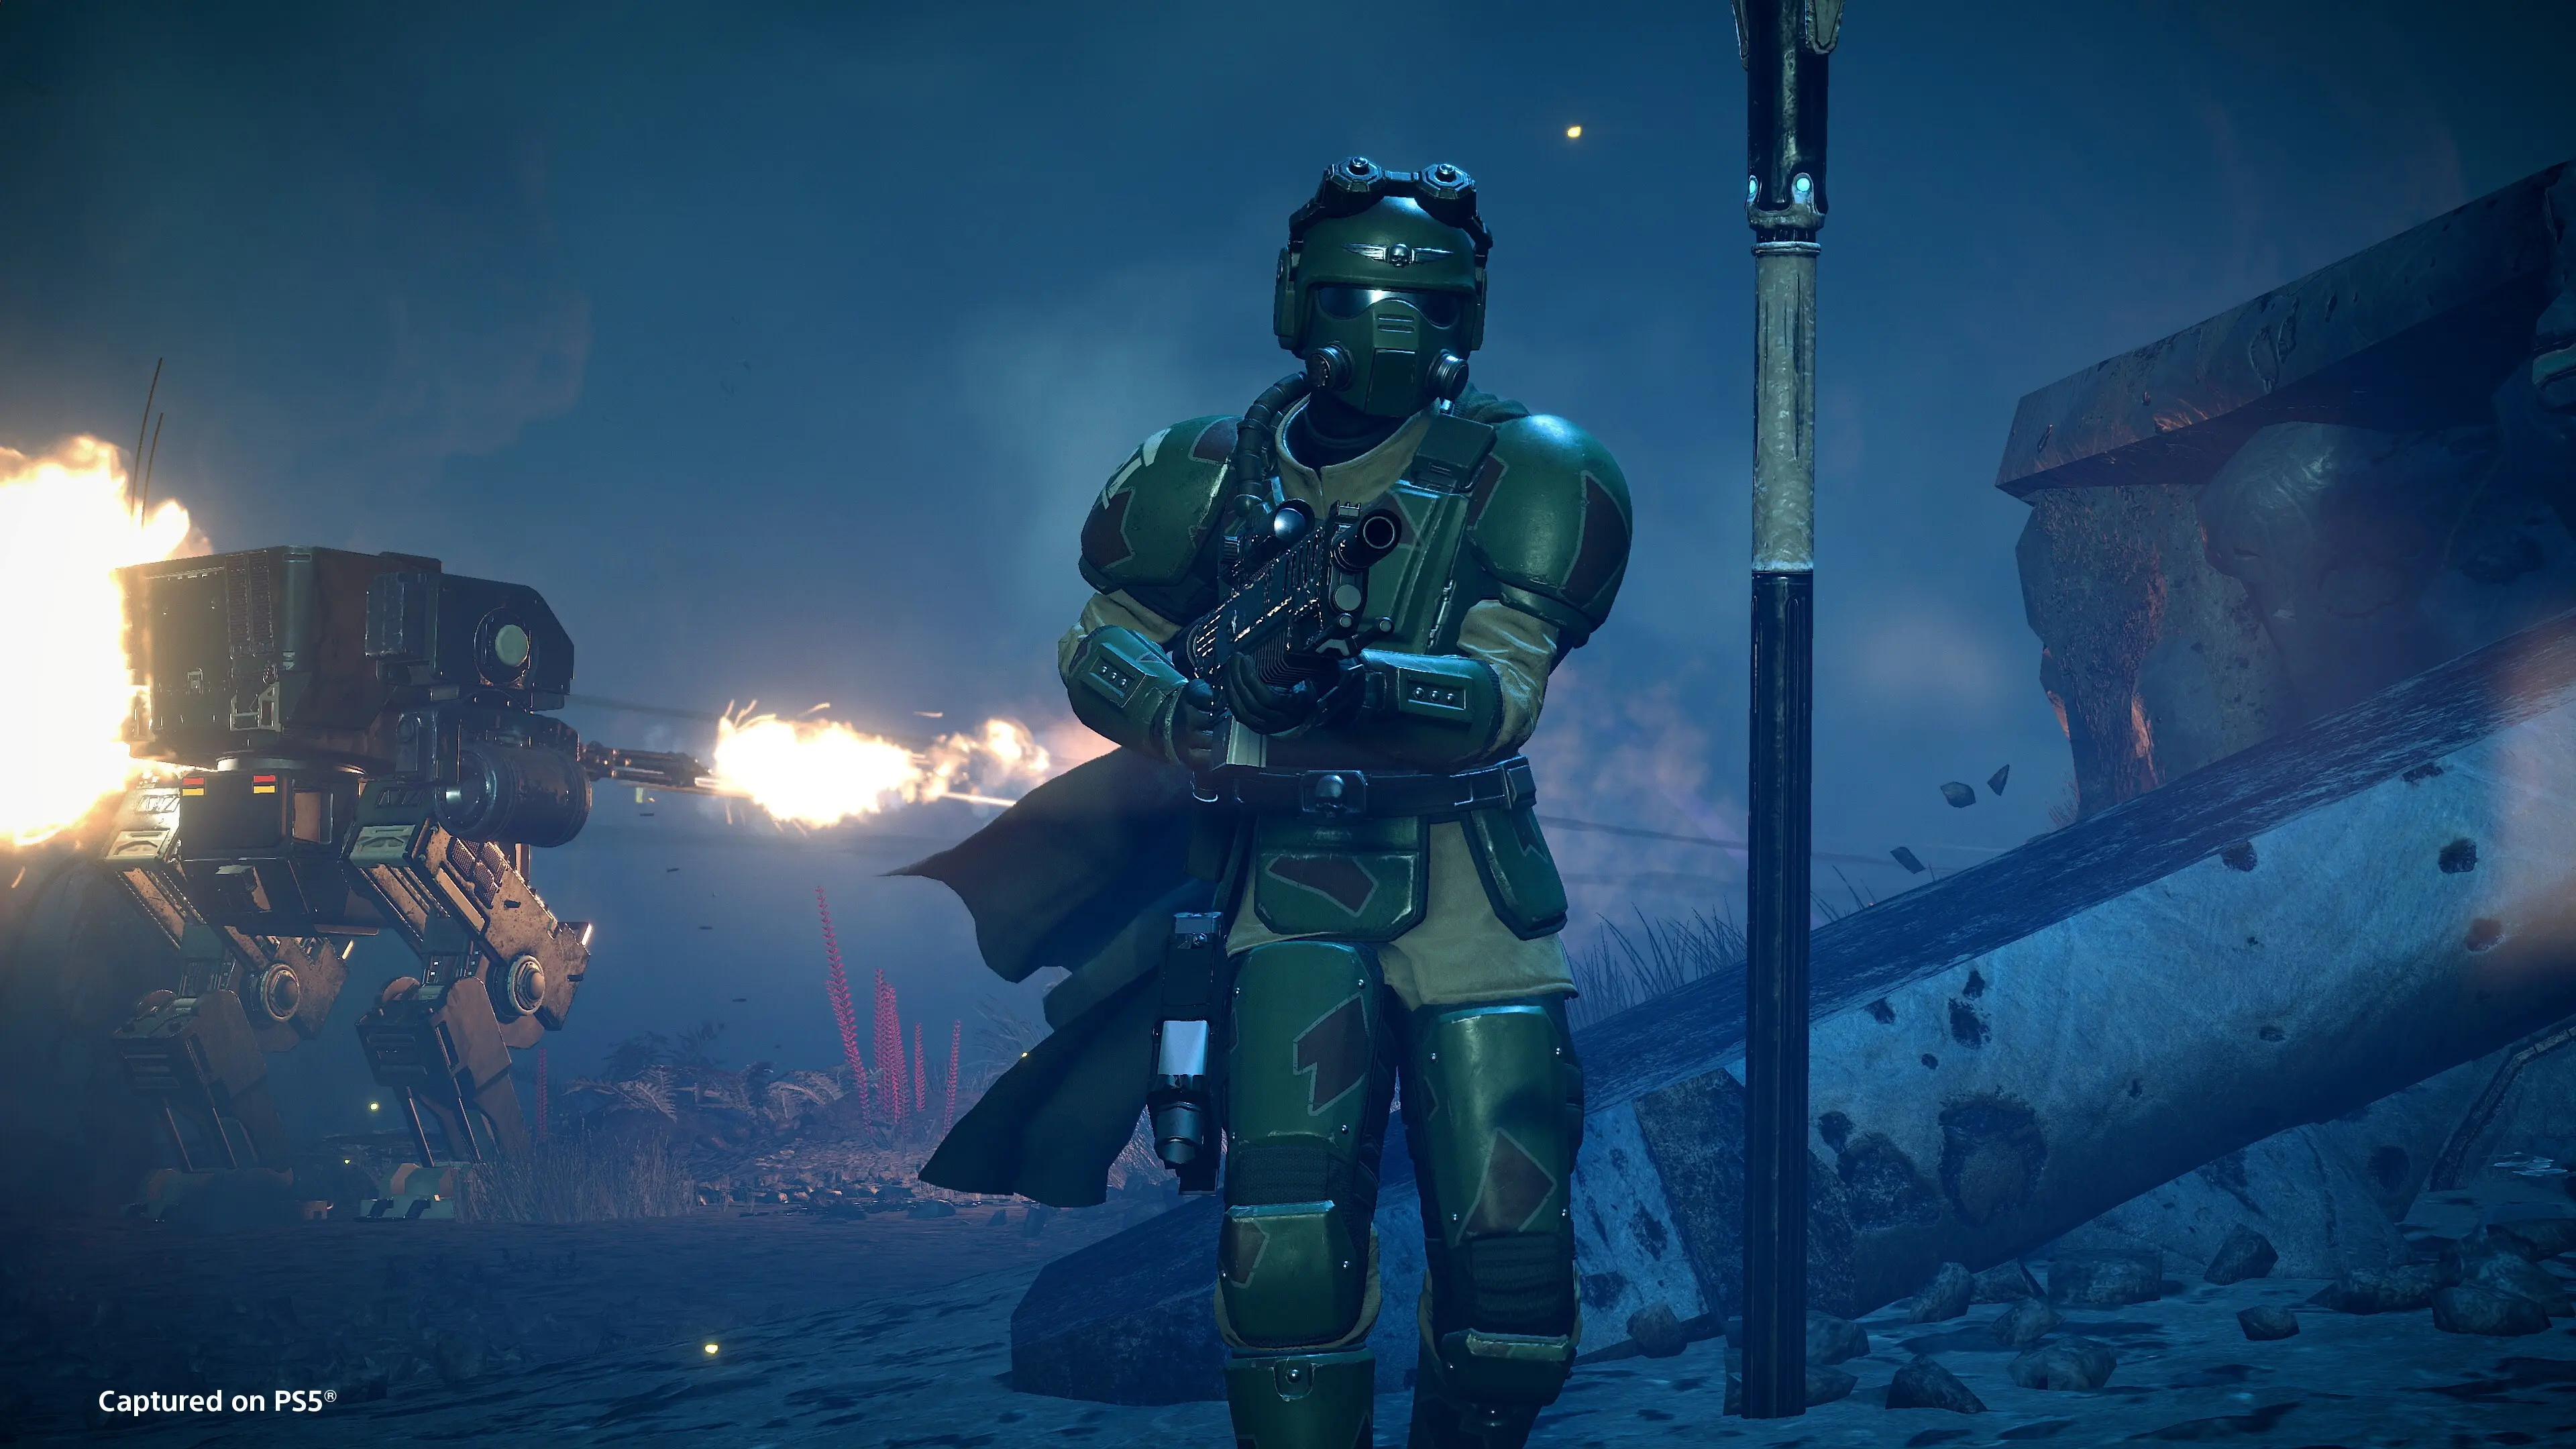
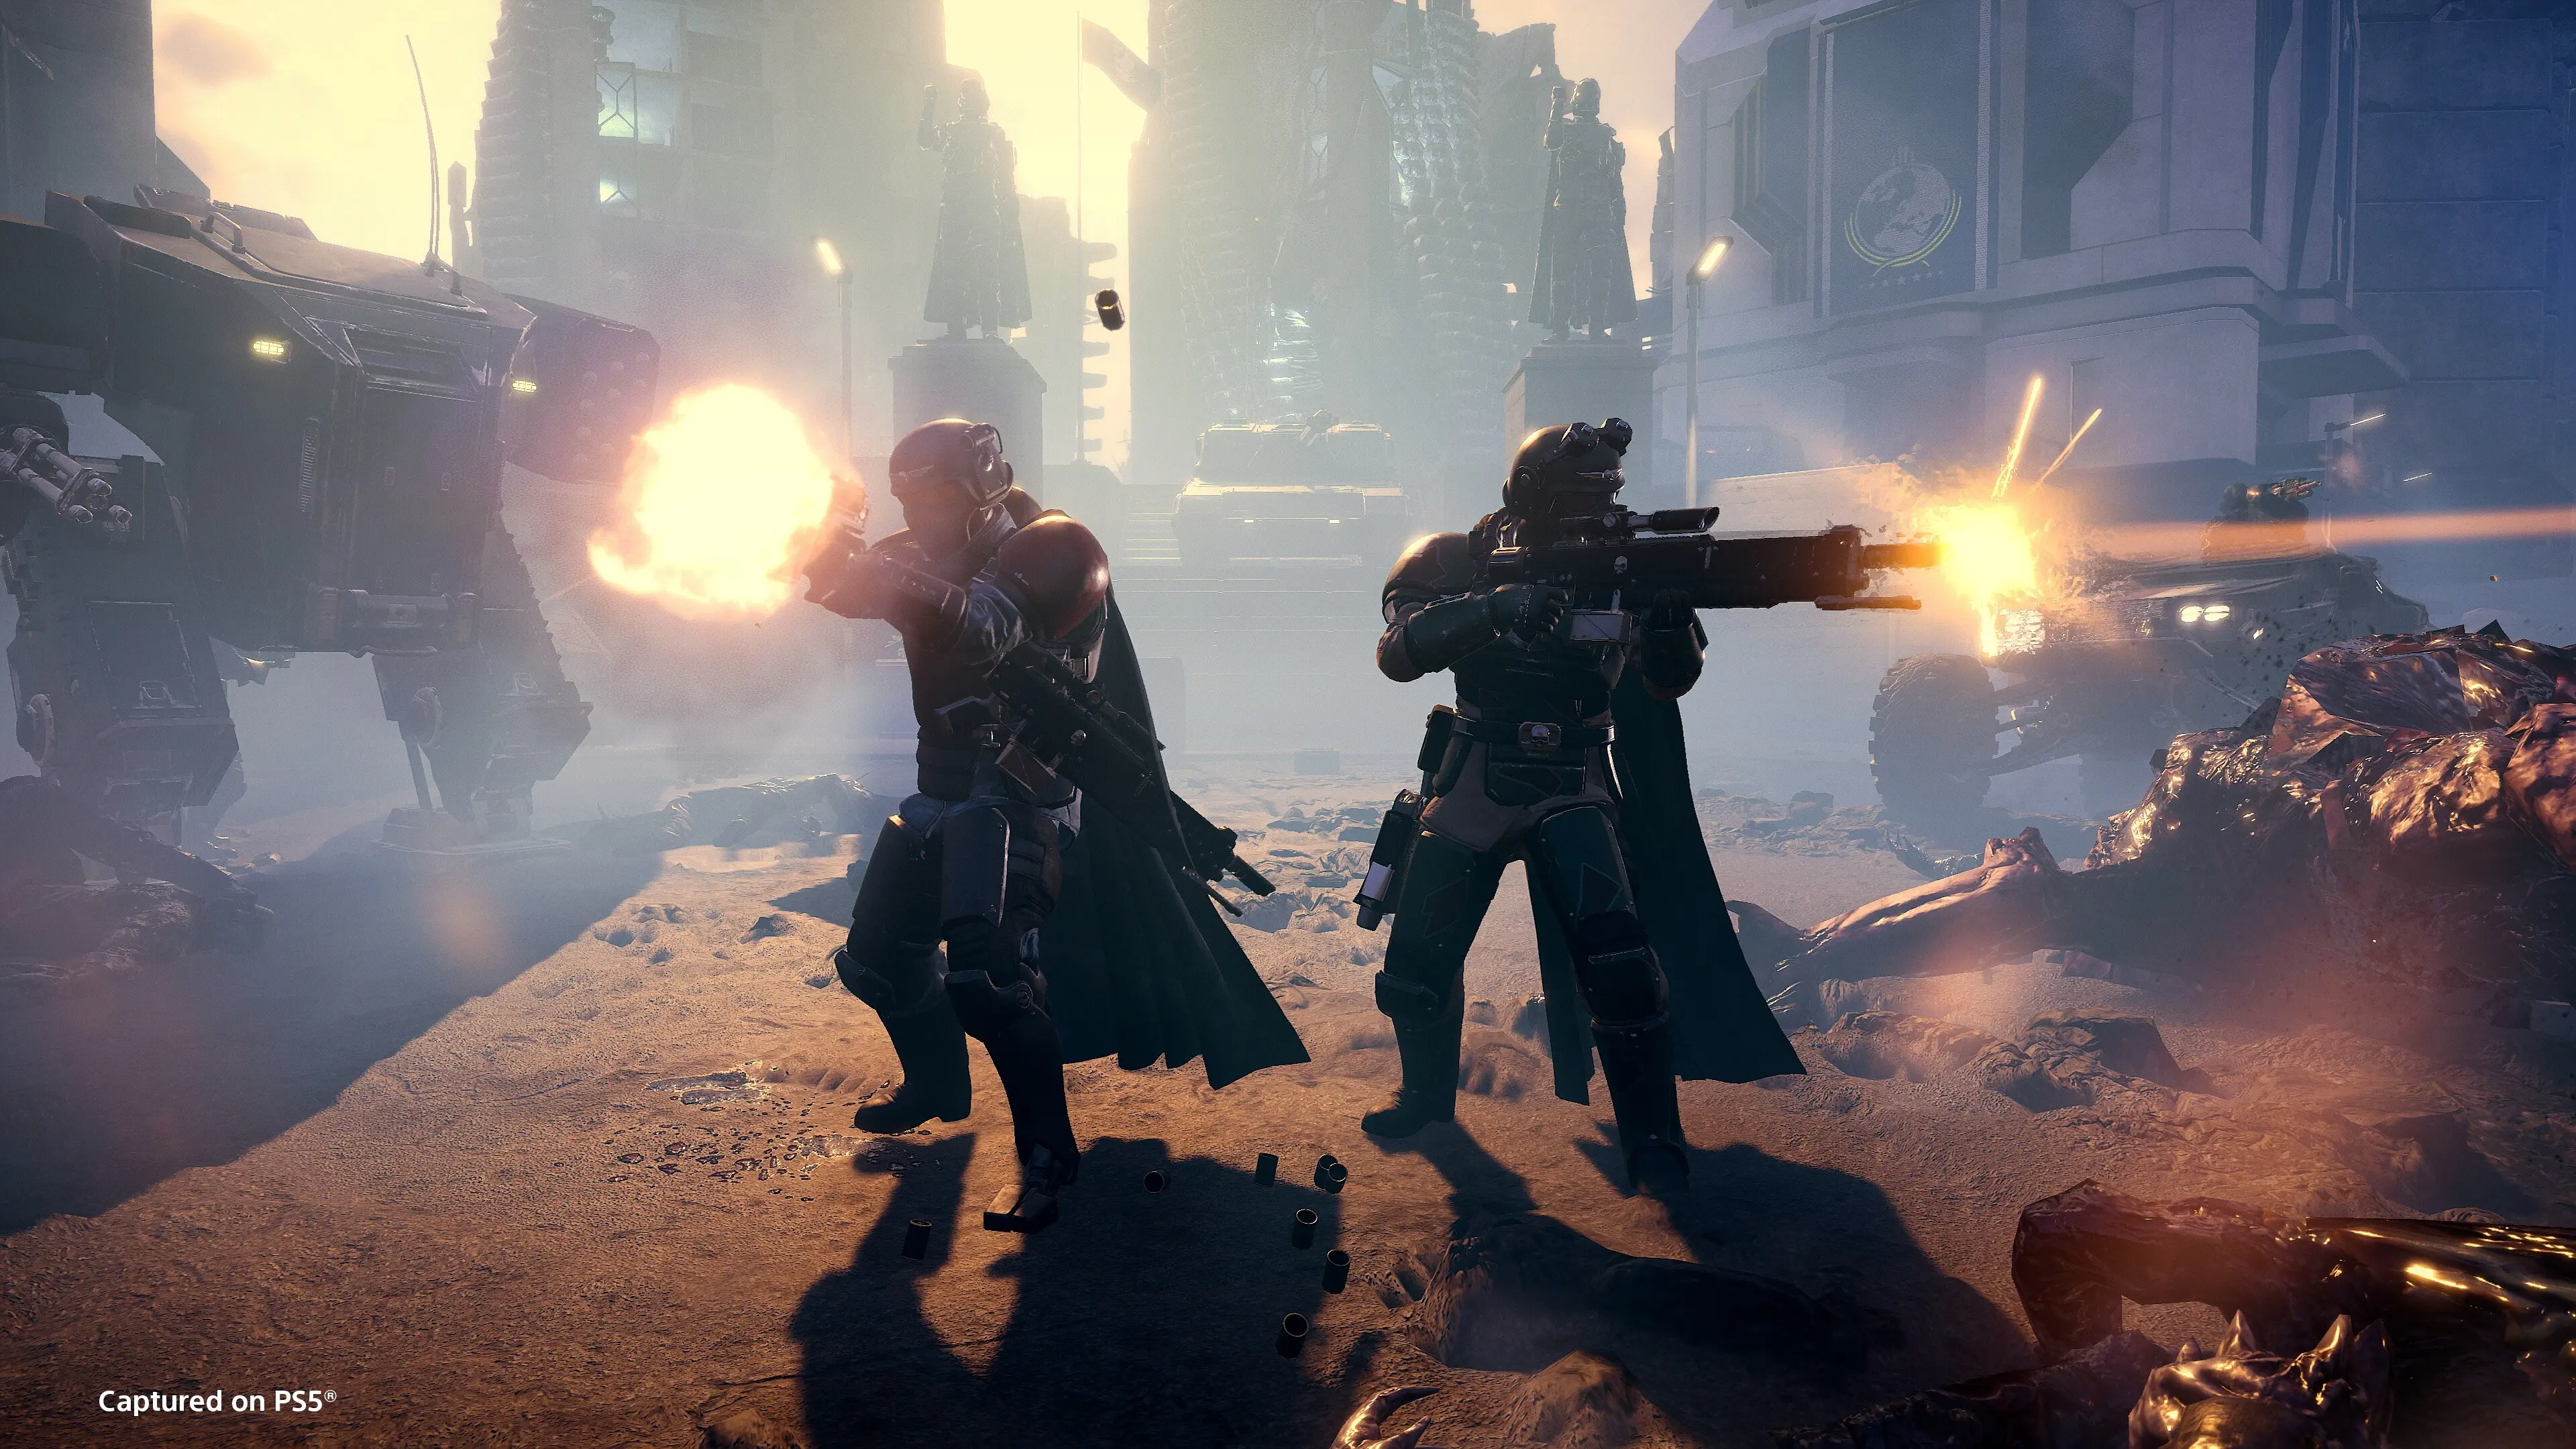
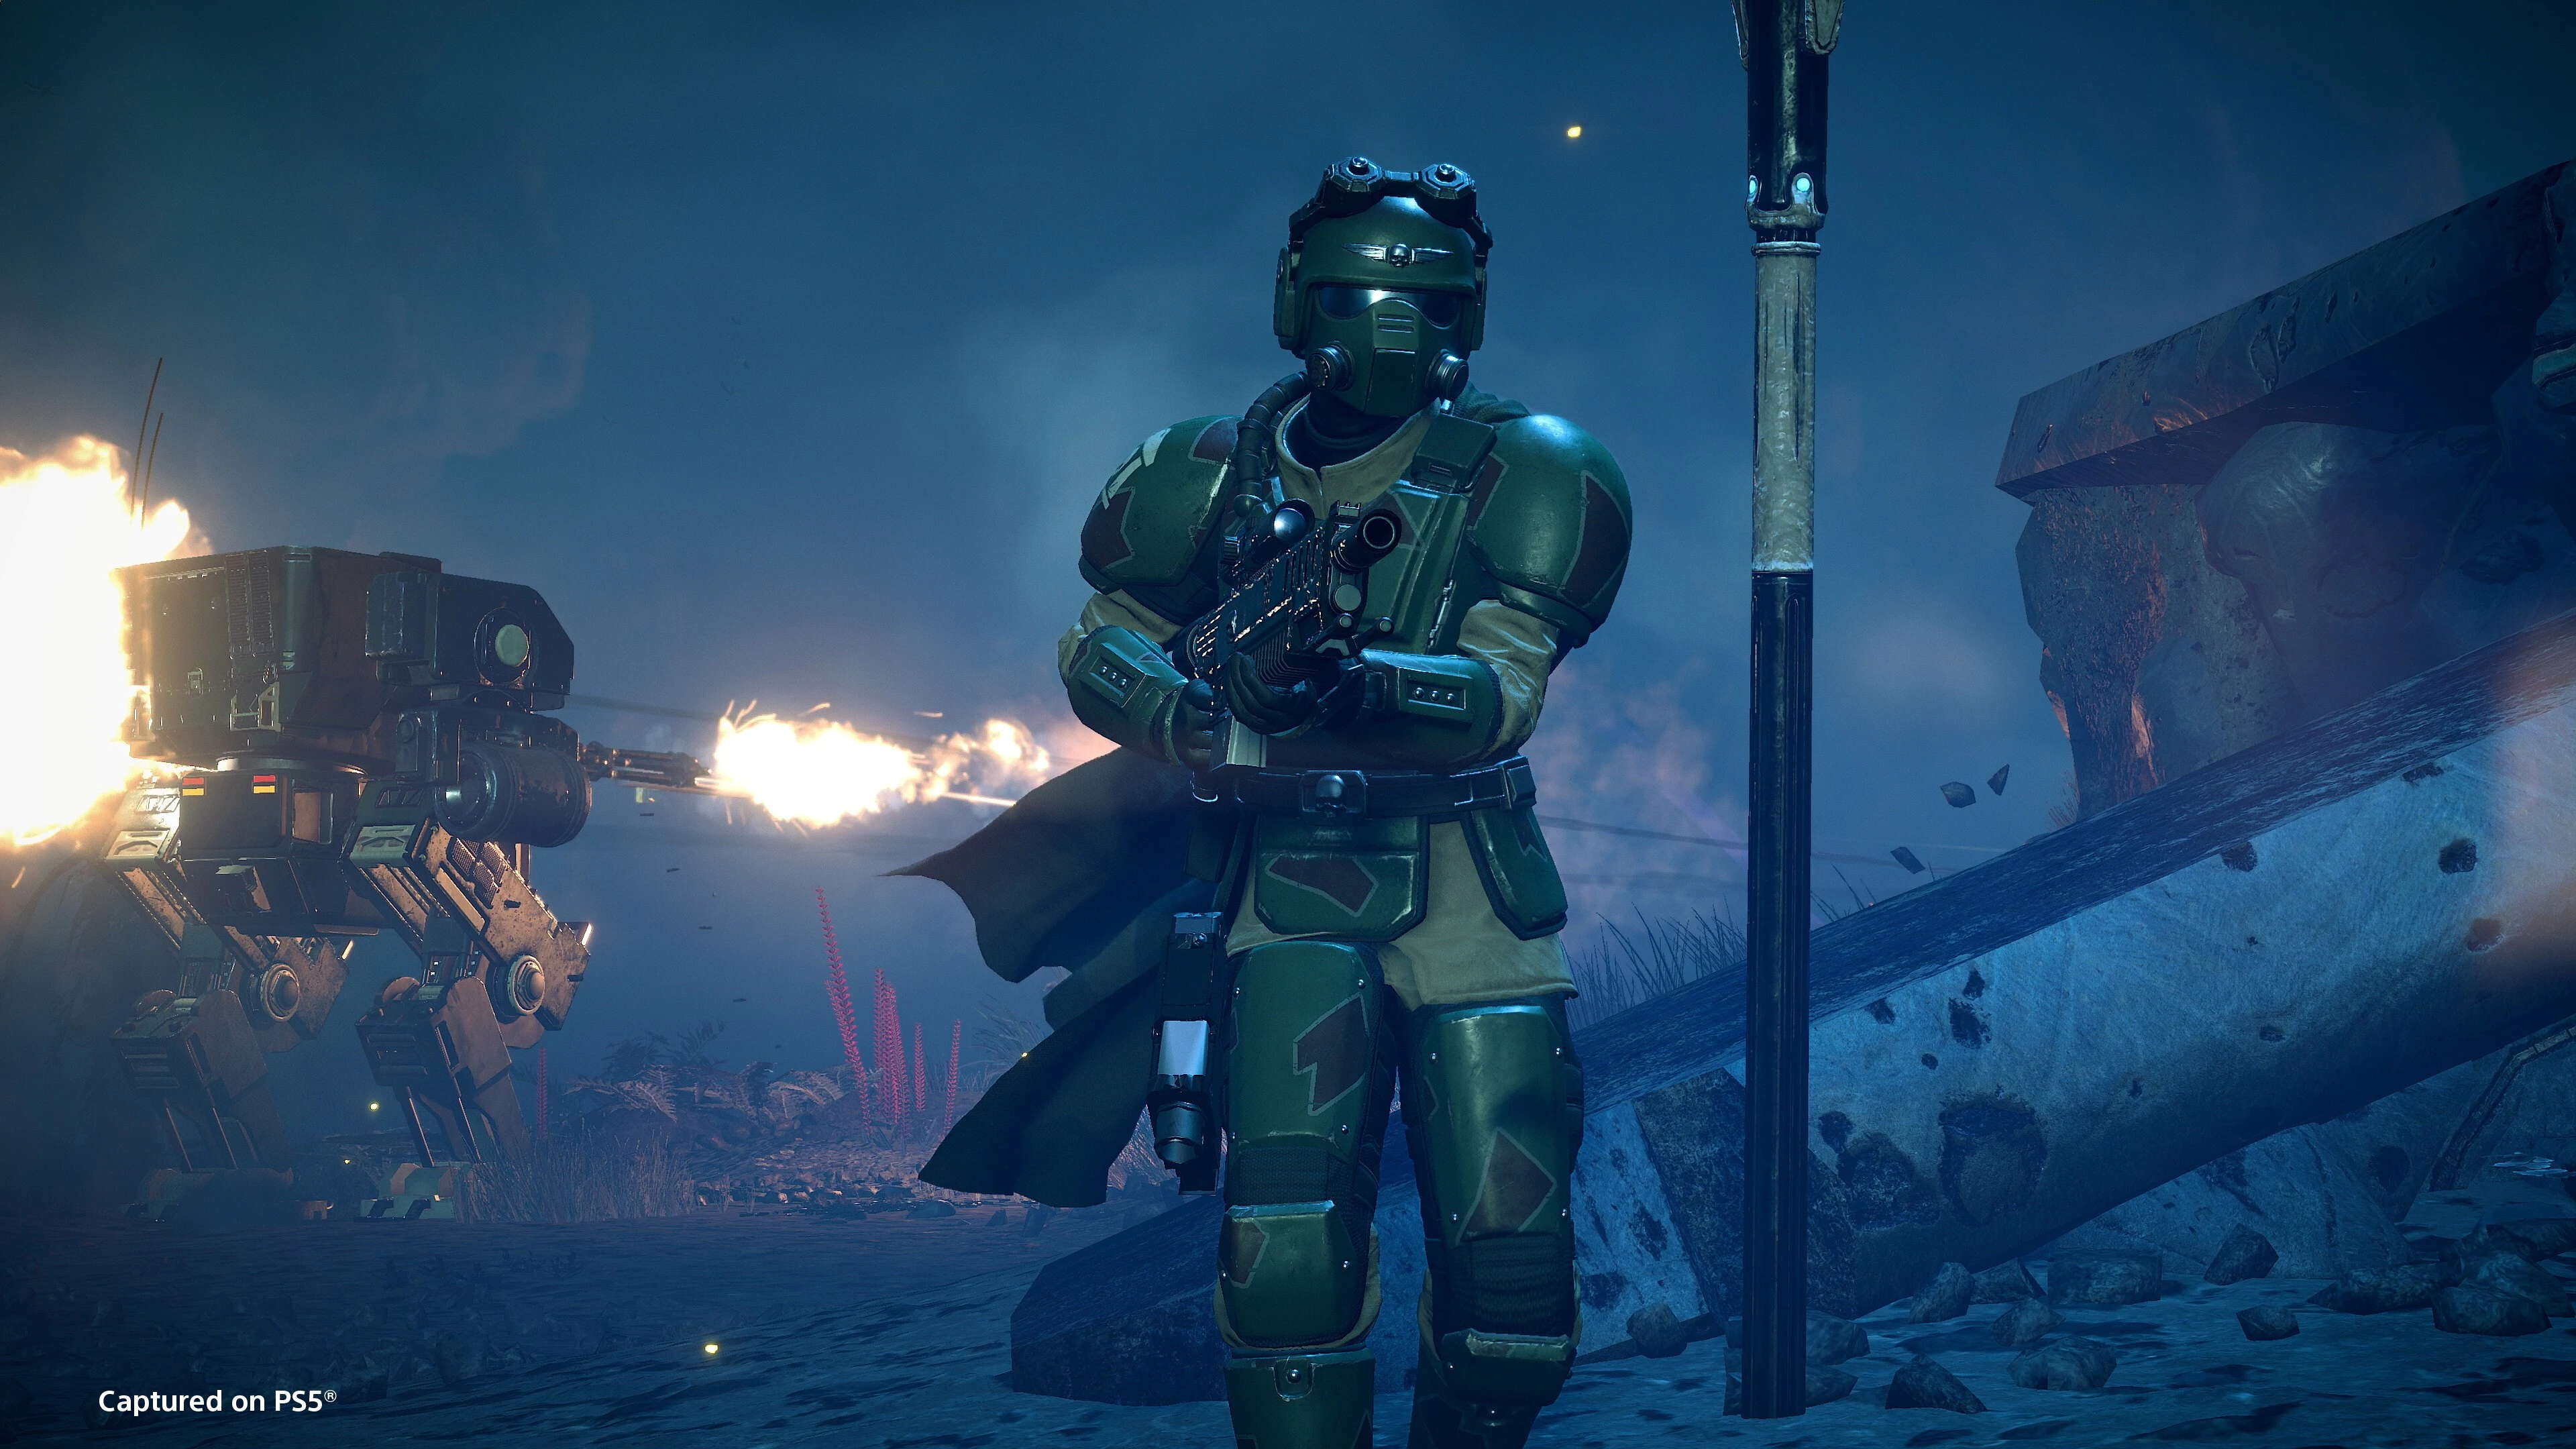
Helldivers 2 gives every squad powerful weapons, orbital support, air strikes, defensive equipment, and limited Reinforcements. The difficult part is not finding something destructive. It is choosing tools that solve the mission's problems without leaving the squad unable to handle armor, crowds, or an objective under pressure.
The Helldivers 2 game page covers the broader game overview. The sections below focus on choices that remain useful across balance updates instead of prescribing one permanent meta loadout.
Helldivers 2 quick-start checklist
- Start at a difficulty where the squad can complete the main objective and extract consistently.
- Read the mission briefing and enemy faction before choosing weapons and Stratagems.
- Give the squad answers to crowds, armored targets, objectives, and emergency defense.
- Tell teammates where an air strike or orbital attack will land before throwing its beacon.
- Use Reinforce promptly, but place the returning player away from hazards when possible.
- Recover dropped support weapons and samples instead of abandoning them automatically.
- Search points of interest and complete optional objectives when the remaining time and Reinforcements make that safe.
- Spend Requisitions, Medals, and Samples on options that fill a real gap in the squad.
Start on a manageable difficulty
Higher difficulty can offer greater rewards, but a failed operation teaches less than a completed mission with room to understand its systems. Begin where the squad can read the map, finish objectives, and reach extraction without using every Reinforcement on ordinary encounters.
Increase the difficulty after the group can identify enemy pressure, complete the objective sequence, and disengage from fights that do not help the mission. A new difficulty may introduce tougher enemies or make a missing loadout role more obvious, so treat the first attempt as a test rather than a demand to clear every marker.
The main objective is the minimum requirement for progress. Optional objectives and points of interest can add rewards or battlefield advantages, but they are useful only when the squad still has enough time, ammunition, and Reinforcements to finish the mission.
Read armor as a set of trade-offs
Armor is more than a cosmetic choice. The official beginner guidance identifies Armor Rating, Speed, Stamina Regen, and passive benefits as meaningful differences. A heavier set can support a player who expects sustained pressure, while a faster set can help someone moving between objectives or creating distance.
Choose armor for the job the player intends to perform, then pay attention to the passive description. Do not assume that the highest Armor Rating is automatically best for every mission. A loadout that depends on frequent repositioning may benefit more from movement and stamina than from another defensive increase.
Build a balanced loadout
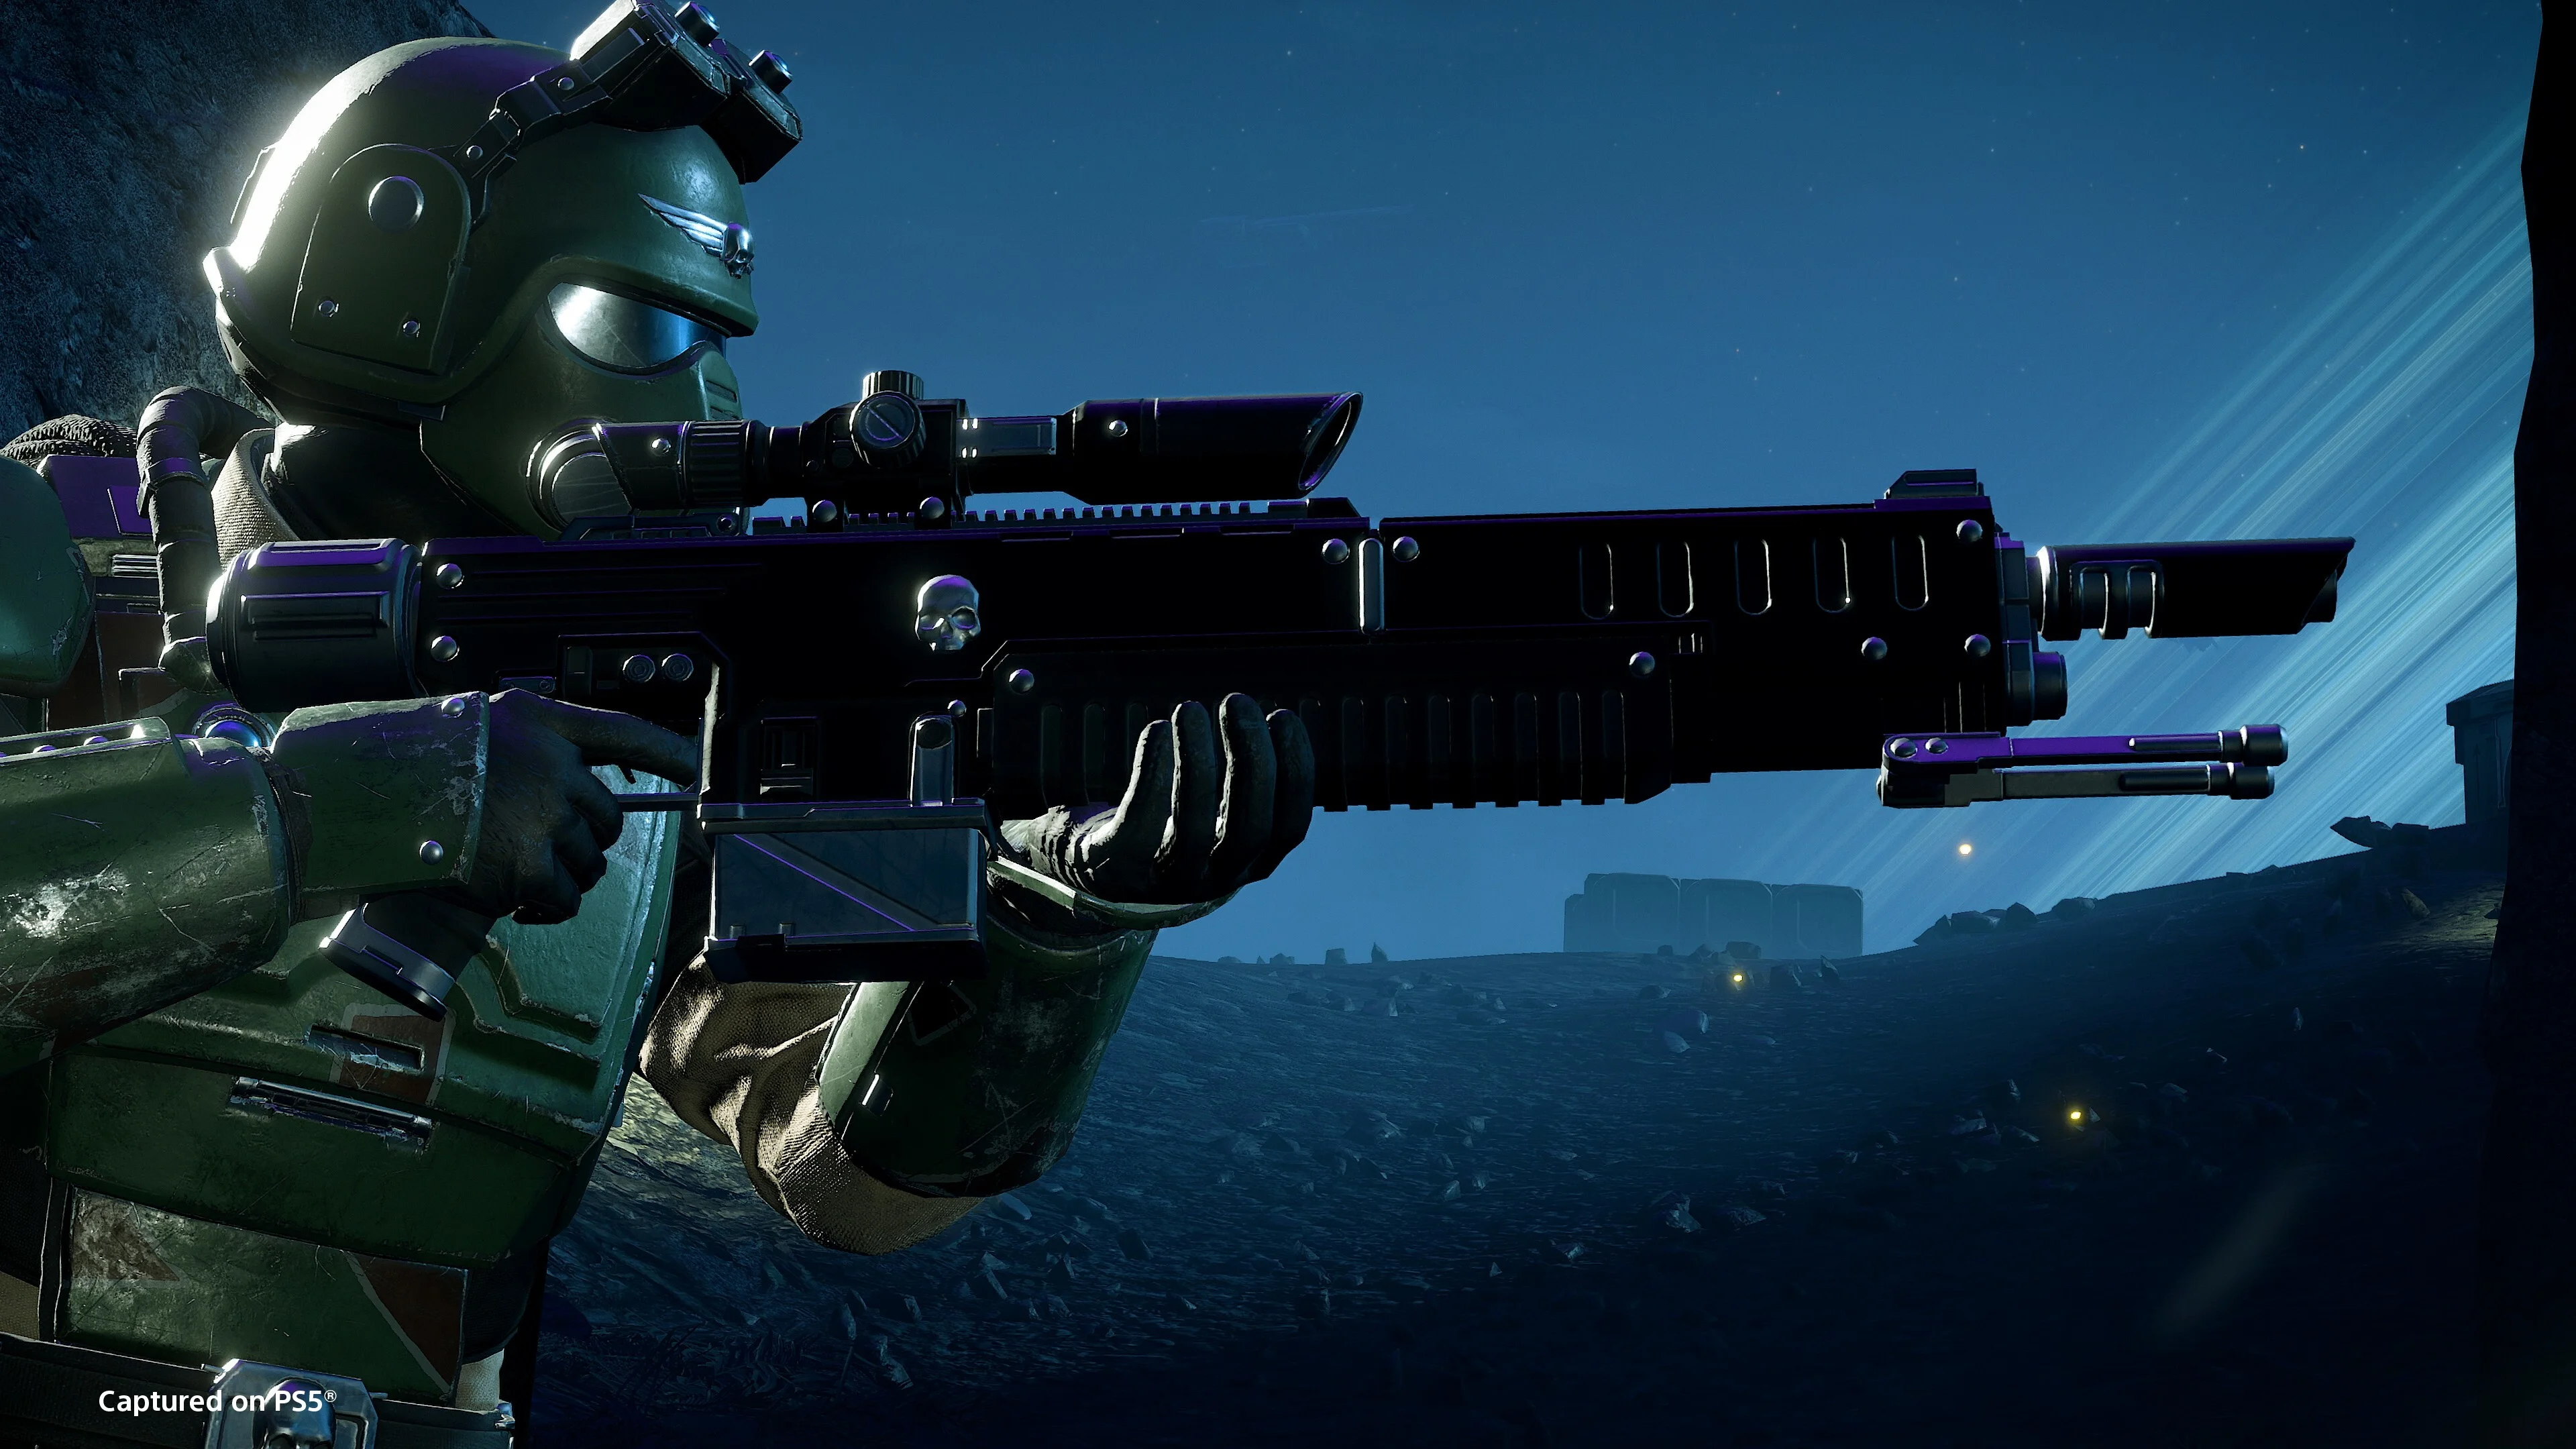
A useful loadout covers more than one moment of the mission. The primary weapon should handle the enemies the player expects to meet repeatedly. The secondary weapon and grenade should provide a dependable response when the primary is empty, poorly suited to the target, or unsafe at close range.
Stratagems should fill the problems that personal weapons cannot solve efficiently. Before launching, ask whether the squad can stop a large group, damage armored enemies, defend a fixed position, and replace ammunition or support equipment during a long mission.
Coordinate those answers across the team. Four players do not need four copies of every role. One player can bring anti-armor support while another controls crowds and a third protects an objective. Some overlap is sensible for critical tasks, but complete duplication can leave the group exposed to a different threat.
Know what each Stratagem role contributes
Eagle Stratagems deliver air support that can clear a lane or damage a concentrated group. Orbital Stratagems call support from the destroyer and can answer targets or areas that personal weapons cannot handle safely. Both require careful beacon placement because friendly fire remains active.
Support Weapon Stratagems add specialized firepower, while Backpack options can improve protection, ammunition support, or another squad function. These choices often stay with the player for much of the mission, so losing them in a dangerous area can change the squad's plan until their cooldown ends or the equipment is recovered.
Defensive Stratagems can help hold extraction zones and other fixed positions. Vehicle options add another way to move or fight when available. Requisitions unlock more Stratagems over time, so early spending should add a missing capability rather than several tools that perform the same job.
Match the tools to the enemy and objective
The mission briefing and enemy faction should change the loadout. A weapon that works well against many lightly protected targets may not solve a heavily armored enemy. The official combat guidance recommends coordinating armor-piercing options when the squad expects armored opposition.
Objectives also matter. A mission that keeps the squad moving needs different support from one that asks players to defend a position. Choose at least one tool for the objective itself, then make sure the remaining choices still cover the enemies encountered on the way there and during extraction.
If the squad fails, identify the specific gap before replacing everything. Repeatedly running out of anti-armor options calls for a different answer than being overwhelmed by smaller enemies. Change one or two roles and test again so the result is easy to understand.
Treat friendly fire as a positioning rule
Friendly fire is always active in Helldivers 2. Before throwing an Eagle or Orbital beacon, check where teammates are moving and announce the strike. A clear warning gives them time to stop advancing or choose another route.
The same rule applies to support weapons, grenades, turrets, and defensive placements. Keep a firing lane that does not cross the squad, and avoid placing an automated weapon where teammates must stand between it and the enemy. Destructive power is useful only when the squad can survive its use.
When visibility is poor, slow down enough to confirm targets and teammate markers. Firing into smoke or a crowded objective can spend more Reinforcements than the enemy encounter would have cost.
Reinforce quickly and place the beacon safely
Reinforce returns a fallen teammate to the mission. Use it promptly when the battlefield allows, but do not throw the beacon into the center of the hazard that caused the death. A safer landing gives the returning player time to orient, recover, and help the squad again.
A player who dies drops carried support equipment and samples. If the area can be recovered without causing another chain of deaths, mark the location and return together. The previous support weapon may be important while its Stratagem is still on cooldown, and samples count only if someone carries them through extraction.
Recovery is not always worth an immediate attempt. If the dropped items are surrounded by enemies and the main objective is at risk, regroup, complete the necessary task, and return only when the route is safer. Protecting the mission takes priority over repeating the same failed approach.
Search beyond the main route without losing the mission
Points of interest can contain ammunition, Medals, Samples, and other useful discoveries. Optional objectives can also affect the mission or add rewards. Scan the map and communicate a route so the squad searches deliberately instead of splitting in four directions.
Watch the remaining mission time and Reinforcement budget. A nearby point of interest can be worthwhile; a long detour after repeated deaths may prevent extraction. The correct decision changes during the mission as resources, objectives, and enemy pressure change.
Keep samples with a player who is likely to reach extraction, and pick them up when a carrier falls. They are shared with the squad after a successful extraction, so there is no benefit to competing with teammates for the same sample container.
Spend early resources on missing capabilities
Requisitions unlock Stratagems, Medals unlock items through Warbonds, and Samples support ship upgrades. Check what the current squad cannot do reliably, then spend toward that problem. An anti-armor option, dependable resupply plan, or defensive tool can change more missions than another variation of a role already covered.
Warbonds do not expire, so there is no need to rush every reward page. Read the item description and choose equipment that supports a real playstyle or fills a current gap. For a focused look at one optional equipment set, see the Castellan's Creed Warbond guide.
Ship upgrades become more useful when they support Stratagem categories the player actually brings. Save samples until the next upgrade is understood, and remember that extracting with them is part of the progression plan.
A simple plan for the first operations
For the first missions, choose a familiar primary weapon, one support weapon with a clear target, one way to control a group, and one defensive or supply option. Read the briefing, compare choices with the rest of the squad, and change only the role that failed during the previous attempt.
During the mission, stay close enough to support one another, mark useful locations, announce dangerous Stratagems, and use Reinforce from a safer position. Complete the main objective before a risky detour, then extract with the samples the squad has collected.
The Helldivers 2 guide hub puts this fundamentals guide and the Castellan's Creed equipment guide in one place.