
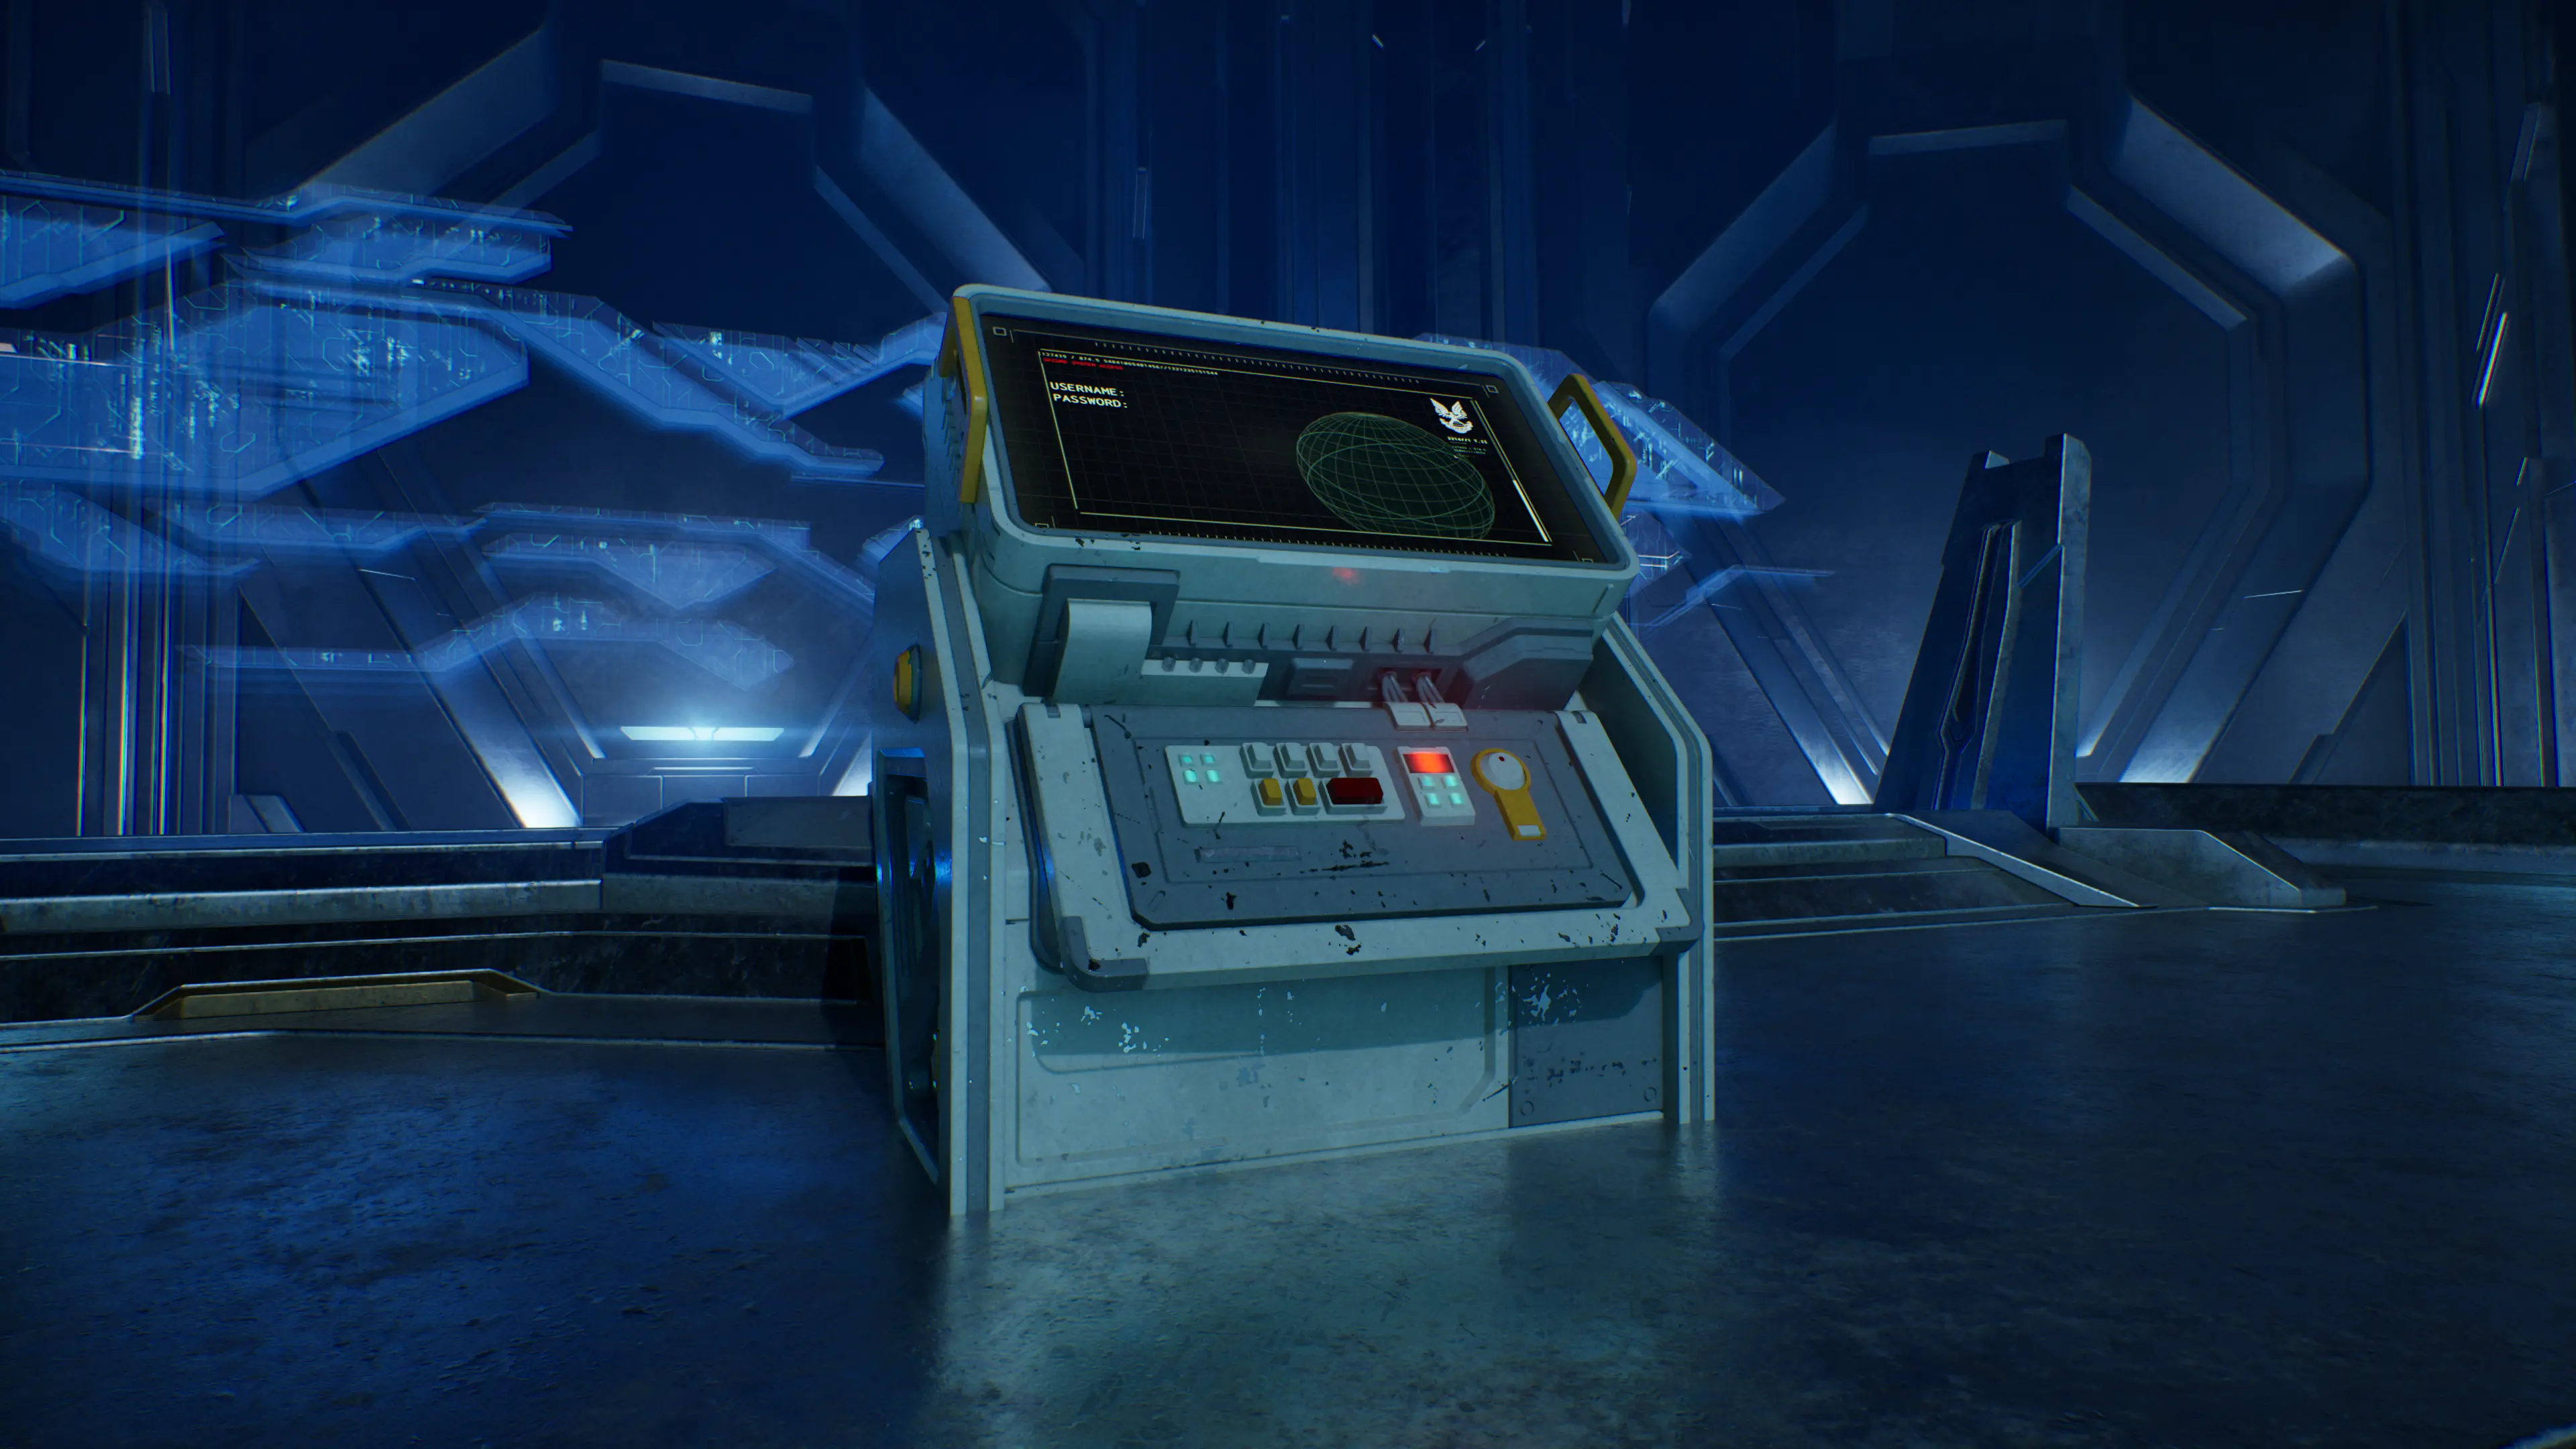
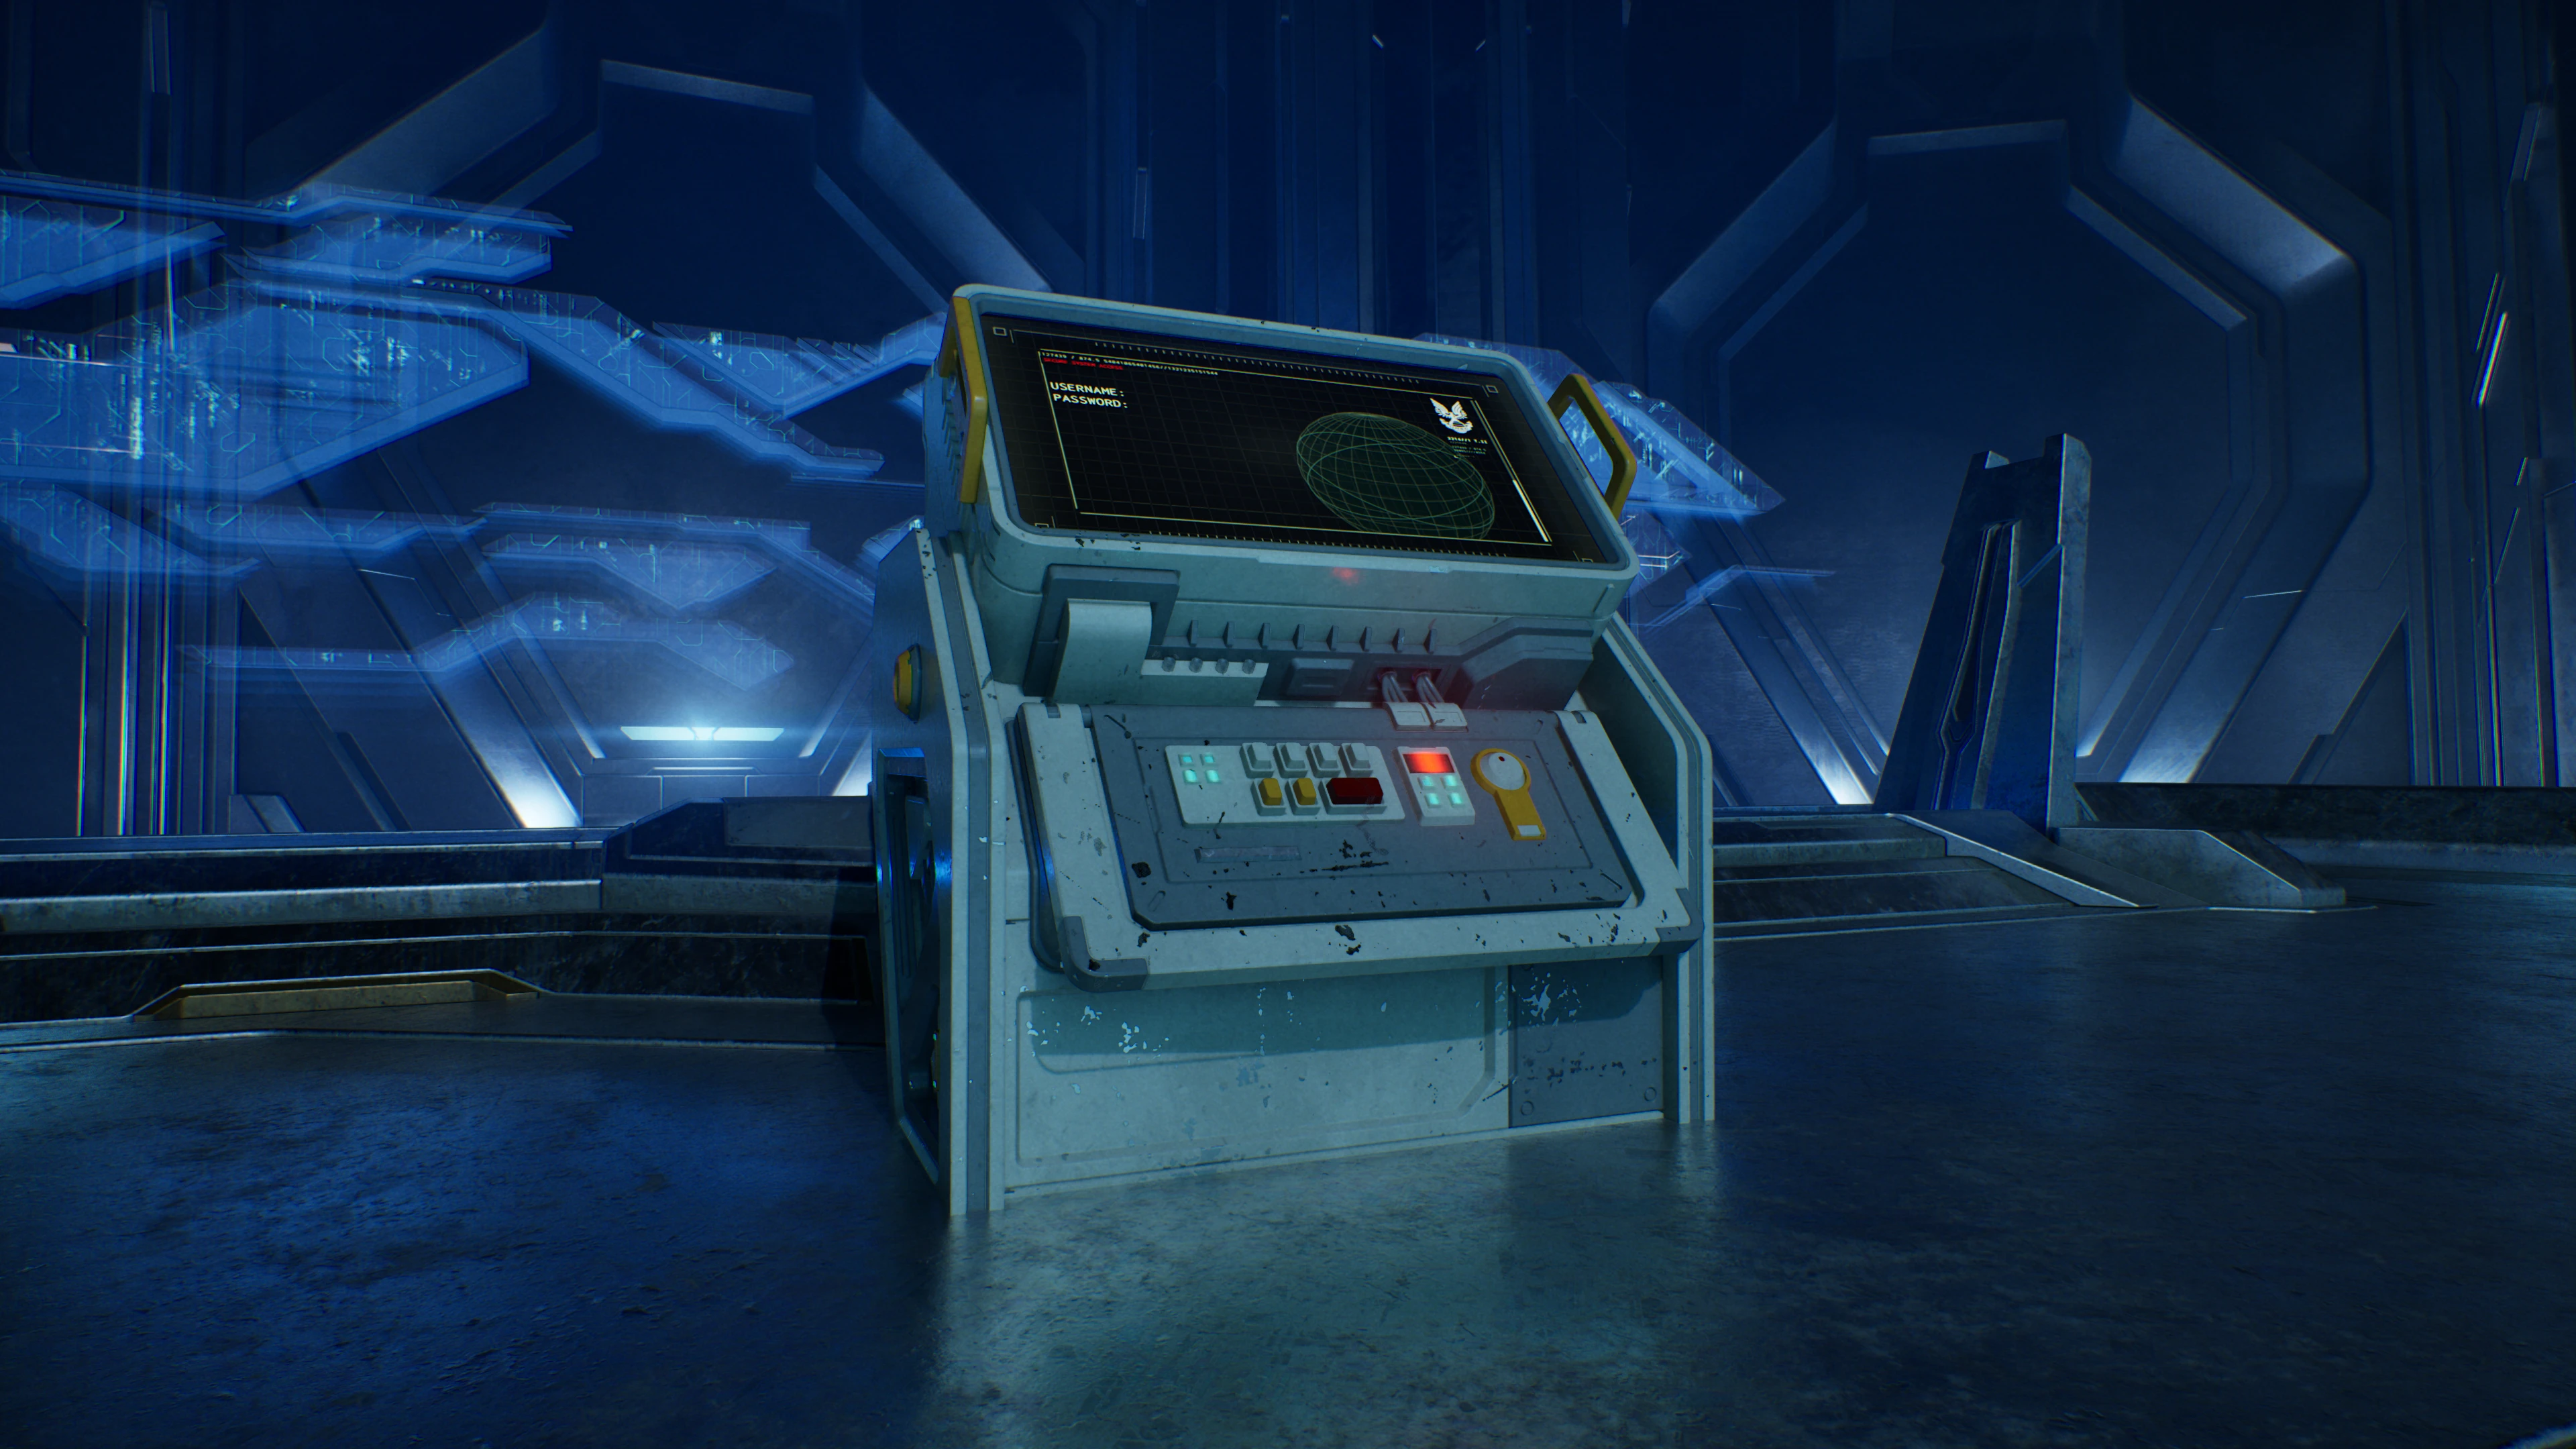
Halo: Campaign Evolved hides one UNSC Terminal in every campaign mission, including the three new missions. That gives you 13 Terminals in total. They are smaller and quieter than the Skulls, but the game helps by playing a distinct sound when you get close.
You can collect every Terminal on any difficulty. You can also load a later Rally Point, activate the Terminal, and leave the mission after the collectible registers. Once found, its written lore entry stays available under Collectibles in the main menu.
This guide follows the full mission order and gives you the landmark to watch for before each location. If you are cleaning up everything in one run, keep the complete Skull locations guide open as well.
Quick list of all 13 Terminals
- Approach — Pillar of Autumn
- Forgotten — Halo
- Inquisitor — Truth and Reconciliation
- Status Update — The Silent Cartographer
- Tangent I — Assault on the Control Room
- Tangent II — 343 Guilty Spark
- Tangent III — The Library
- Alone — Two Betrayals
- Consumed — Keyes
- Arrival — The Maw
- The Path — Boarding Action
- Penitent Report — The Most Dangerous Game
- Harmonious Clarity — Heavy Burden
The official Halo collectibles page currently labels Harmonious Clarity under Bitter Harvest, while the mission achievement and the in-game location place the final Terminal in Heavy Burden. Use Heavy Burden when selecting the mission for cleanup.
Before you start hunting Terminals
Use headphones if you can. Every collectible makes an audible sound nearby, which is especially useful in the darker Covenant and Forerunner rooms. You only need to interact with the Terminal once for it to count.
The easiest approach is to grab each one during a normal campaign run. If you miss something, use Rally Points instead of replaying an entire mission. For the larger campaign structure, the full mission list and completion-time guide shows where the three new missions fit.
Pillar of Autumn — Approach Terminal location
Late in Pillar of Autumn, you will enter a cryochamber control room where Elites fire at the thick glass in front of you. Clear the room and go through the next door.
Instead of following the main route straight ahead, turn left into the side room. Walk to the back and look along the right-hand side. The Approach Terminal sits there against the wall.
This is an easy one to walk past because the objective keeps pulling you forward. The cryochamber glass is the reliable landmark: once you see the Elites shooting it, your turn is only one room away.
Halo — Forgotten Terminal location
After Foehammer delivers the Warthog in Halo, continue until you drive into the Forerunner tunnel system. Watch the right wall shortly after entering the tunnels.
You will see a raised opening or gap on the right. Get out, climb onto it, and move over the ledge. Drop down on the other side to reach the Forgotten Terminal.
Do not speed through this section in the Warthog. The opening is easier to spot on foot, and the Terminal sits away from the route the vehicle naturally follows.
Truth and Reconciliation — Inquisitor Terminal location
Board the Covenant ship through the gravity lift and fight forward until the mission tells you to find Captain Keyes. When you reach the prison area, do not release Keyes yet.
From the area where the rescue objective begins, enter the door on the right. Inside that cell block, use the control panel to open the cells. The Inquisitor Terminal is inside one of them. A friendly Grunt coming out of the block is a good sign that you chose the correct side.
Collect the Terminal before completing the rescue step so you do not have to work back through the ship.
The Silent Cartographer — Status Update Terminal location
You can start from Rally Point Bravo for a quick cleanup. After the locked door forces you to find another way to open it, continue until you reach the indoor room containing two Hunters.
Move past the Hunters and approach the control panel, but do not stop at the panel. Walk beyond it and look behind the small wall nearby. The Status Update Terminal is hidden on the other side.
The panel is your main landmark. If you activate it and immediately leave, you can miss the short path behind you.
Assault on the Control Room — Tangent I Terminal location
This Terminal appears late in the long tank section. Keep the Scorpion moving through the icy caves and the gates that require you to get out and press a button.
Eventually, you will climb a snowy slope inside a cave and reach a fork packed with enemies. Clear the area, then enter the central rock structure where the enemies appeared. Follow the ramp upward.
The Tangent I Terminal is on the upper ledge. You do not need a difficult jump; the ramp inside the structure leads to the correct height.
343 Guilty Spark — Tangent II Terminal location
Continue past your first major encounter with the Flood. Later, you will call a lift that arrives broken and covered in fire. Turn around and follow the required route back out, then cross the glowing light bridge.
Go through the progression door on the far side. As soon as you enter, loop around the wall just inside the room instead of moving deeper into the mission. The Tangent II Terminal waits on the far side of that wall.
The broken lift and the light bridge together make this location much easier to identify than the similar-looking corridors around it.
The Library — Tangent III Terminal location
Starting from Rally Point Bravo cuts down the cleanup time. Progress until 343 Guilty Spark is opening a large door while Flood waves attack you.
Once the door opens, ignore the lift button on the right. Press the button on the left to open a different doorway. Inside, shoot the Flood growths blocking the passage along the left side.
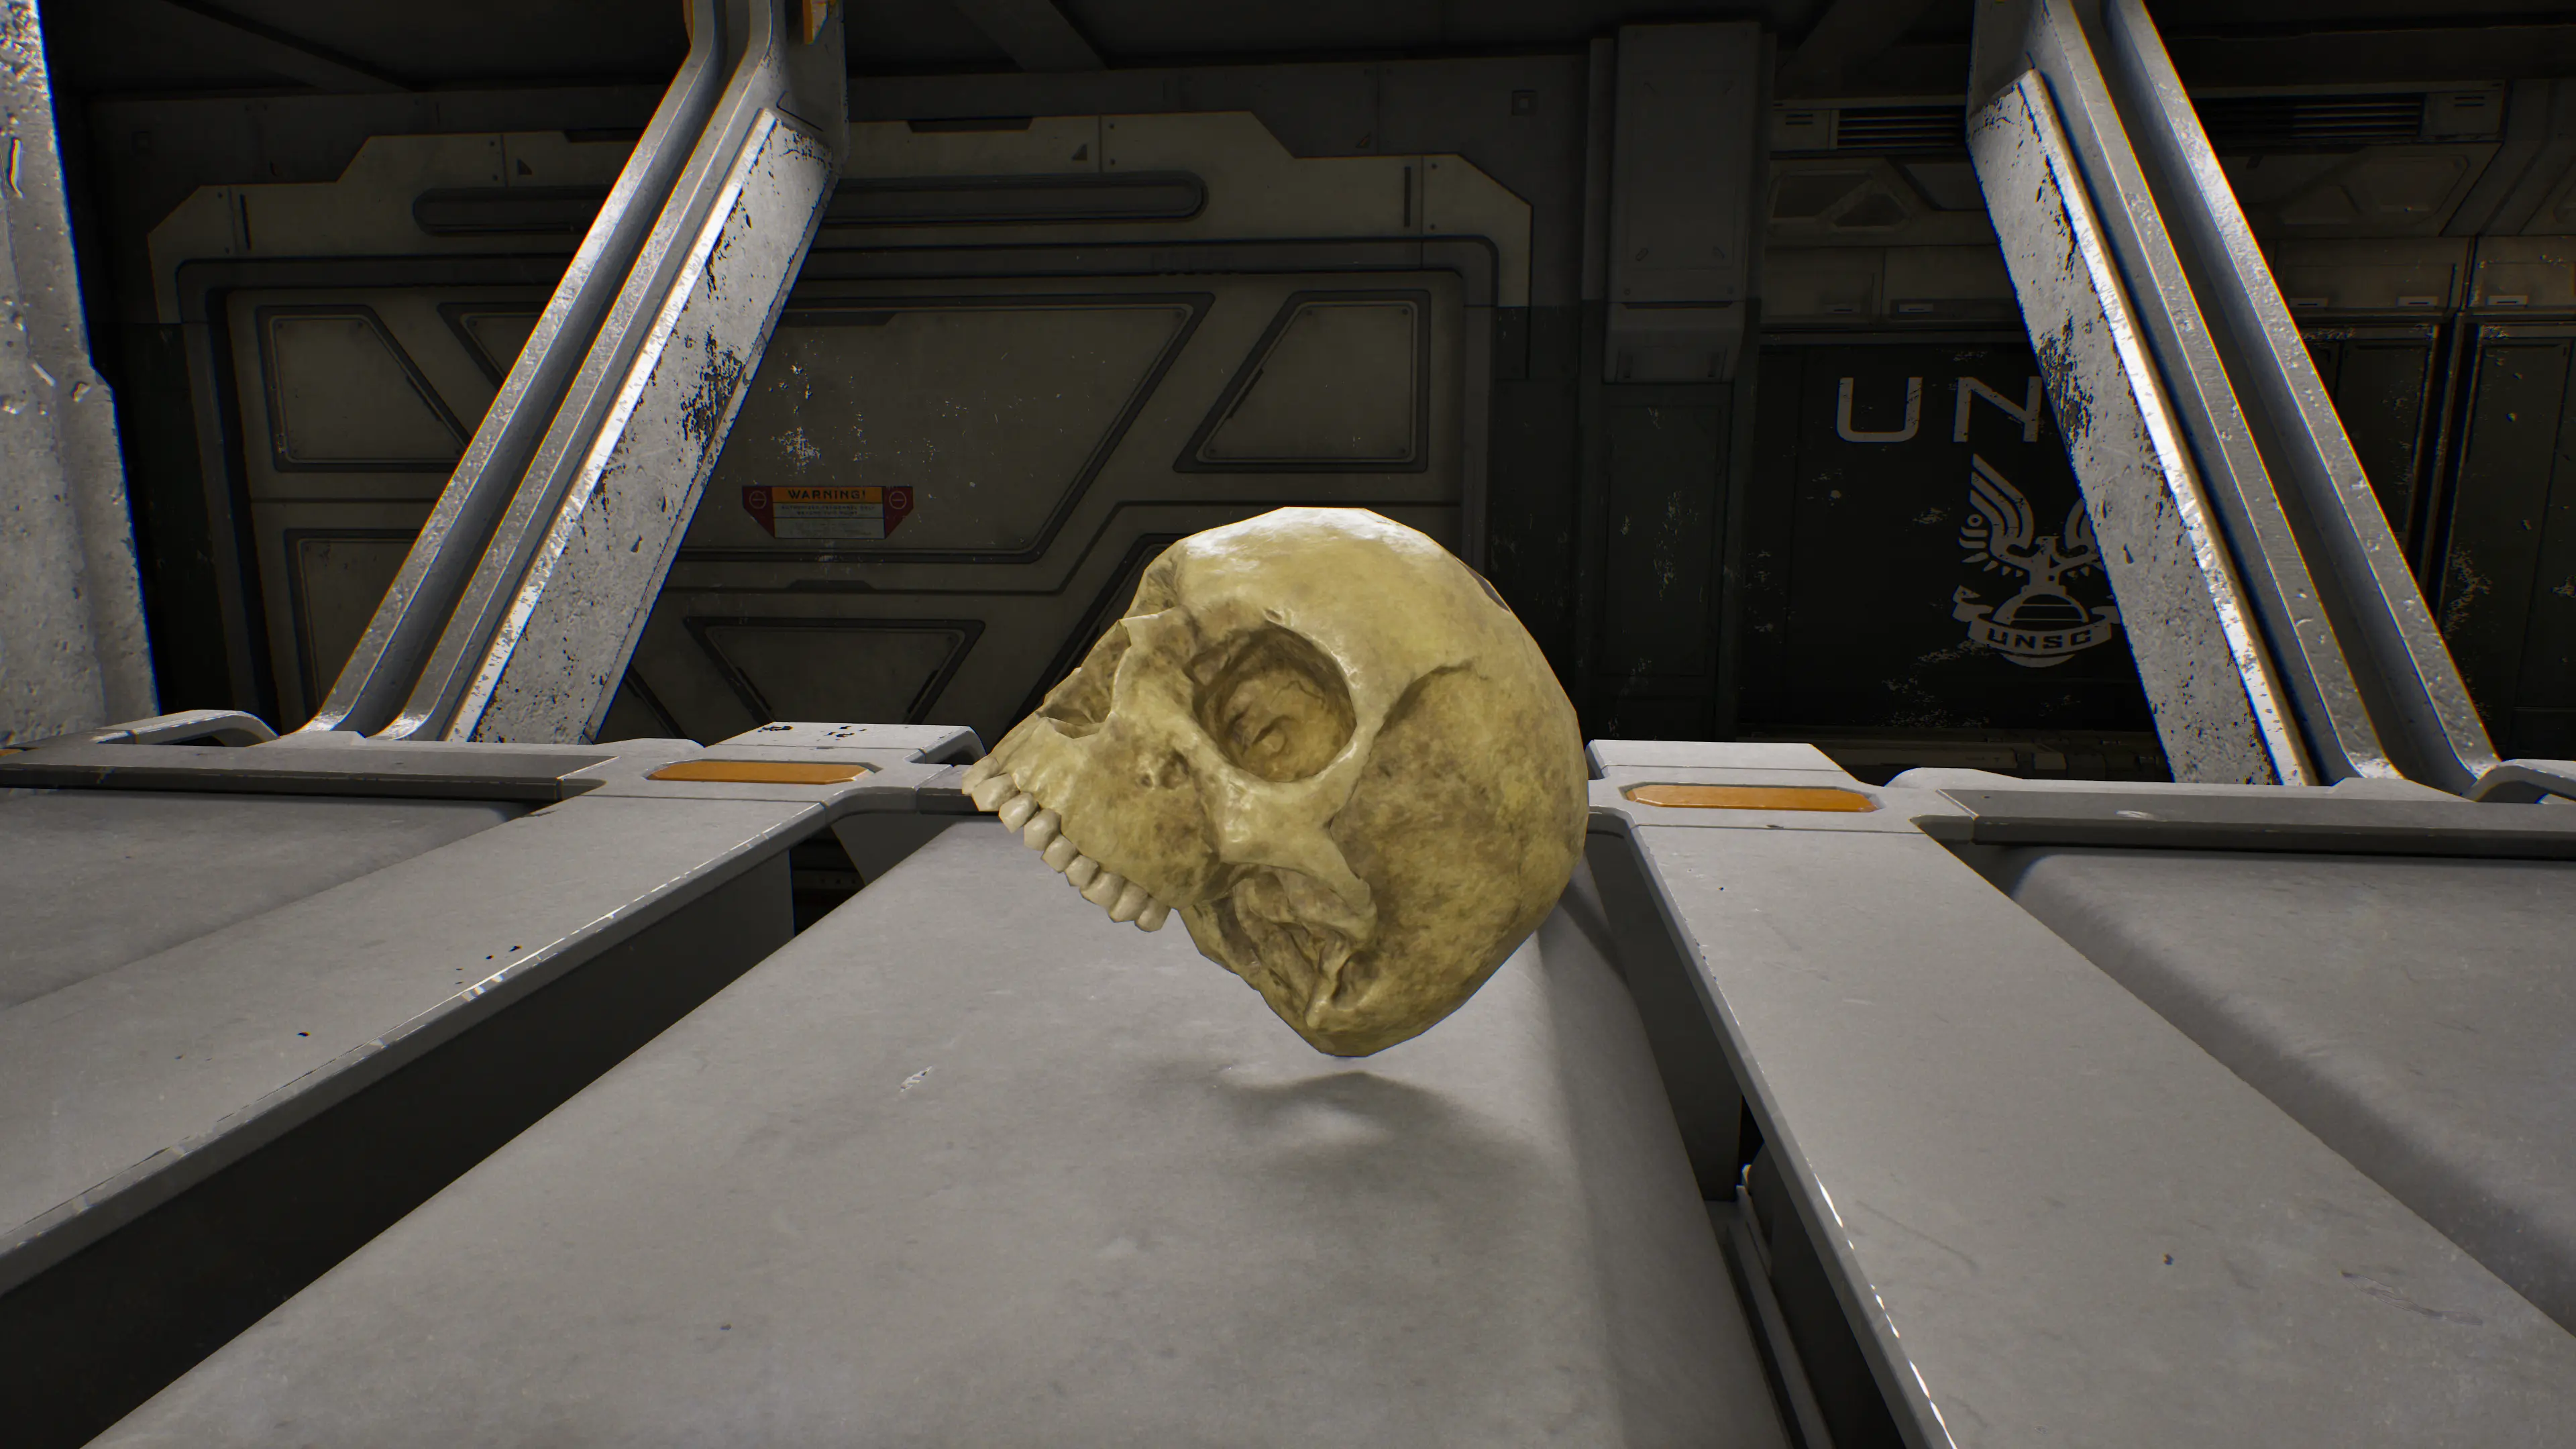
Move through the opening you create to find the Tangent III Terminal. The nearby Pop Skull is another useful landmark if you are collecting both sets in the same run.
Two Betrayals — Alone Terminal location
This is the fastest Terminal in the campaign. At the very beginning of Two Betrayals, turn around before heading toward the objective.
Walk behind the large holographic sphere. The Alone Terminal is directly behind it and can be collected within seconds of loading the mission.
If you missed it on your first playthrough, there is no reason to replay the level: load the opening Rally Point, activate it, and back out after it registers.
Keyes — Consumed Terminal location
Late in Keyes, you return to the Covenant ship and reach the upper level of a large dropship hangar. As soon as you enter that upper section, take the door on the left.
Fight through the corridor, including the Hunters, then turn right at the junction. Check the left side of the next area. The Consumed Terminal is tucked into the corner there.
This side route looks like part of the larger ship maze, so use the upper dropship hangar as your anchor point before making the first left turn.
The Maw — Arrival Terminal location
Near the beginning of The Maw, you pass through room B03L, the familiar mess-hall area from Pillar of Autumn. Clear the enemies before searching the room.
The Arrival Terminal is inside this diner-like space. Because the level pushes you toward the escape route, slow down and check the room before continuing.
This is the final Terminal from the ten original campaign missions. The remaining three belong to the new Halo: Campaign Evolved chapters.
Boarding Action — The Path Terminal location
During Boarding Action, you will reach a fight where Brutes repeatedly drop from a lift while Elites enter through the side doors. Clear the room and wait for Johnson to move into the lift.
Follow him up. When the lift stops, turn toward roughly your eight o'clock position and enter the nearby door. The Path Terminal is inside that side room.
The safest cue is Johnson entering the lift. If he has not moved yet, finish the remaining enemies before searching upstairs.
The Most Dangerous Game — Penitent Report Terminal location
About ten minutes into the Covenant-held structure, your squad will mention Marines being packed for shipping. The Marines and the obvious activity are on the left side of the area.
Look the other way and take the door on the right. The Penitent Report Terminal is just inside. This is one of the simpler new-mission collectibles once the dialogue cue plays.
If you are using a Rally Point, make sure you load before this conversation so the door and encounter state appear correctly.
Heavy Burden — Harmonious Clarity Terminal location
Progress through Heavy Burden until you fight a large group of enemies in a room built around a huge planet hologram. Defeat them to trigger the following cutscene.
After the scene, Johnson heads upstairs. Do not follow him yet. Stay on the ground floor and pass through the doors there. Continue through the rooms containing racks of weapons.
In the last room, look along the left side to find the Harmonious Clarity Terminal. This is the location tied to the Heavy Burden collectible achievement even though the official Terminal list currently names Bitter Harvest beside it.
Terminal rewards and the fastest cleanup method
Activating all 13 Terminals unlocks Lore Have Mercy, worth 10 Gamerscore or a Bronze Trophy. Finding every Skull and Terminal in the entire game also earns Collector's Addition, worth 50 Gamerscore or a Gold Trophy.
For cleanup, open Collectibles from the main menu and compare your unlocked lore entries with the quick list above. Then load the relevant mission or Rally Point, activate the missing Terminal, and wait for the collectible notification. You can leave after it saves.
If you are playing with friends, the co-op, crossplay, and progression guide explains how campaign progress works across platforms.