
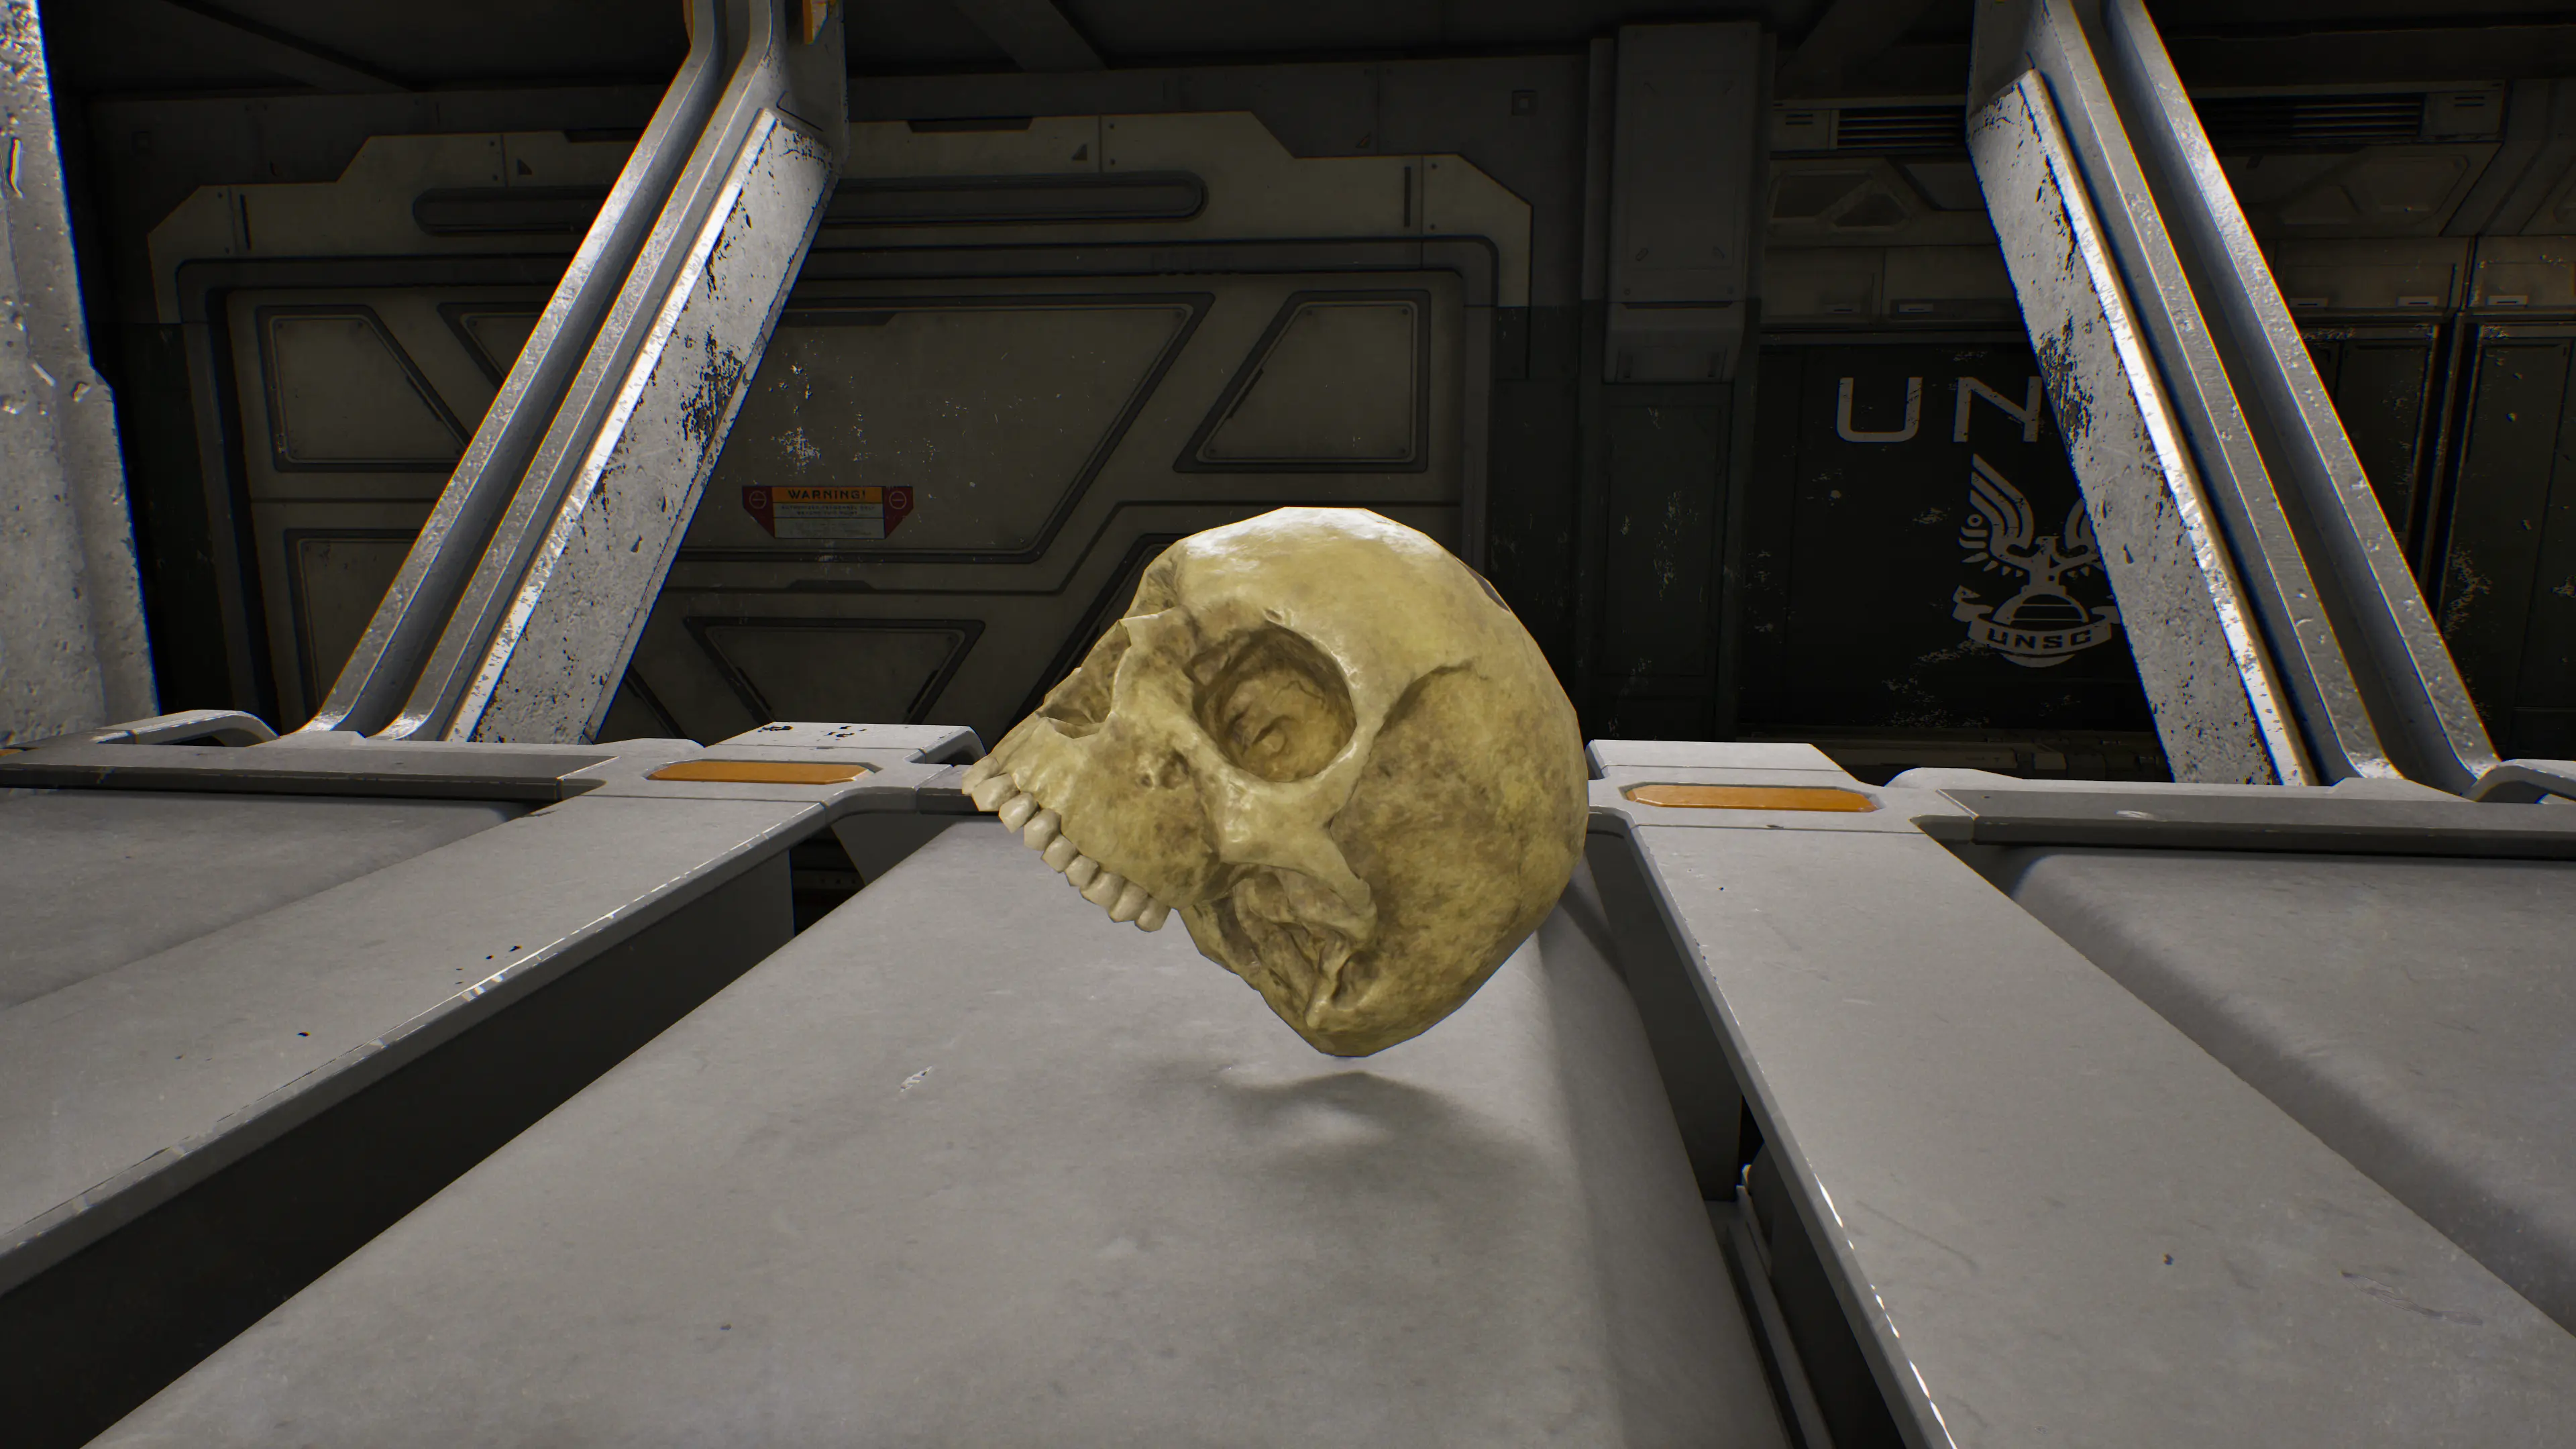
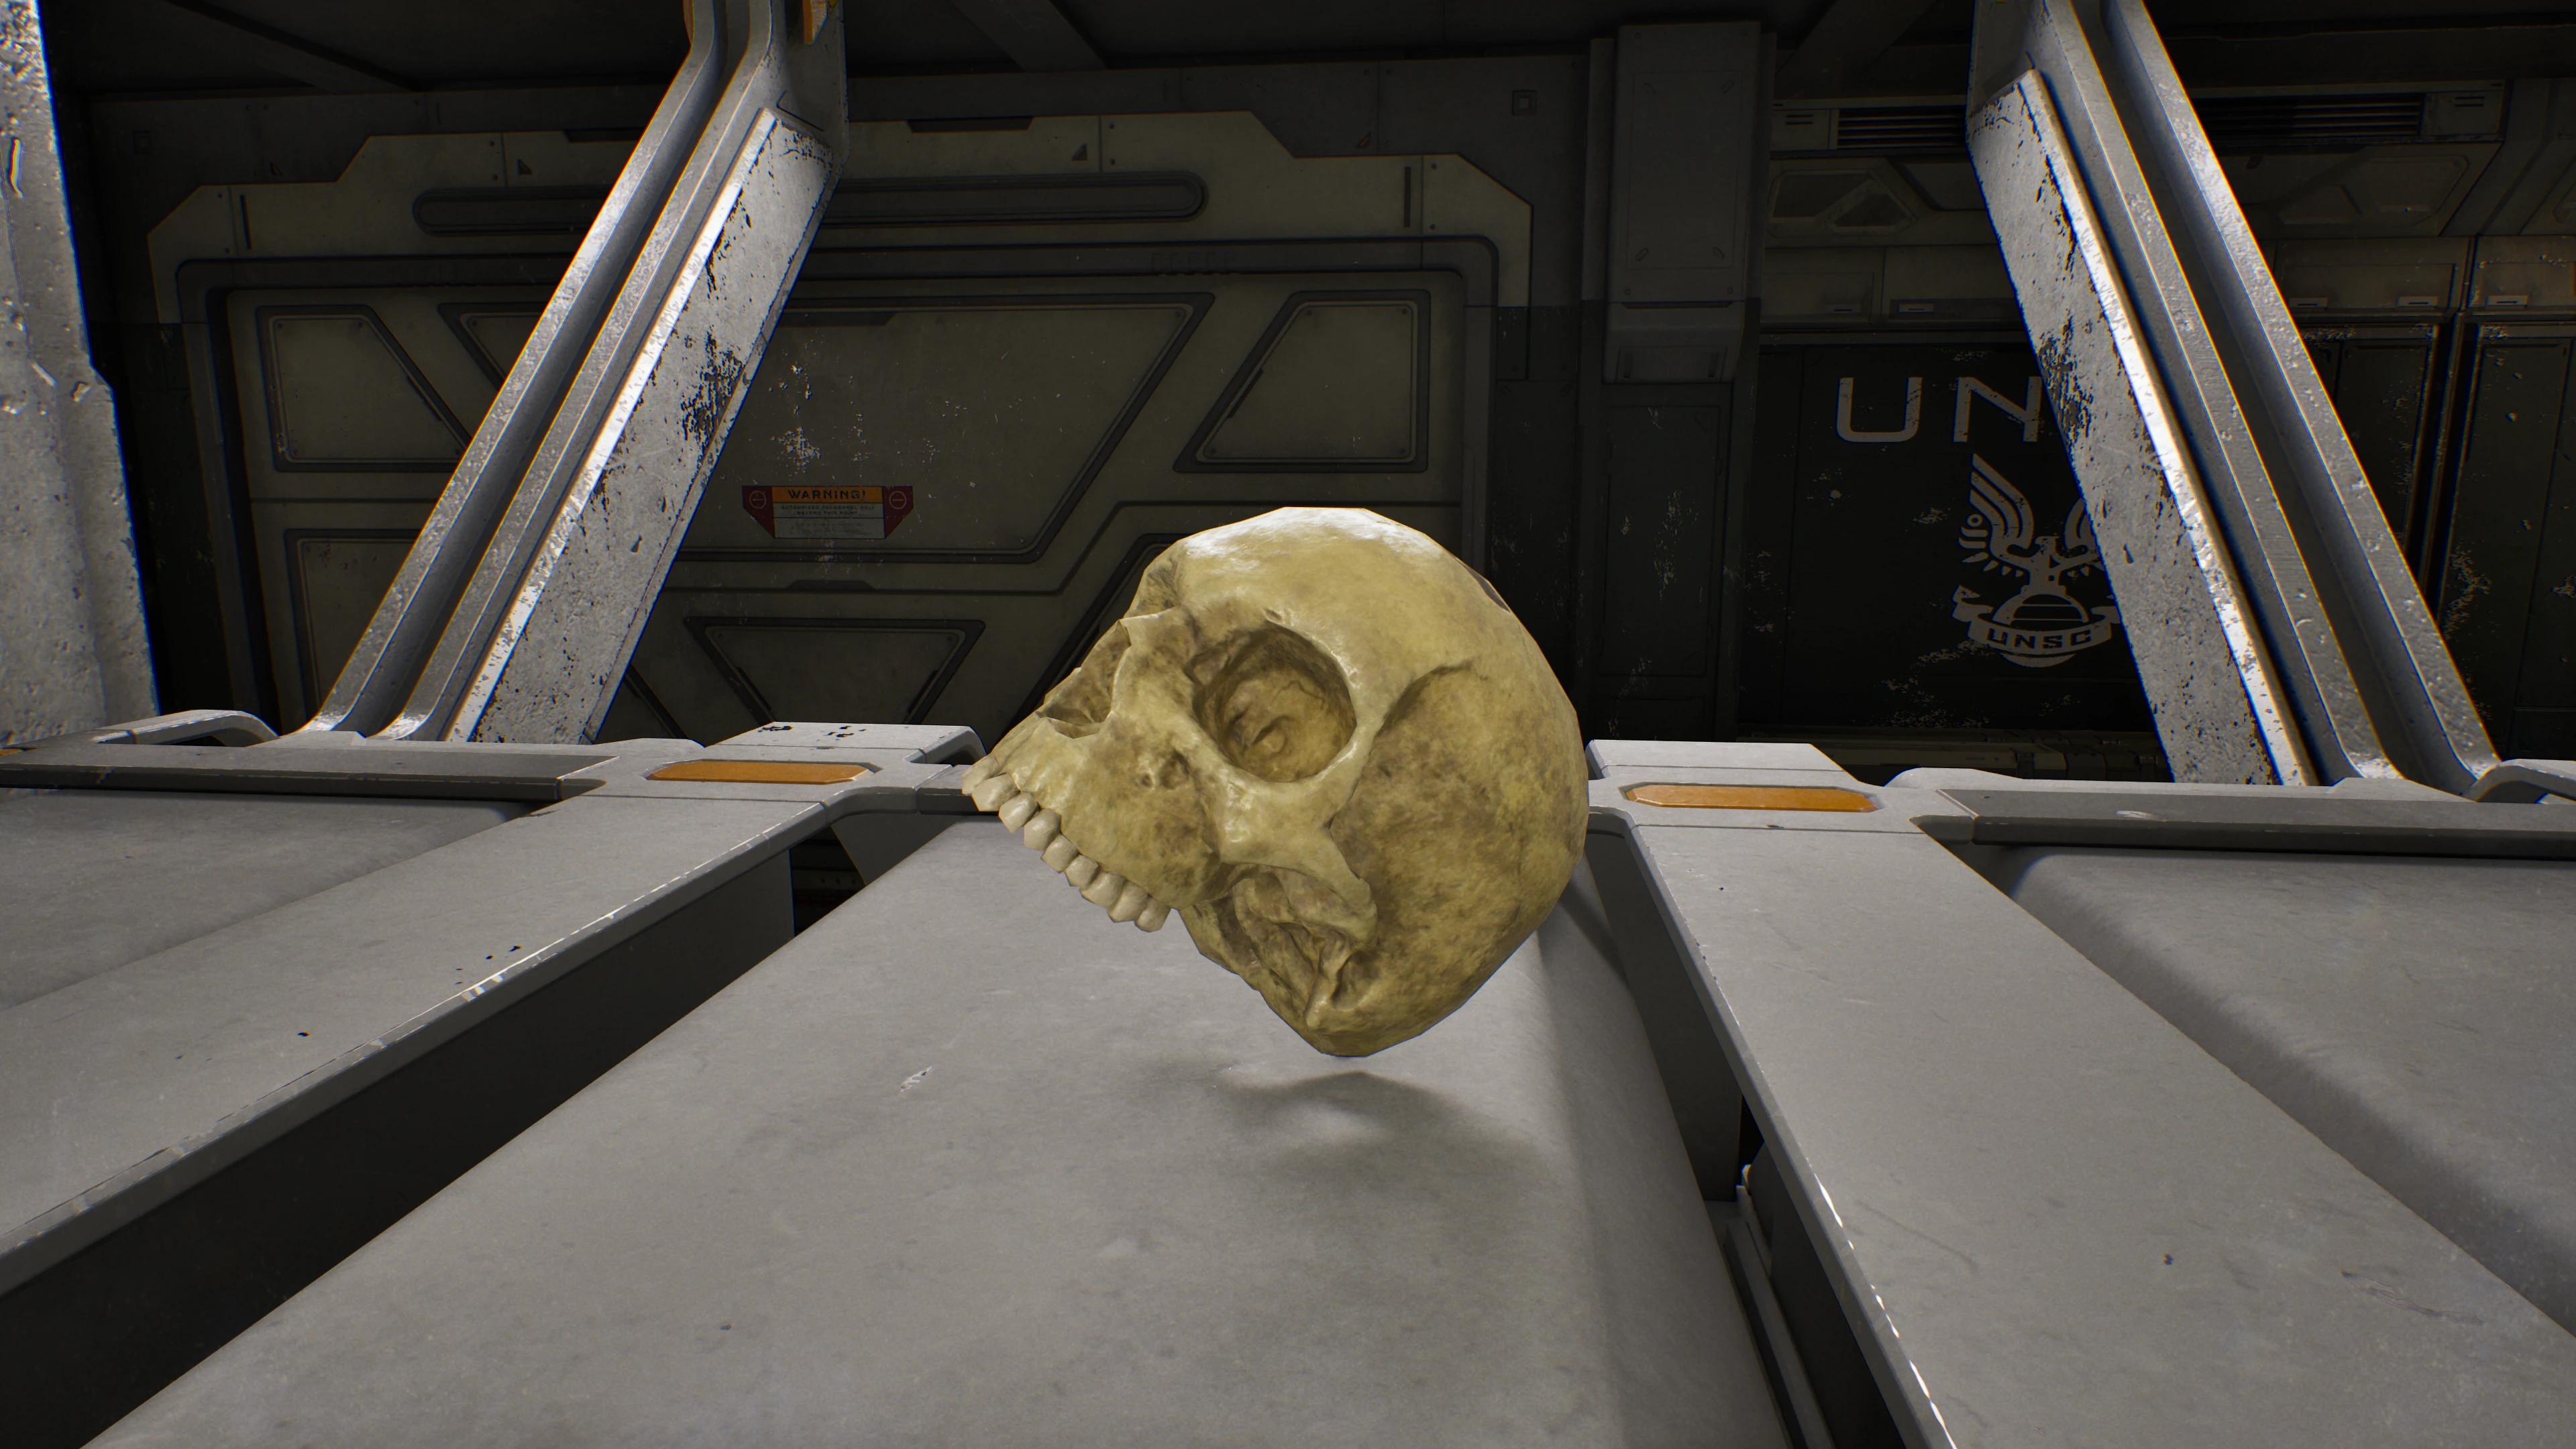
Halo: Campaign Evolved hides 39 collectible Skulls across 13 missions, with three in every chapter. Finding any three also unlocks Campaign Remix and three bonus modifiers, bringing the full Skull collection to 42.
Some Skulls sit beside the main route. Others ask for a grenade jump, a Banshee landing, a higher difficulty, or a small puzzle. This guide follows the campaign order, then covers the three Operation: METEORITE missions at the end. If you need the full chapter order first, use our Halo: Campaign Evolved mission list.
How Skull collecting works
Walk up to a Skull and use the normal Interact action: X on Xbox, Square on PlayStation, or E on keyboard by default. Halo Support says every collectible makes a sound when you are close, so headphones can help with the final few steps.
Collected Skulls appear in the Collectibles menu and can be enabled when starting a mission. Some powerful modifiers disable selected achievements or trophies, so check the warning shown in the menu before beginning a serious run.
The guide below lists the effect first, followed by the shortest useful location direction.
Pillar of Autumn Skull locations
- Speed Limit — disables sprint. In the opening cryo room, use the barrels or nearby cryo pod to reach the upper catwalk. Follow it to the corner above the exit door.
- Magnified — gives the Assault Rifle a 60-round magazine. On the way to the bridge, enter the weapons locker room after the Elite appears. The Skull rests on the first group of weapon racks.
- Perspective — switches the camera to third person. After meeting Captain Keyes, return to the front of the bridge and drop into the space beneath the two pilot seats.
Halo Skull locations
- Grunt Funeral — makes Grunts explode in plasma when they die. At the marine rescue area beside the cliff, climb the central Forerunner structure. Reaching the upper section requires a carefully timed grenade jump.
- Give & Take — firing drains shields, while dealing damage restores them. After leaving the underground Warthog route, follow the river until it bends into a cave. The Skull is on a rock just inside, near the green fireflies.
- Floor is Lava — damages you while you touch the ground. Go to the lifeboat crash area with large rocks and Jackal snipers. Climb the grassy rise, jump to the neighboring rock, then drop onto the central formation below.
Truth and Reconciliation Skull locations
- Iron — restarts the mission after a solo death and returns co-op players to the last checkpoint when either player dies. Near the gravity lift, find the lit tree at the cliff edge and look down. The Skull sits on a narrow ledge below.
- Endurance Spec — makes UNSC vehicles immune to damage. Inside the Covenant ship, reach the upper walkway in the vehicle bay with two Wraiths below. Use the purple box to jump across the three pillars; the Skull is on the last one.
- Foreign — prevents you from using weapons made by another faction. In the first-floor hangar, wait beside the locked door in the back-right corner. Rush through when enemies open it and collect the Skull inside.
The Silent Cartographer Skull locations
- Bandana — grants infinite ammo and grenades. When you reach the first Forerunner entrance, continue past it to the cave on the right. The Skull sits in the patch of light inside.
- Acrophobia — lets you fly by holding the jump button. In the courtyard where two Hunters guard the security door, climb the sloped central structure from the right and continue to its top.
- Hip Fire — disables weapon zoom. After fighting the Hunters inside the main facility, descend the staircase around the central hologram. Look over the inner edge and drop to the small shelf holding the Skull.
Assault on the Control Room Skull locations
- IWHBYD — makes rare combat dialogue play more often. After obtaining the Scorpion, cross the outdoor bridge with turrets and turn left toward the icy wall. Park the tank below the small cave and use it as a step to reach the Skull.
- Angry — makes enemies fire faster and more often. At the Control Center approach after the long tank section, look for the large Forerunner struts over the ravine. The Skull is on the third strut back toward the cliff.
- Cowbell — makes objects easier to move with physics. On the outdoor bridge where Cortana tells you to take a Banshee, walk about halfway across and drop from the left side onto the lower structure. The Skull is tucked into a pile of snow in the channel.
343 Guilty Spark Skull locations
- Fog — disables the motion tracker. From the crashed Covenant dropship in the opening forest, climb the slope on the left. At the top, move past the tree with Flood growth and look for the Skull on a rock overlooking the fallen log.
- That’s Just… Wrong — increases enemy awareness. Inside the Forerunner facility, a frightened marine fires at you while saying you will not turn him. Defeat him and he drops the Skull.
- They Come Back — makes Flood Combat Forms revived by Infection Forms more dangerous. Near the final evacuation defense, run to the right of the tower door. Use the fallen tree to climb onto the rock ledge holding the Skull.
The Library Skull locations
- Tilt — strengthens positive and negative damage multipliers. When you first emerge from a tunnel and see Sentinels fighting the Flood, ignore the route to the left. Climb the sloped Forerunner support on the right to find the Skull at the top.
- Pop — makes Flood explode when hit in their weak point. During the door defense after the first elevator ride, turn away from the locked door and look at the raised pedestal opposite it. Climb the side ramp and jump across the blocks.
- Famine — halves the ammo in weapons dropped by enemies. At the start of the fourth section, leave the third large elevator, walk down the stairs, and turn left before the Sentinel beam. The Skull is in the small side alcove.
Two Betrayals Skull locations
- Tough Luck — makes enemies dodge more, go berserk, and avoid retreating. After leaving the Control Room, take the first Banshee and fly back up toward the bright energy beam. Land carefully on the narrow crest above the structure.
- Black Eye — allows shields to recharge only after melee hits. After destroying the first conduit, enter the snowy valley with three bridge-like arches. Cross the middle arch, turn right, and check the Flood-covered snowbank.
- Mythic — increases enemy health. On the way to the second conduit, land on the central Banshee platform and activate its terminal. Enter the door opposite the objective, clear all three locked combat rooms, and the Skull appears in the center of the final room.
Keyes Skull locations
- Catch — makes enemies throw and drop more grenades. Play on Heroic or Legendary and rush from the mission start to the gravity lift before the hidden timer expires. Use the Active Camouflage and Overshield along the route, clear the Covenant guarding the lift, then hold Interact as the lift carries you into the ship.
- Blind — hides the HUD and your weapon model. In the first vehicle bay after reentering the ship, cross to the corridor blocked by a damaged Wraith and crates. Break through the clutter and follow the hall to the locked door.
- Piñata — makes punched enemies drop grenades. After recovering the neural implants from Captain Keyes, keep using melee on the Flood growth around him until the pickup prompt appears. Crouch or adjust your position if the hits do not connect.
The Maw Skull locations
- Stowed Reload — reloads weapons while they are holstered. On the route from the bridge to engineering, enter the damaged cryo room. Jump from the broken walkway to the pillar in the back-left corner.
- Boom — doubles explosion radius. In the engine room, climb the right side to the upper levels. Find the small platform near the corridor entrance, then drop to the narrow ledge underneath it where the Skull is hidden beside the wall.
- Thunderstorm — upgrades the rank of most enemies. During the final Warthog run, enter the winding tunnel with side shortcuts. The Skull is on the ground inside the second shortcut tunnel.
Boarding Action Skull locations
- Malfunction — removes a random HUD element after each respawn. After the room where Johnson helps fight two white-and-gold Hunters, take the path opposite his route. Follow the newly opened doors until you reach the narrow walkway overlooking the earlier dropship room.
- Johnny Ammo Seed — discards any rounds left in a magazine when you reload. After the sandy training arena, climb to the second level and work back toward the previous room from the upper route. Clear the Elites on the third-floor walkway and check the curved ledge near the purple light.
- Leadhead — removes bonus headshot damage and instant headshot kills. In the small room with a vertical lift after the bio labs, finish the enemy waves but do not enter the lift. Take the open door on its left and follow the corridor to the end.
The Most Dangerous Game Skull locations
- Temperamental — makes allies turn hostile faster after friendly fire. Hit three fleeing gold Elites with ranged fire: one on the right cliff in the sniper arena, one behind the Wraith beyond the long purple bridge, and one on the left cliff after the prison break. The Skull then appears on the central purple structure in the third area.
- Recession — makes every shot consume twice the normal ammo. At the long purple bridge with a Wraith at the far end, face the large door opposite the Wraith. Destroy the explosive barrels beneath both braziers to open the door.
- Ghost — stops enemies from flinching when shot. After the large bridge attacked by Banshees, clear the arena beyond the cave door. Return to that entrance, climb the rocks and tree on its left side, and jump onto the brazier above the door.
Heavy Burden Skull locations
- Eye Patch — disables auto-aim. On the route to Tolerance’s bridge, reach the room with a large bridge and a smaller walkway to the left. Enter the side door before crossing, follow the smaller bridge, and collect the Skull beside the locked door at the end.
- Grunt Birthday Party — adds a confetti celebration to Grunt headshots. While regrouping with the marines, enter the multilevel room with a rocky planter and yellow leaves. Use the purple brazier on the second level to jump onto the central formation.
- Efficient — makes enemies drop more ammo when killed at full health. After restarting the gondola, jump to the left out-of-bounds platform in the second area. Sprint to its back-right corner before the countdown kills you; the Skull remains collected even if you do not make it back.
How to unlock Campaign Remix
Collect any three hidden Skulls to unlock Campaign Remix. The same milestone automatically adds three more modifiers to your collection:
- Adaptation: randomizes enemy factions in each mission.
- Reload: randomizes weapons placed around the level.
- Armistice: stops enemy factions from fighting each other, so they focus on the player.
Campaign Remix always uses those three modifiers and can add another three to six random Skulls from your unlocked collection. It works in solo and co-op, so you can use it after finishing a normal run or mix it into a co-op campaign.
Skull achievements and trophies
The collectible milestones are straightforward:
- Cranial: collect one Skull — 10 Gamerscore / Bronze Trophy.
- Making a Necklace: collect 22 Skulls — 20 Gamerscore / Bronze Trophy.
- Headhunter: collect all 39 hidden Skulls — 30 Gamerscore / Silver Trophy.
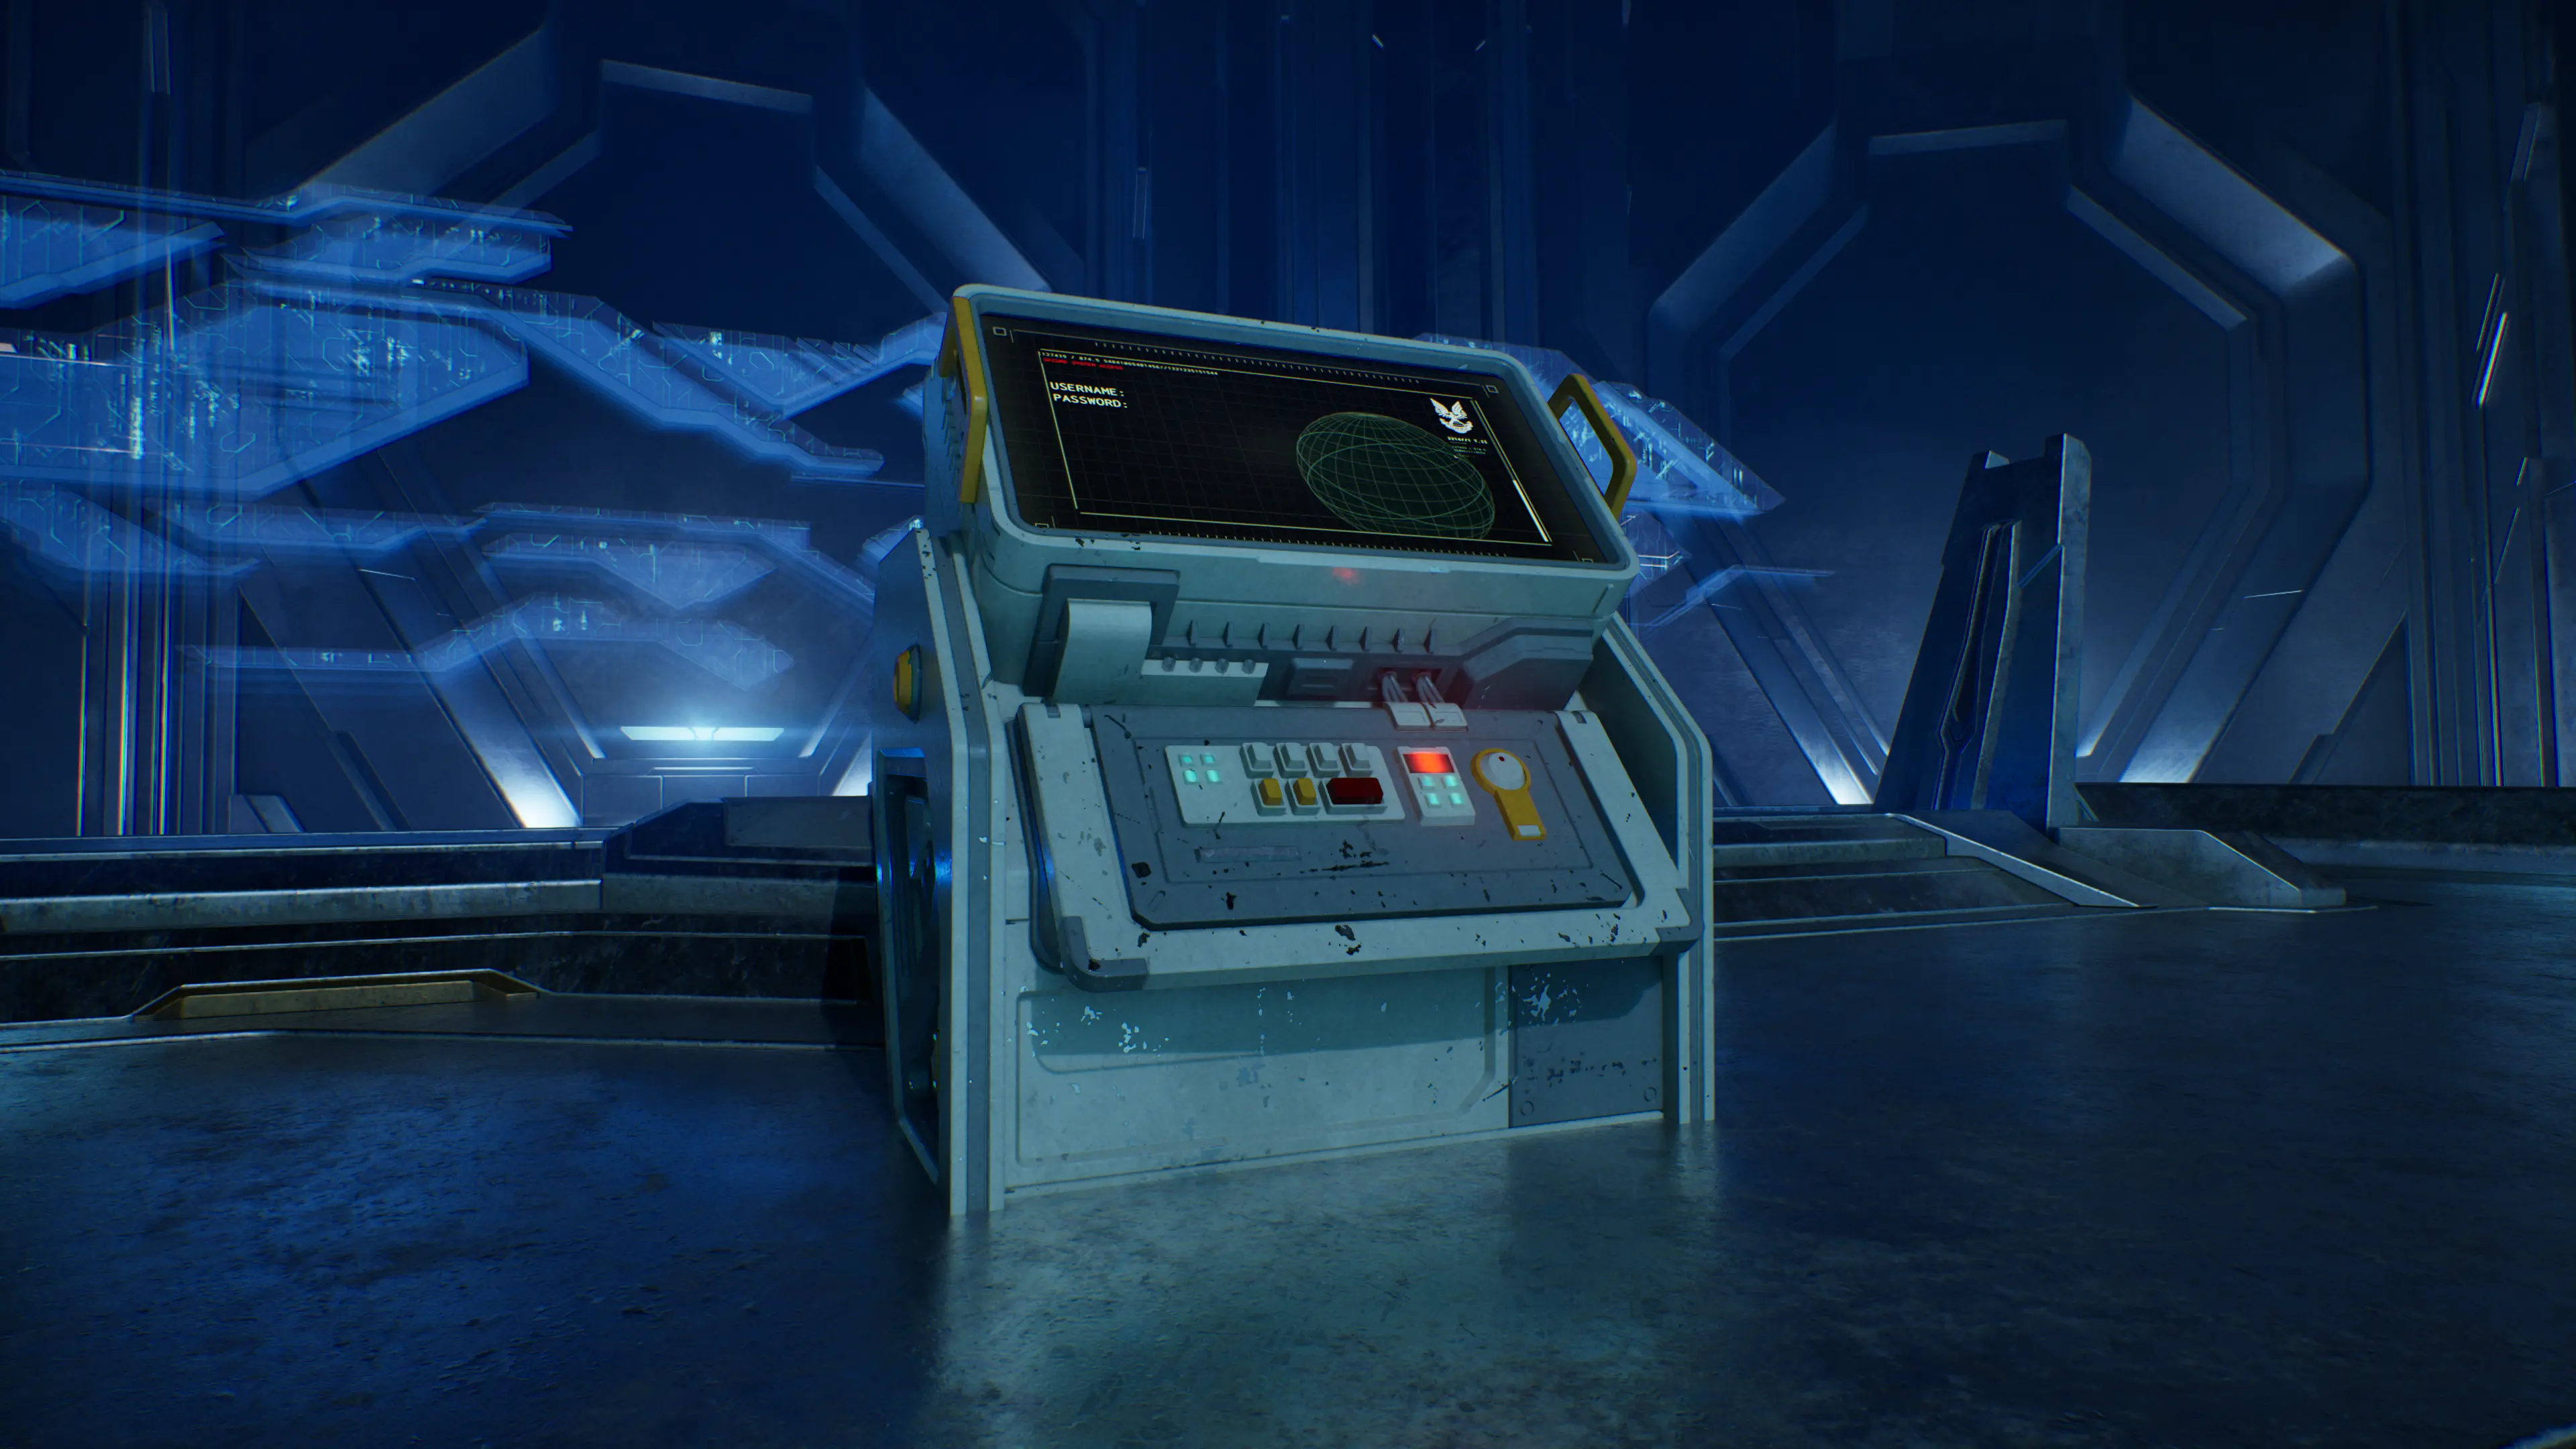
- Collector’s Addition: find every Skull and Terminal — 50 Gamerscore / Gold Trophy.
Each mission also has a Bronze Trophy and 20-Gamerscore achievement for finding its three Skulls and one Terminal. Confirm the pickup prompt and check the Collectibles menu before leaving the mission.