



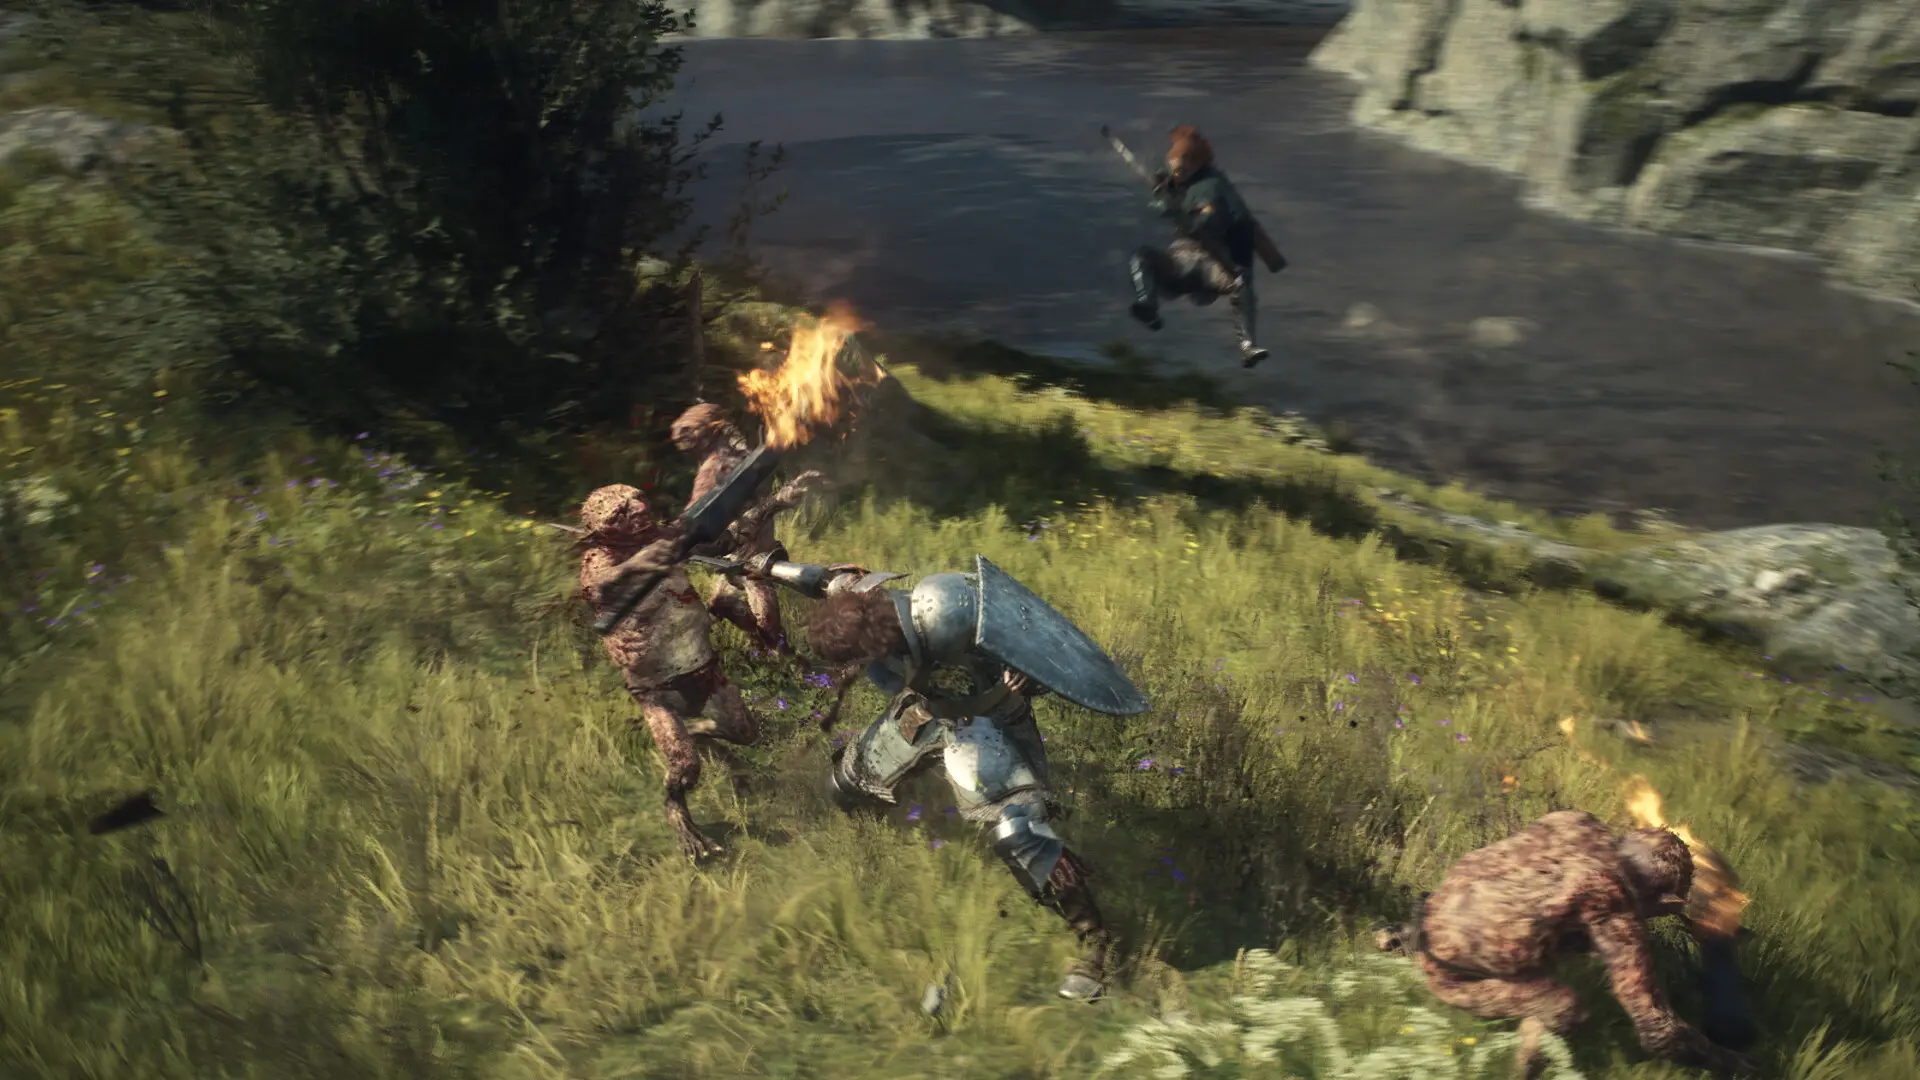
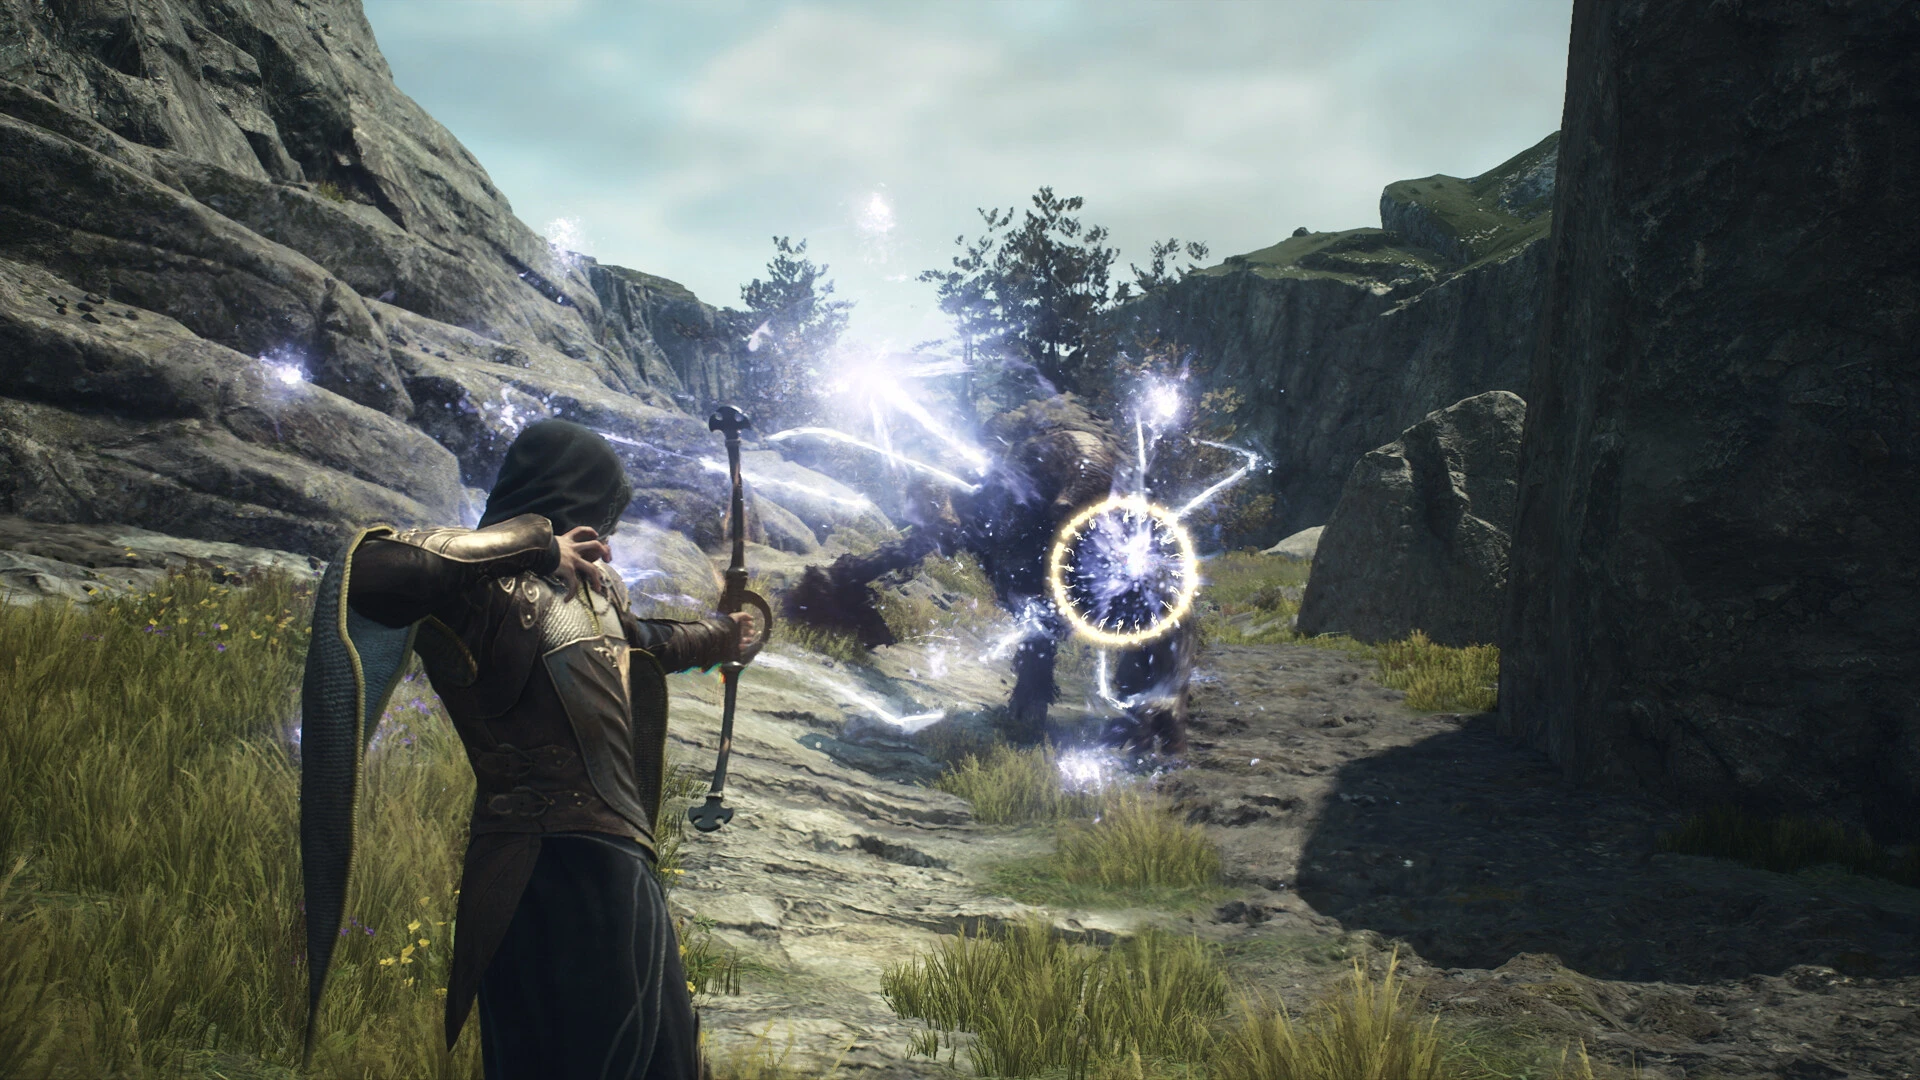
Dragon's Dogma 2 has ten vocations. Fighter, Archer, Thief, and Mage are available at the start; Warrior and Sorcerer unlock through the Vernworth Vocation Guild; Mystic Spearhand, Trickster, Magick Archer, and Warfarer come from specific vocation maisters. The last four are exclusive to the Arisen, so Pawns cannot equip them.
You can change vocation at a Vocation Guild after unlocking it. Previous vocation ranks and purchased skills remain available when you return, and augments learned from one vocation can be equipped while playing another.
The four starting vocations
The starter choice changes the opening combat style, not the entire playthrough.
Fighter
Fighter uses a sword and shield. It is built for close-range control, blocking, drawing attention, and creating safe space for fragile allies. Choose it when the party needs a frontline character who can stay engaged without constant rescue.
Archer
Archer uses a bow and specializes in ranged physical damage. It is particularly useful against harpies, elevated enemies, and exposed weak points. Positioning and deliberate aim matter more than simply firing as fast as possible.
Thief
Thief uses paired daggers, fast movement, evasive tools, and strong attacks against vulnerable targets. It is effective when it can reach a weak point or exploit a knockdown, but careless climbing can empty stamina at the worst moment.
Mage
Mage uses a staff and combines offensive magick with healing, weapon enchantments, and other support. A party without another reliable healer often expects its Mage to carry that responsibility, so inspect equipped skills before hiring a Mage Pawn.
The Dragon's Dogma 2 beginner's guide explains how to pair these roles in a balanced first party.
Unlock Warrior and Sorcerer in Vernworth
Visit the Vocation Guild beneath Shakir's Inn in Vernworth and speak with Klaus. Asking about the unavailable vocations begins Vocation Frustration and points toward Roderick, the local weapons merchant. A goblin raid caused a greatsword and an archistaff to go missing.
Both weapons can be recovered in Trevo Mine, northwest of Vernworth. The greatsword and archistaff are inside separate chests in the mine, so search beyond the first objective marker. Return the two vocation weapons to Klaus at the guild. Delivering the greatsword unlocks Warrior; delivering the archistaff unlocks Sorcerer.
Do not sell an unfamiliar greatsword or archistaff found during this objective before speaking with the guild. If the original quest items are no longer available, another qualifying weapon of the required type may work, but completing the intended Trevo Mine route is the cleanest solution.
Warrior
Warrior uses greatswords and hammers. Charged attacks deliver enormous physical and knockdown damage, and the vocation can continue through pressure that interrupts lighter characters. The tradeoff is commitment: poor timing leaves the Warrior recovering while a target moves away.

Sorcerer
Sorcerer uses an archistaff and focuses on high-impact offensive magick. Its strongest spells require safe casting windows, so a Sorcerer benefits from a Fighter or Warrior holding attention. Two Sorcerers can also coordinate compatible incantations through spell synchronization.

Unlock Mystic Spearhand by speaking with Sigurd
Mystic Spearhand is taught by Sigurd. The earliest common opportunity appears when returning to Melve for Readvent of Calamity, where a lesser dragon attacks the settlement. After the encounter, speak to the hooded man carrying a duospear; the conversation unlocks the vocation.
If Sigurd leaves before you speak with him, check the Coastal Hut in Harve Village after that area progresses. He can also appear near Dragonsbreath Tower in Battahl later. The essential condition is speaking with Sigurd, not defeating the lesser dragon in Melve.
Mystic Spearhand is an Arisen-only vocation that mixes melee and magick through the duospear. It can control enemy movement, protect the party, and attack from several ranges, but it consumes stamina quickly when its strongest sequences are repeated without restraint.
Unlock Trickster at the Reverent Shrine
Travel into Battahl and find the Reverent Shrine, home of the oracle Luz. Speak to her at the shrine to unlock Trickster. The unlock does not require a long dungeon or a boss fight, but reaching the shrine safely can be the harder part for an underprepared party.
Trickster is exclusive to the Arisen. It uses a censer to create smoke-based illusions, redirect enemy attention, and amplify Pawn performance. The vocation deals little direct damage on its own, so the party must be built around Pawns capable of finishing the opportunities it creates.
Do not judge Trickster with a party selected for another vocation. A support-heavy Pawn group can leave it with no reliable finisher, while a disciplined damage party can exploit the control it provides.
Unlock Magick Archer through Put a Spring in Thy Step
Reach the southern approach to Agamen Volcanic Island through Drabnir's Grotto. On the road west of Volcanic Island Camp, help the dwarf Gautstafr by giving him three wildflowers, then visit Windwalker's Home. Agree to escort him to the hot springs at Geyser Hamlet.
Gautstafr moves slowly. Clear threats, stay close enough to prevent the escort from breaking, and carry him during safe stretches if necessary. When the party reaches the hot springs, his wife Cliodhna reveals herself as the Magick Archer maister and unlocks the vocation.
Magick Archer is Arisen-only. It uses a magickal bow for homing elemental attacks, healing, and party support at range. Its targeting makes it accessible, but several abilities trade positioning, stamina, or even the Arisen's maximum health for exceptional effects. Read each skill before treating it as ordinary ammunition.
Unlock Warfarer through The Sotted Sage
Find Lamond at the hot springs in the Volcanic Island Camp. He asks for Newt Liqueur during The Sotted Sage. Give him three bottles to complete the request and unlock Warfarer.
One bottle can be found at Windwalker's Home during the Magick Archer route. Additional bottles can be obtained in Battahl, including through Higg's Tavern Stand when its access conditions are met, or made by combining Saurian Tail with Fruit Wine. Forgery can provide another bottle when time matters more than the fee.
Warfarer is exclusive to the Arisen and can equip weapons associated with the other vocations. Rearmament switches among the selected weapons, allowing combinations that no single vocation can use. Its base stats are lower than those of specialized vocations, and every carried weapon adds weight, so a collection of unrelated skills is not automatically an effective build.
Start with a clear sequence: a ranged opener followed by a melee finisher, a support spell that prepares a heavy attack, or a mobility tool that solves a weakness in another weapon set. If the build cannot explain why it changes weapons, a dedicated vocation will usually be simpler and stronger.
Which vocations can Pawns use?
Pawns can use Fighter, Archer, Thief, Mage, Warrior, and Sorcerer. They cannot use Mystic Spearhand, Trickster, Magick Archer, or Warfarer.
That restriction should shape the Arisen's choice. A player who wants Magick Archer support cannot hire a second one, while a Warrior or Sorcerer can be assigned to the main Pawn and trained over time. A Trickster Arisen needs Pawn damage because the vocation's own direct offense is limited.
When changing the main Pawn's vocation, review equipment and skills immediately. A vocation change does not invent a coherent loadout, and old gear may no longer be compatible.
Vocation ranks, skills, core skills, and augments
Combat and exploration award Discipline Points. Spend them at a Vocation Guild on weapon skills, core skills, and augments as each vocation rank makes them available.
Weapon skills define active combat options. Core skills expand the basic actions of that vocation. Augments are passive bonuses; after an augment is learned, it can be equipped while using another vocation. This makes cross-vocation training useful even for a character with a clear final role.
Changing vocation does not reset the ranks already earned. Returning to Fighter later restores access to the Fighter progression you left behind. Equipment still matters, and some skills have advanced versions that must be purchased after their prerequisites.
Maister teachings are separate from ordinary rank progression
Vocation maisters can grant special teaching scrolls after the Arisen earns their approval or completes the relevant quest. Using a scroll teaches a powerful vocation ability, but simply reaching maximum vocation rank does not award every maister skill.
Keep unique scrolls rather than selling or discarding them. If a maister does not grant a teaching immediately, finish the associated objective, improve affinity through another interaction, leave the area, and return later. The correct trigger varies by character.
Maister abilities are not always the best choice for every encounter. Several demand all remaining stamina, a long casting window, a specific party, or another meaningful cost. Treat them as specialized tools rather than mandatory proof that a vocation is complete.
A low-friction unlock order
For a first playthrough, unlock Warrior and Sorcerer soon after reaching Vernworth because Vocation Frustration is nearby and expands both the Arisen and Pawn options. Return to Melve while Readvent of Calamity is available and speak with Sigurd for Mystic Spearhand.
Trickster becomes a simple pickup after entering Battahl and reaching the Reverent Shrine. Magick Archer and Warfarer are both near the Volcanic Island Camp, so combine their objectives: bring three Newt Liqueurs, help Gautstafr, finish the hot-spring escort, speak with Cliodhna, then meet Lamond.
The Dragon's Dogma 2 fast travel guide helps establish the Portcrystals needed to revisit these distant maisters. Current updates make the route less punishing than it was at launch.
How to choose a vocation without a tier list
Choose based on the problem the party needs solved.
- Pick Fighter when allies need protection and stable melee control.
- Pick Archer when flying targets and precise physical damage are the gap.
- Pick Thief when mobility and weak-point burst suit the encounter.
- Pick Mage when healing and elemental support must be player-controlled.
- Pick Warrior for deliberate charged attacks and heavy knockdown.
- Pick Sorcerer for large offensive spells with a protected casting position.
- Pick Mystic Spearhand for a flexible melee-magick hybrid.
- Pick Trickster when controlling attention and directing strong Pawns sounds appealing.
- Pick Magick Archer for guided ranged magick and support.
- Pick Warfarer only when a planned weapon combination offers more than specialization.
No selection closes the others permanently. Experiment, keep the augments that improve later builds, and return to a favorite after understanding what the alternatives contribute. The Dragon's Dogma 2 Guide Hub collects this guide alongside the beginner, travel, and Dark Arisen coverage.