
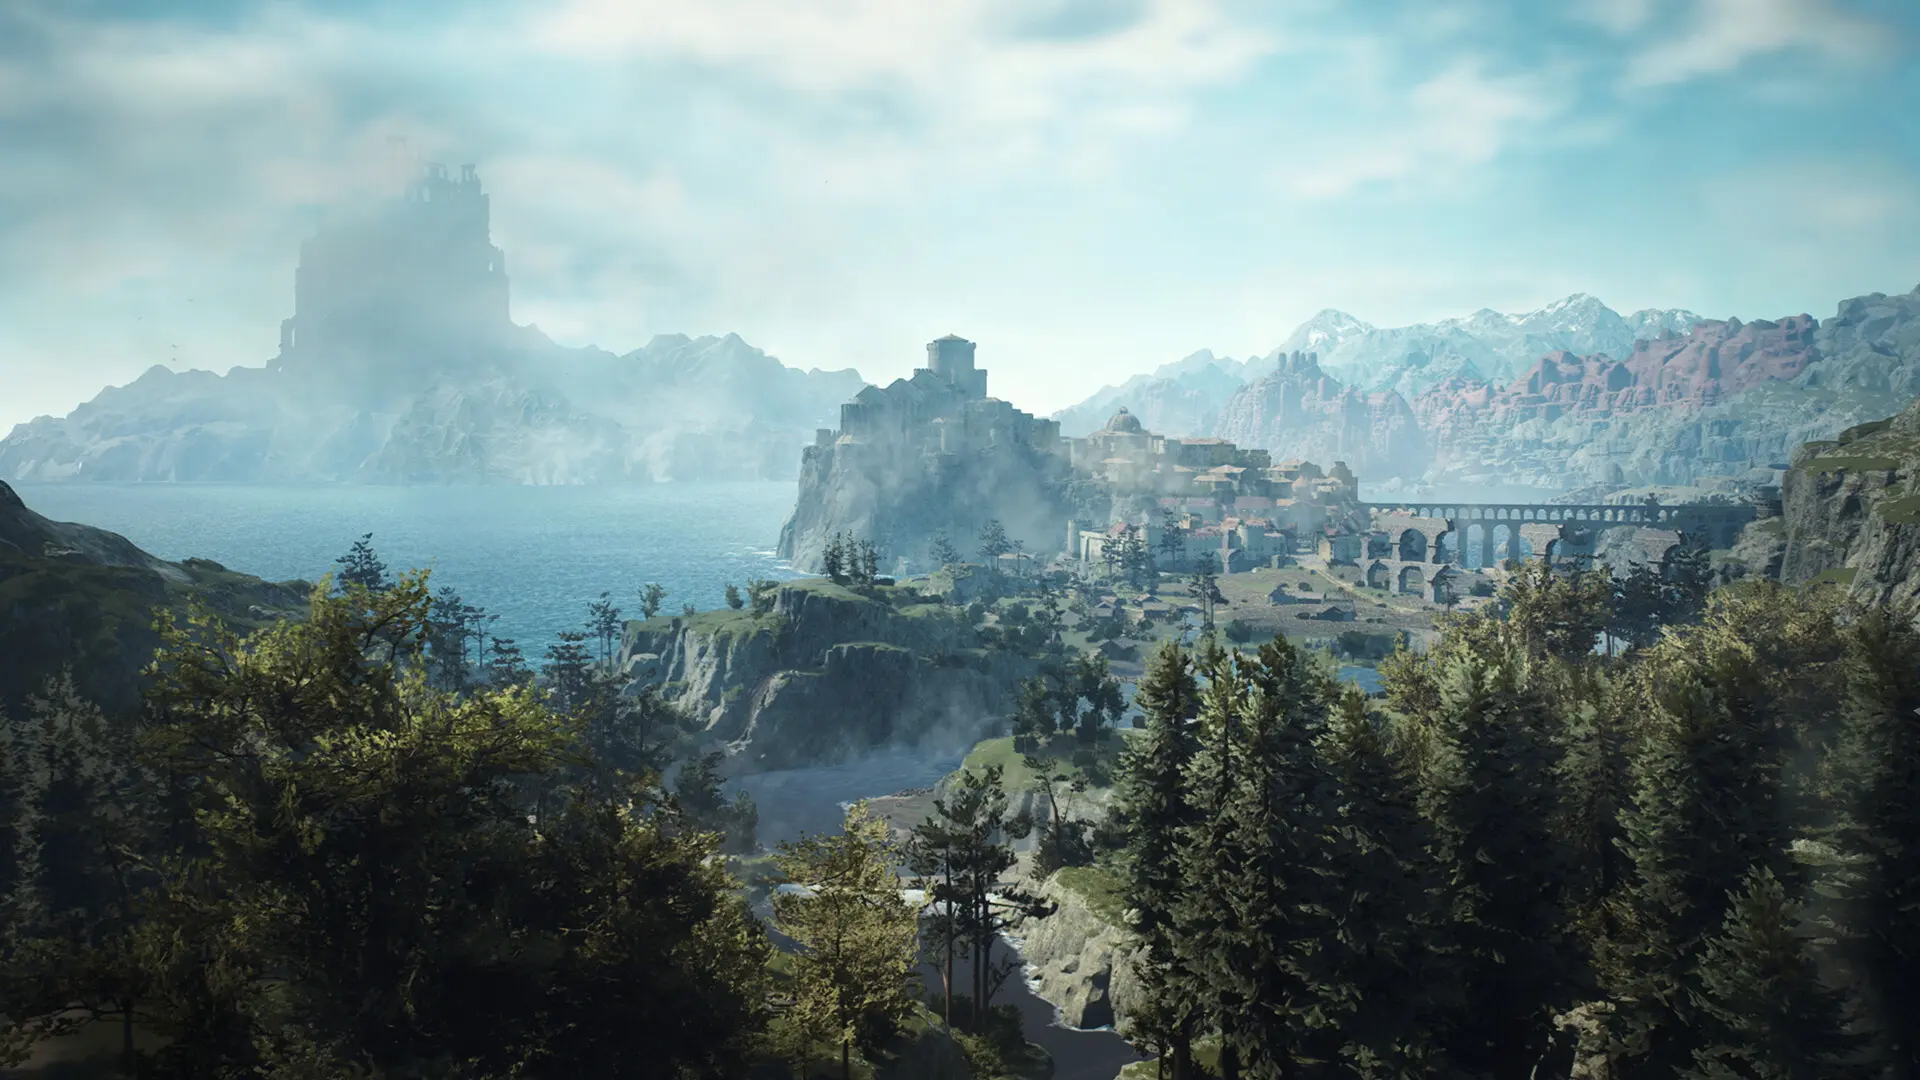
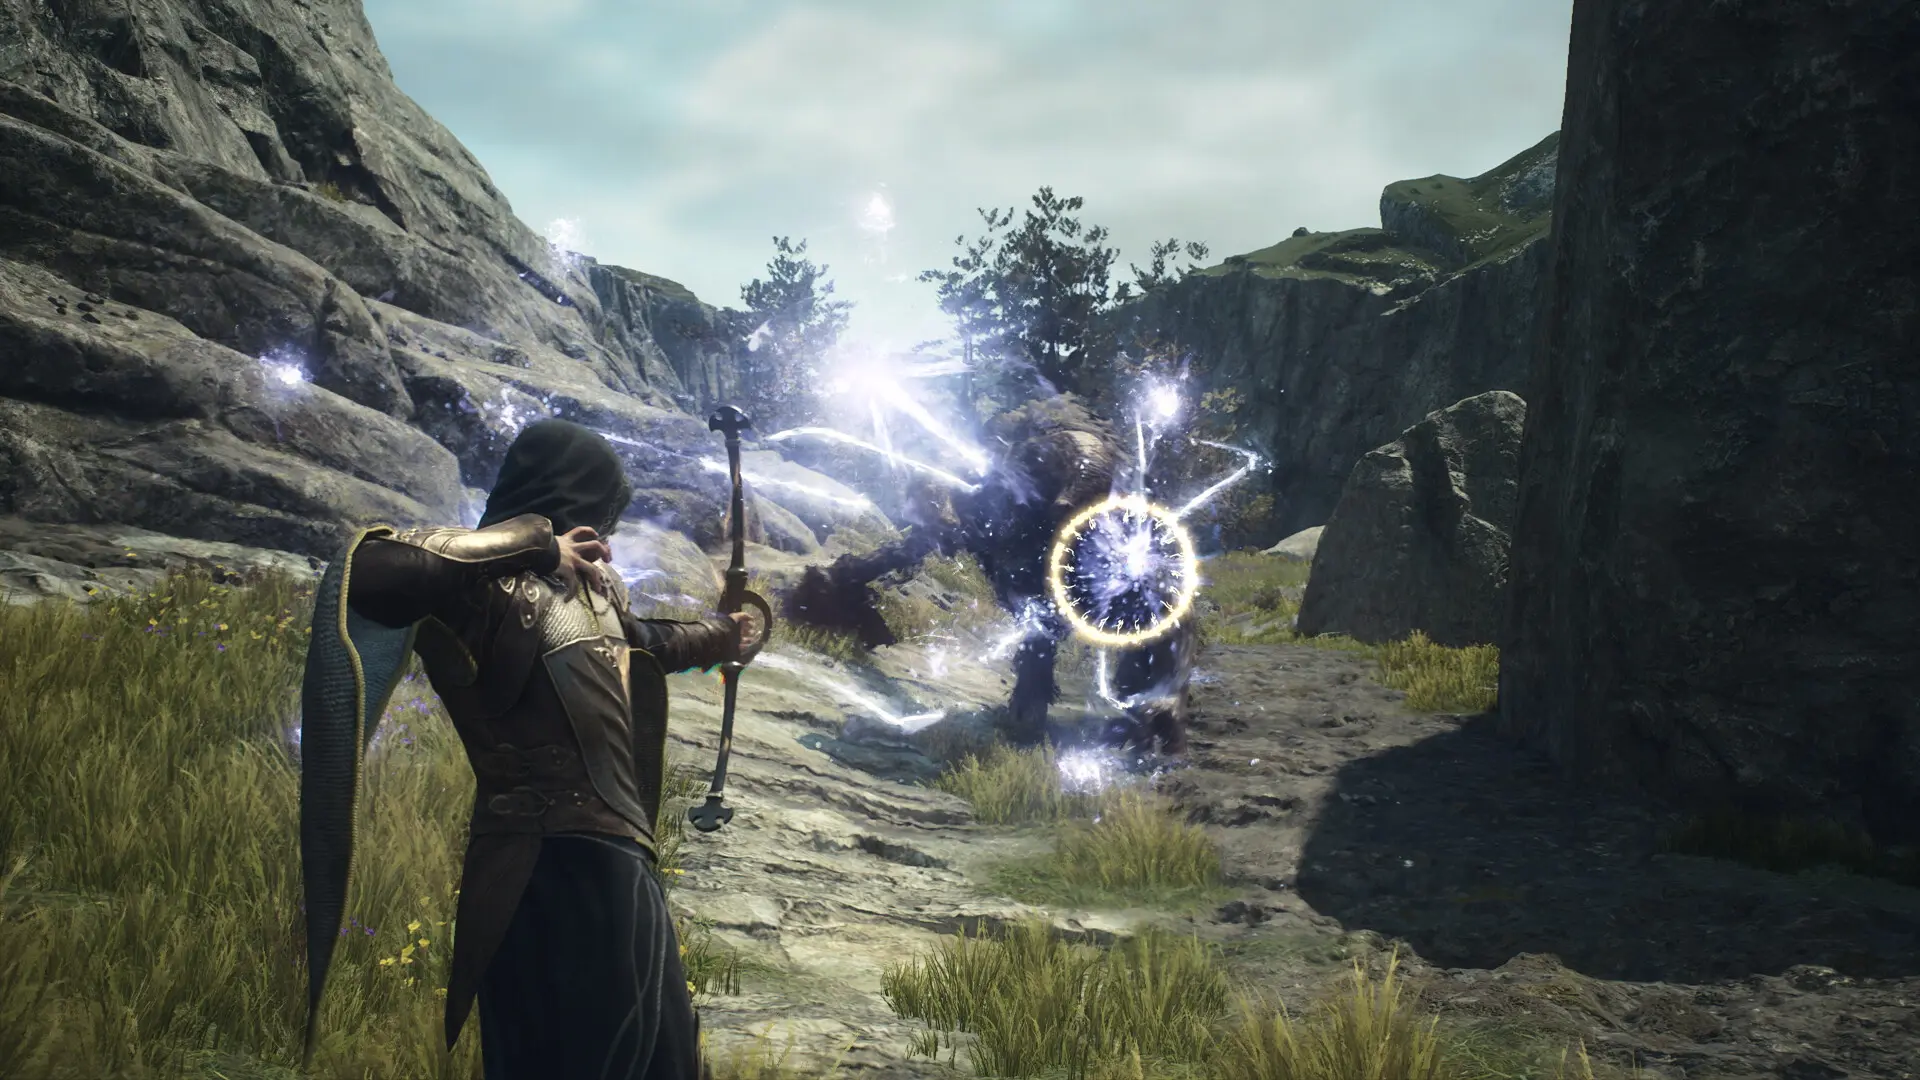

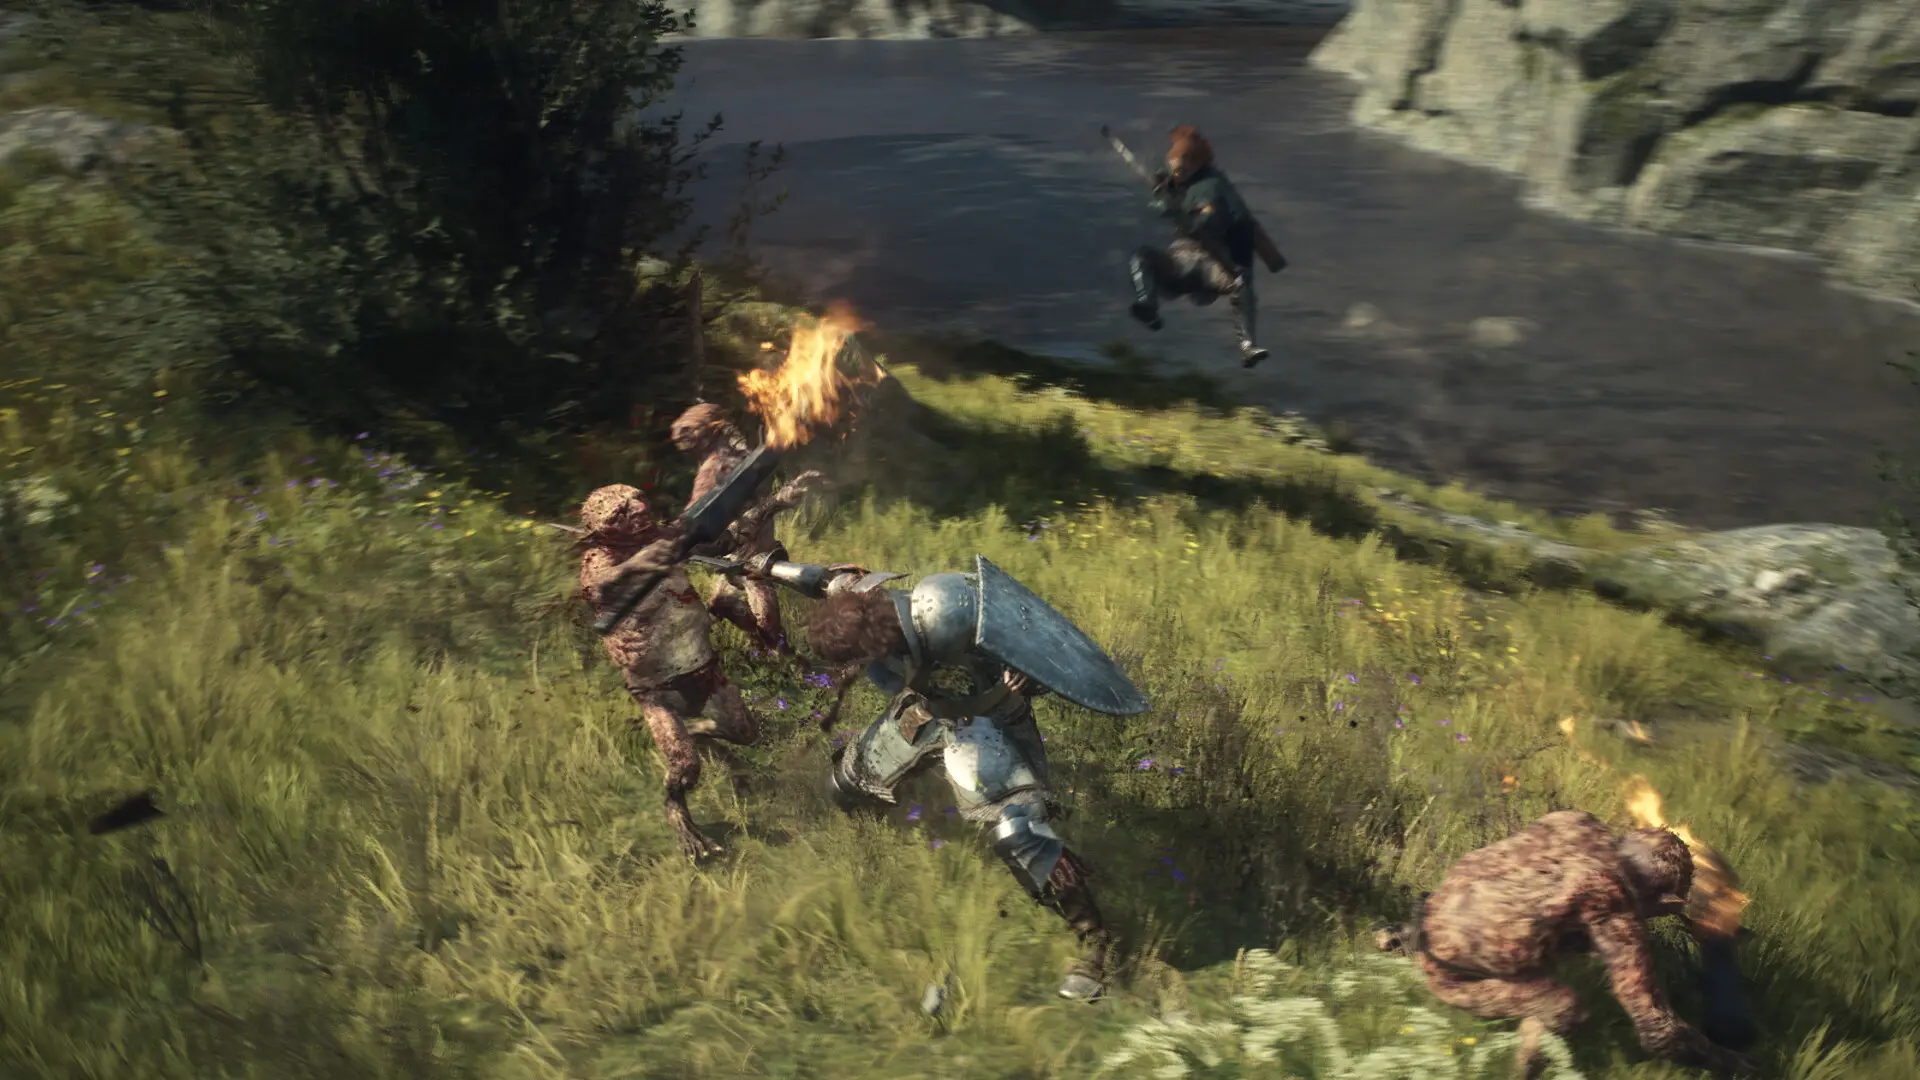
Dragon's Dogma 2 is easier to learn when you stop treating every trip as a straight line to a quest marker. Build a party that covers melee pressure, ranged damage, healing, and crowd control; rest before a dangerous objective; carry a camping kit; and leave room in your pack for the materials you find. The game rewards preparation more reliably than raw level grinding.
This beginner's guide stays spoiler-light. It explains the systems that create the most expensive early mistakes without telling you how the main story resolves.
Start with a vocation you can read clearly
The four starting vocations are Fighter, Archer, Thief, and Mage. None is a permanent choice, and changing vocation later does not erase the ranks or skills already earned in another one.
- Fighter is the clearest introduction to blocking, positioning, and protecting allies.
- Archer keeps distance, hits flying targets, and teaches weak-point aiming.
- Thief is mobile, fast, and effective when it can reach an exposed target.
- Mage attacks with magick but is especially valuable for healing, weapon enchantments, and support.
Choose the rhythm you understand, not the vocation that a tier list calls strongest. The best early vocation is the one that lets you recognize why an attack succeeded or failed. The Dragon's Dogma 2 vocations guide explains when the six additional vocations become available and which ones Pawns can use.
Make your main Pawn solve a different problem
Your main Pawn levels with the Arisen and remains part of the party. Two hired Pawns fill the remaining slots, but they do not level while traveling with you. Replace hired Pawns regularly when their levels, equipment, or skills stop matching the route ahead.
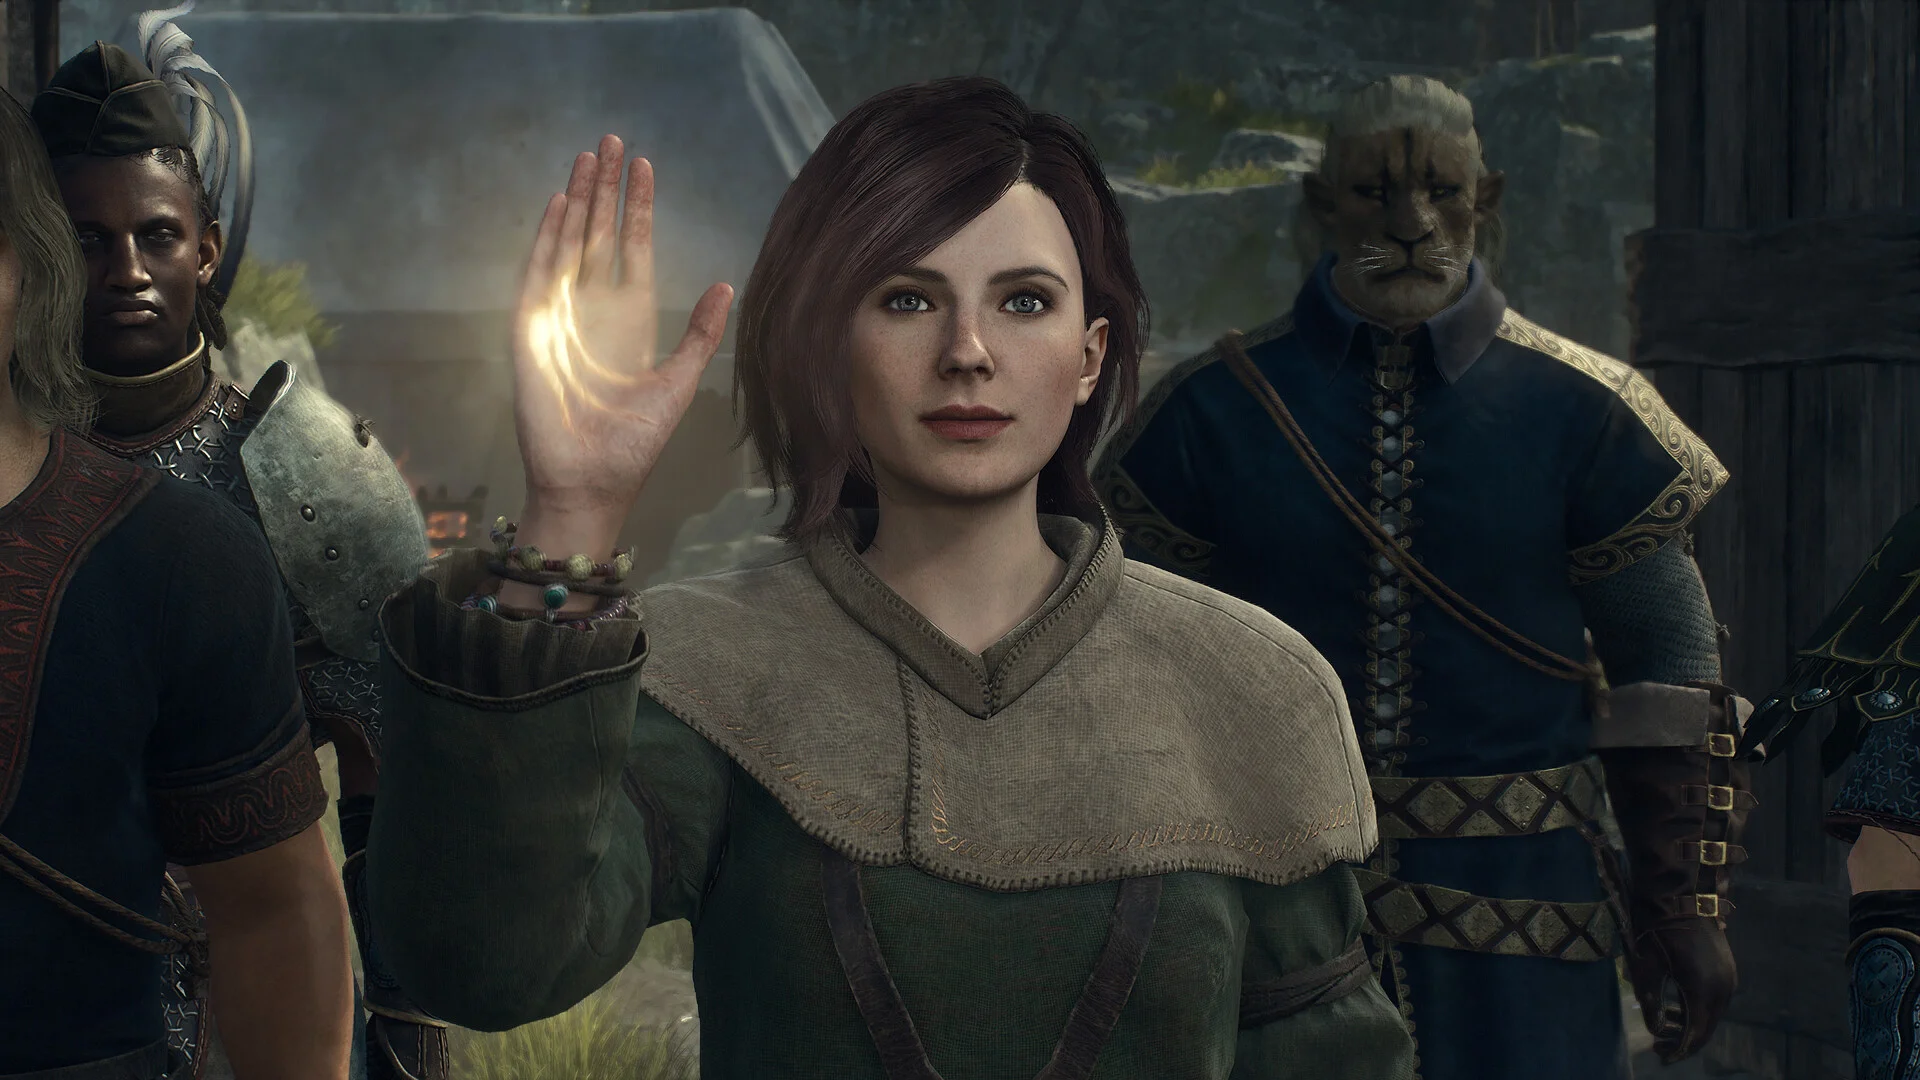
A reliable first party has at least one durable frontliner, one source of ranged pressure, and dependable healing. If the Arisen is a Thief, for example, a Fighter main Pawn can hold attention while a Mage restores health and an Archer handles harpies. Four characters built only for close-range damage may erase weak enemies quickly, then struggle against a flying target or a monster that controls space.
Check a Pawn's equipped skills before hiring. Vocation alone does not tell you whether a Mage is prepared to heal, remove debilitations, enchant weapons, or focus on damage. Quest knowledge can also be useful: a Pawn who knows the active objective may offer to lead the party when given the Go command.
Understand the loss gauge before a long expedition
Damage can reduce the maximum portion of the health bar, not just current health. Curatives and healing magick refill only the recoverable portion. Resting at an inn, an owned home, or a campsite restores the loss gauge.
This is why repeatedly reviving a failing expedition with food and spells eventually stops working. When the recoverable bar becomes too small, return to safety or camp instead of spending more items to preserve a bad route. A camping kit is reusable when the rest completes safely, but an ambush can destroy it. Carry one suited to the region and clear nearby enemies before setting camp.
Cooking meat at a campsite can add a temporary stat bonus. Use that opportunity before a route containing a drake, chimera, griffin, or several consecutive encounters rather than saving every ingredient indefinitely.
Treat inn rests as recovery points, not routine autosaves
Dragon's Dogma 2 records progress during play and also gives you an inn-rest checkpoint. The command to load from the last inn rest can move you far back if the party has not slept at an inn or owned home recently. A camp rest does not replace that checkpoint.
Create a fresh inn or home checkpoint before a major quest branch, a long trip into Battahl, an important escort, or any experiment that could change an NPC's fate. Do not choose Load from Last Inn Rest casually after a death; first consider how much progress separates the current save from that older rest.
Normal and Casual modes handle some costs and penalties differently. Casual mode lowers several travel and recovery pressures, including inn fees and the price of ordinary Ferrystones. It does not remove the need to understand the two kinds of save recovery.
Read quest urgency instead of assuming every task waits
Some quests advance or fail when enough in-game time passes. Current versions display an hourglass on timed quest notifications, so inspect the quest log before sleeping for several days or taking a distant detour.
NPC schedules also matter. A person may work in one district by day and return home at night. If a marker leads to an empty location, wait on a bench or check the character's usual route before assuming the quest is broken. Dead NPCs can sometimes be restored with a Wakestone if their body is still available through the local morgue or charnel house, but prevention is cheaper than recovery.
When several quests share a region, group them into one expedition. The Dragon's Dogma 2 game page is useful as the stable entry point for the game, while the Dragon's Dogma 2 Guide Hub keeps the practical walkthroughs together.
Win large-monster fights through control and weak points
Large enemies are not ordinary health bars. They can be staggered, toppled, climbed, pinned against terrain, or forced into vulnerable animations. Watch the party and the environment instead of repeating the same skill.

- Attack exposed weak points when the angle is safe.
- Damage legs or other supports to create a knockdown opportunity.
- Push or pull an off-balance monster when Pawns begin doing the same.
- Use ranged attacks on flying enemies rather than waiting beneath them.
- Save stamina before climbing so the Arisen can reach a target and still act.
- Move away from a dying large monster; its fall can injure the party.
Elemental coverage matters, but no single enchantment is correct everywhere. A support Mage with multiple elemental boons may choose based on known enemy weaknesses. Pawns learn from encounters and can call out tactics, so their observations are useful even when their chatter feels repetitive.
Use terrain as part of the party
Water, cliffs, explosive objects, narrow paths, and destructible structures change encounters. The Brine kills creatures that fall into deep water, but it also takes the Arisen and Pawns. A shortcut that places the party on a cliff edge may be more dangerous than the enemies themselves.
Carry or throw small enemies when the opening is safe. Drop heavy objects, cut supports, ignite oil, and use elevation for ranged attacks. If a fight becomes chaotic, move it away from civilians, an oxcart, or a campsite instead of letting friendly fire destroy the resource you came to use.
Upgrade useful equipment before chasing perfect equipment
Weapons determine whether attacks can overcome an enemy's defenses, while armor and knockdown resistance decide how often the Arisen loses control. Upgrade equipment that supports the current vocation and route. Waiting for a theoretical endgame item can make several hours unnecessarily difficult.
Different smithing styles emphasize different stats later in the game. A beginner does not need to optimize every enhancement path immediately. The practical rule is simpler: upgrade a weapon that will remain useful for the next region, keep armor reasonably current, and do not spend rare materials on an item you expect to replace after the next town.
Equipment weight affects mobility. Distribute camping kits, materials, and spare gear across the party, but remember that hired Pawns are temporary. Store rare upgrade materials and sentimental equipment when returning to town instead of using the party as permanent storage.
Plan travel around routes, daylight, and return options
Night changes visibility and enemy composition. Keep the lantern filled, but do not assume light makes a night route equivalent to daytime. If the party is already carrying a large loss gauge, waiting until morning may be safer than crossing unfamiliar ground in darkness.
Oxcarts connect fixed routes and can be interrupted by attacks. Portcrystals create teleport destinations, while an ordinary Ferrystone is consumed to reach one. Current versions also provide an Eternal Ferrystone after an early Vernworth story step, making repeated travel much less restrictive. The Dragon's Dogma 2 fast travel guide explains the 2026 Portcrystal additions, Oxcart stopovers, and where to place portable Portcrystals.
Before leaving town, ask three questions: where will the party rest, how will it return, and which inventory space must remain free? A route with answers to all three is usually more efficient than a direct sprint toward the marker.
Spend Discipline without locking yourself into one build
Vocation skills, core skills, and augments use Discipline Points rather than gold. Unlock the abilities that make the current role function before buying every situational option. A Fighter needs a dependable defensive plan; a Mage needs the support tools expected by the party; a ranged vocation needs an answer for pressure at close range.
Augments learned from one vocation can be equipped while using another. That makes experimentation valuable even when a vocation will not be the final choice. Rank a vocation far enough to earn a useful augment, then change when curiosity or party needs justify it. The spent Discipline is not wasted.
Early mistakes that cost more than they teach
- Hiring three Pawns without checking their skills or party roles.
- Continuing with underleveled hired Pawns because their appearance is memorable.
- Sleeping repeatedly while a timed quest is active.
- Using Load from Last Inn Rest without knowing when that rest occurred.
- Entering a long route with no camping kit or empty lantern.
- Climbing a monster with an almost empty stamina bar.
- Carrying every material on the Arisen until movement becomes slow.
- Spending every Ferrystone before establishing useful Portcrystal destinations.
- Treating quest markers as the only source of information when an NPC schedule or Pawn guide is relevant.
A practical first-hours checklist
Reach Vernworth with a four-person party whose roles you understand. Unlock the core skills needed by the Arisen and main Pawn. Keep one camping kit, lantern oil, basic curatives, and at least one Wakestone assembled from shards when possible. Rest at an inn or home before a major branch. Check the quest log for the hourglass icon before advancing time. Replace hired Pawns when they fall behind.
Once those habits are established, the game becomes less about recovering from unexplained failures and more about choosing which risks are worth taking. For the upcoming expansion, editions, and upgrade path, the Dark Arisen release guide covers that separate decision without mixing it into the base-game walkthrough.