
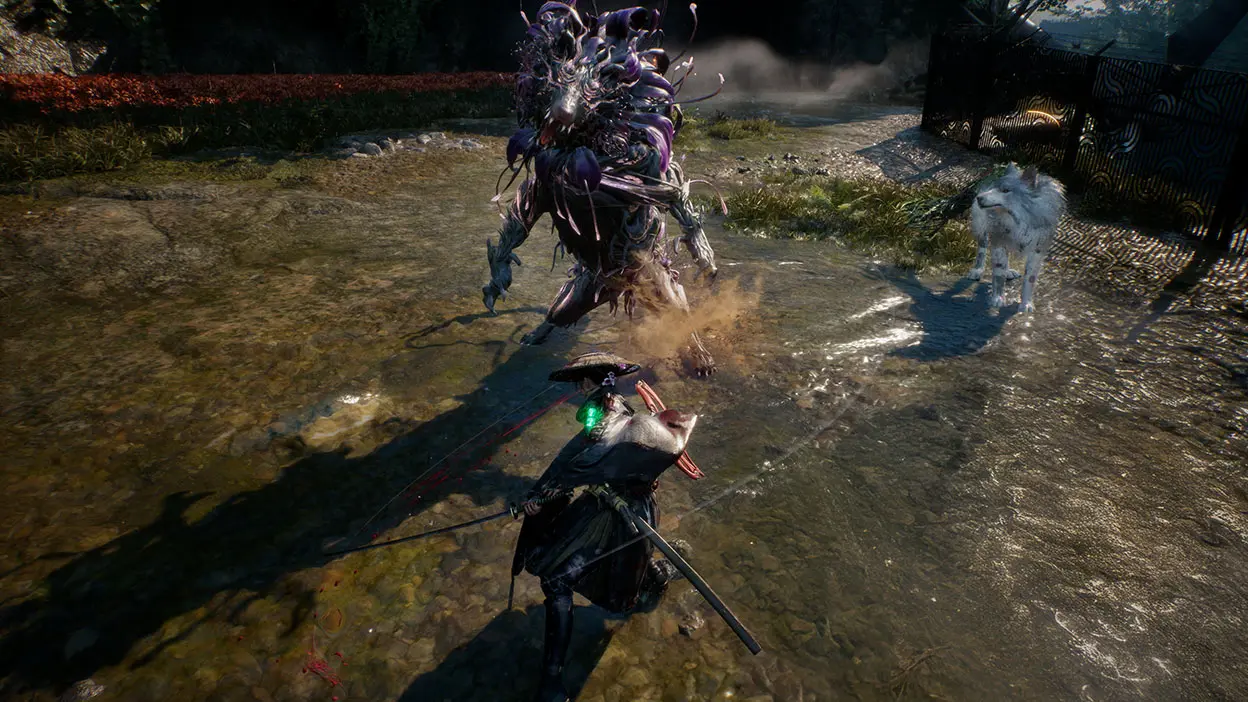


Beast of Reincarnation becomes much easier once you treat Emma and Koo as one combat system. Emma’s parries generate the points Koo needs for Bloom Arts, food keeps natural healing active, and time spent caring for Koo opens more room for his skills.
The best early approach is simple: learn the parry timing on weaker enemies, use Koo’s command menu whenever a fight gets crowded, keep the hunger gauge from emptying, and explore above and around the obvious path before moving to the next objective.
Beast of Reincarnation Beginner Tips
- Choose a comfortable difficulty: Story Mode gives you more forgiving parry timing and lowers enemy damage. Normal keeps the intended balance, while Hard is designed for a tougher first run.
- Parry instead of only blocking: Successful parries create Florescence Points for Koo and open stronger counterattacks.
- Use Bloom Arts as a tactical pause: Opening Koo’s command menu slows the action, giving you time to choose the right response.
- Never ignore hunger: Emma and Koo only heal naturally while the hunger gauge has something left.
- Build rapport with Koo: Pet him, give him treats, and use the shower in the Cleanse Walker to unlock more skill slots.
- Explore vertically: Emma’s vines create bridges, lift her into the air, and reach high routes containing items or better attack positions.
- Spend points at rest sites: Rest sites restore health and let you improve the abilities you are actually using.
- Match gear to your playstyle: Katanas, Koo’s Charms, Spirit Stones, and both skill trees reward focused builds more than random upgrades.
1. Pick the Right Difficulty First
Beast of Reincarnation has Story, Normal, and Hard difficulty settings. Story Mode is not just an easier damage setting. Game Freak says it also makes the parry window more forgiving, which matters because parrying connects Emma’s defense to Koo’s strongest abilities.
Start on Normal if you already enjoy timing-based action games. Choose Story if repeated parry failures are stopping you from learning the rest of the combat system. Hard is better saved for players who want tighter pressure from the beginning.
Do not judge the combat only by the first weak enemies. Basic attacks can handle early creatures, but tougher golems, mini-bosses, and Nushi demand more control over parries, Koo’s commands, and positioning.
2. Learn Why Parries Matter
Parrying is the center of the combat loop. A successful parry protects Emma, creates an opening to strike back, and fills the Florescence Points gauge used by Koo. Blocking may keep you alive, but it does not build the same momentum.
Practice on enemies with clear attack animations. Watch the movement before the hit instead of reacting only to effects on the screen. Once the timing feels natural, you will enter larger fights with enough FP to use Koo immediately.
When an enemy’s stun meter is depleted, move in for the finisher instead of continuing a normal combo. This is especially useful against durable targets that would otherwise keep pressuring you.
3. Use Koo’s Bloom Arts to Control the Fight
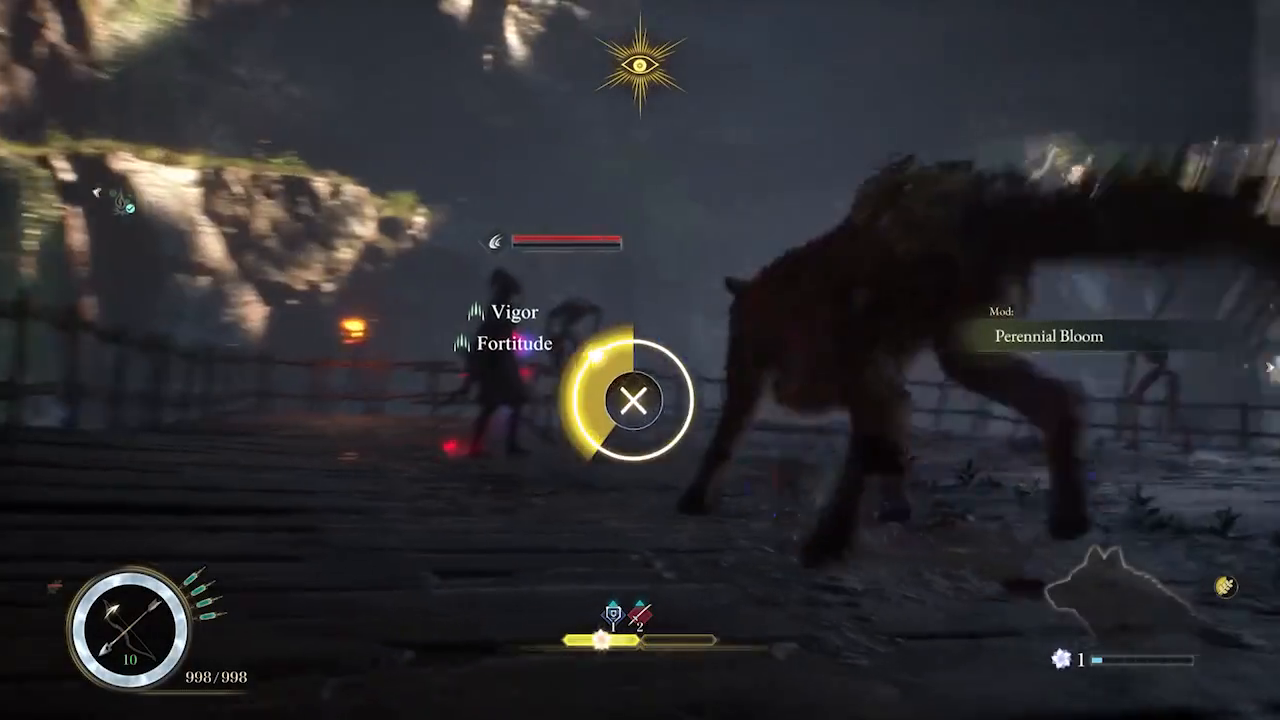
Koo is not passive support. His Bloom Arts are command-based skills that use FP earned by Emma. Opening the command menu slows combat, so use it when you need to read the battlefield, choose a target, or interrupt a dangerous attack.
The short timing input after selecting a Bloom Art affects how well it performs. Avoid rushing through the prompt just because the fight was moving quickly before the menu opened.
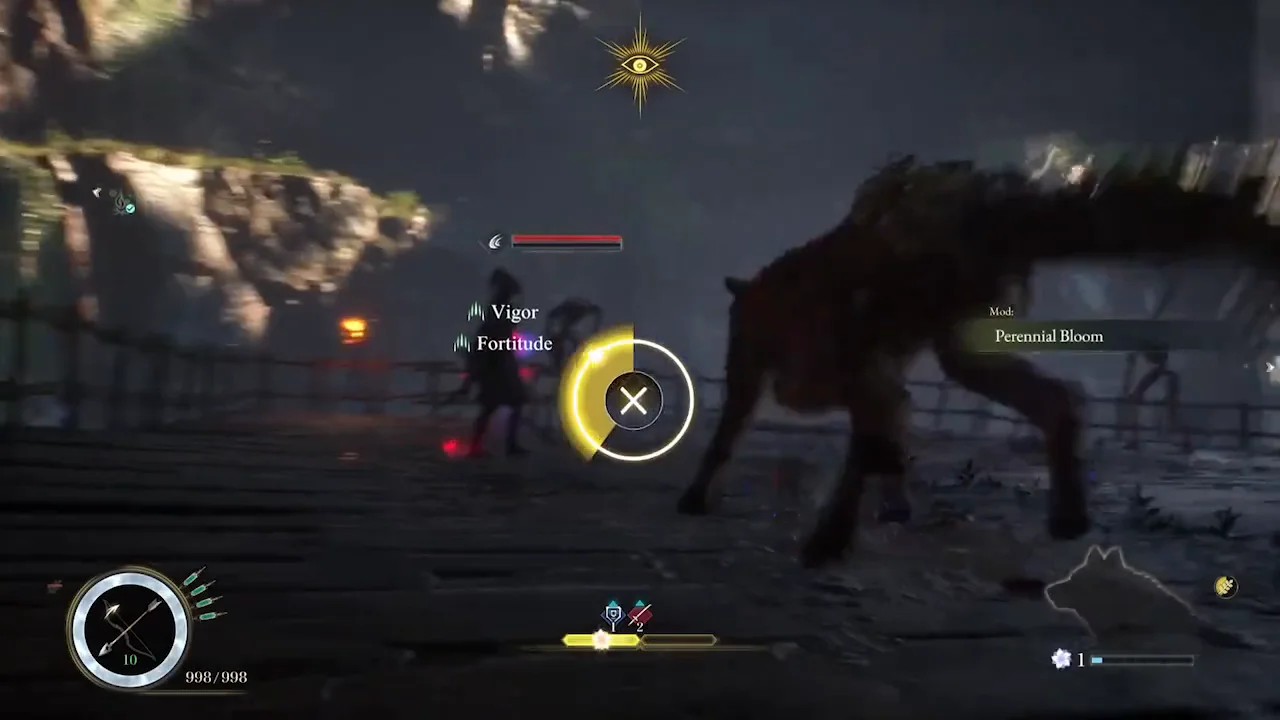
Open the timing-prompt screenshot at full size.
Two early examples show how different skills solve different problems:
- Higanbana Seeds: A long-range attack that wears down a target and helps fill its stun gauge.
- Higanbana Roots: Binds as many as three enemies for a few seconds, giving Emma space to heal, reposition, or focus on a priority target.
Save crowd-control skills for groups rather than spending everything on the first enemy. Against bosses, combine Koo’s interruption or status effects with Emma’s strongest attacks instead of treating both characters as separate damage dealers.
4. Keep the Hunger Gauge From Emptying
Hunger is directly connected to survival. Emma and Koo only recover health naturally if the hunger gauge is not empty. Running out does not just remove a background bonus; it shuts down that recovery.
Eat before a long route or boss attempt rather than waiting until the gauge reaches zero. Meals can also raise HP, Attack, or Defense, so choose food based on the next challenge. An attack meal may speed up normal exploration, while HP or Defense is safer before an unfamiliar boss.
Collect ingredients while exploring even when your current food supply looks comfortable. Recipes and stronger meals become more valuable as enemies demand longer fights.
5. Cook With Kagura and Improve Your Food Supply
Kagura cooks meals from ingredients found in the field. Her cooking improves as you interact with the system, and returning recipes expands the meals she can prepare.
The Cleanse Walker also supports food production. You can raise a chicken for eggs and grow crops from seedlings, with different plants taking different amounts of time to harvest. Plant something whenever you return instead of saving every seedling for later.
Use basic meals for exploration and keep the strongest stat bonuses for boss attempts. That keeps rare ingredients from disappearing during low-risk travel.
6. Raise Koo’s Rapport for More Skill Slots
Koo’s rapport is a useful progression system, not just a cosmetic friendship meter. Higher rapport expands his skill slots, giving you more Bloom Arts to choose from during combat.
The confirmed ways to raise rapport are easy to work into normal play:
- Pet Koo: Interact with him when the option is available.
- Give Koo treats: Use treats instead of leaving them unused in your inventory.
- Keep Koo clean: Use the shower inside the Cleanse Walker after returning from the field.
Make these actions part of every visit to the mobile base. More skill slots give you better coverage for damage, crowd control, interruptions, and status effects without forcing you to change the loadout as often.
7. Explore Above the Main Path
Emma’s plant abilities turn vertical space into part of the route. She can grapple to marked points, create temporary vine bridges, and lift herself high into the air. These tools reach optional items, avoid direct approaches, and create positions for attacks from above.
Before leaving an area, check rooftops, broken bridges, abandoned huts, and elevated ledges. Koo also barks or gives visual signals when enemies, objectives, or useful items are nearby, so pay attention when he stops following the obvious path.
Vertical movement is also a combat tool. Starting above an enemy can set up a stealth takedown, while lifting away from a crowd gives you time to plan the next Bloom Art.
8. Use Rest Sites Without Worrying About Losing Progress
Rest sites restore HP and let you spend ability points. Hands-on testing found that resting does not respawn defeated enemies, while opened environmental routes stay available. Death also does not remove your collected progress in the way many Souls-inspired games do.
That means there is little value in carrying unspent points through a dangerous section. Rest, improve the abilities you use most, and return with a stronger loadout.
9. Build Emma and Koo Together
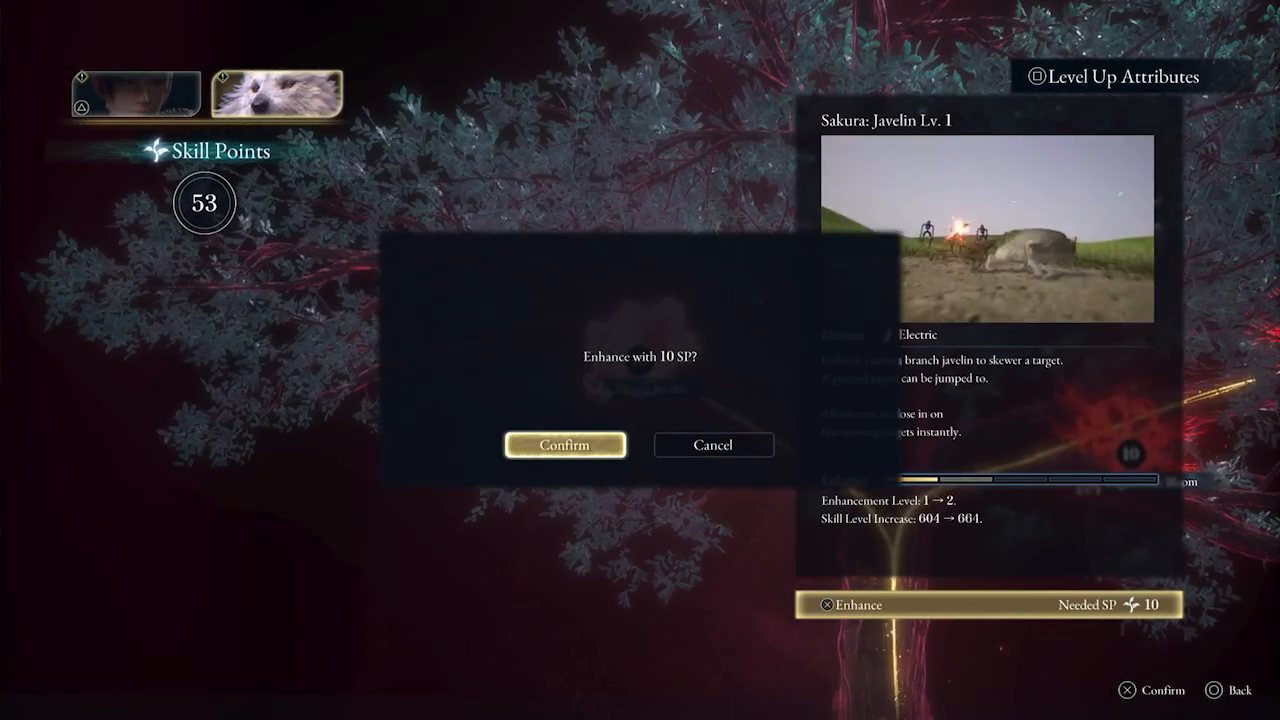
Emma and Koo have separate skill trees, but their upgrades should support the same plan. A ranged or stealth-focused Emma benefits from Koo skills that hold enemies in place. An aggressive build gains more from fast interruptions and effects that create openings at close range.
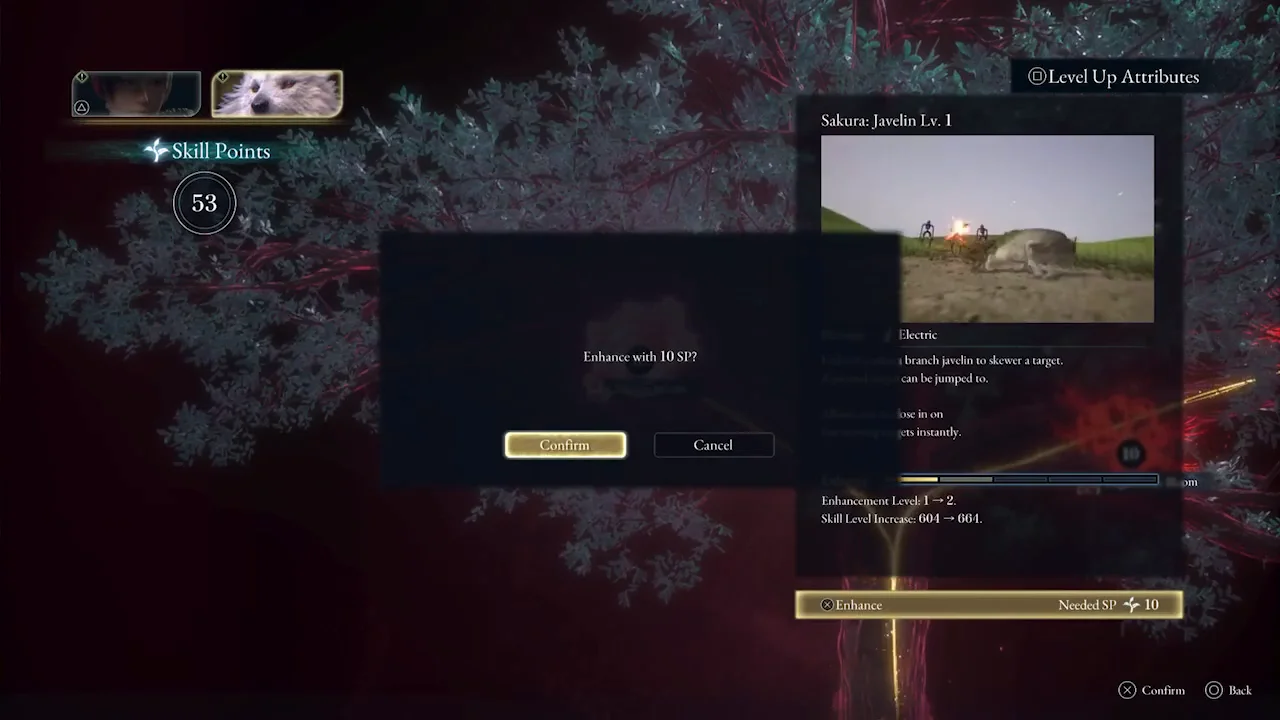
Open the skill-tree screenshot at full size.
Spirit Stones add bonuses triggered by actions in battle. Katanas specialize Emma’s side of the build, while Charms give Koo different bonuses. Read what activates each effect and avoid equipping a Stone built around an action you rarely perform.
Boss victories unlock more powers for both characters, so revisit the full loadout after defeating a Nushi. A new Bloom Art or Blade Art may change which older upgrades are still worth keeping.
What Should You Upgrade First?
There is no single perfect first build, but early upgrades should strengthen the loop you use in every fight: parry, build FP, select a Bloom Art, and punish the opening.
- First priority: A reliable Emma upgrade that improves your normal combat or recovery.
- Second priority: At least one Koo skill for single targets and one option for groups.
- Third priority: Rapport actions that open more Koo skill slots.
- Fourth priority: Spirit Stones and gear that support the actions already in your rotation.
Avoid spreading points across every available branch at once. A smaller group of upgraded tools is easier to understand and more useful than a long list of weak options.
Beginner FAQ
How do you heal in Beast of Reincarnation?
Rest sites restore HP. Natural healing also works while the hunger gauge is not empty, so carry food and eat before the gauge runs out.
How do you increase rapport with Koo?
Pet Koo, give him treats, and wash him in the Cleanse Walker. Increasing rapport expands the number of skill slots available to him.
What are Florescence Points?
Florescence Points, or FP, power Koo’s Bloom Arts. Emma generates FP by landing successful parries.
Do enemies return when you rest?
Hands-on testing found that defeated enemies do not respawn when using a rest site, and opened environmental routes remain unlocked.
Is Beast of Reincarnation an open-world game?
No. Its stages contain open routes, side objectives, and optional items, but they are separate large areas rather than one continuous open world.
Final Advice
Do not play Emma and Koo as separate systems. Parries create the resource for Bloom Arts, food keeps recovery working, rapport expands Koo’s options, and exploration supplies the gear and ingredients that strengthen both characters.
If the first hours feel busy, focus on that connection. Learn one enemy’s parry timing, use Koo to control the next opening, and build a loadout around the actions you already trust.
For the release date, platforms, Game Pass plans, story setup, and editions, see our Beast of Reincarnation release guide.