Start your first Age of Empires IV skirmish with the English on a land map against an easy AI. Keep producing villagers, gather food and gold for Feudal Age, and build a small army before sending workers far from home. Your first goal is to keep the settlement working while you learn what the enemy is doing.
The English examples below use standard skirmish rules. Campaign missions can change your starting resources and objectives, and other civilizations have different units and age-up systems. The interface screenshots come from the official PC training scenarios; controller menus and newer interface layouts can look different.
Find your Town Center, villagers, and command panel
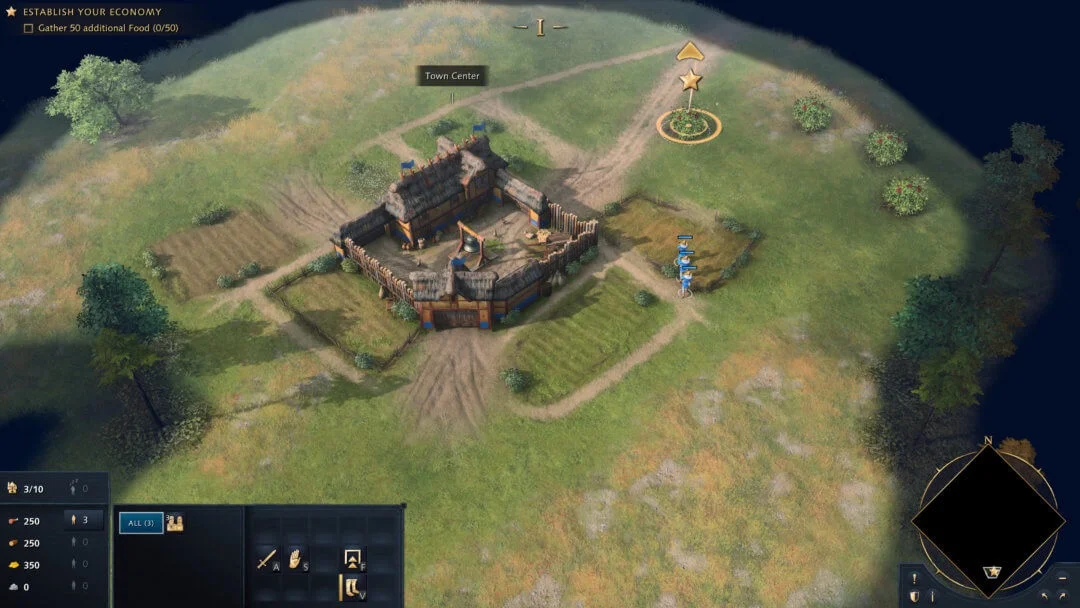
Your Town Center, usually shortened to TC, produces villagers. These workers collect resources and construct buildings. Your scout is a mounted unit used to explore. Select a unit or building and read its name in the lower panel whenever you are unsure what you are looking at; buildings change appearance across civilizations and ages.
Produce a villager and give it a job
- Select the Town Center. Find the Villager portrait in its production panel and hover over it to read the name and cost. Select that button to add a villager to the queue.
- With the Town Center still selected, right-click a nearby food source to set its rally point on PC. New villagers will head there when they finish training. Use the displayed rally-point command if you play with a controller.
- Select an existing villager and right-click a resource to make that worker gather it. Clicking the ground beside a tree only moves the worker; target the tree itself.
- Return to the Town Center regularly. If its queue is empty, check food and population space before doing anything more complicated. Queue a small number of workers at a time so you can still afford urgent buildings.
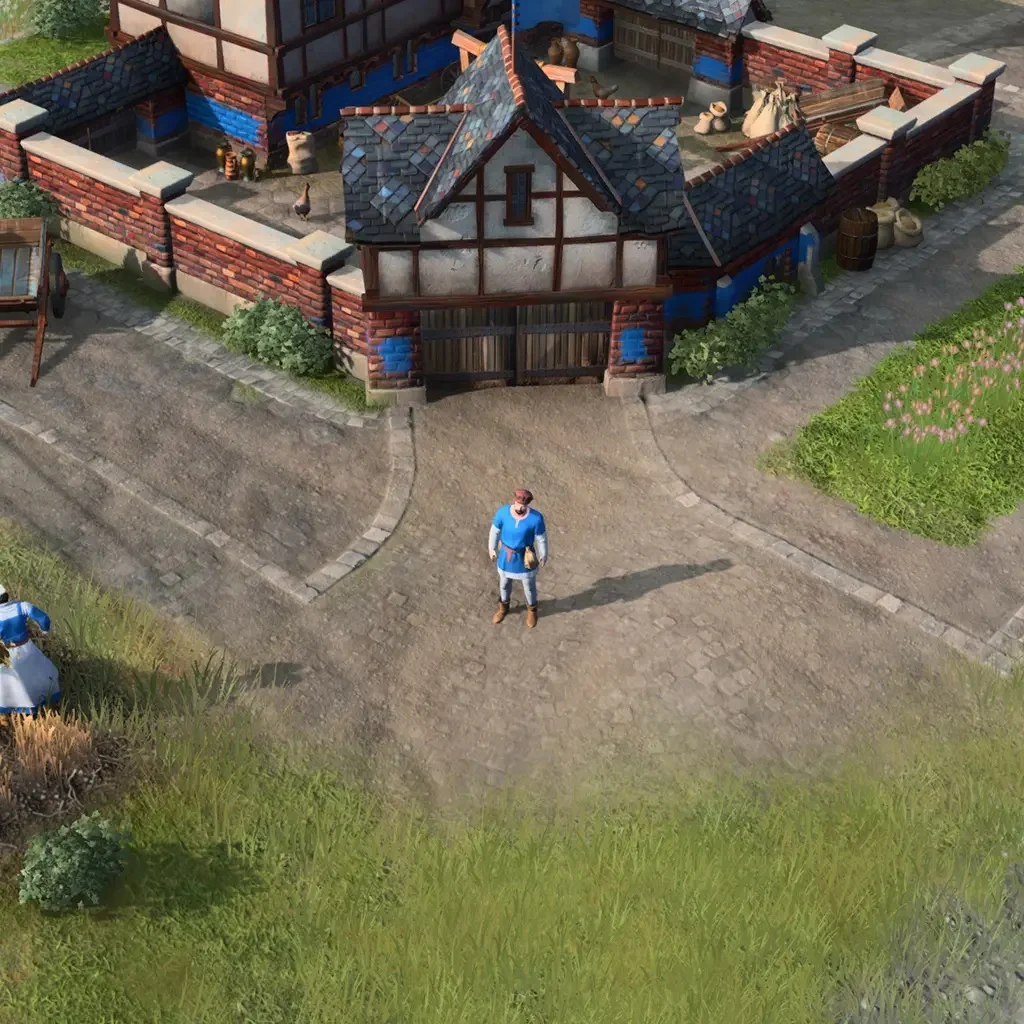
On PC, learn the commands for selecting your Town Center, finding idle villagers, and selecting military production buildings. Put your scout and army on separate control groups. Check your actual key bindings in Settings rather than assuming another player’s shortcuts match yours. A few reliable shortcuts are enough for the first match.
Read the resources and build your first economy
The resource panel shows what you can spend now, not everything your workers will eventually collect. Look at both the stored amount and how many villagers are gathering each resource. An expensive army needs the right income as well as enough production buildings.
- Food pays for villagers and many soldiers, as well as part of each age-up. Sheep are a convenient early source because you can bring them close to the Town Center.
- Wood pays for houses, gathering buildings, military buildings, farms, and many units. A growing food stockpile does not help if you cannot afford the building that trains your army.
- Gold pays for age-ups, many technologies, and stronger or specialized units. For an English opening, begin gathering it early enough to afford the Feudal landmark.
- Stone is mainly an expansion and fortification resource. Do not assign a large early mining group to it unless you have a specific building planned.
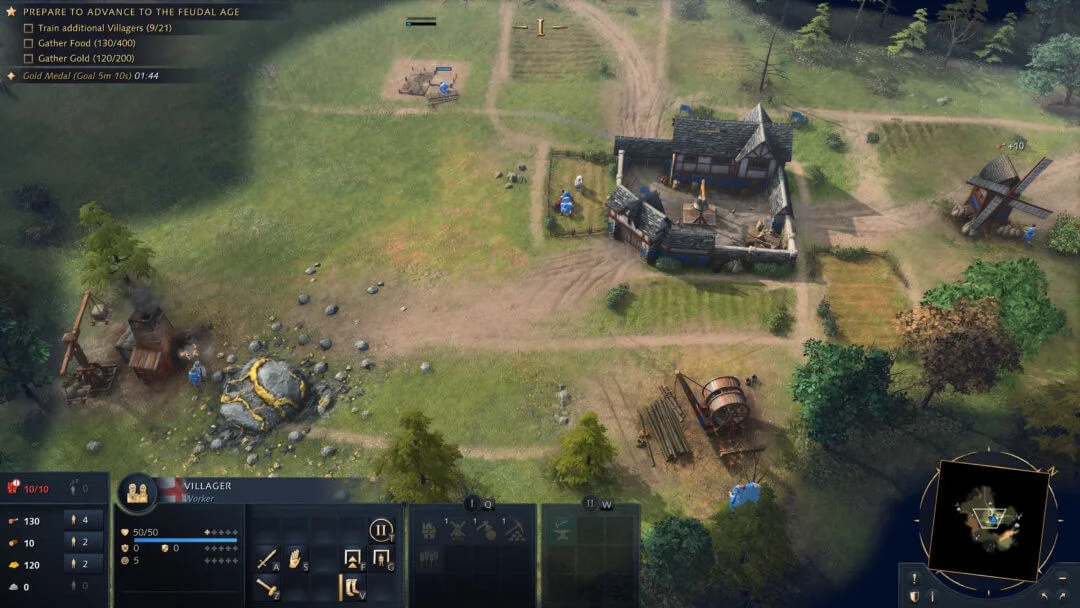
Put drop-off buildings beside the work
For the English, a Lumber Camp receives wood, a Mining Camp receives gold and stone, and a Mill receives food. Workers carry resources to a suitable drop-off building before returning to gather. Long walks reduce the time they spend collecting. Place a camp close to the resource, leaving a usable route around it.
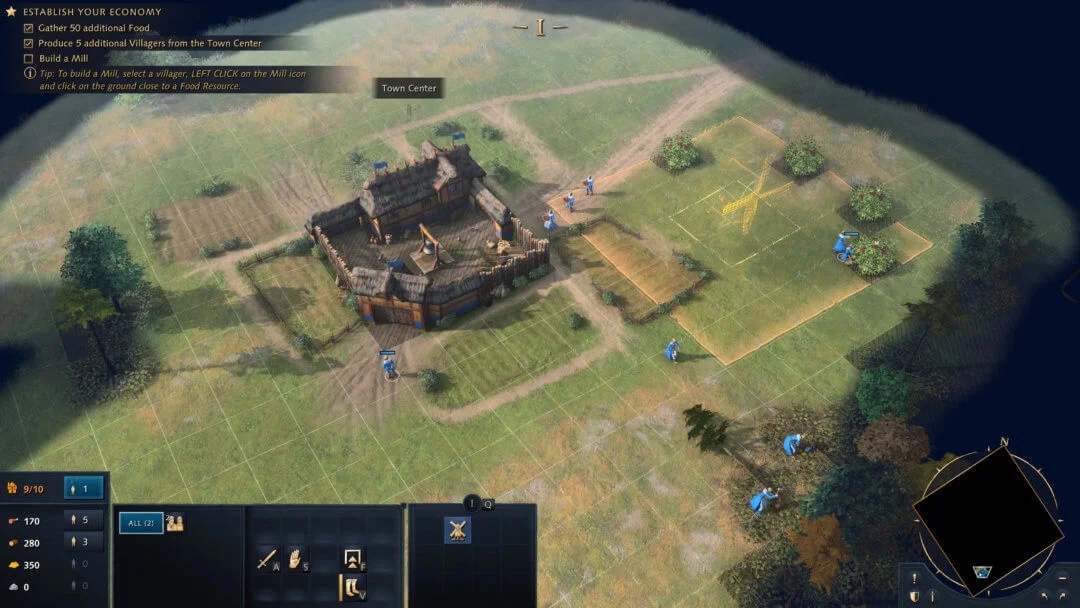
Watch workers after a resource runs out or a building finishes. A villager standing beside an empty sheep carcass or a completed house may need a new order. Use the idle-worker command, then check what caused the idle time so the same group does not stop again.
A first English opening, step by step
Use this as a learning sequence, not a timed tournament build. You are practicing continuous production, safe resource gathering, and an age-up that leads to a usable army. Adjust sooner if your scout spots an attack.
- Queue villagers and begin gathering nearby food. Bring collected sheep beside the Town Center so food workers do not need to walk into the open. Keep your scout moving while the workers gather.
- Build a House before you reach the population cap. A full cap stops new units from finishing, including villagers. Check space again when you add military production.
- Build a Mining Camp beside your safe gold and assign a small group to it. Two gold miners are a manageable starting allocation for this practice opening; adjust if food or gold is falling behind.
- Send new workers to food and wood as needed. Place a Lumber Camp beside a safe forest. Keep enough food coming in to train villagers while saving for the landmark.
- For the English Feudal age-up, save 400 food and 200 gold. Select a villager, open the age-up choice, and read both landmark descriptions before placing one.
- Build the landmark inside a position you can defend. Additional builders finish it sooner, but those workers stop gathering while they build. Send them back to resources afterward.
- Once Feudal Age is reached, produce units that answer what you have scouted. With Council Hall, start Longbowmen and add a Barracks for Spearmen if cavalry threatens them. Keep checking the Town Center while training soldiers.
If you run out of food during construction, move more workers onto food rather than letting the Town Center sit empty. If you have food but cannot afford houses or a Barracks, shift some new workers onto wood. A fixed allocation becomes wrong as soon as your spending changes.
What a landmark looks like and which one to choose
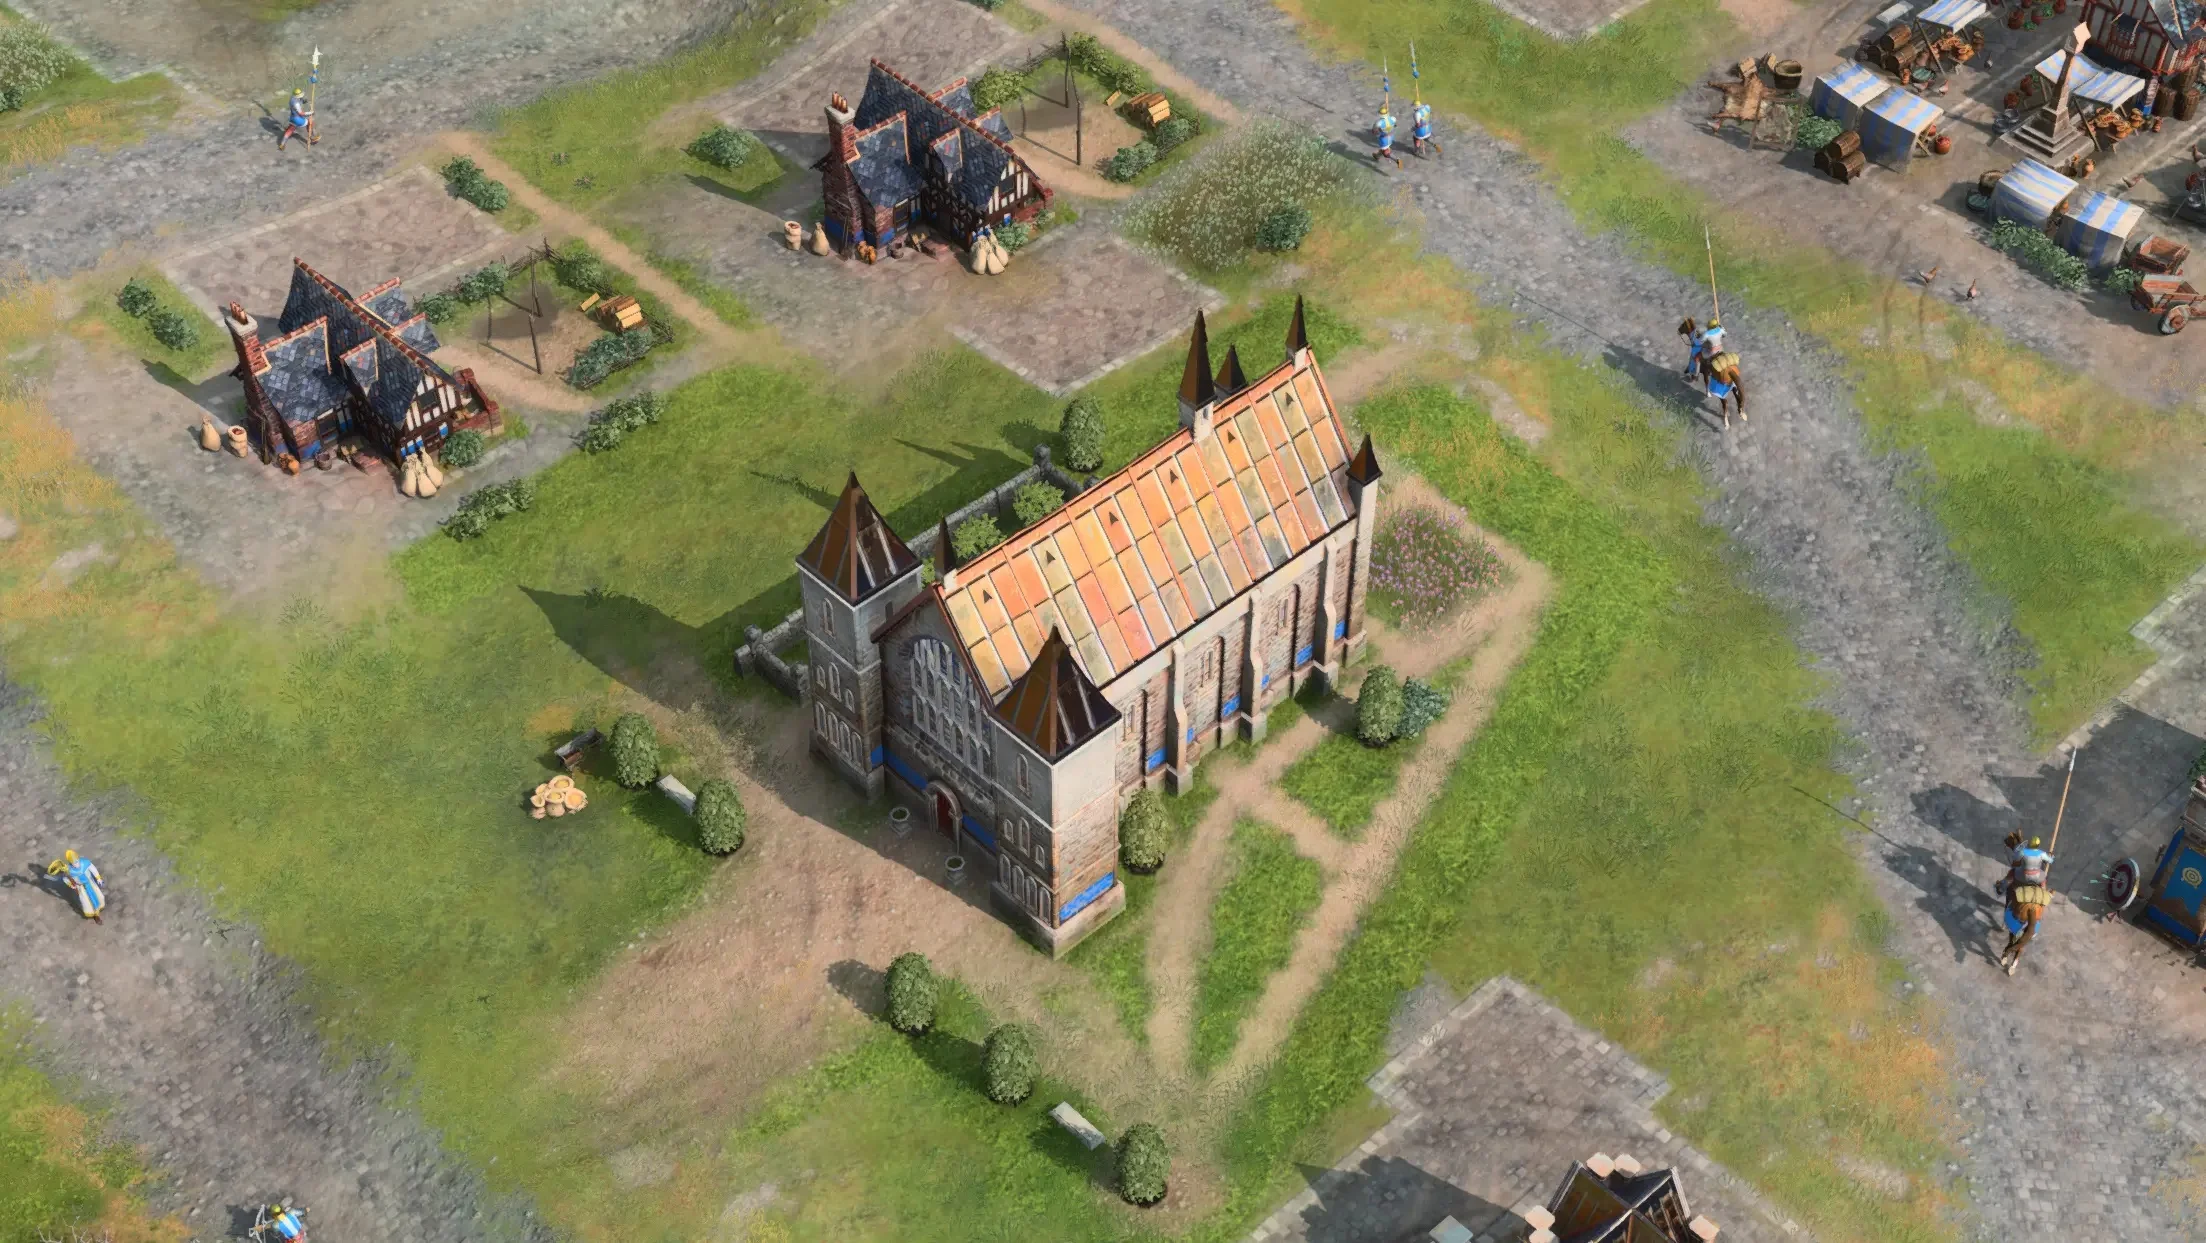
A landmark is a special building tied to advancing through the ages for many civilizations. It also gives a military, economic, or defensive benefit. Your choice should match what you can use next: fast unit production is valuable only if you can pay for the units.
- Council Hall supports an English ranged-army opening with faster production. For this first-match plan, it gives you a clear next action after aging up: train Longbowmen and protect them.
- Abbey of Kings offers healing and the King, a mounted unit. It requires a different plan from simply producing Longbowmen, so read the landmark and King abilities before choosing it.
Do not place your landmark beside an exposed enemy route just because it fits there. You need access to the building after it finishes, and losing builders on the way can delay the entire age-up. Leave room around military buildings so reinforcements can move out.
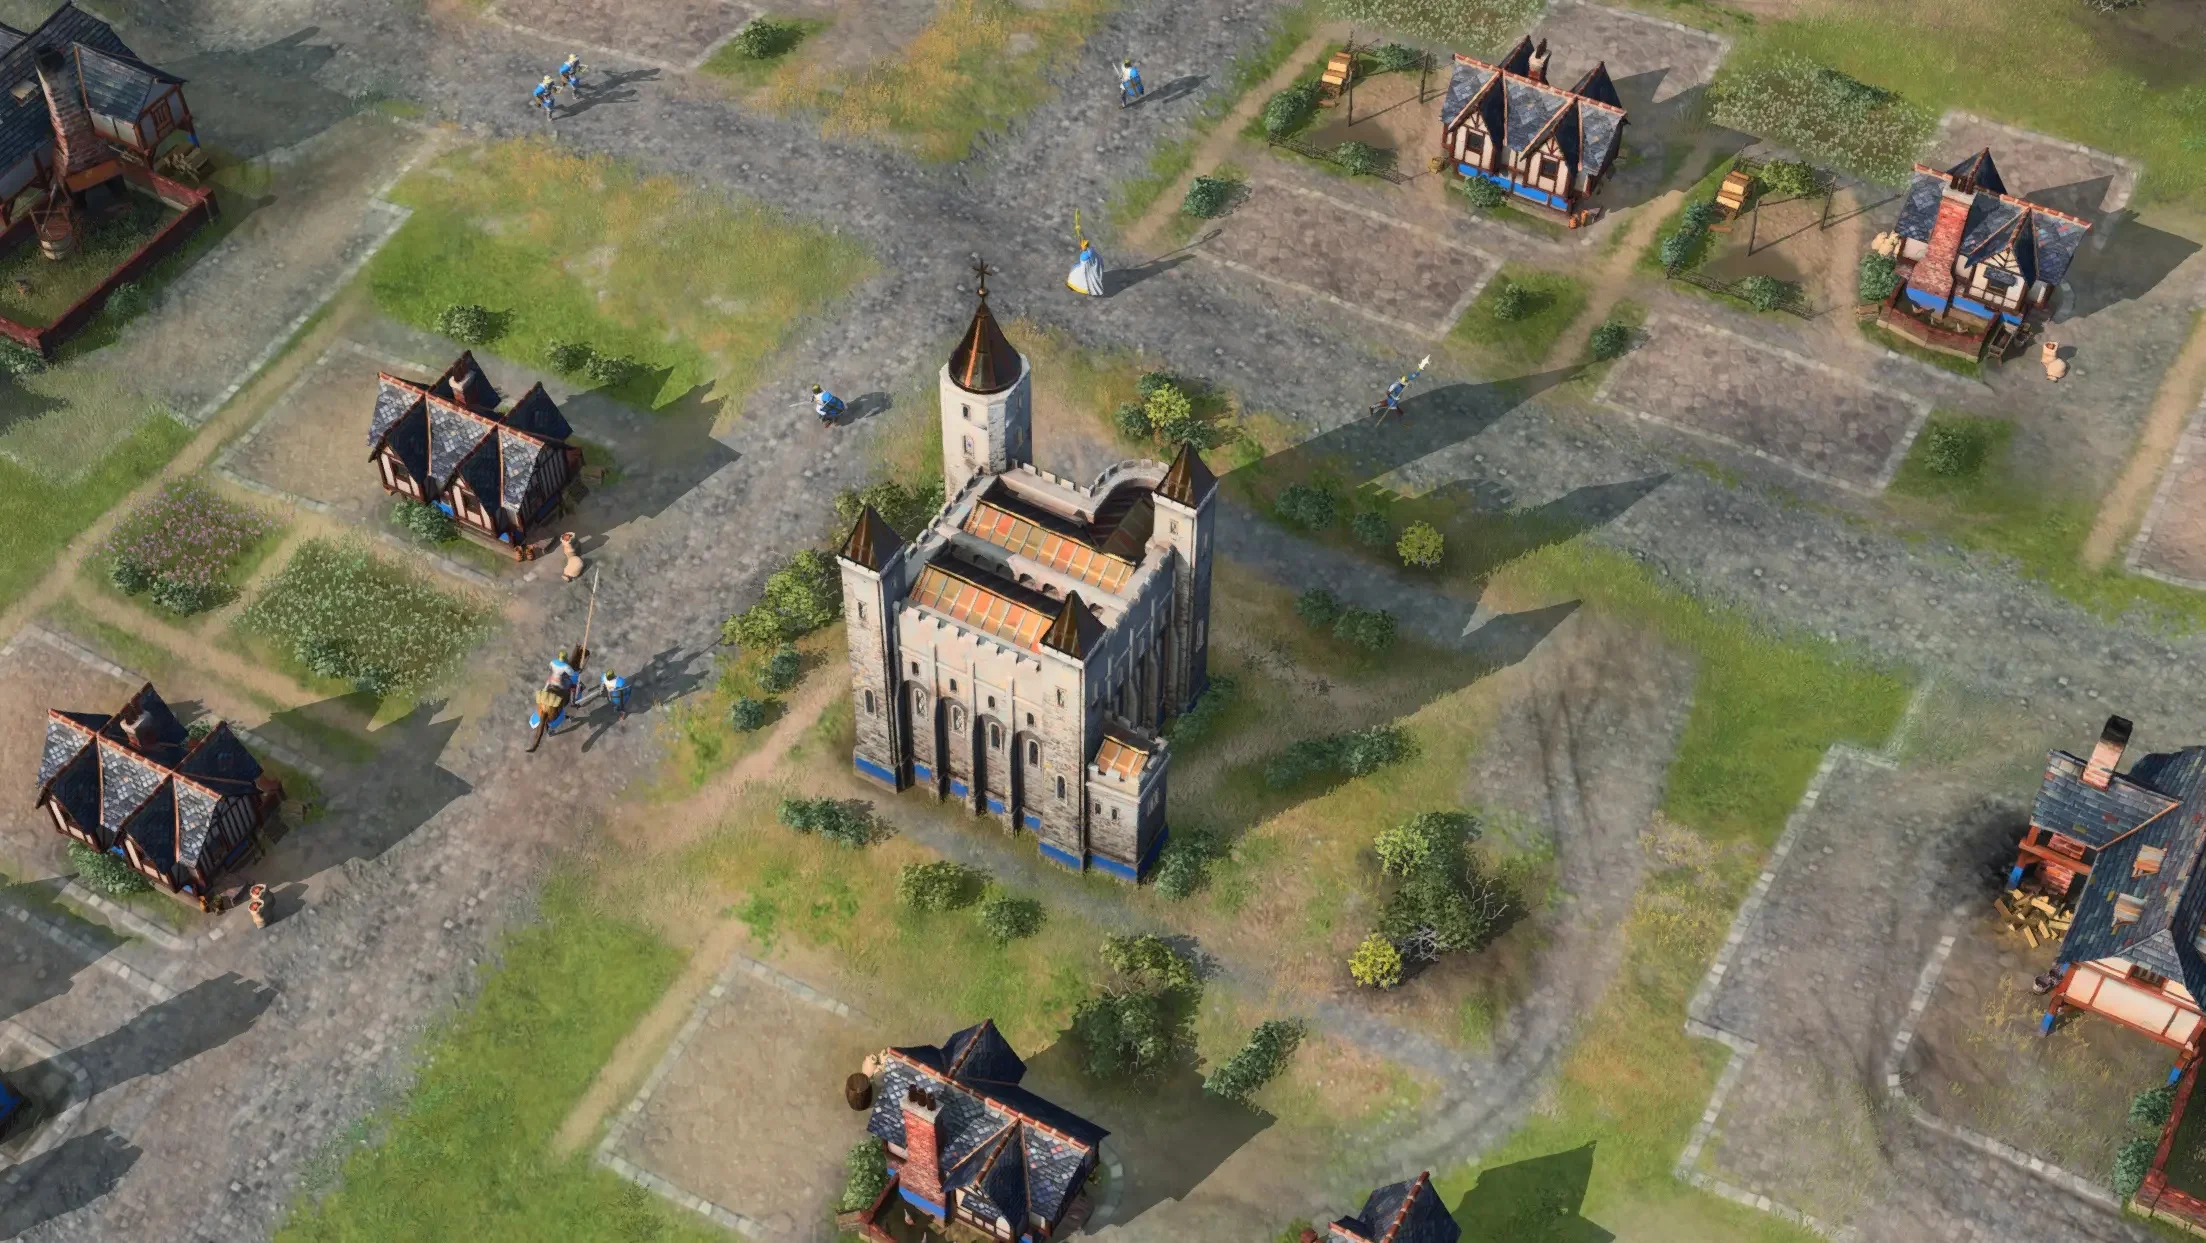
Later choices should answer the match you are actually playing. If attacks keep reaching the same resource line, a defensive position has a purpose. If you are safe and investing in workers, an economic route may be easier to use. Check the technology tree before committing; a landmark is not a general upgrade to every unit.
Do not copy this age-up procedure blindly to every civilization. The Abbasid Dynasty advances through wings of the House of Wisdom, for example. When changing civilizations, first learn the age-up building, the opening food source, and the units available in Feudal Age.
Scout for information you can act on
Make a first loop around your base to find sheep, food, gold, wood lines, and routes an enemy could use. Bring sheep home before your starting food disappears. Then explore toward the opponent without riding under their Town Center. Keeping the scout alive lets you check again after the enemy changes plans.
- Visible mounted units: keep Spearmen near exposed workers and your ranged army. Check whether the enemy also has archers that can kill those Spearmen.
- Several ranged units: consider Horsemen, but first look for a protecting spear line. Attacking from the side may be safer than charging straight through it.
- A new economic expansion: decide whether to pressure its workers or grow your own economy. Do not assume it is undefended without seeing it.
- Few visible soldiers: scout production buildings and other approaches. An empty patch of map does not prove that the whole enemy army is absent.
A Stable tells you cavalry can be produced; it does not tell you how many units already exist. Refresh your information before a major attack. If your scout dies, replacing it can be more useful than committing an expensive army with no idea what is waiting.
Recognize units before choosing a counter
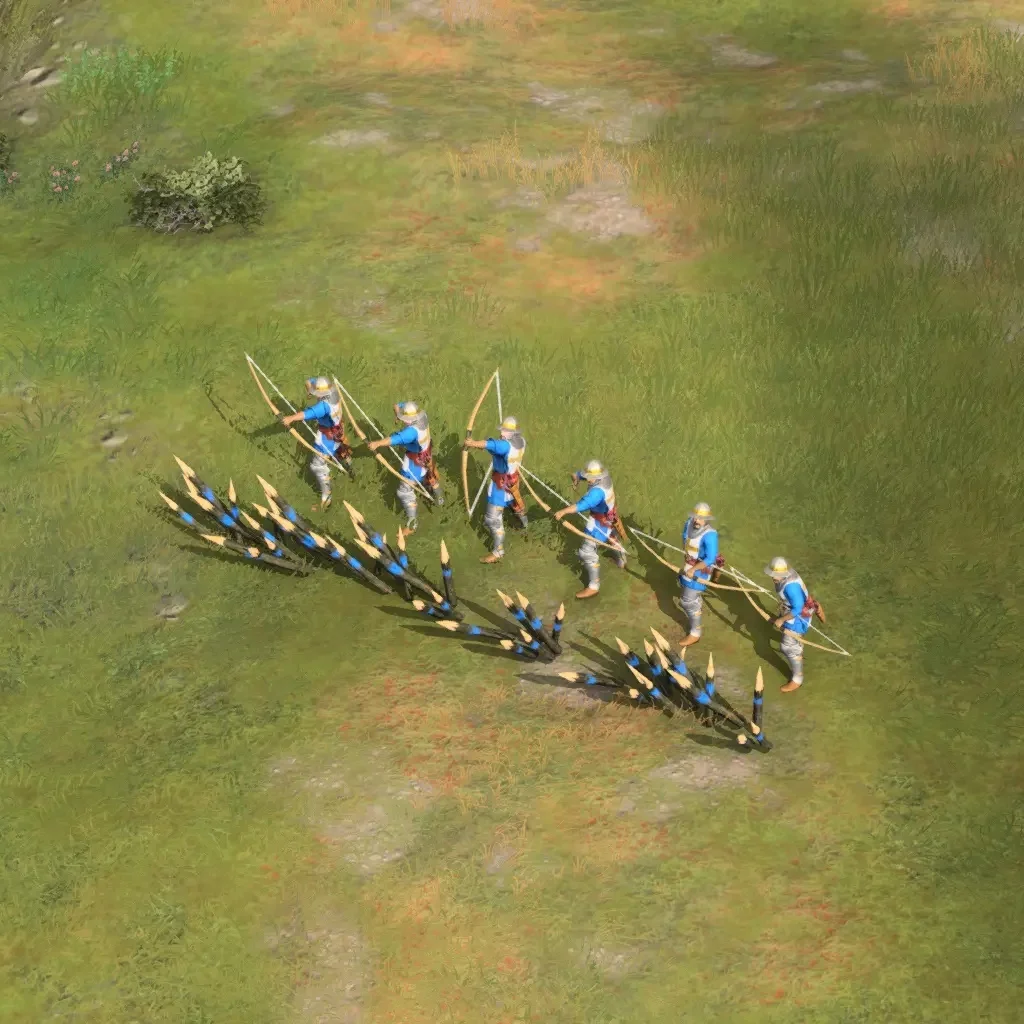
A counter is a unit that fights a particular enemy efficiently. The basic spear–cavalry–archer relationship helps, but armor changes the answer. Select an unfamiliar enemy and read its name and unit type. “Mounted” does not automatically mean a lightly armored Horseman, and a soldier on foot may be a heavily armored Man-at-Arms.
Quick counter reference
- Against Horsemen: use Spearmen to protect the targets the cavalry wants to reach. Do not send the Spearmen chasing across the map while your archers are left alone.
- Against Spearmen: use Archers or English Longbowmen. Keep shooting from range instead of letting the Spearmen close the distance.
- Against ordinary Archers: Horsemen can reach them quickly. Pull back if the archers are protected by Spearmen, a Town Center, or a narrow defensive entrance.
- Against Knights or Lancers: Spearmen provide an accessible defensive answer; Crossbowmen add an anti-heavy option once available. Keep the Crossbowmen behind protection.
- Against Men-at-Arms: standard arrows are inefficient against their armor. Use an appropriate anti-heavy unit such as a Crossbowman when your civilization and age provide it.
- Against Crossbowmen: they are valuable against heavy targets, but are vulnerable when light cavalry reaches them. Check their escort before committing Horsemen.
- Against siege weapons: look for an exposed side or an unguarded reinforcement route. Fast melee units can punish unsupported siege, but charging into its full escort may lose your army first.
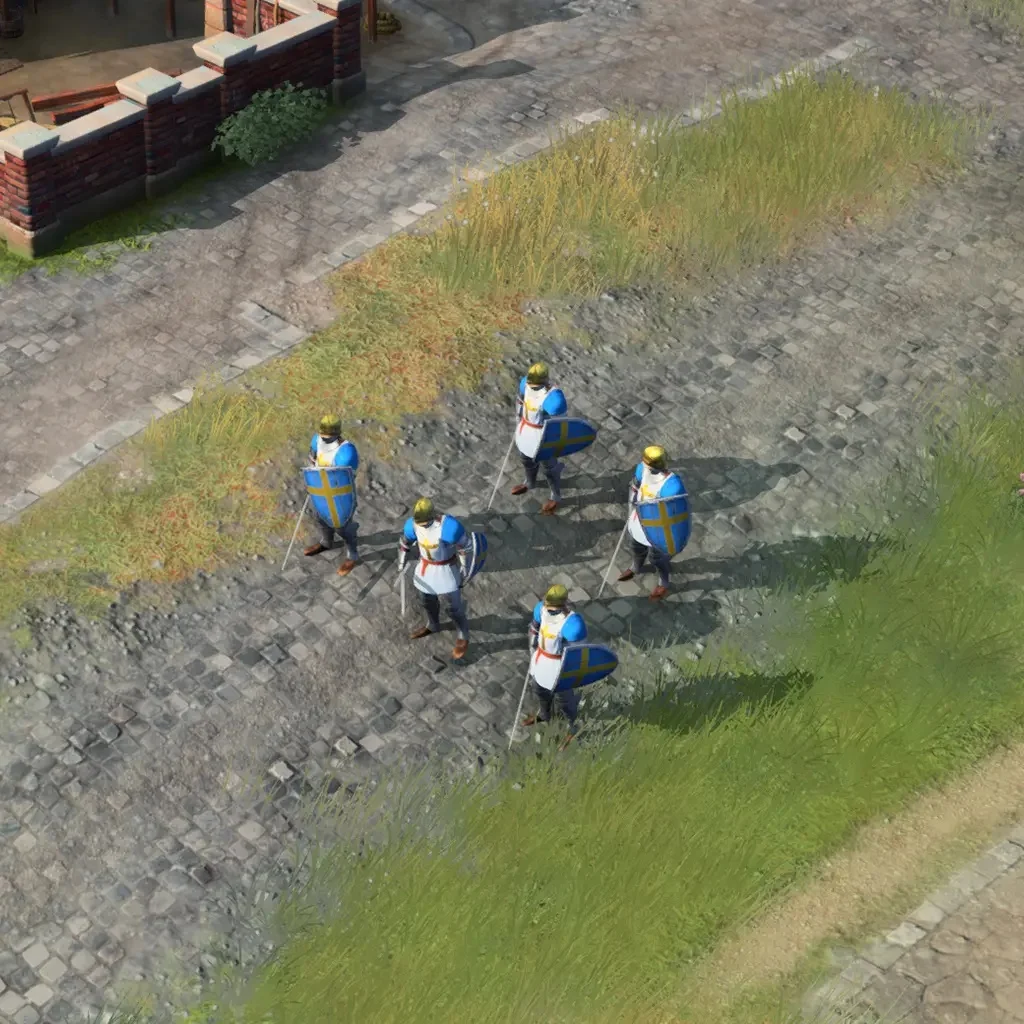
A counter is not a promise that five units will defeat twenty. Numbers, upgrades, positioning, and reinforcements still matter. If your supposed counter loses, check whether it attacked the right target and whether another enemy unit was doing most of the damage.
Build two units that protect each other
For an English Feudal army, Longbowmen plus Spearmen gives each group a clear job. Spearmen stay between cavalry and your bows; Longbowmen remove enemy light infantry. If Knights arrive with Archer support, letting all your Spearmen run forward gives the enemy Archers an easy target. Keep the formation together and focus your bows on that support.
In Castle Age, adding Crossbowmen helps against heavy units. This does not mean replacing every Longbowman: an opponent mixing Spearmen and Men-at-Arms presents two different targets. Build the mix needed for the enemy army you can see, and keep enough production to replace losses.
Fight without stopping your economy
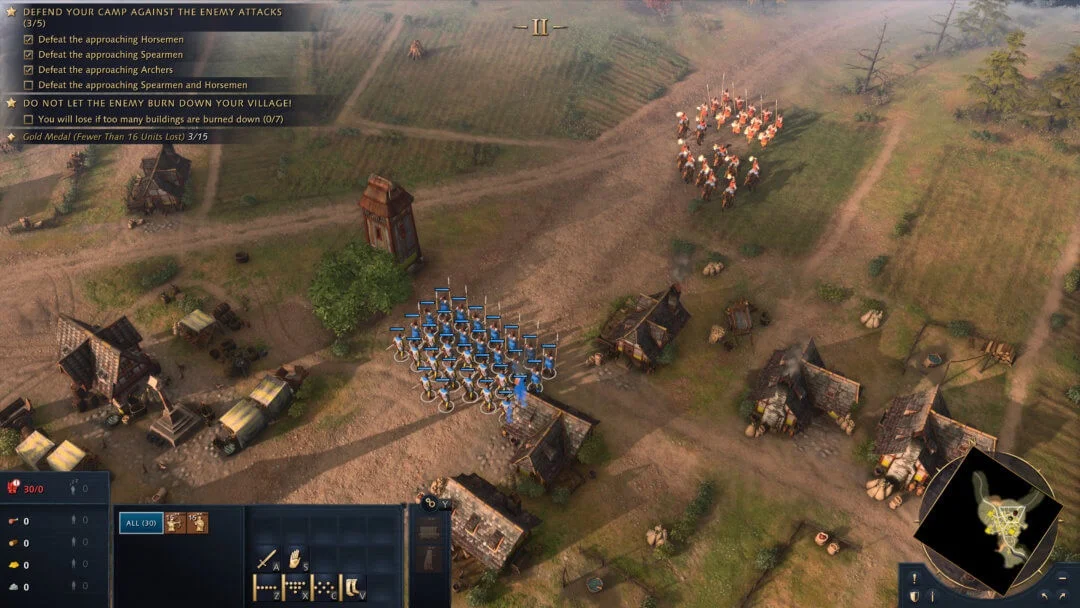
Keep ranged units and the protective melee line in separate control groups when you can manage them. Move the melee line first, then bring the ranged units into firing distance. If you click a distant enemy directly, your army may chase it through defenses; use an attack-move command for a general advance and specific targeting when you need to remove a particular threat.
Before an engagement, queue reinforcements and check population space. During a quiet moment, return to the Town Center and your idle workers. After the fight, regroup surviving units before sending them forward again. A stream of single replacements is easy for an intact enemy army to defeat.
Retreat when the fight becomes unfavorable. Moving away with part of the army alive leaves you something to defend with while replacements arrive. Do not spend so much attention saving one wounded archer that the Town Center, houses, and production all stop.
Survive raids on your villagers
A raid is an attack on workers or another exposed target, often by a small mobile group. You do not have to chase every raider down immediately. Protect the resource line, keep producing, and avoid giving the attacker more worker kills while you react.
- Move the threatened workers toward safety. Garrison them in a suitable nearby building if there is room, or move them away from the attack along a safe route.
- Send the appropriate defenders to the resource line. Against cavalry, keep Spearmen near the workers instead of pursuing the horsemen until they disappear.
- Check the minimap for a second attack. Sending the entire army to one side can leave the other wood line undefended.
- Return workers to gathering once the danger passes. Garrisoned villagers are safer but are not collecting resources. Recheck damaged buildings and idle production.
Short walls and an Outpost can make a vulnerable approach easier to defend, but place them to protect something specific. A tower that workers cannot reach in time will not solve that resource line’s problem. Avoid spending all your wood on defenses while the army you need remains unbuilt.
Replace sheep before your food income collapses
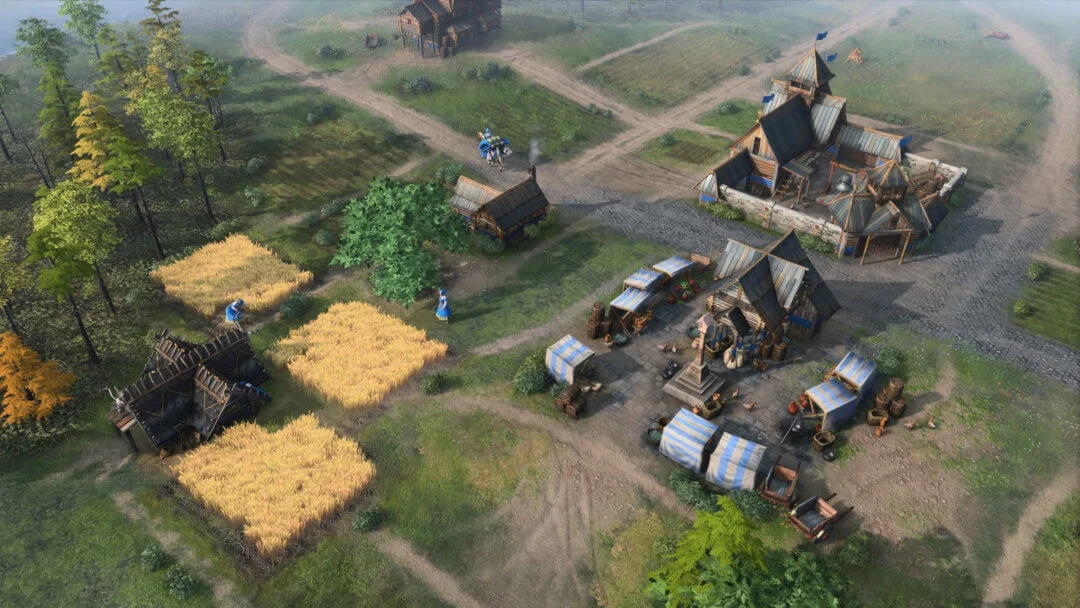
Look at the food sources your villagers are using before the last sheep disappears. Nearby berries or deer can provide a next step, but exposed food needs scouting and protection. Move workers in manageable groups rather than sending the entire food economy into unexplored territory.
Add farms gradually when you can afford the wood. For the English, cheaper farms make this transition easier, but buying a large batch at once can still delay houses, military buildings, and units. Keep farms close to a suitable drop-off point and avoid leaving workers waiting while you save for every plot.
Use the resource panel to diagnose the next shortage. Lots of gold with no food suggests the army or villager queue needs a different worker balance. Lots of wood with no army may mean you need production buildings and units, not another group of lumberjacks. Move a few workers, spend the stockpile, and check again.
When to age up or add a second Town Center
Advance when you can use what the next age unlocks and survive while paying for it. Saving for Castle Age while an enemy army enters your base can leave you with neither enough defenders nor a completed landmark. If pressure is immediate, spend on defense first.
After advancing, check the unit upgrades in your production buildings. Reaching a new age does not automatically research every Veteran or Elite upgrade. Also check relevant Blacksmith upgrades, but avoid buying technologies for units you are not making. The same resources may be needed for the next reinforcement group.
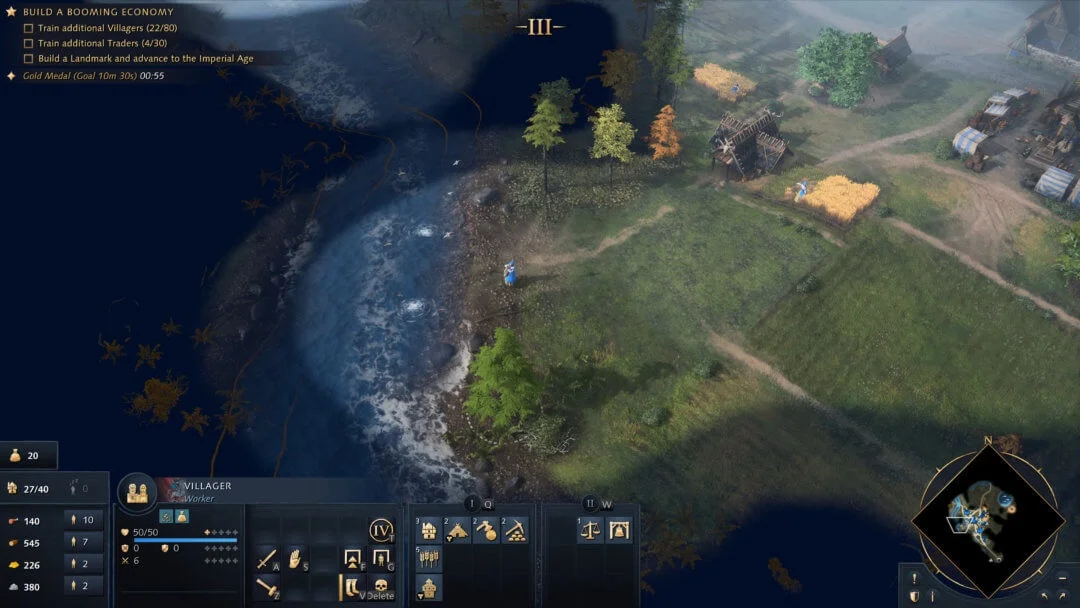
A second Town Center is a commitment to producing and feeding more villagers. Add it when you can defend the location, keep both worker queues active, and still afford an army. If your first Town Center regularly sits idle, fix that habit before paying for another one.
Once religious units and relic collection are available to your civilization, use the locations your scout found. Escort the collector and bring relics to an appropriate building for income. Do not send a lone religious unit through the enemy army simply because a relic is visible on the minimap.
Use the right siege weapon for the job
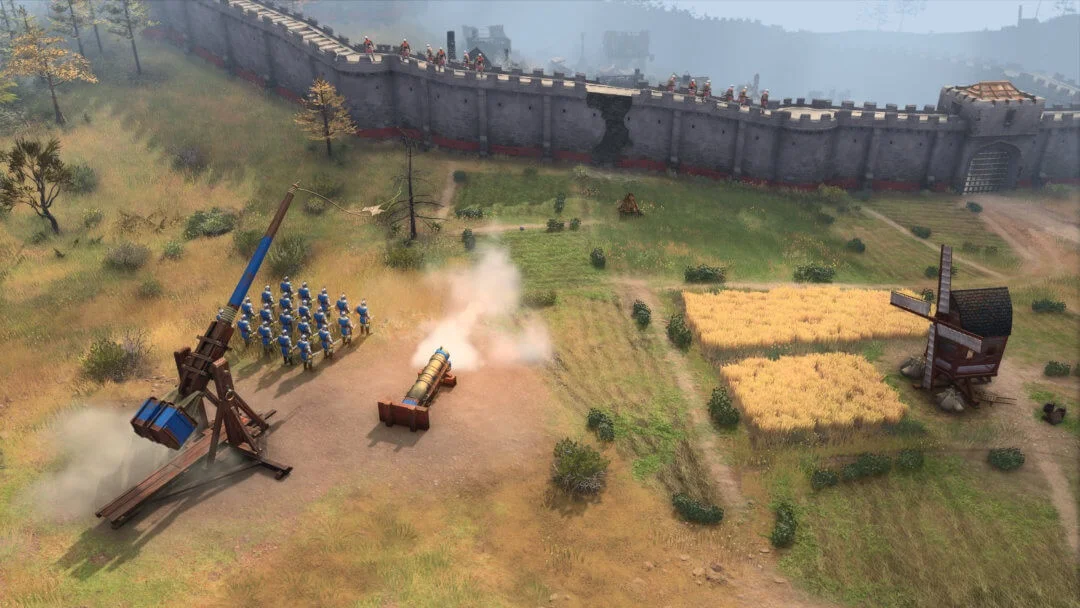
- Battering Ram: a close-range building attacker. Bring enough troops to protect it and deal with defenders; a ram on its own is an expensive invitation to surround it.
- Trebuchet: attacks buildings from long range. Use it to force a response from a defended position while keeping your army between it and the enemy.
- Bombard: a later gunpowder option for damaging buildings. Do not move it ahead of its escort while chasing the next target.
- Mangonel: useful against clustered ranged troops. Protect it from a flank and do not assume the enemy will stand still for every shot.
- Springald: its reworked role targets melee infantry with bolts that pass through units. Older guides describing it as the standard anti-siege weapon are outdated.
If a siege weapon cannot attack, check its target, range, path, and setup state before issuing repeated orders. A wall, cramped route, or retreating escort can leave it in a bad position. Pull it back with the army instead of leaving it behind after a lost fight.
Turn an advantage into a win
After winning a battle, pick a useful objective: deny an exposed gold mine, destroy military production, or establish a safe position for siege. Standing beneath defensive fire to kill one fleeing unit can waste the advantage. Keep replacements coming and secure the route between your base and the front.
Check the match’s enabled victory conditions. Standard options include destroying enemy landmarks, controlling Sacred Sites, and defending a Wonder. Follow the objective display and its timer when one is active. Campaign missions may instead require a particular destination, surviving army, or named target.
Destroying one building does not necessarily finish the match. Scout for remaining objectives and reinforcements. If the opponent starts a victory countdown, respond to that objective rather than continuing an unrelated attack on a remote resource camp.
Common beginner problems and what to change
- “I cannot train anything.” Check the population cap, required resources, age requirement, and whether you selected the right production building. Build a House before queuing another large group.
- “I have resources but no army.” Add the production buildings your economy can support, then actually queue units. One busy building can only train so quickly.
- “My villagers keep dying.” Scout the route to new resources, keep defenders nearby, and avoid moving the whole economy outside the defended area at once.
- “My arrows barely hurt those soldiers.” Select the enemy and check for heavy armor. Change the unit mix rather than sending more of the same ineffective attack.
- “I reached Castle Age and still lost.” Check army size, unit upgrades, and the cost of the age-up. A technology advantage is not enough if the opponent has a much larger force already fighting.
- “My troops arrive one at a time.” Set production rally points to a safe gathering area, combine replacements, and move them with an escort if the route is contested.
- “I was winning, then ran out of food.” Review when sheep ended and when farms or the next food source began. Start that transition before the shortage.
What to practice in your next three games
Game one: stay with the English and focus on workers, houses, and a completed Feudal landmark. Afterward, review where the Town Center stopped producing and which resource caused the delay. Do not try to fix every mistake at once.
Game two: scout the enemy before choosing your first army mix. Practice keeping Longbowmen behind Spearmen, then look at whether each group attacked the target it was meant to handle.
Game three: plan the food transition and protect one expansion. Add siege only when you have an army able to escort it, then choose a building or objective that helps finish the match.
Use the Art of War Early Economy and Basic Combat challenges to repeat the parts that still feel unfamiliar. The siege challenges let you see the machines and practice their jobs without first building an entire skirmish economy. On water maps, learn docks and naval production separately before expecting this land opening to cover everything.
Explore Age of Empires IV, screenshots, and related coverage
Browse the Age of Empires series
Playing the older game? Read our Age of Empires II: Definitive Edition beginner guide