S.T.A.L.K.E.R. 2: Heart of Chornobyl does not have one best gun for every fight. GSC Game World's weapon guide describes trade-offs instead: pistols are light backups, shotguns are for close spaces, assault rifles cover a broad middle range, and sniper rifles trade mobility for distance.
Choose each weapon for a specific role. Then check compatibility, maintenance, ammunition, and fire mode before leaving a hub. This guide explains those choices without ranking individual guns.
Choose a weapon category for the range you expect
Pistols: a light backup
GSC describes pistols as light, common, and useful at close range. They can also be used with a detector. Their limited range and lower firepower make them a poor replacement for a primary weapon in a serious long-range fight.
Use a pistol when it solves a clear problem: finishing a nearby target, keeping a detector available, or saving ammunition for your main weapon. Do not build a whole loadout around a pistol unless the current fight is already close and controlled.
SMGs and assault rifles: mobile fire or flexible middle range
Submachine guns trade range for automatic fire, mobility, and lower recoil. Their ammunition can disappear quickly in automatic fire, so they work best when you expect short engagements and have enough compatible rounds.
Assault rifles are the flexible middle option. GSC describes them as balanced across accuracy, velocity, and damage, but notes that extended fire can use ammunition quickly and that recoil and hip-fire spread matter. A scope, short bursts, or single shots can make more sense than holding the trigger through a distant fight.
Shotguns, sniper rifles, and machine guns: commit to a specific job
Shotguns are for close spaces, mutants, and enemies behind the next doorway. Their power drops at distance, and their weight and reload rhythm make open ground a poor place to rely on one alone.
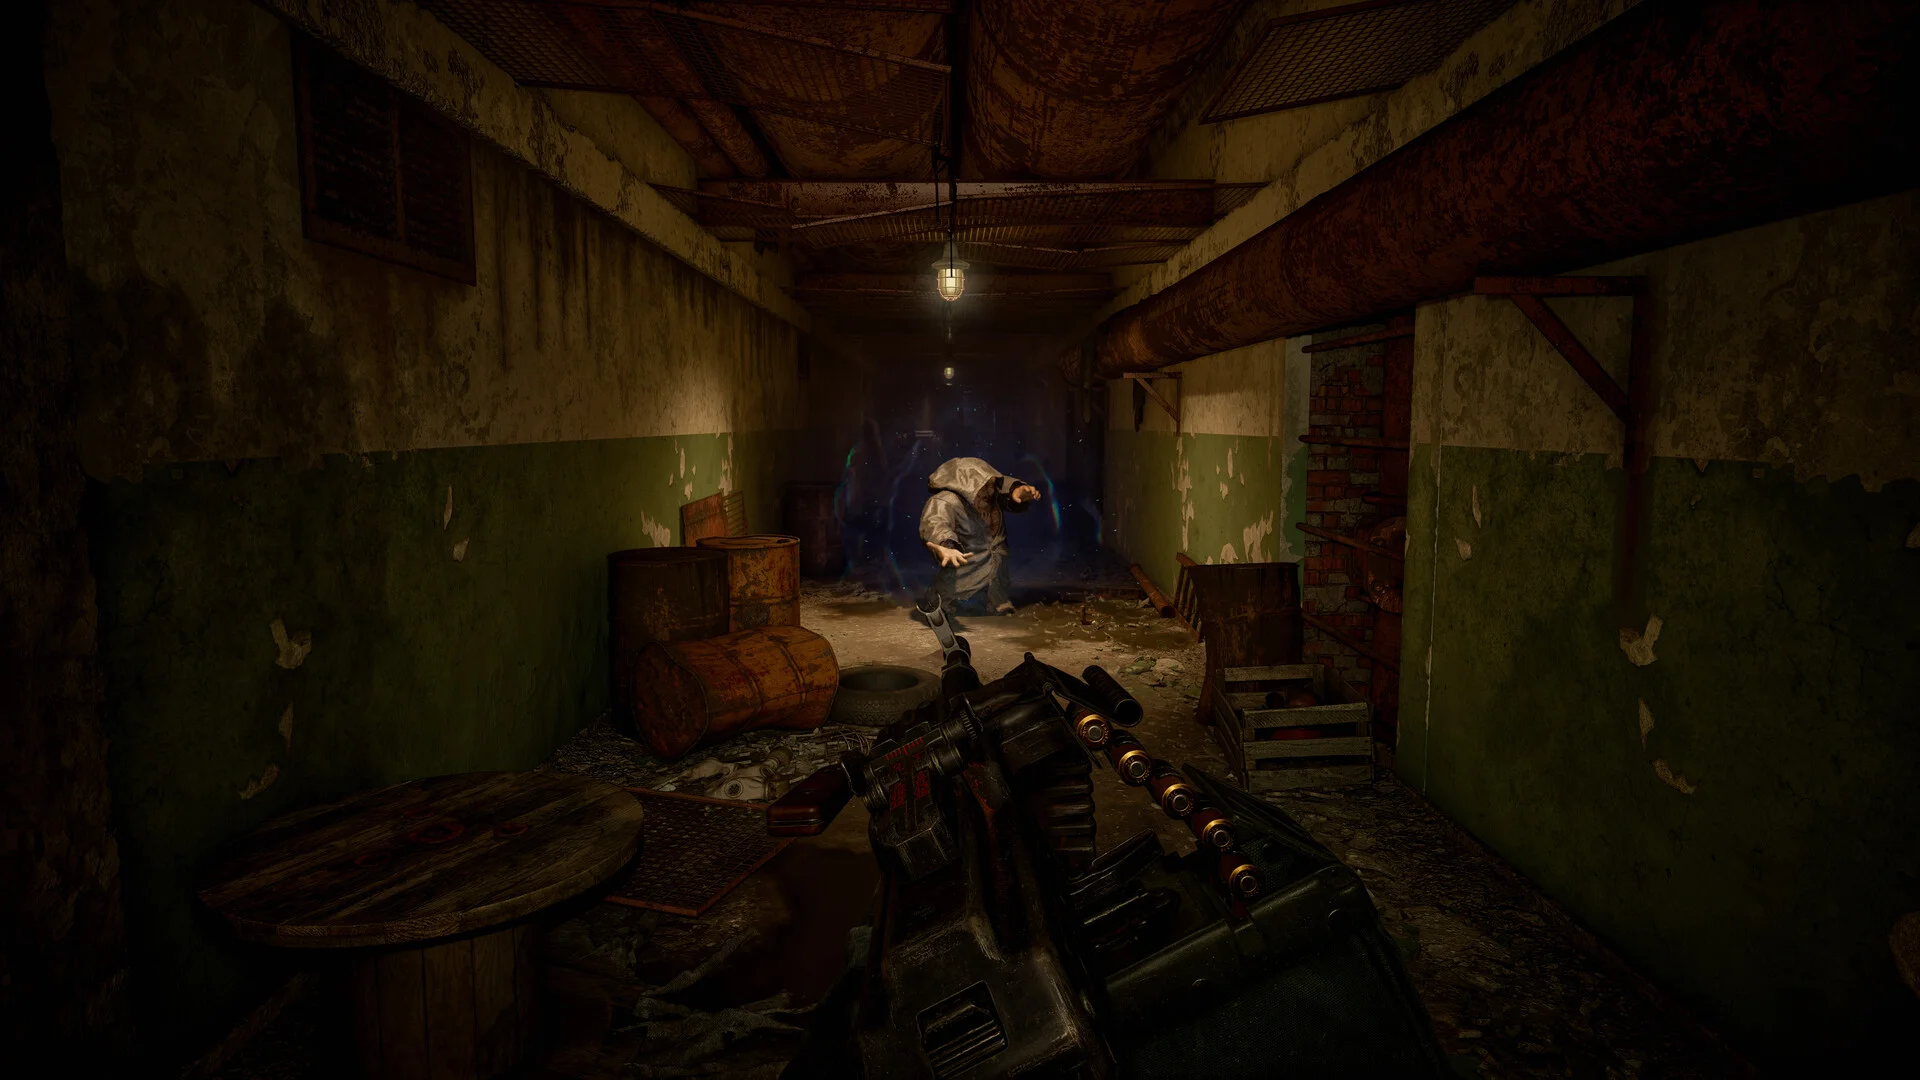
Sniper rifles are for distance and a prepared firing position. They offer range and power but are heavy, slower to reload, and awkward when a fight moves close. A machine gun gives sustained fire and a larger magazine, but GSC also describes it as extremely heavy and less suited to moving quickly.
These limits point to a practical pairing, not a universal loadout: take one weapon for the range you expect to fight at and one option that covers its clear weakness. A shotgun and a scoped rifle solve different distance problems. A heavy machine gun may need a lighter companion for travel and close movement. The right pair depends on your ammunition, weight, and the area ahead.
Check compatibility before buying or mounting an attachment
Attachments and technician upgrades are not the same system.
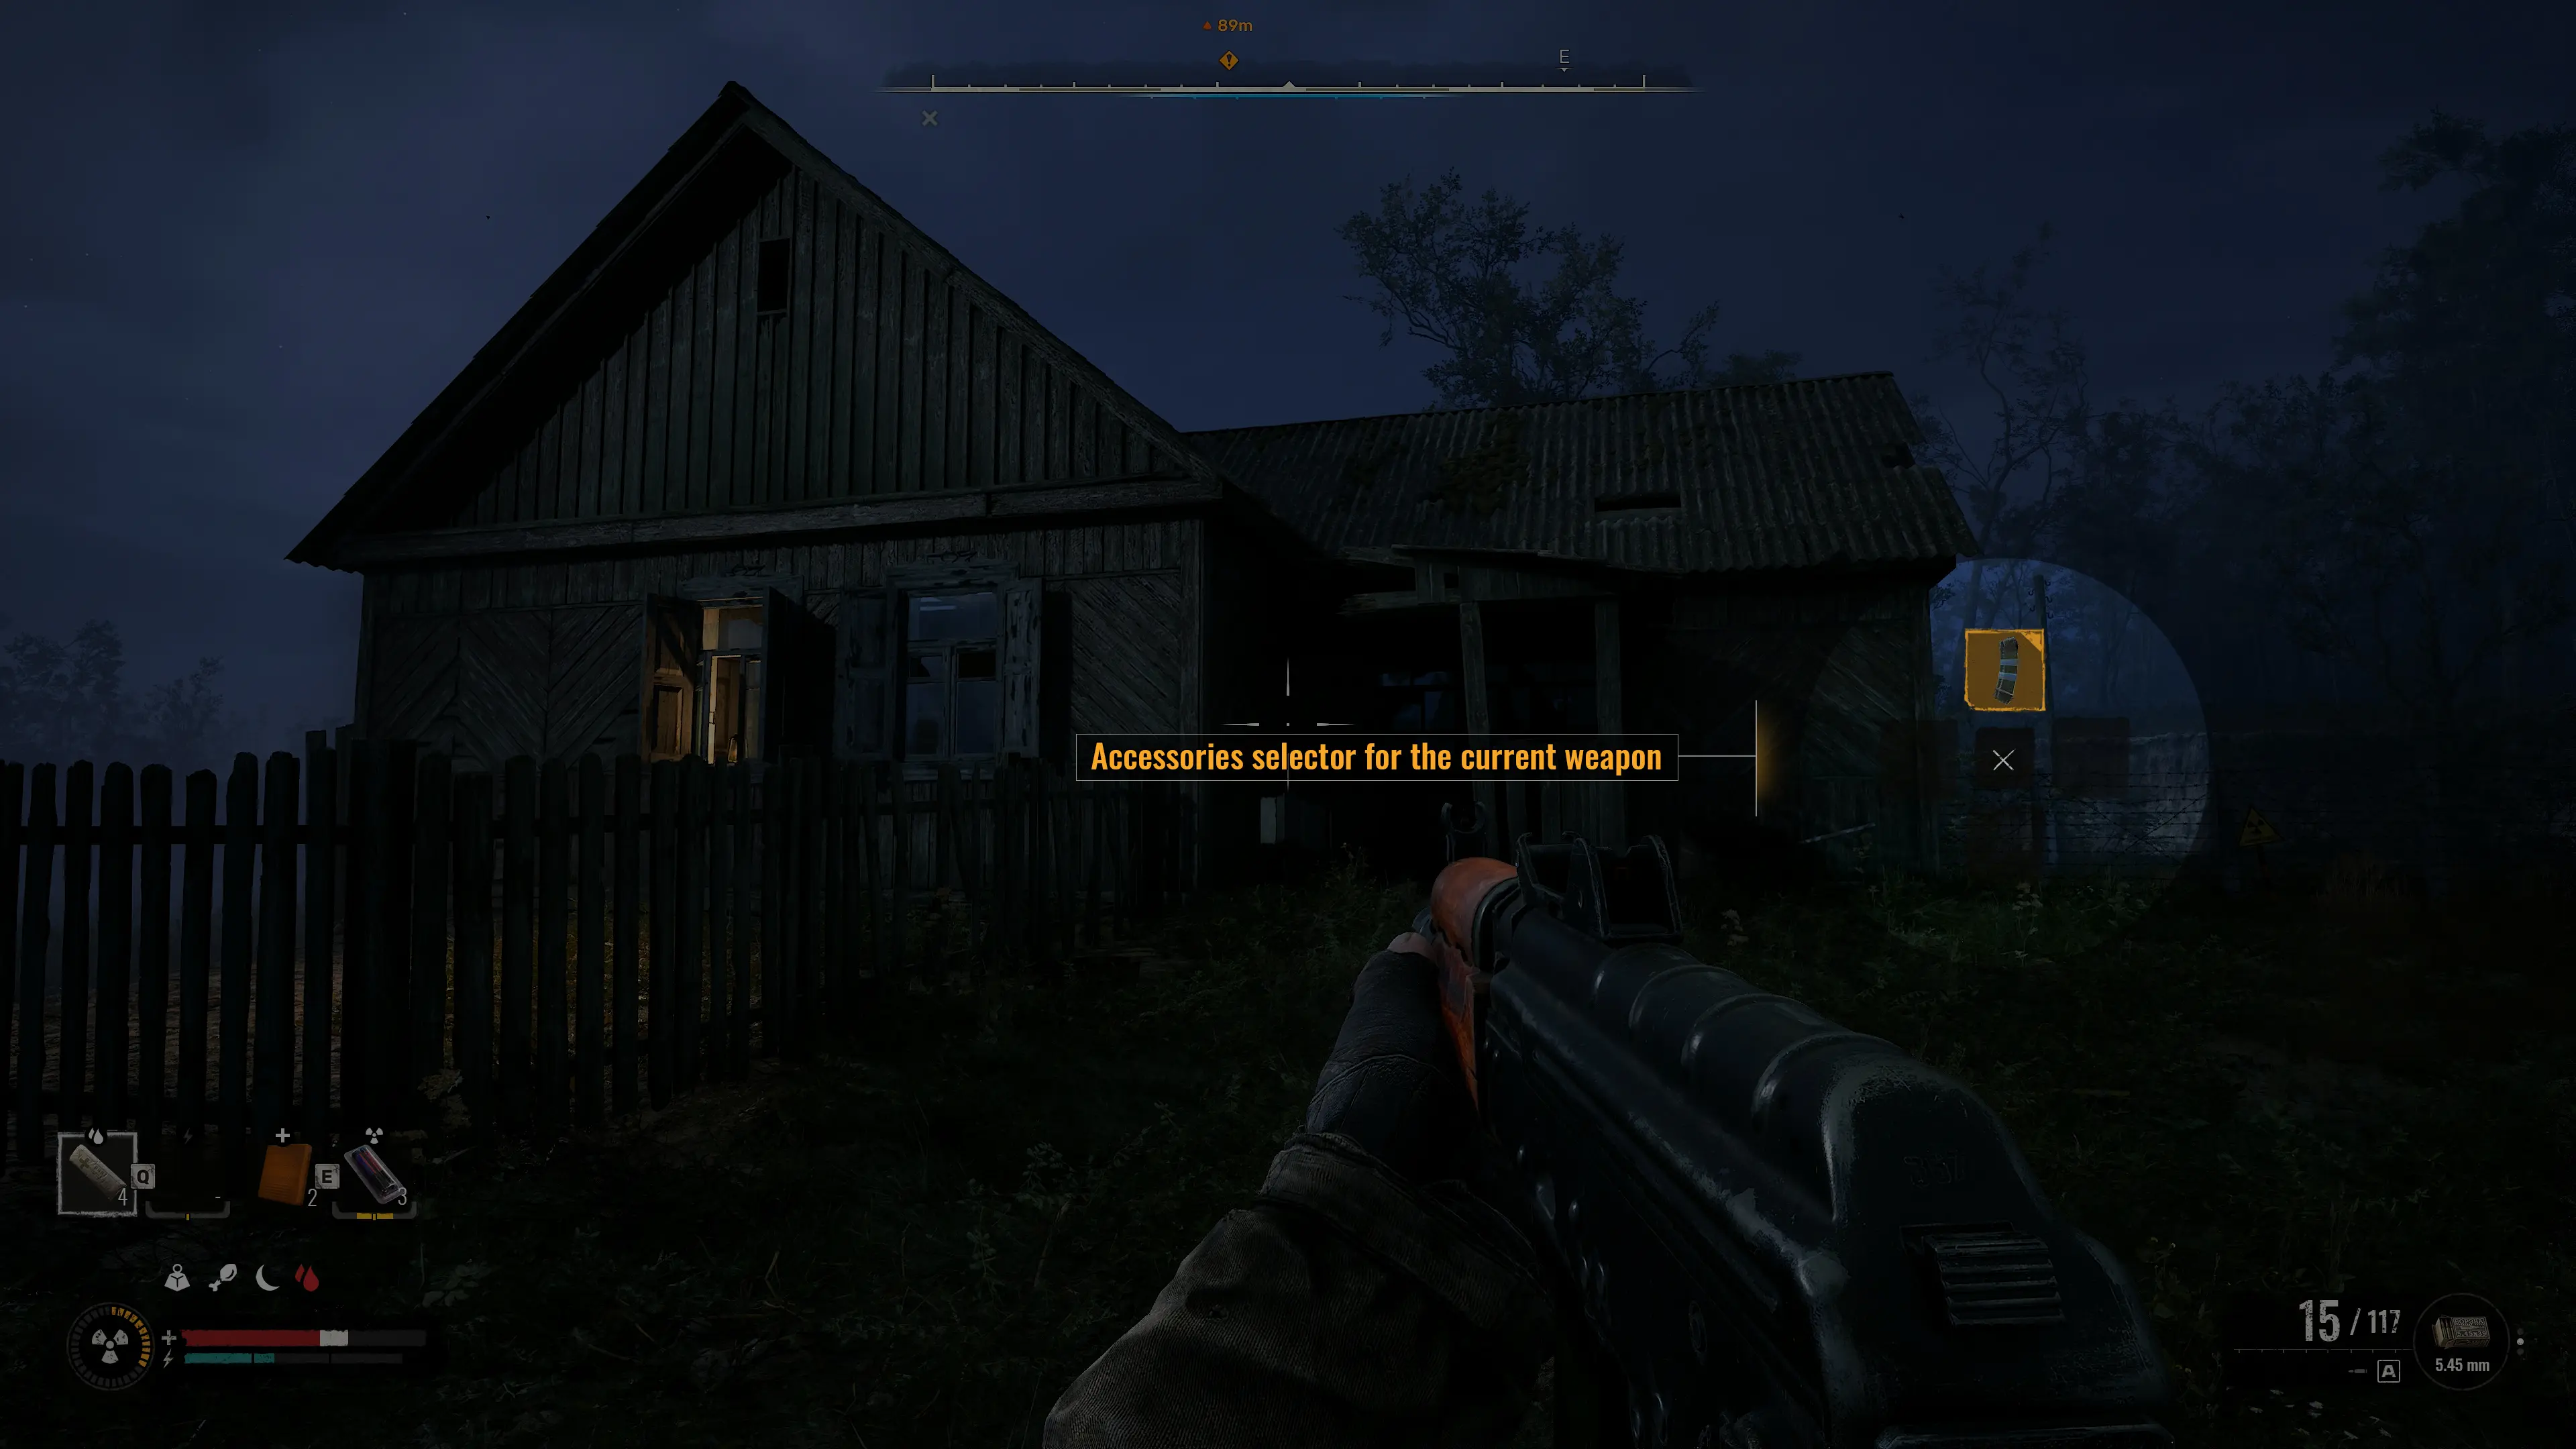
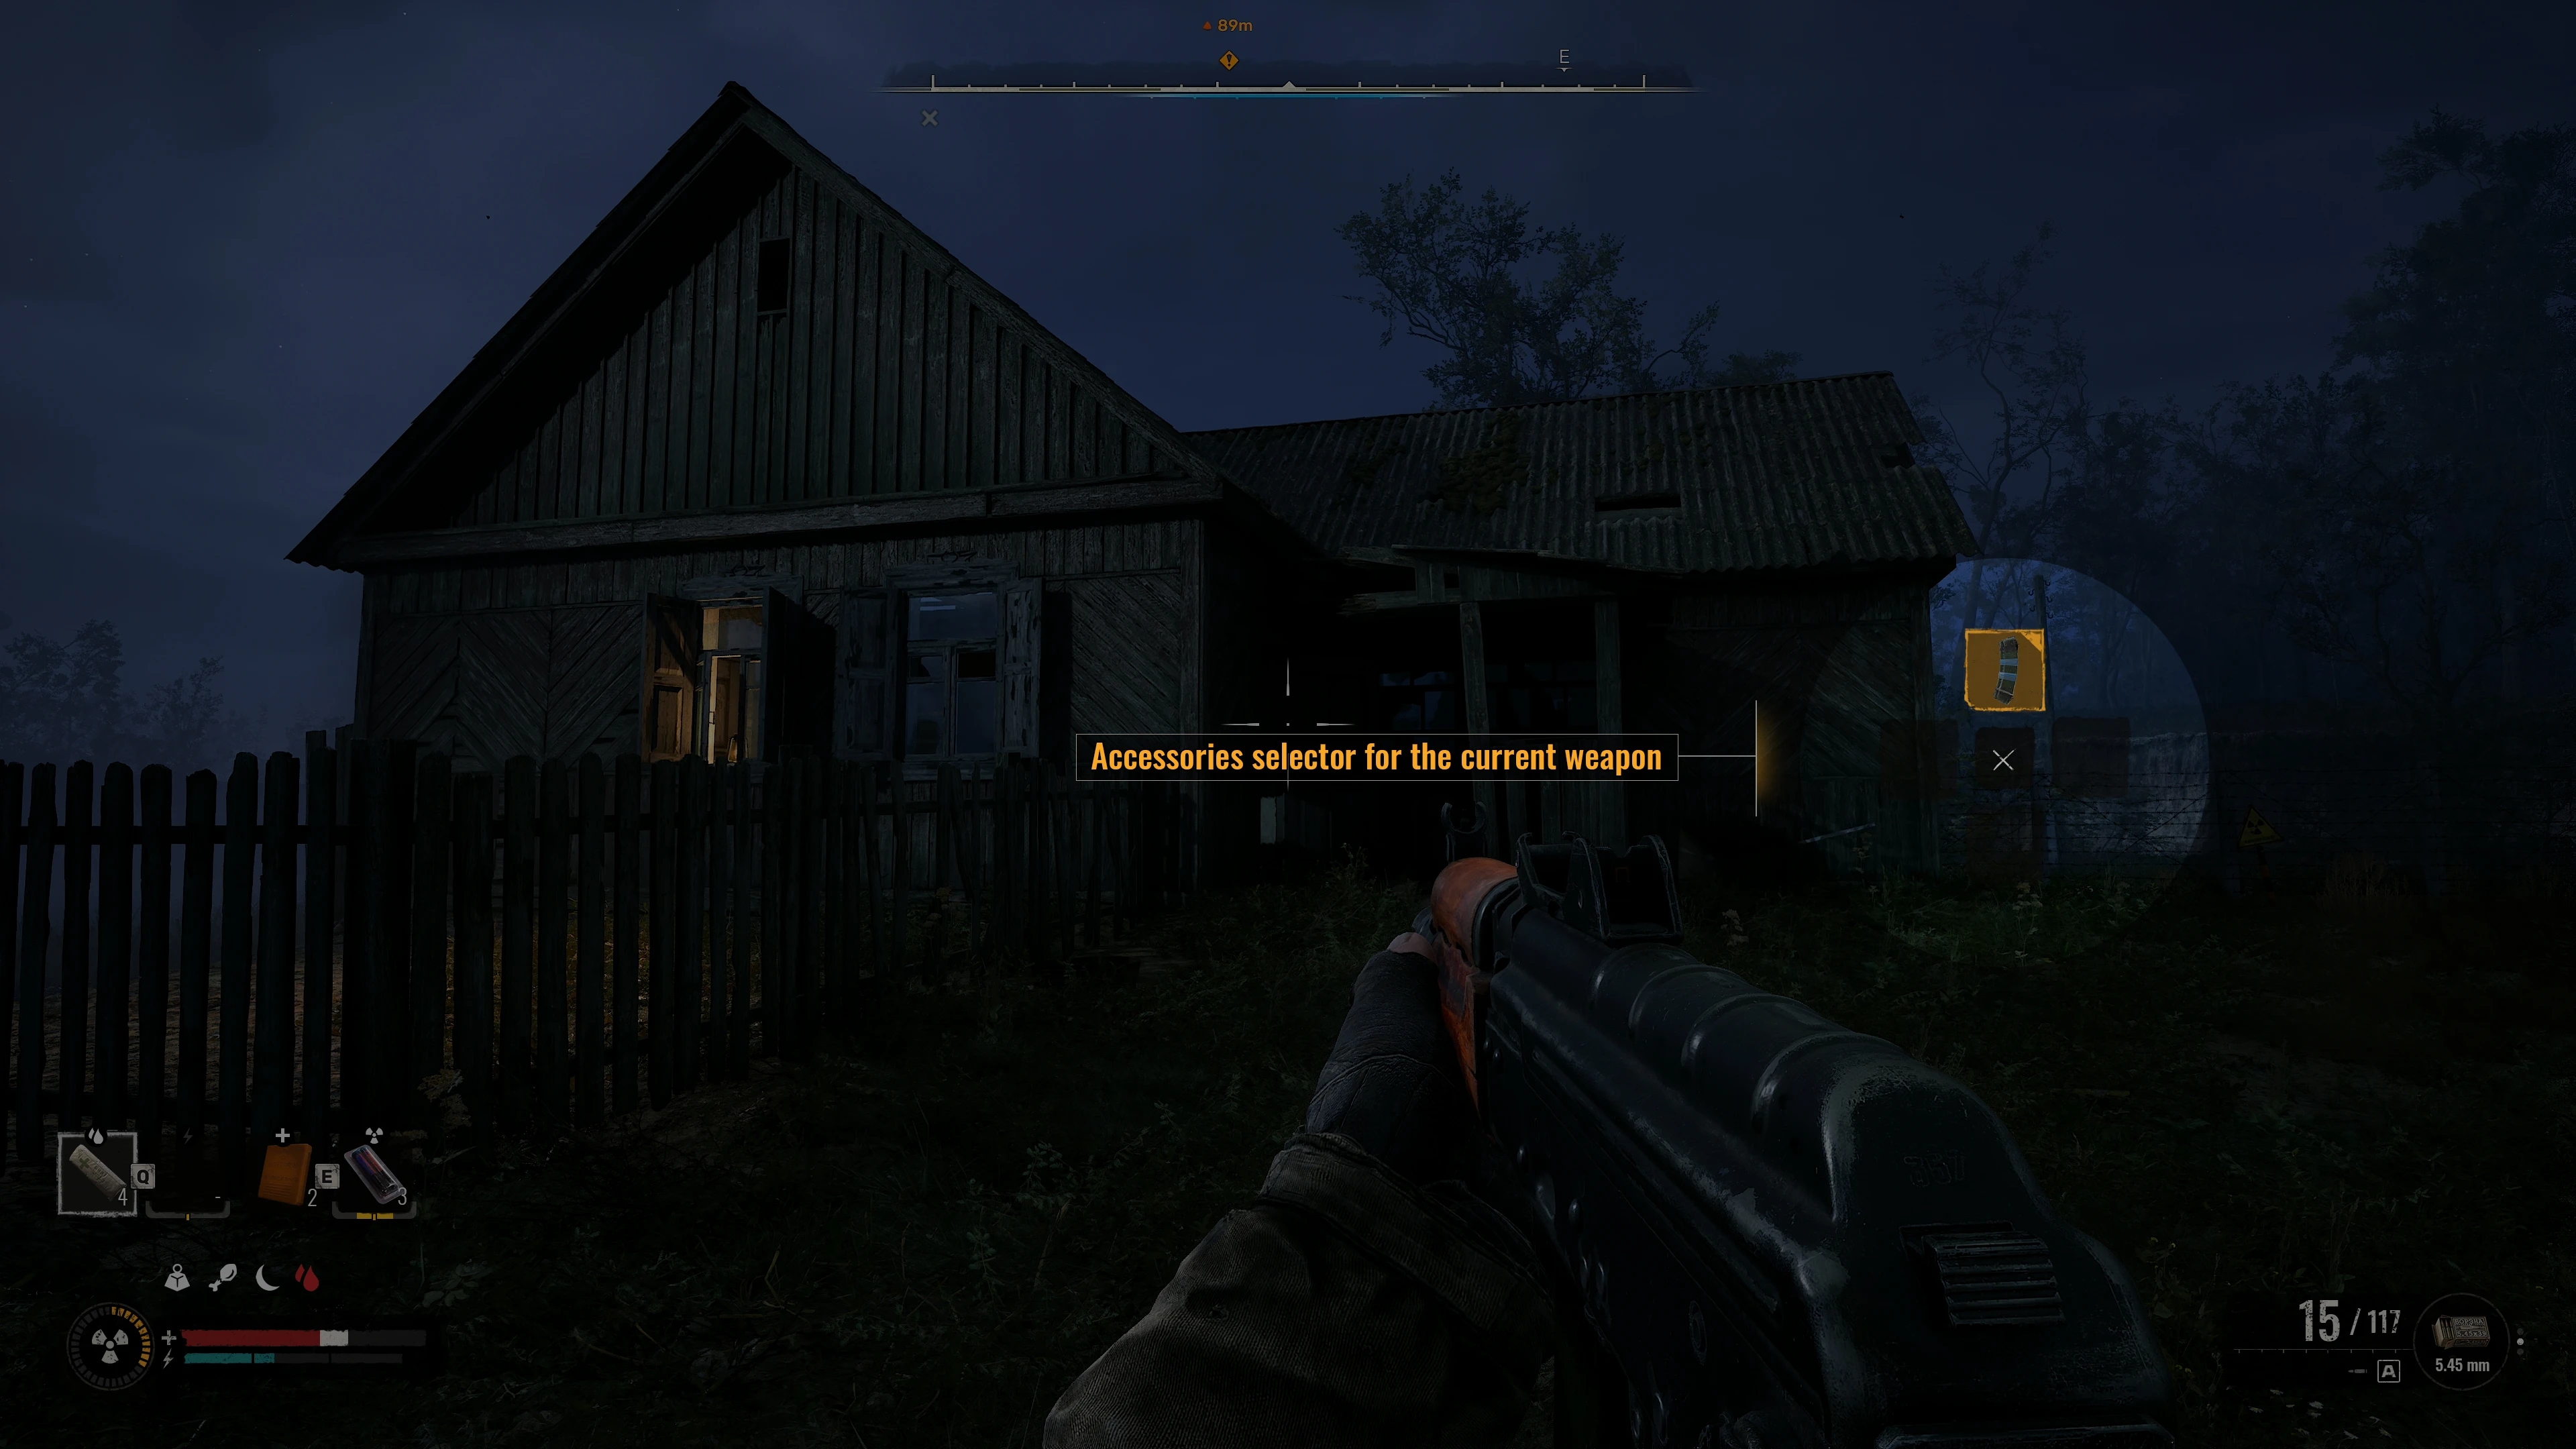
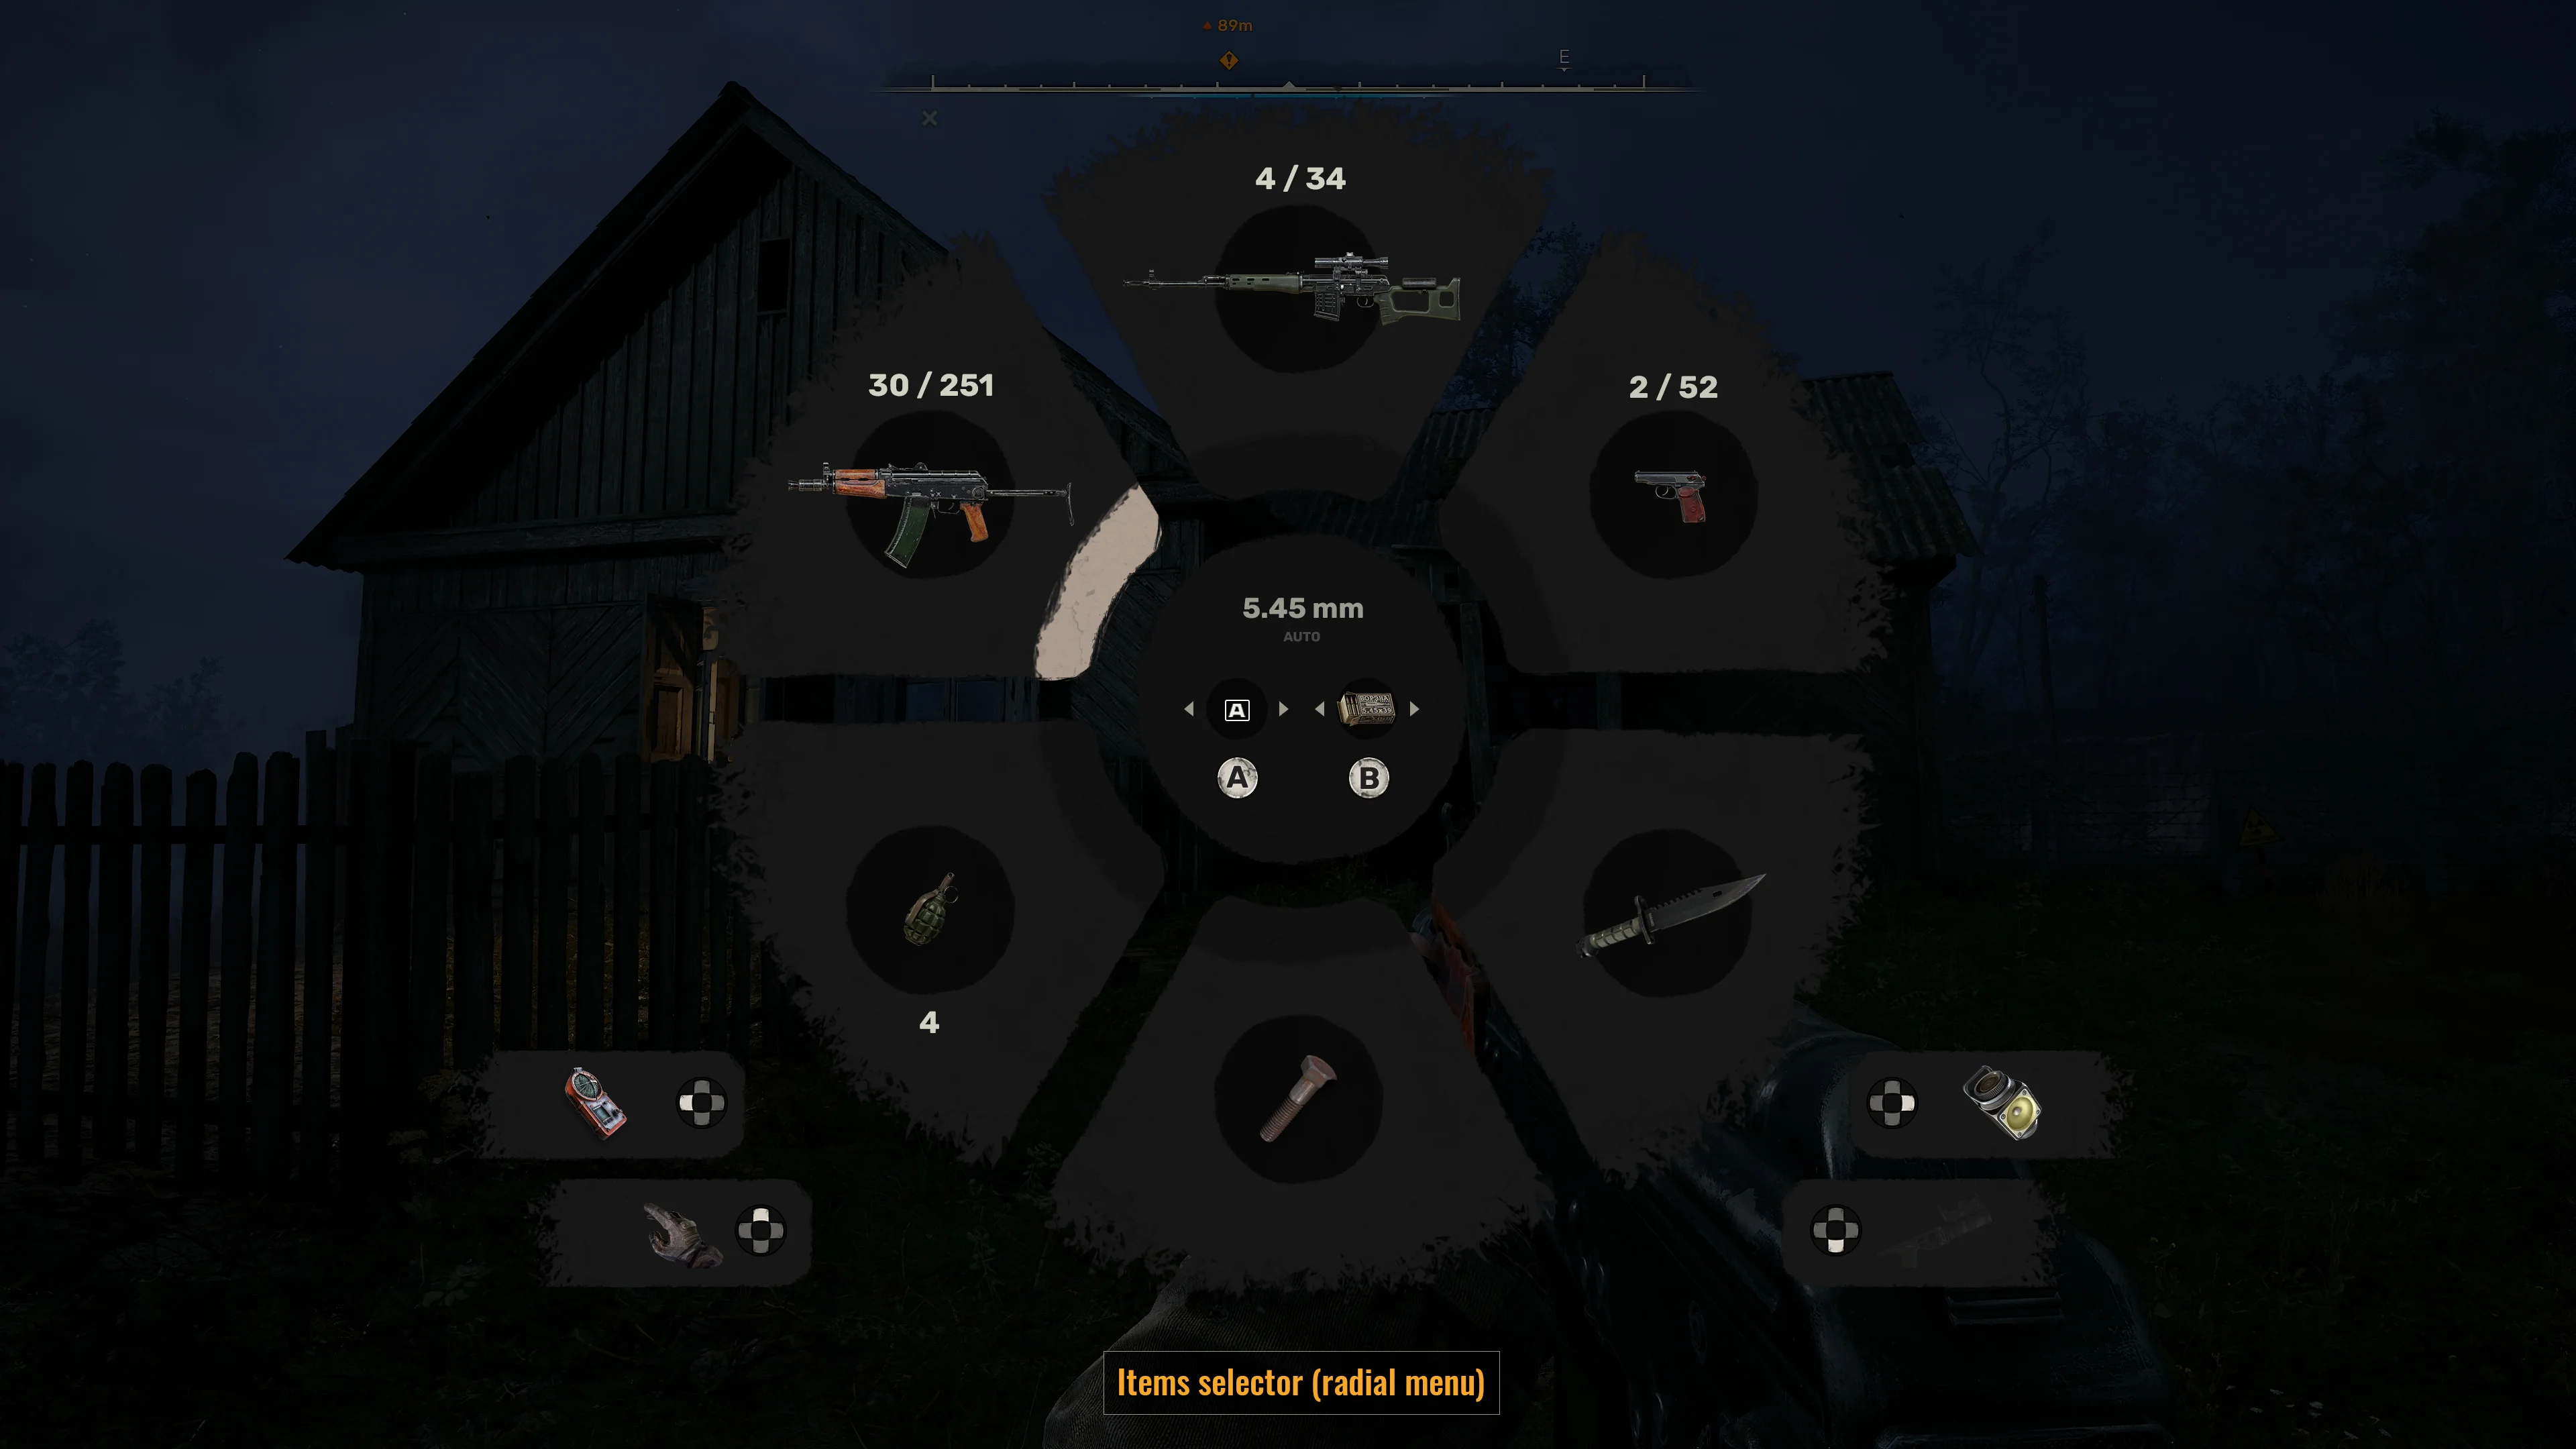
Attachments are equipment you can add from the inventory or radial menu. GSC lists sights, magazines, silencers, and under-barrel options. The HUD guide adds an important limit: the weapon must support that modification and the attachment must be in your inventory.
That makes the safe order simple:
- Read the attachment and weapon information for compatibility.
- Keep the attachment in your inventory.
- Use the weapon accessory selector or inventory to mount it.
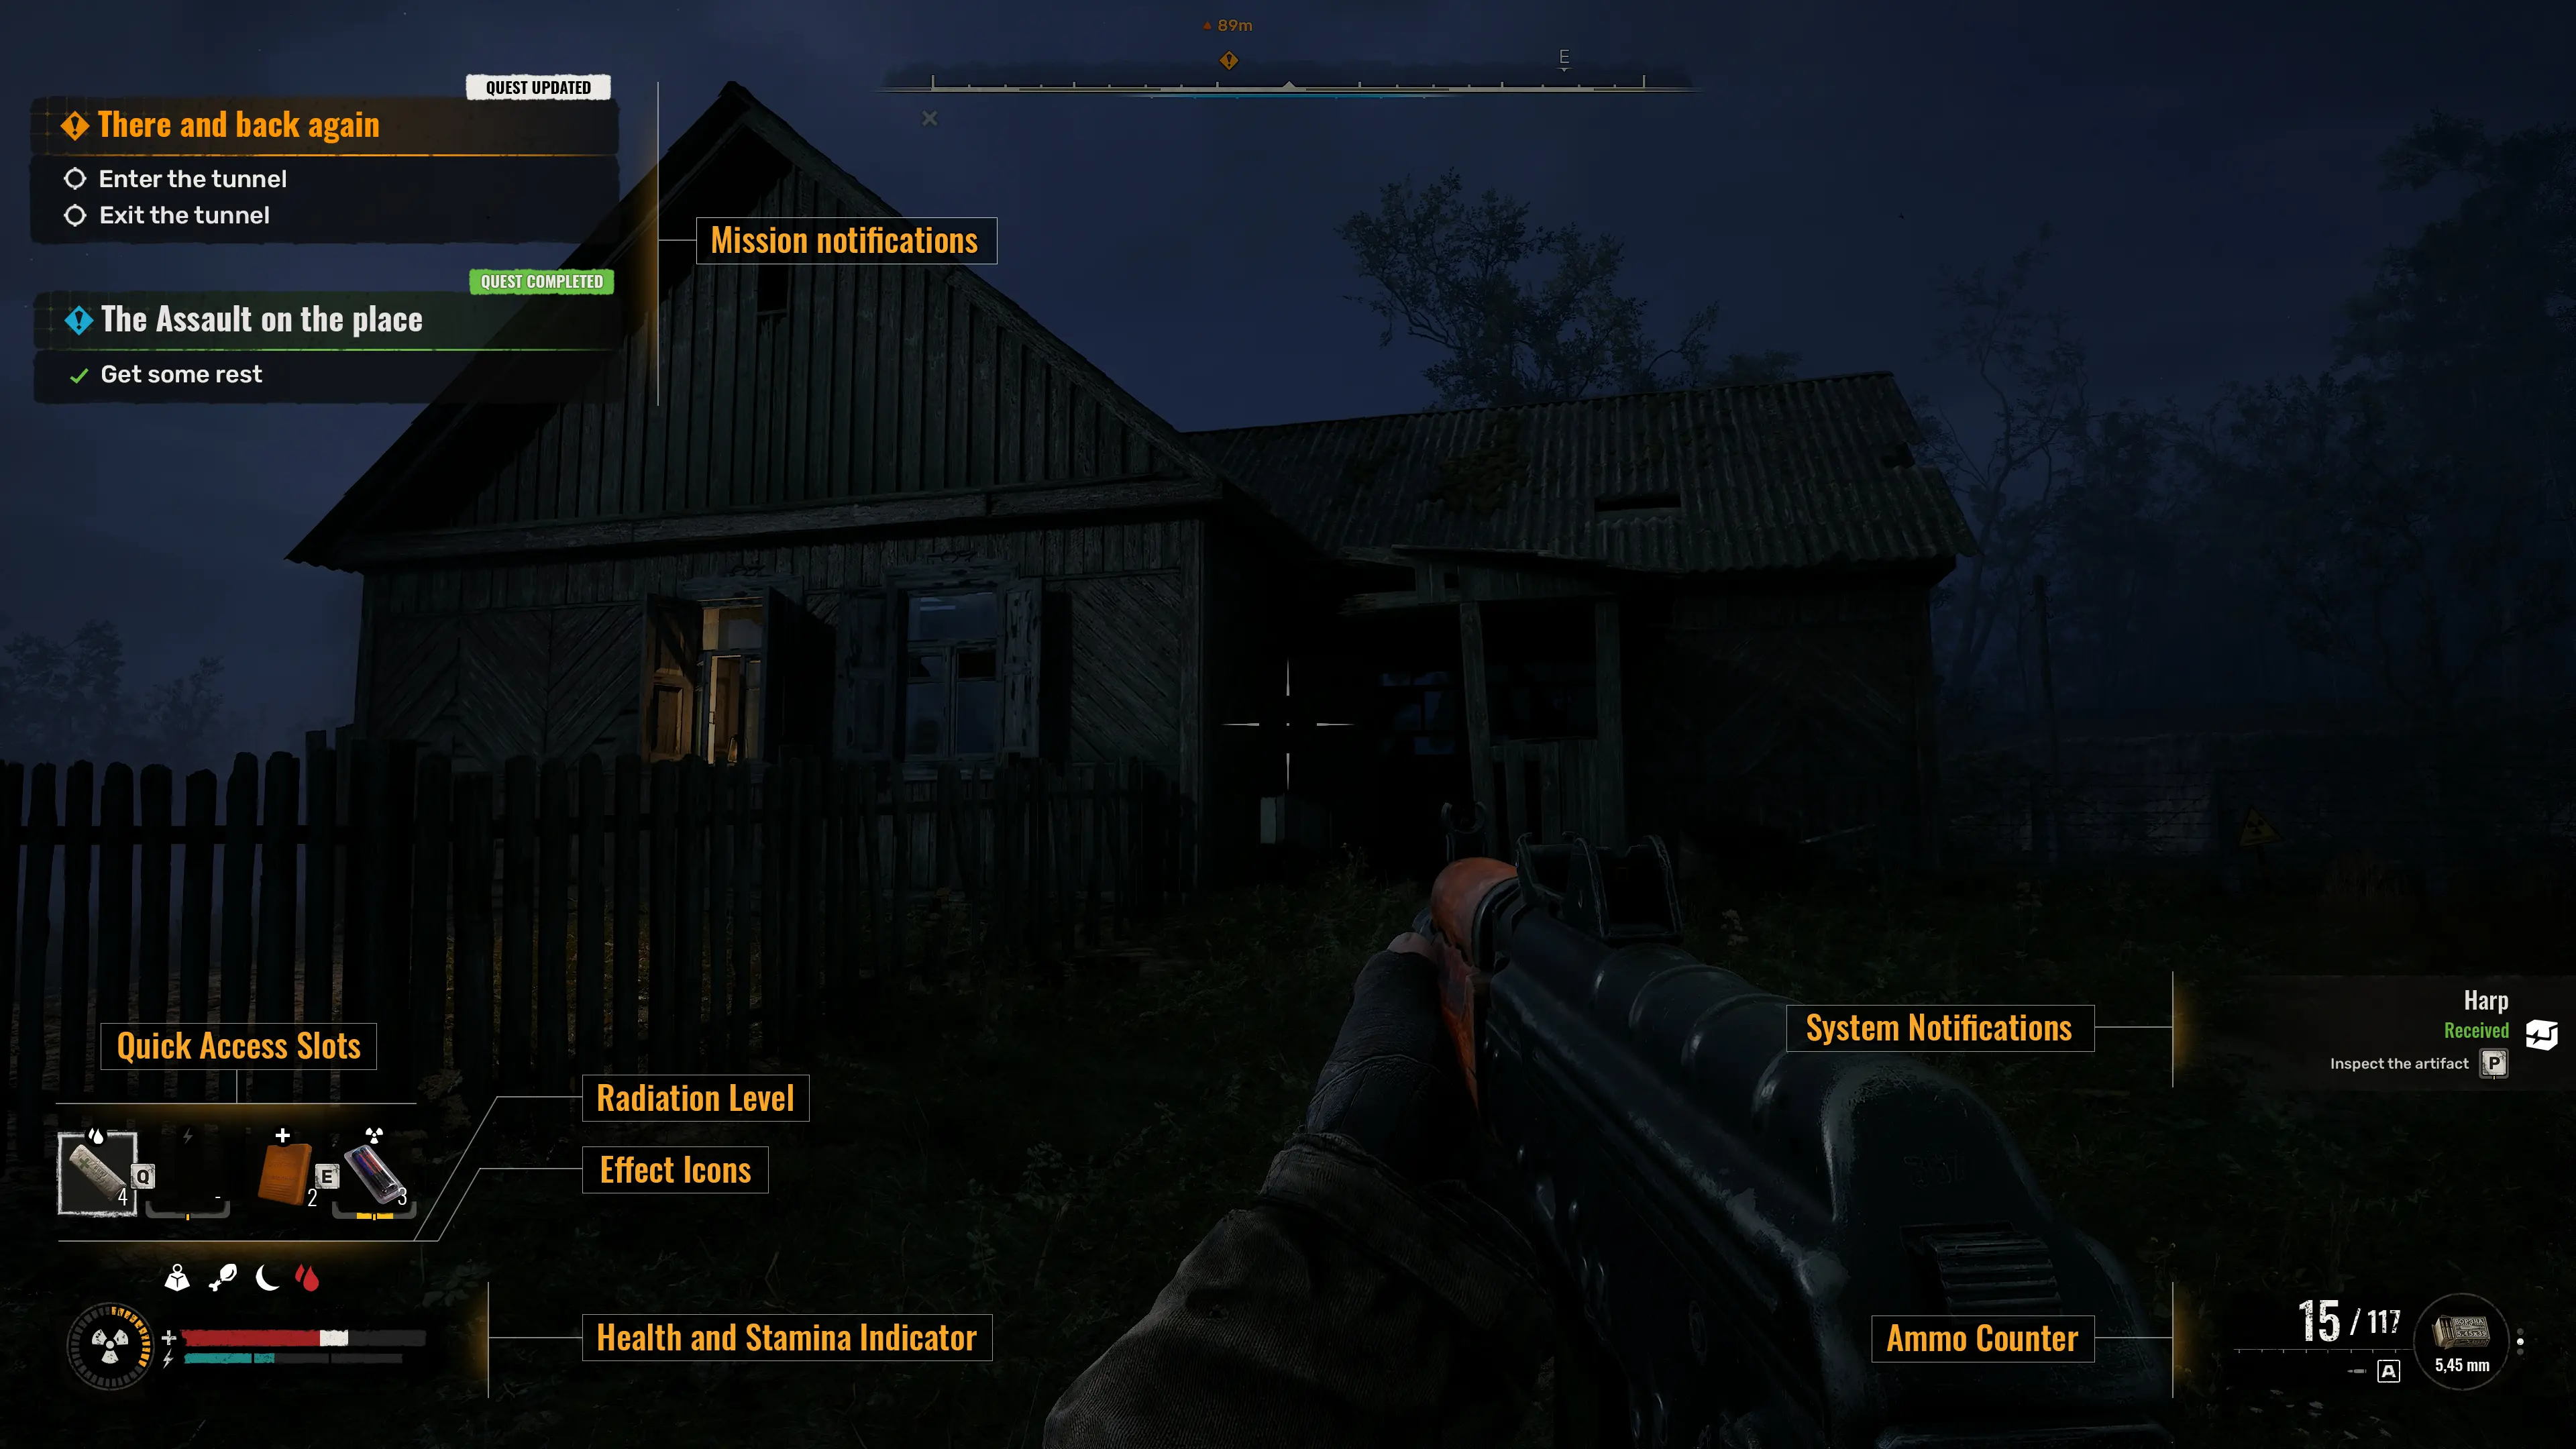
- Check the HUD before leaving a safe area so you know which ammunition type and firing mode are active.
Do not buy an attachment because it sounds useful in general. A scope, magazine, silencer, or under-barrel option only helps when the selected weapon supports it and when it fixes the range or handling problem you actually have.
Use technician upgrades for permanent equipment decisions
Technician upgrades are installed through the technician's upgrade menu. GSC gives examples such as compensators, grips, and flame-retardant modifications. Technicians can also improve weapon accuracy and repair damaged gear. Some upgrades can be bought immediately, while others require blueprints found in the Zone.
Treat an upgrade as a response to a specific weakness:
- choose an accuracy or handling improvement when a weapon already fits your intended range but is hard to control;
- unlock an attachment path only when you already have a compatible attachment you plan to use.
This is deliberately not an upgrade order. GSC's support material confirms the systems, not one best route for every weapon, difficulty setting, patch, or player inventory. Hover over the upgrade icons in the technician menu to read the available effect before spending money or a blueprint.
Repair weapons before wear becomes a failed fight
Weapons and armor wear down in battle and through the Zone's hazards. GSC identifies the technician as the repair specialist: open the upgrade menu, select the item, and use the repair button.
Repair is part of loadout planning, not a separate chore. Before a long trip, compare the condition of the two weapons you expect to use most. If both are damaged, decide which one is essential for the next route and repair that one first. Do not spend resources repairing every weapon in storage when you only have ammunition for one primary and one backup.
The latest official notice read on 2026-08-25 is Patch 2.0.3, dated 2026-08-25, and its only listed change is a launch-crash fix. Patch 2.0.2, dated 2026-08-22, remains prior context for a fix involving certain NPCs or bodies disappearing; neither notice documents a weapon attachment, technician-upgrade, or reload change. This guide therefore keeps the mechanics limited to behavior documented in official support pages, not a hands-on current-build test.
Plan ammunition and fire modes before the shooting starts
The HUD shows the ammunition left in the magazine, the compatible rounds in inventory, the current ammunition type, and the active fire mode. The radial selector can switch ammunition and firing mode. GSC also notes that under-barrel weapons add another firing mode and require you to leave that mode to return to the main caliber.
Use that information before you enter a fight:
- carry ammunition for the weapon category you actually plan to use, rather than several partial stacks for guns left in storage;
- use single shots or short bursts when you need to conserve rifle ammunition or improve control at range;
- switch to a faster mode only when the target distance and available ammunition justify it;
- check whether an under-barrel weapon is active before trying to fire the main weapon again.
If you run out of a main weapon's ammunition, switch to the compatible backup that covers the route and range. This article's job is to help reduce that problem by matching the loadout to the route, ammunition, and range.
Build a loadout around roles, not a ranking
Use three questions when you leave a hub:
- Where is the next fight likely to happen? A building, tunnel, or mutant lair favors close-range tools. Open ground rewards a weapon that can work at distance.
- What does my primary weapon fail to do? Cover that weakness with a second weapon or a compatible attachment, not with a duplicate gun that uses the same scarce ammunition for the same range.
- Can I maintain this pair? Check weapon condition, compatible ammunition, weight, and any technician work before you leave.
That is enough to make a useful loadout without pretending every player needs the same firearm. The practical answer changes with the route, the ammunition available, and the equipment you can maintain.
For current Cost of Hope and Update 2.0 news, read the current S.T.A.L.K.E.R. 2 update guide.
For first-trip preparation, see the S.T.A.L.K.E.R. 2 Beginner's Guide. For artifact searches, use the S.T.A.L.K.E.R. 2 Artifacts and Detectors Guide.