Artifacts are usually invisible in S.T.A.L.K.E.R. 2: Heart of Chornobyl. To reveal one, find an anomalous field, watch the anomaly warning, test the route with bolts, and follow an artifact detector. Once the artifact appears, inspect its useful and harmful effects before you equip, stash, or sell it.
Artifact hunting at a glance
- Look for an anomalous field. GSC says artifacts form inside these clusters of anomalies.
- Slow down when the anomaly warning becomes more frequent or the air begins to flicker, pulse, or crack.
- Throw a bolt into suspicious space before stepping forward.
- Activate the artifact detector from the radial menu, or press 7 on a keyboard.
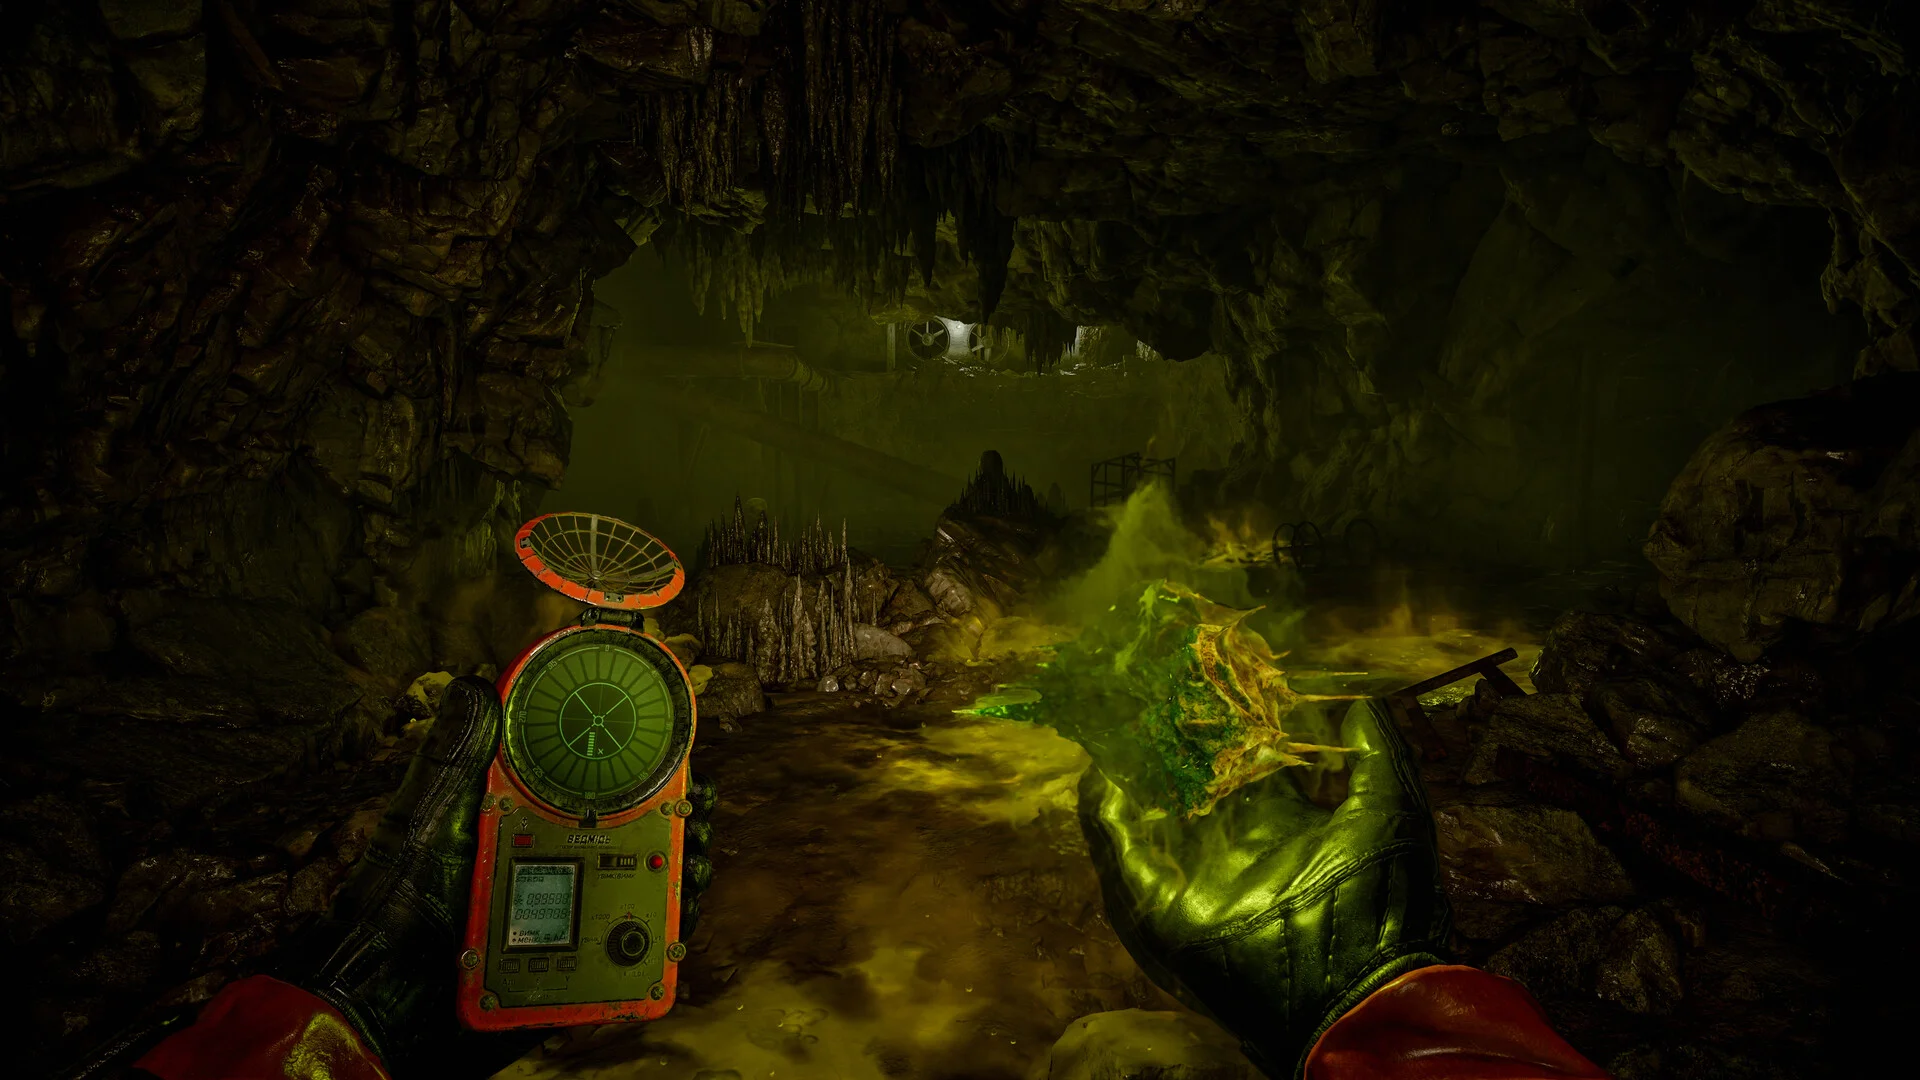
- Follow the detector’s signals until the artifact becomes visible, then pick it up.
Bolts become available after the prologue. If the bolt option is not available yet, continue through the opening before trying to use this full search procedure.
Artifact detectors and anomaly warnings do different jobs
GSC’s support pages describe two separate detection systems. The automatic anomaly warning tells you that a nearby hazard is getting closer. The handheld artifact detector tracks the artifact hidden inside the field. Do not follow one signal while ignoring the other.
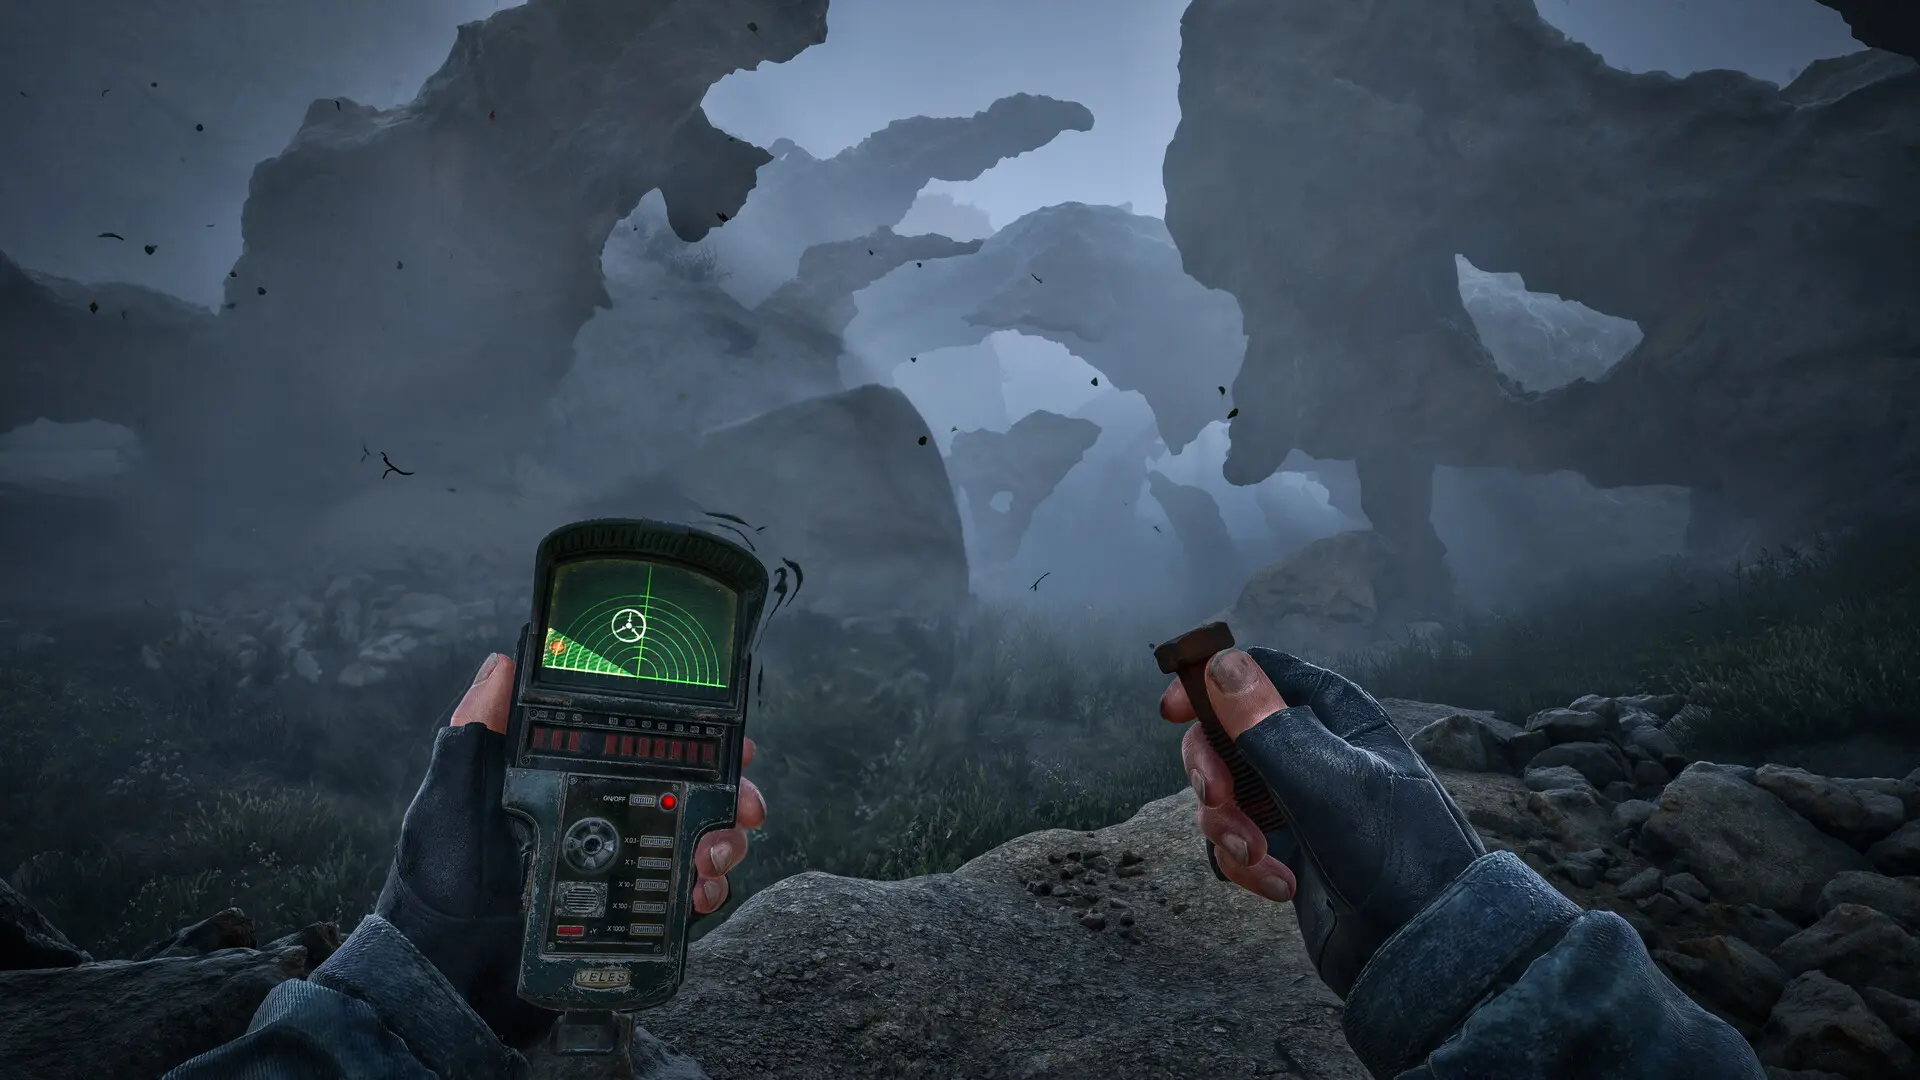
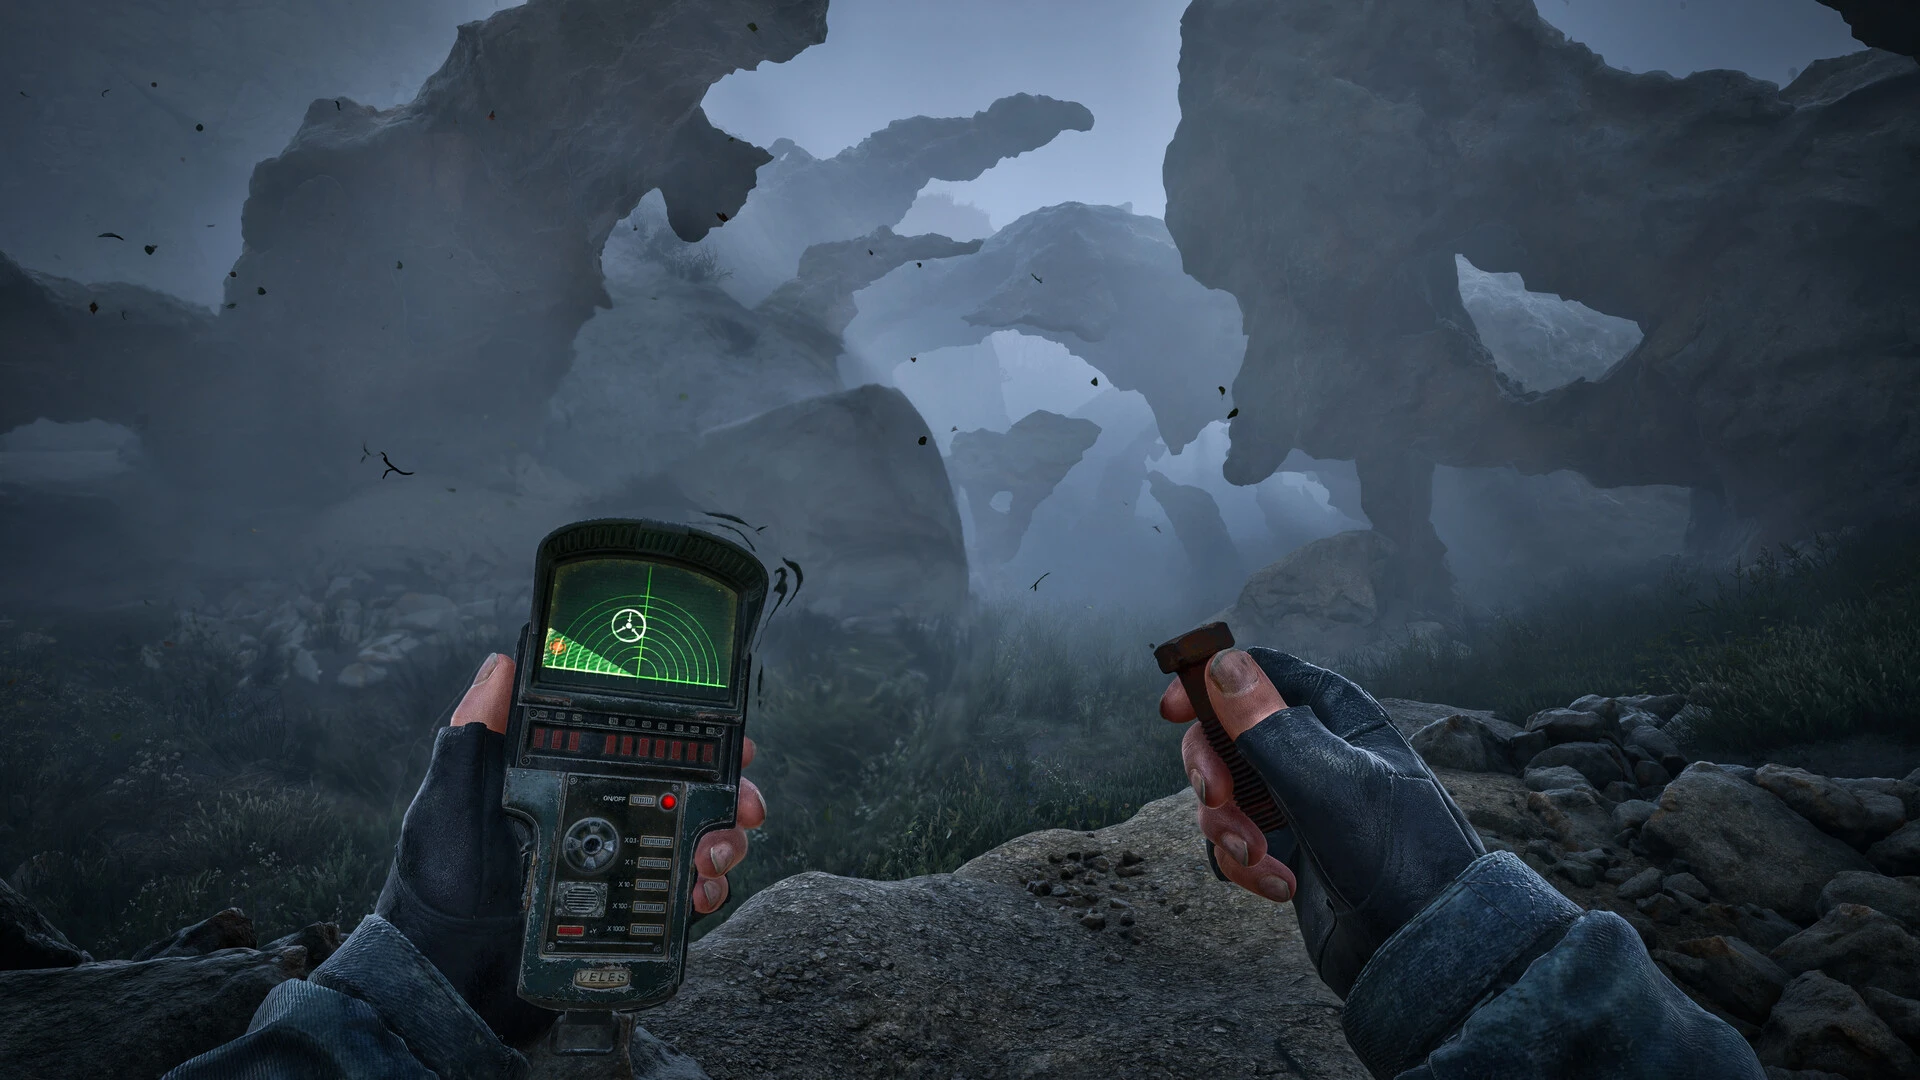
The artifact detector reacts with sound and light as you move toward an artifact. A basic Echo detector helps you narrow the direction and distance by reading how frequently its light flashes. The more advanced Veles detector can show the artifact’s exact position.
Any artifact detector will reveal an artifact once you move within the required distance. You do not need Veles just to make an artifact appear. Veles gives clearer positioning when the surrounding anomalies make the final approach difficult.
The artifact detector can be used at the same time as a bolt, knife, or pistol. For a search inside an anomalous field, the bolt is the important partner because it lets you test the space in front of you without putting your body there first.
How to move through an anomalous field
Anomalous fields place several hazards in a small area. GSC identifies fire, gravitational, acid, and electric anomalies among the dangers, but the safe procedure does not depend on memorizing every type.
- Stop and read the field. Listen for the automatic detector’s warning and watch for flickering or pulsing air. GSC warns that sound alone is not enough.
- Test the next step with a bolt. A bolt can trigger an anomaly and make the danger visible. Do not walk into a suspicious patch just because the artifact signal is stronger there.
- Move only after the space in front of you has been tested. Some anomalies discharge for a few seconds after a bolt hits them, but GSC says this applies only to some anomalies and the opening is brief. Never treat one triggered anomaly as a permanently safe path.
- Keep the artifact detector active. Follow its light and sound without losing track of the hazard warning. Echo helps you narrow the search; Veles gives the exact artifact position.
- Wait for the artifact to appear. Once the detector reveals it, pick it up and leave through space you already tested instead of improvising a new route out.
This section covers only the immediate artifact search. Inventory weight, medical supplies, radiation treatment, saves, and general expedition planning are outside this article’s scope.
How to equip an artifact
Open the inventory and move the artifact into an artifact slot on your armor. GSC’s inventory instructions say to drag an item to its assigned slot; on a gamepad, hold the A button. Treat the control wording as platform- and patch-sensitive, and confirm it again before publication.
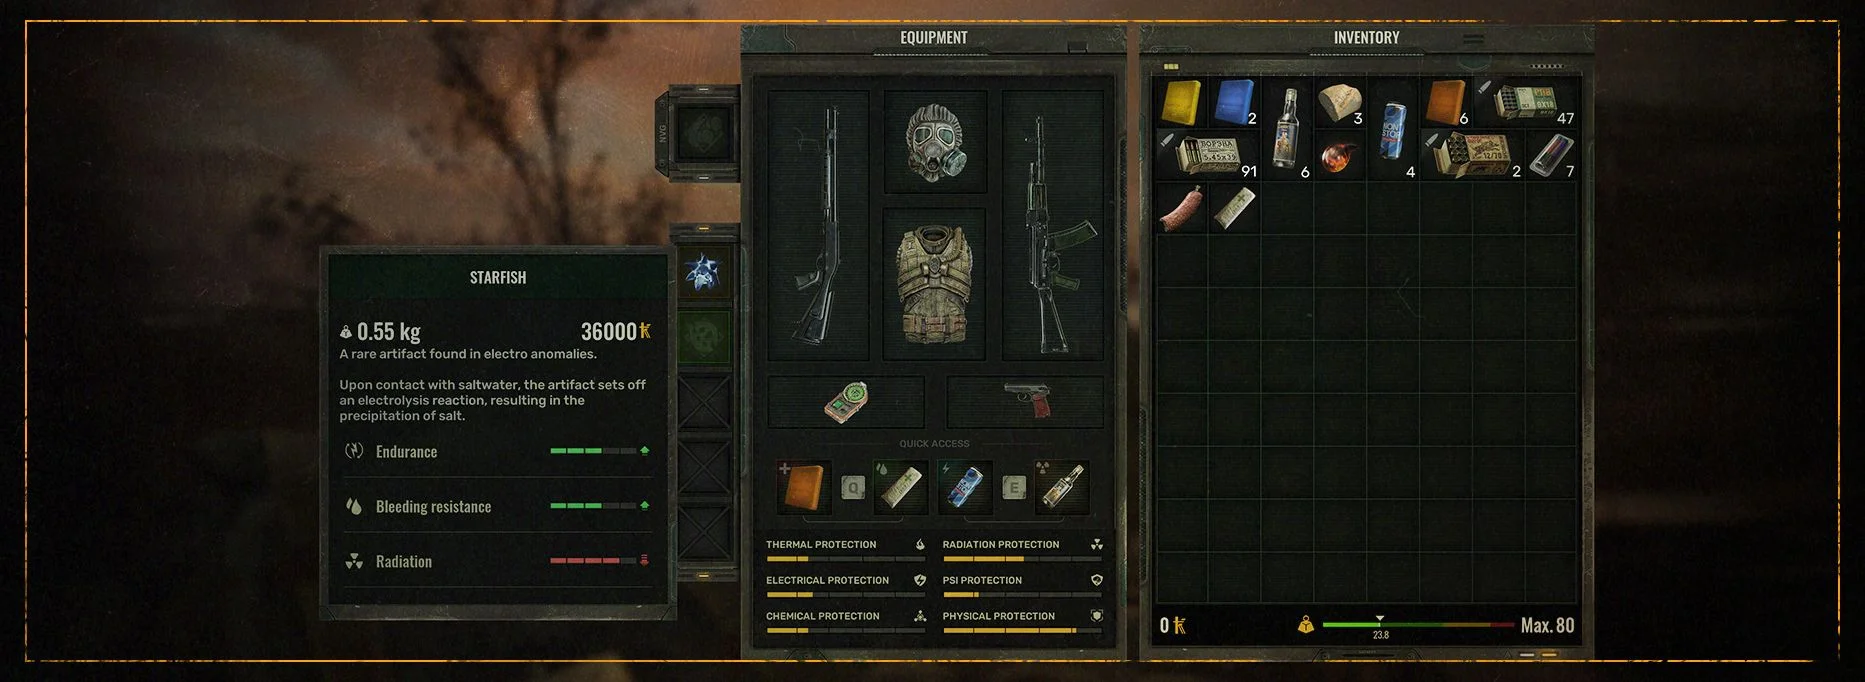
Artifact effects apply when the artifact is inserted into an armor slot. Picking one up does not mean its useful effect is already active. Inspect it first, then equip it only if the full combination of benefits and drawbacks makes sense for the current expedition.
The official support material used for this guide does not state a universal number of artifact slots for every armor set. This guide therefore does not promise a fixed slot count or tell the reader that every armor can hold the same loadout.
How to balance useful and harmful effects
Artifacts can protect against radiation, improve stamina, help with healing, or make the wearer more vulnerable. A single artifact can combine a helpful property with a harmful one, so do not choose it from the positive line alone.
GSC says most artifacts are radioactive. It also says some artifacts can offset the radioactivity of others, allowing the combination to be worn without the same consequence. That creates a practical order for evaluating a loadout:
- Decide which benefit you need for the next trip.
- Read the artifact’s harmful property before equipping it.
- Check whether another equipped artifact can offset that harm.
- Leave the artifact unequipped if the cost is not controlled.
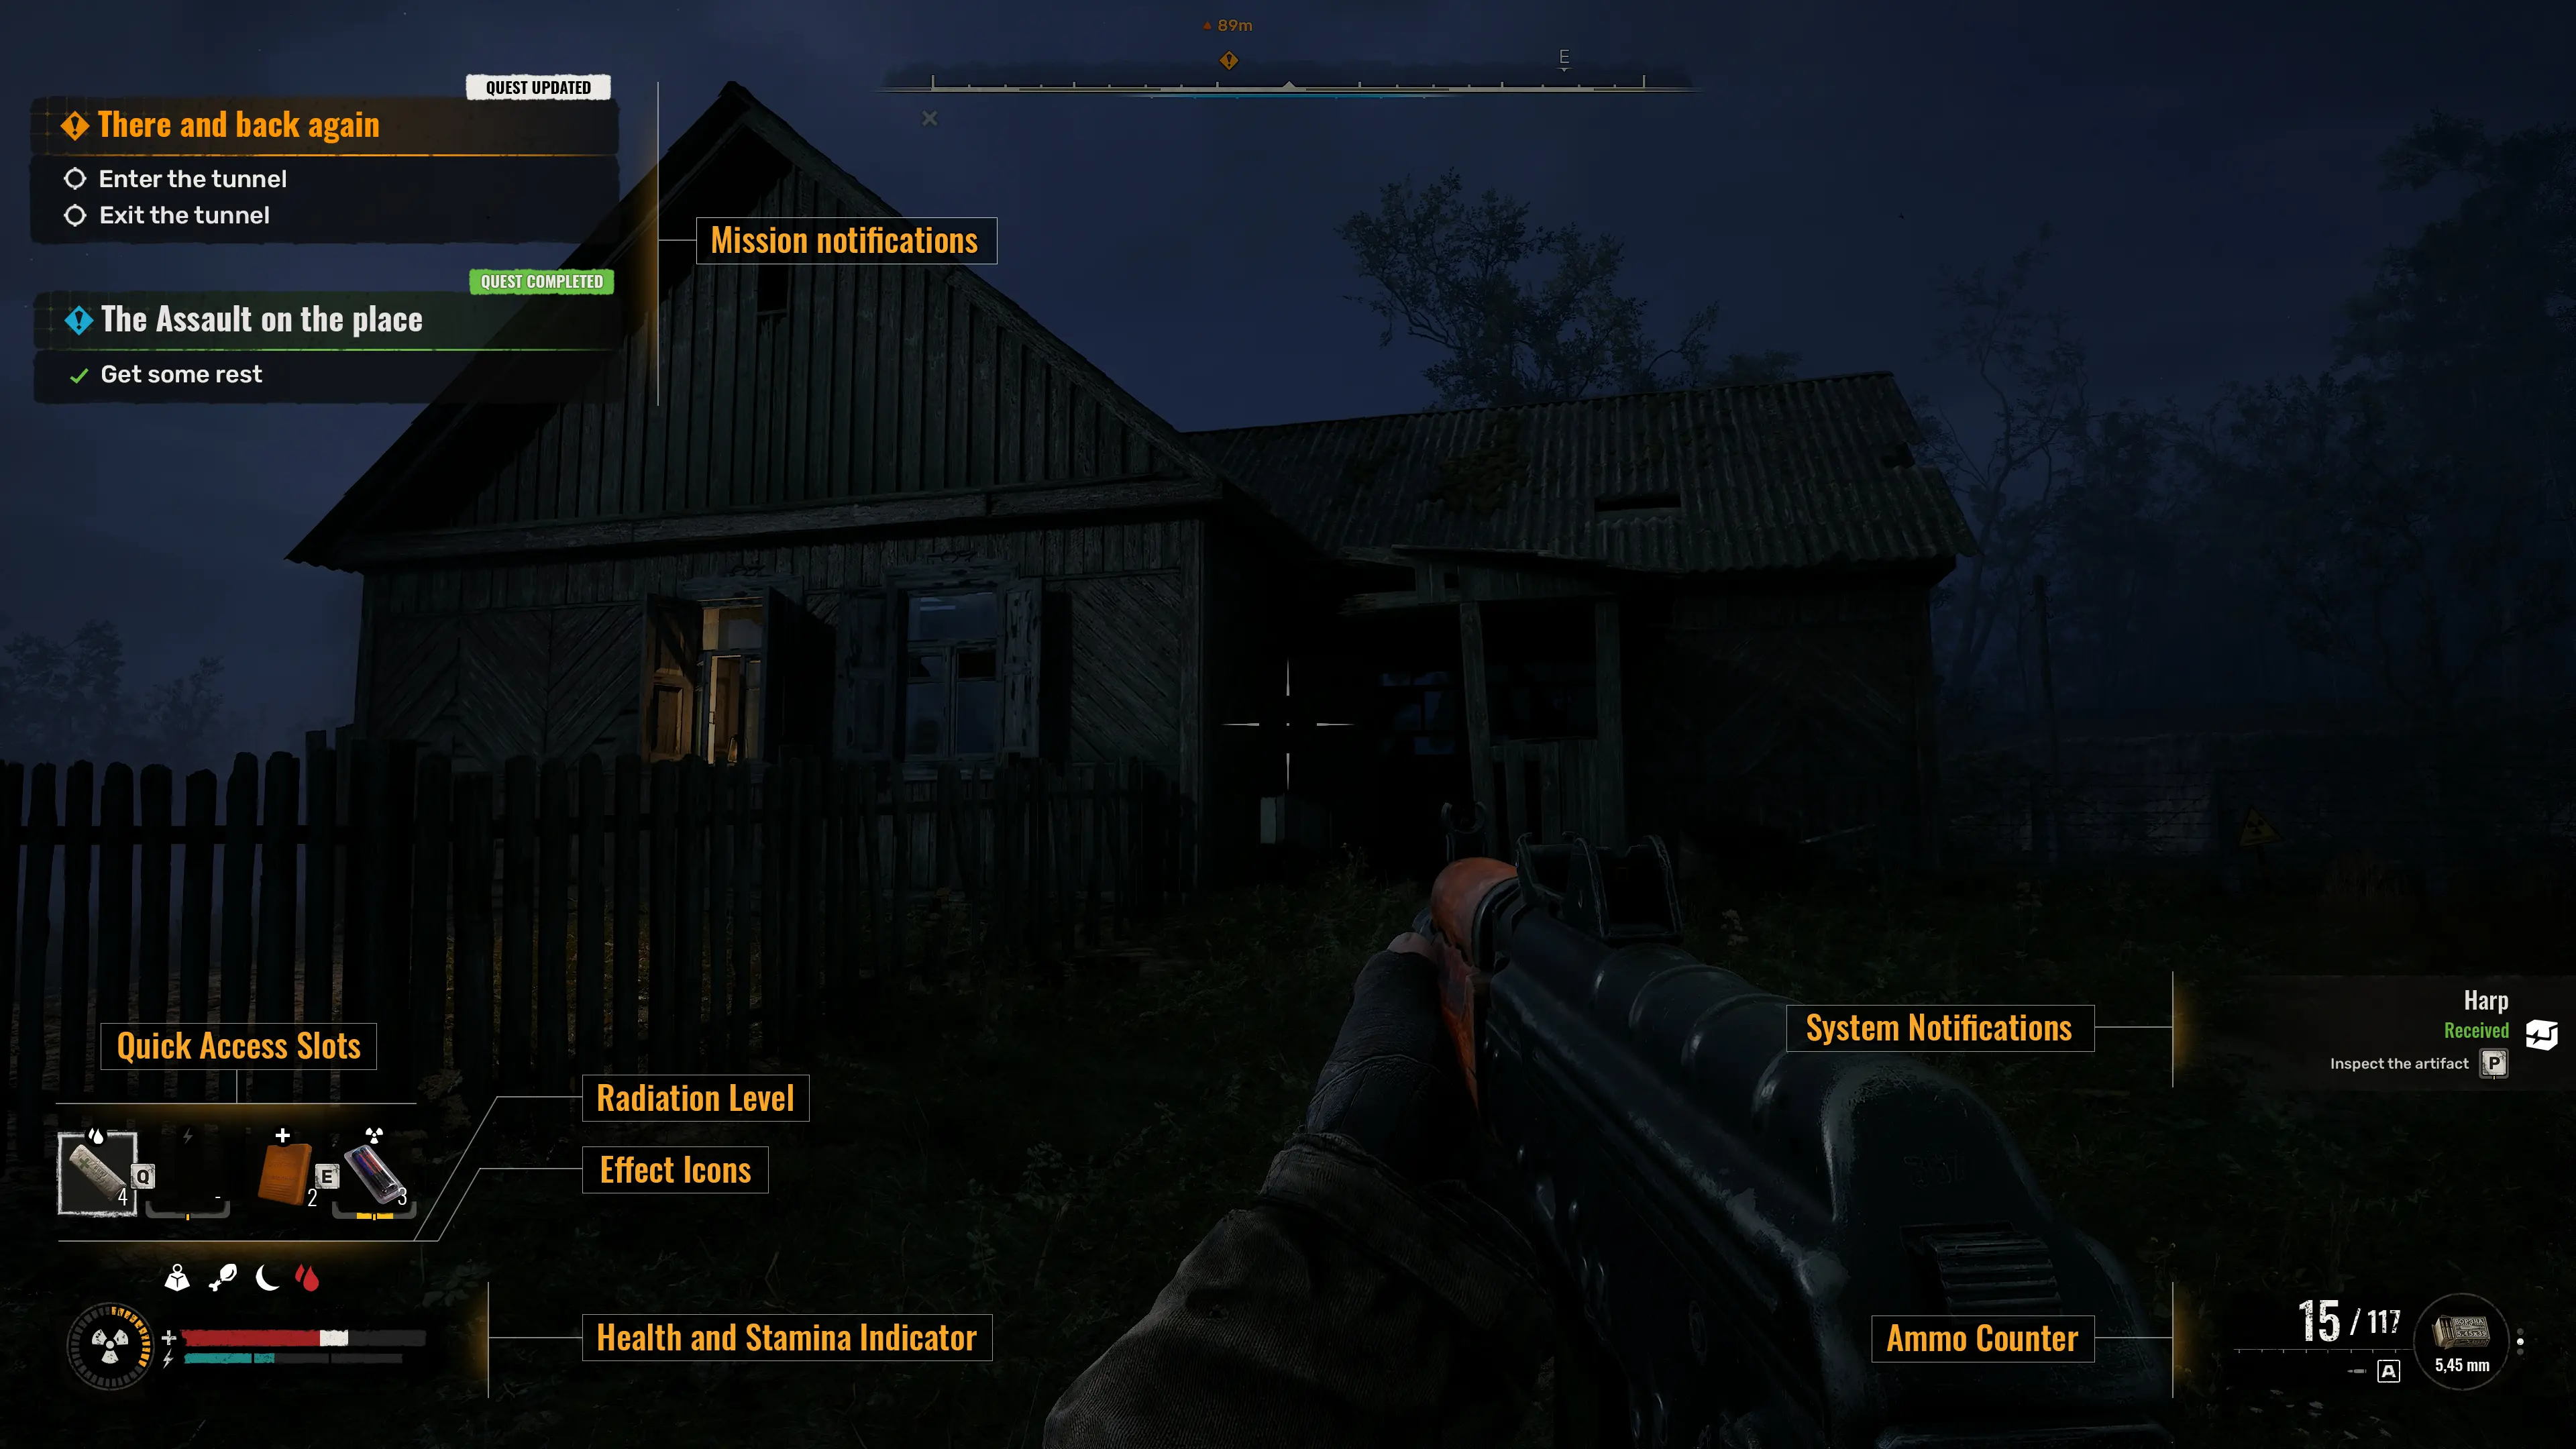
The HUD shows radiation exposure in the lower-left corner and adds a visual effect as exposure rises. Watch that warning while testing a new combination. The official sources do not provide a complete stat table or a universal formula for stacking effects, so this guide should not invent exact breakpoints. The latest official notice, Patch 2.0.3, lists a launch-crash fix only. The Patch 2.0.2 website/archive entry and note are prior context for an NPC/body progression fix. Neither patch note changes the documented procedure here, so do not turn either bug-fix note into a universal mechanic.
Should you keep or sell an artifact?
Keep an artifact when its useful effect solves a real problem and you can manage its harmful property. If it may become useful later but does not fit the current armor setup, place it in the personal stash. GSC says the blue stash boxes in hubs share one inventory, so an item stored in one hub can be retrieved from another.
Sell an artifact when you do not plan to equip it and the money is more useful for the current run. Traders and some other friendly or neutral characters can buy artifacts. Dedicated traders are found in hubs and offer the widest selection of goods.
The sale price can change with the artifact’s rarity and the merchant’s attitude toward you. GSC also says rank and faction reputation can affect goods and prices. The official sources do not name one trader who always pays the most, so do not present a universal “best vendor” without current in-game verification.
Use this decision order before selling:
- Equip it if the benefit fits the next expedition and its harmful effect is controlled.
- Stash it if it may complete a safer combination later or you are not sure yet.
- Sell it if it has no current role and the payout is more useful than keeping it.
Common artifact-hunting mistakes
- Chasing the artifact signal while ignoring the anomaly warning. The handheld detector leads to the reward; it does not make the route safe.
- Assuming every bolt creates a safe opening. GSC says only some anomalies discharge after a bolt, and only for a few seconds.
- Expecting Echo to mark the exact spot. Echo helps narrow direction and distance. Veles provides exact positioning.
- Equipping only for the useful effect. Most artifacts are radioactive, and helpful and harmful properties can appear together.
- Selling before checking the loadout. An artifact that seems harmful alone may become usable when another one offsets its radiation.
- Treating a trader price as universal. Rarity, attitude, rank, and reputation can affect trade value.
For wider preparation, keep inventory weight, radiation treatment, supplies, saves, and general survival outside this artifact guide. Weapon selection, repairs, and upgrades also belong outside this article. For the current expansion and base-game update, see the current out-now STALKER 2 Update 2.0 Is Here — And Cost of Hope Is Finally Out guide.
For first-trip preparation, see the S.T.A.L.K.E.R. 2 Beginner's Guide. For loadouts, use the S.T.A.L.K.E.R. 2 Weapons and Upgrades Guide.