S.T.A.L.K.E.R. 2: Heart of Chornobyl is easier to learn when each trip has a clear purpose. Leave a hub with the supplies needed for the current objective, keep your pack light enough to move, and keep a safe route back to a hub in mind. Hubs provide trade, treatment, repairs, upgrades, sleep, stash access, guide services, and shelter from Emissions.
Prepare for the current trip
Open the PDA and choose one quest or map marker before leaving. Carry the healing items, food, ammunition, and radiation treatment that fit that objective instead of taking every item you own.
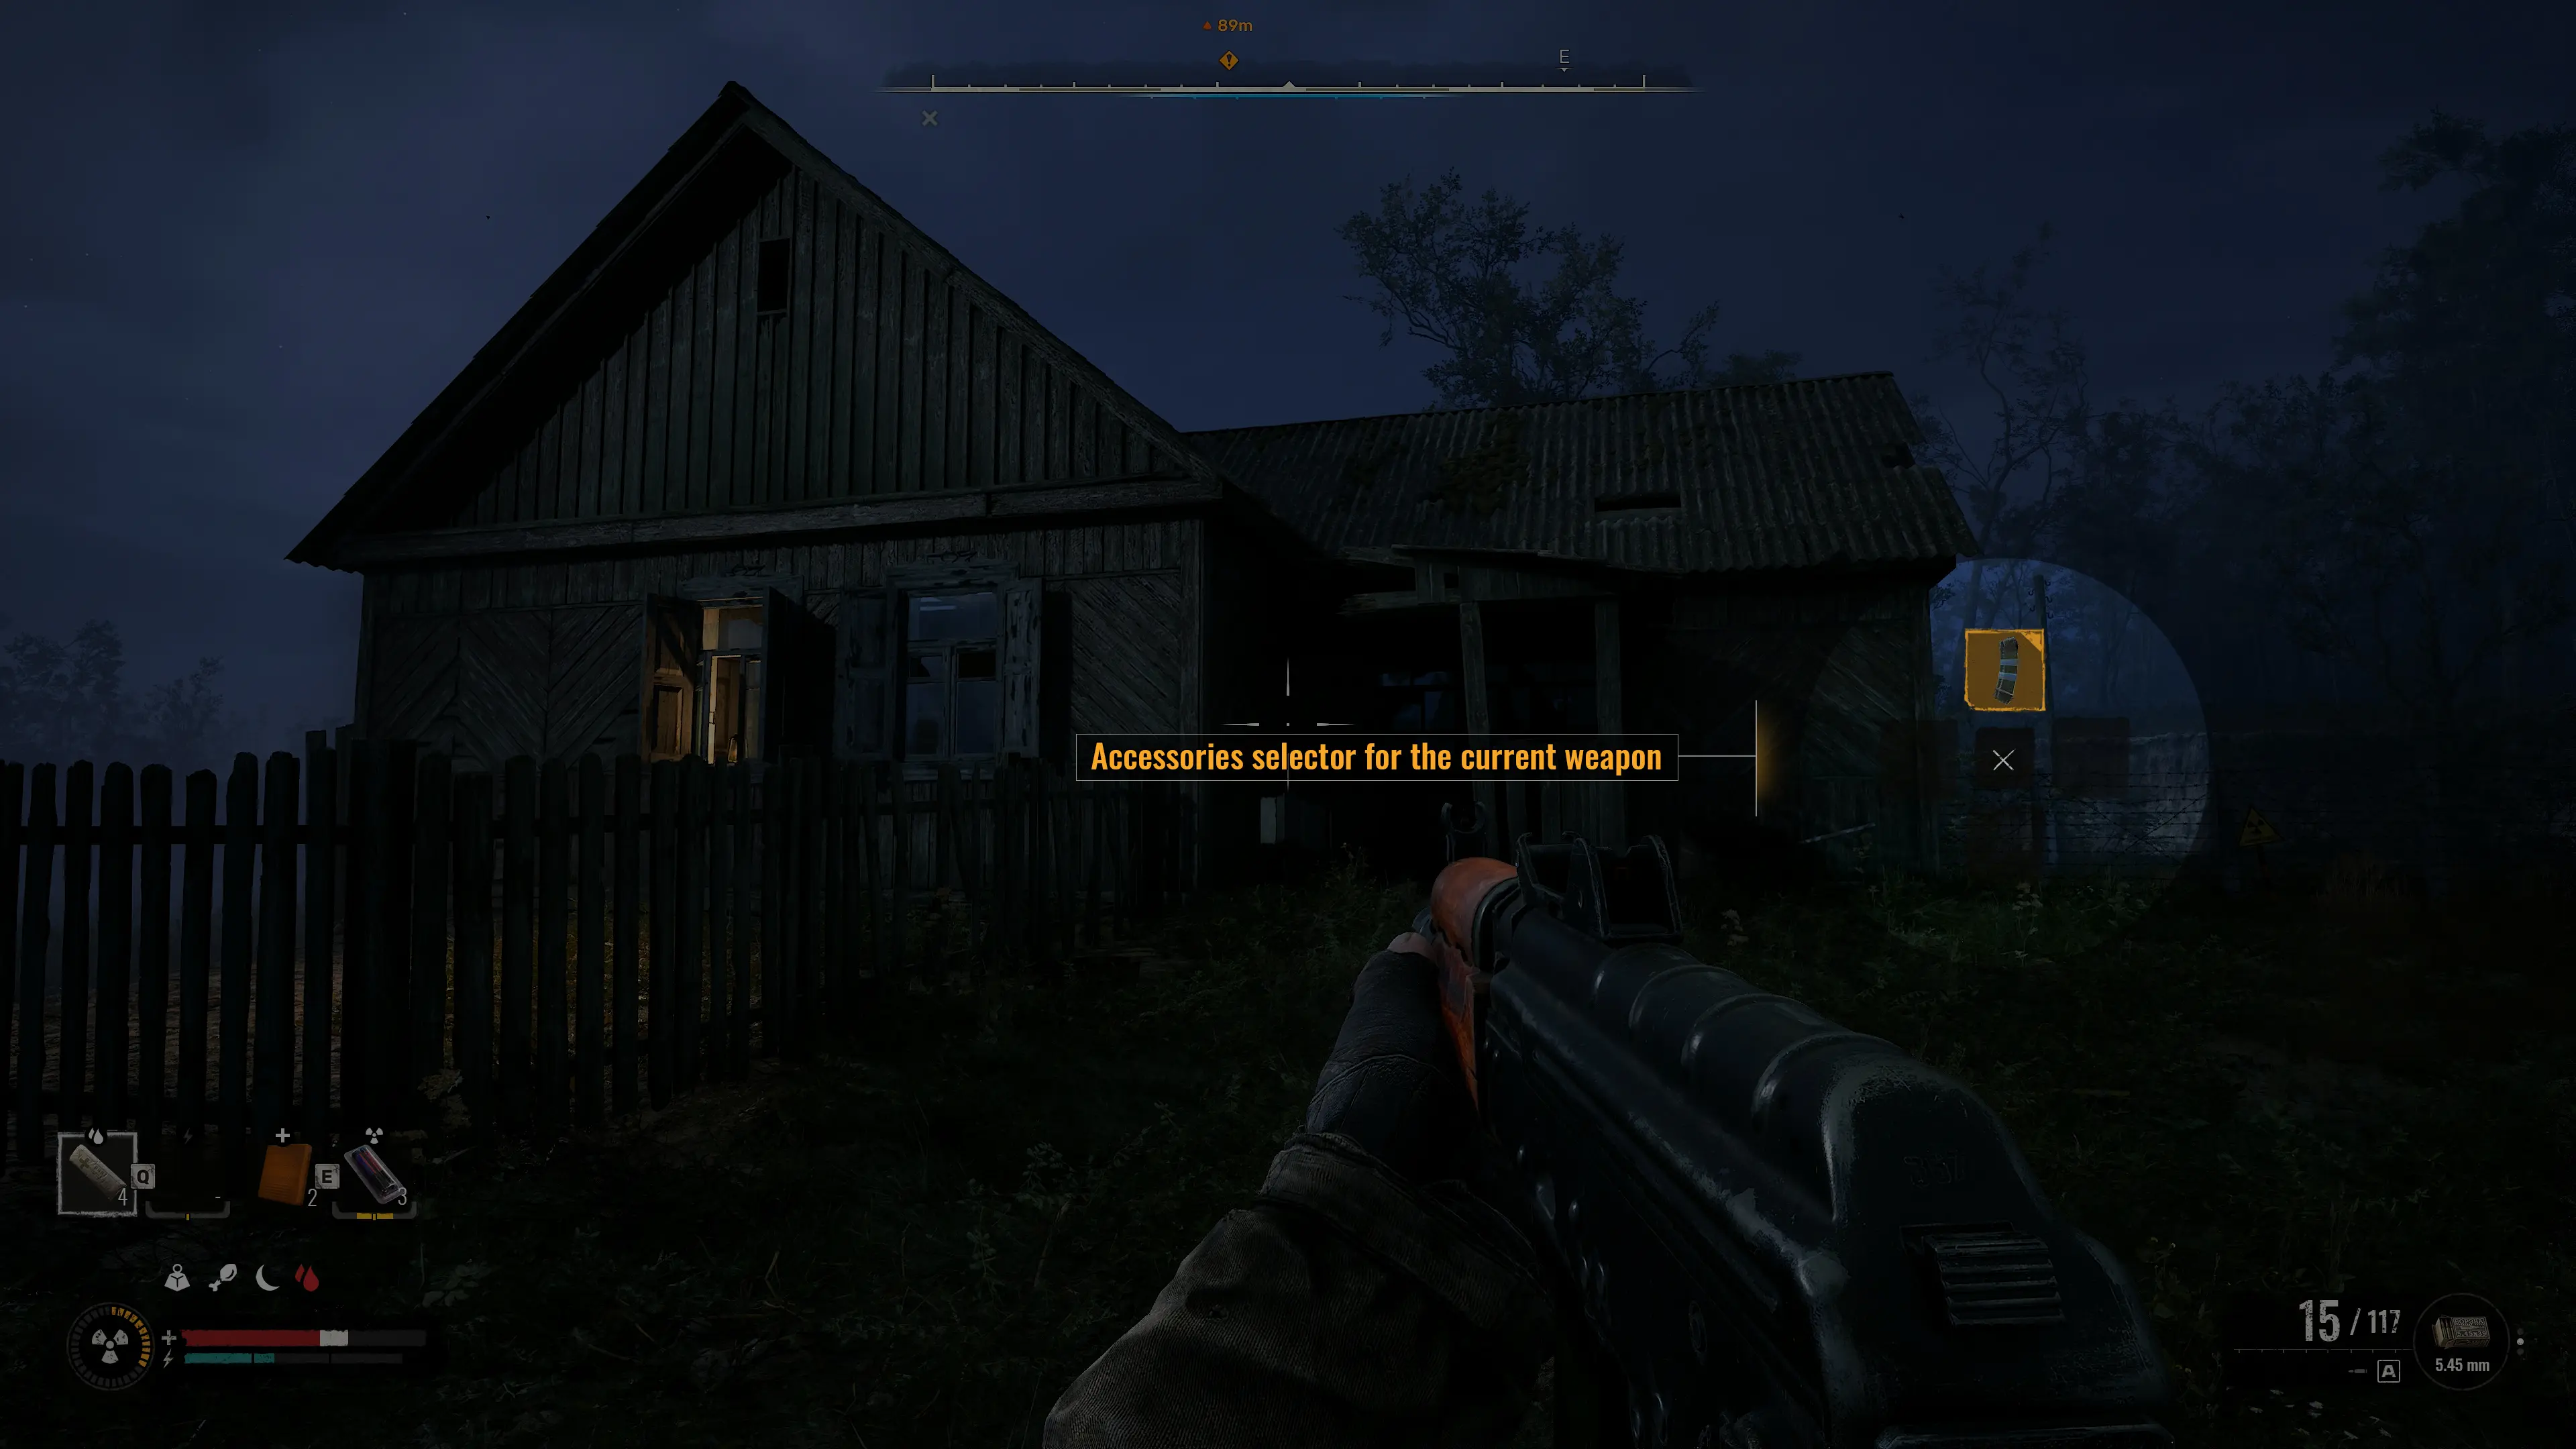
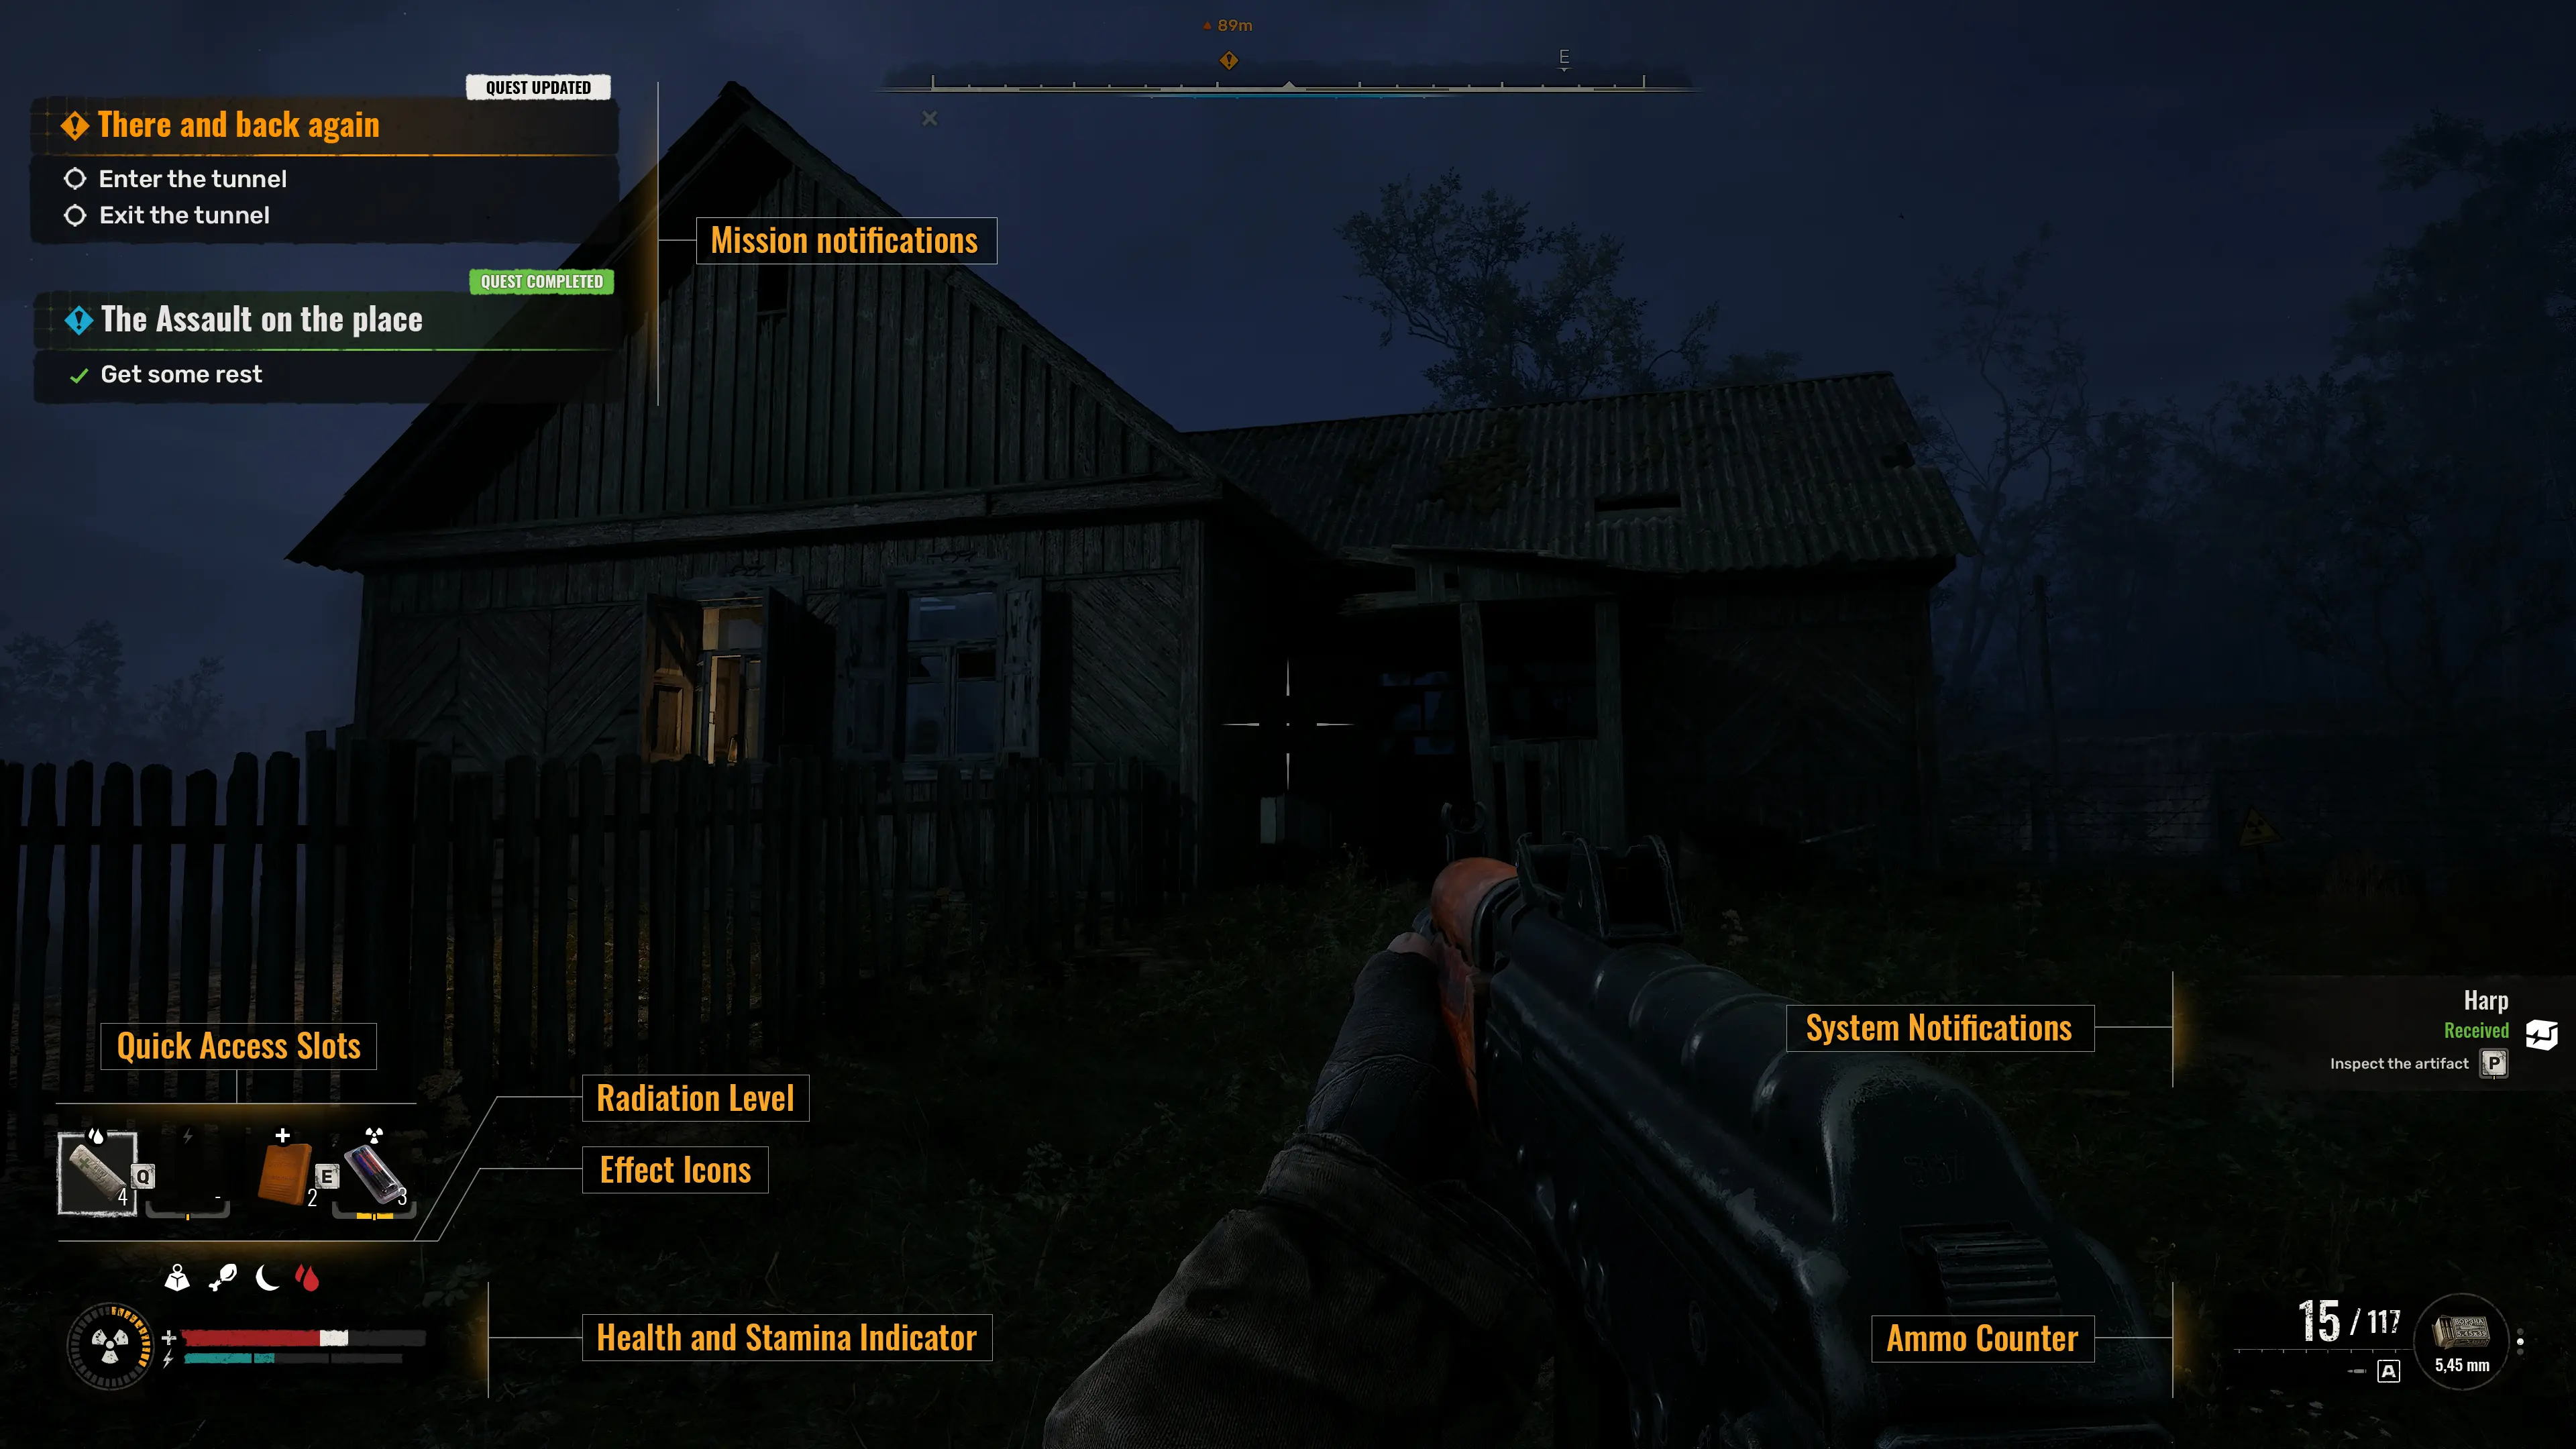
Keep a bandage, a first aid kit, food, and an anti-rad item in the four quick-access slots. The HUD places these slots near the health, effect, and radiation indicators, so you can respond without opening the inventory during a fight. Leave enough space for useful items you may find, and put excess equipment in a stash rather than walking slowly with it.
Do not try to clear every location on one outing. Reach the objective, search after danger has passed, and return when the trip no longer has enough supplies for the way back.
Keep carry weight under control
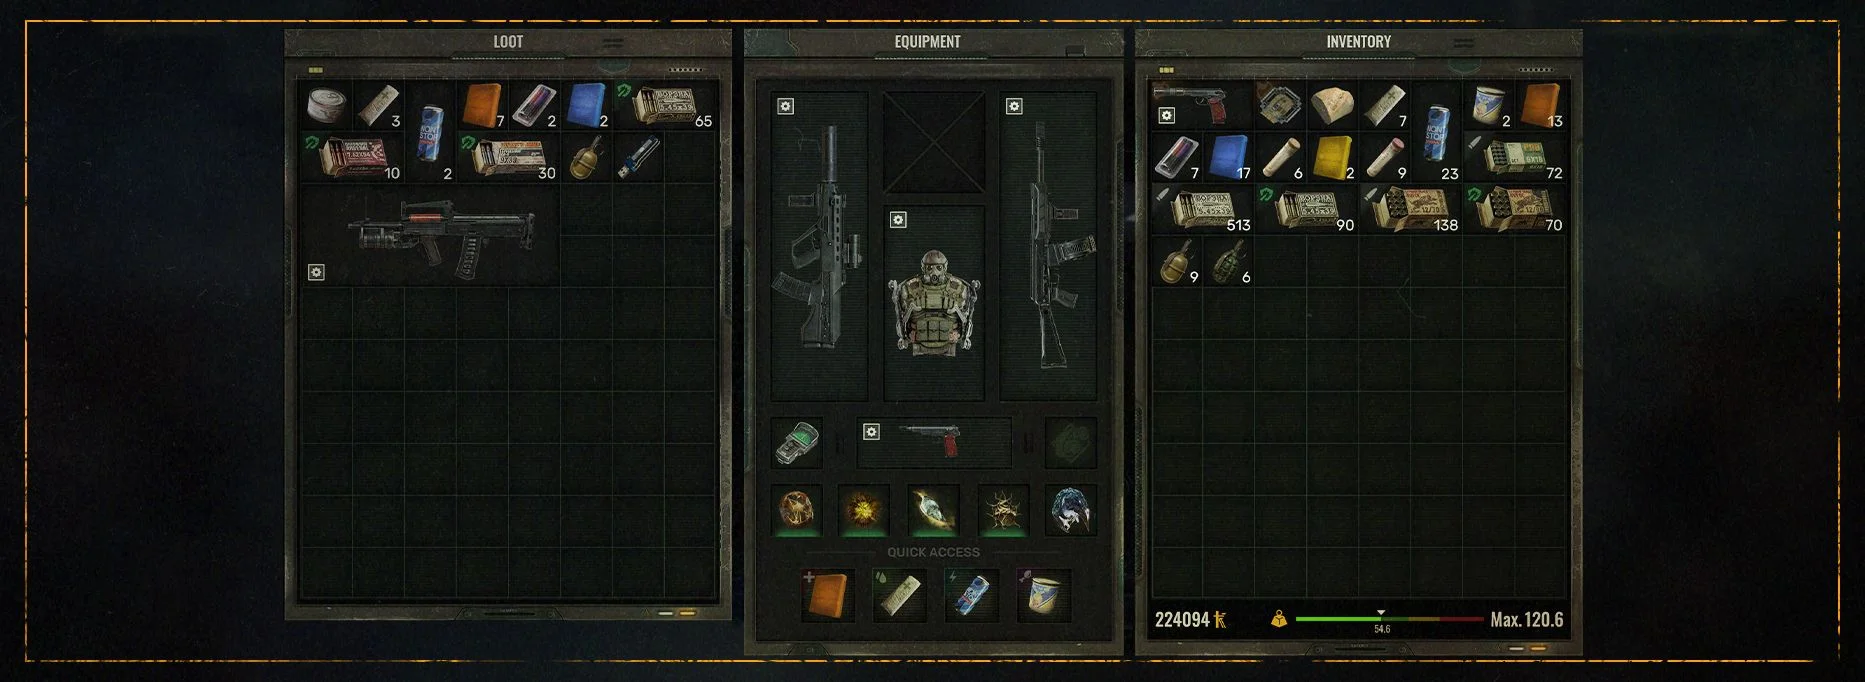
Every item adds to carry weight. GSC says item weight affects movement speed and stamina, and the inventory window shows the current load on a color scale. A heavy pack matters when you need to leave an anomaly, break line of sight, or reach shelter.
Use three decisions when the inventory fills:
- Keep the healing, food, ammunition, and other items needed for the current objective.
- Stash equipment that may be useful later. The personal stash is available at hubs, and its contents are shared between hubs.
- Sell or discard surplus items that have no role in the current expedition. Quest items cannot be sold or thrown away.
This guide does not assign carry-weight thresholds or tell you which weapon or artifact has the highest value. The practical rule is to keep enough capacity and stamina to retreat.
Read radiation and harmful effects early
The lower-left HUD shows health, stamina, effect icons, and radiation. If the radiation indicator starts to fill, move away from the source and use the appropriate in-game protection or treatment. GSC lists anti-rads, scientific first aid kits, vodka, and medics as ways to reduce radiation in the game. This is game information, not real-world medical advice.
Treat other warnings as active problems. A bandage stops bleeding. First aid kits and food restore health. Hunger slows endurance recovery, while drowsiness affects physical abilities; sleeping in a hub restores health and stamina and removes some negative effects. Check the HUD before opening the map so a status problem does not go unnoticed.
Artifacts and detectors have their own mechanics. This article only explains the radiation and effect checks needed for a safe first trip.
Replace what the last trip used
When you return to a hub, replace the supplies that the previous outing consumed. Buy medicine and ammunition, put excess weight in the stash or sell it, repair damaged weapons and equipment, review the four quick-access slots, and sleep if drowsiness is affecting the character. GSC’s beginner guidance also recommends checking installed artifacts before the next expedition.
Caches, defeated enemies, trade, and mission rewards can replenish resources. Search bodies after a fight, but do not start another encounter only to recover supplies. If ammunition or healing items are already low, returning to a hub is the safer choice.
Weapon roles, attachments, repairs, and upgrades are outside this article. This article only covers the preparation decisions that affect whether a first trip can continue.
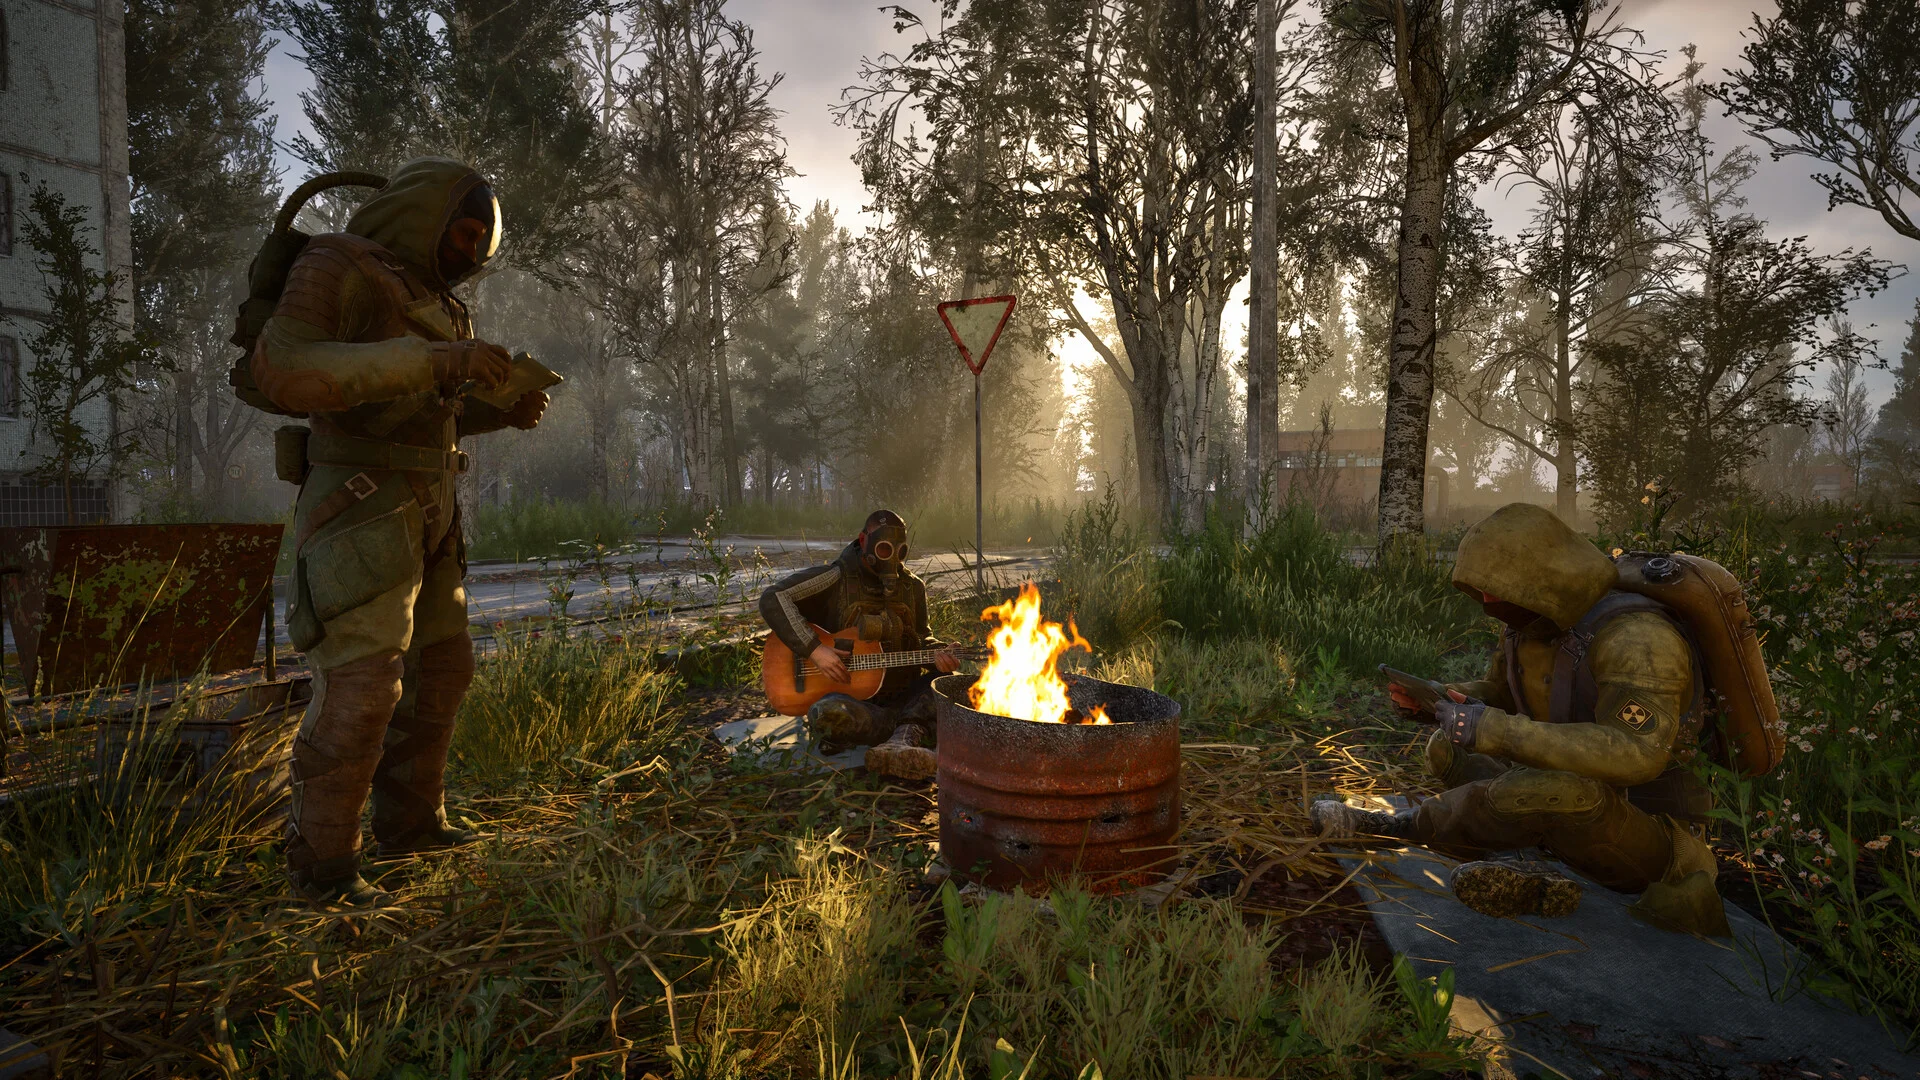
Find shelter before an Emission
An Emission is a deadly energy surge. When the warning arrives, the PDA marks the nearest shelter. Enter a closed room, basement, cave, or another proper shelter and stay there until the Emission ends. Hubs are useful preparation points because they provide services and suitable shelter, but they are only relatively safe.
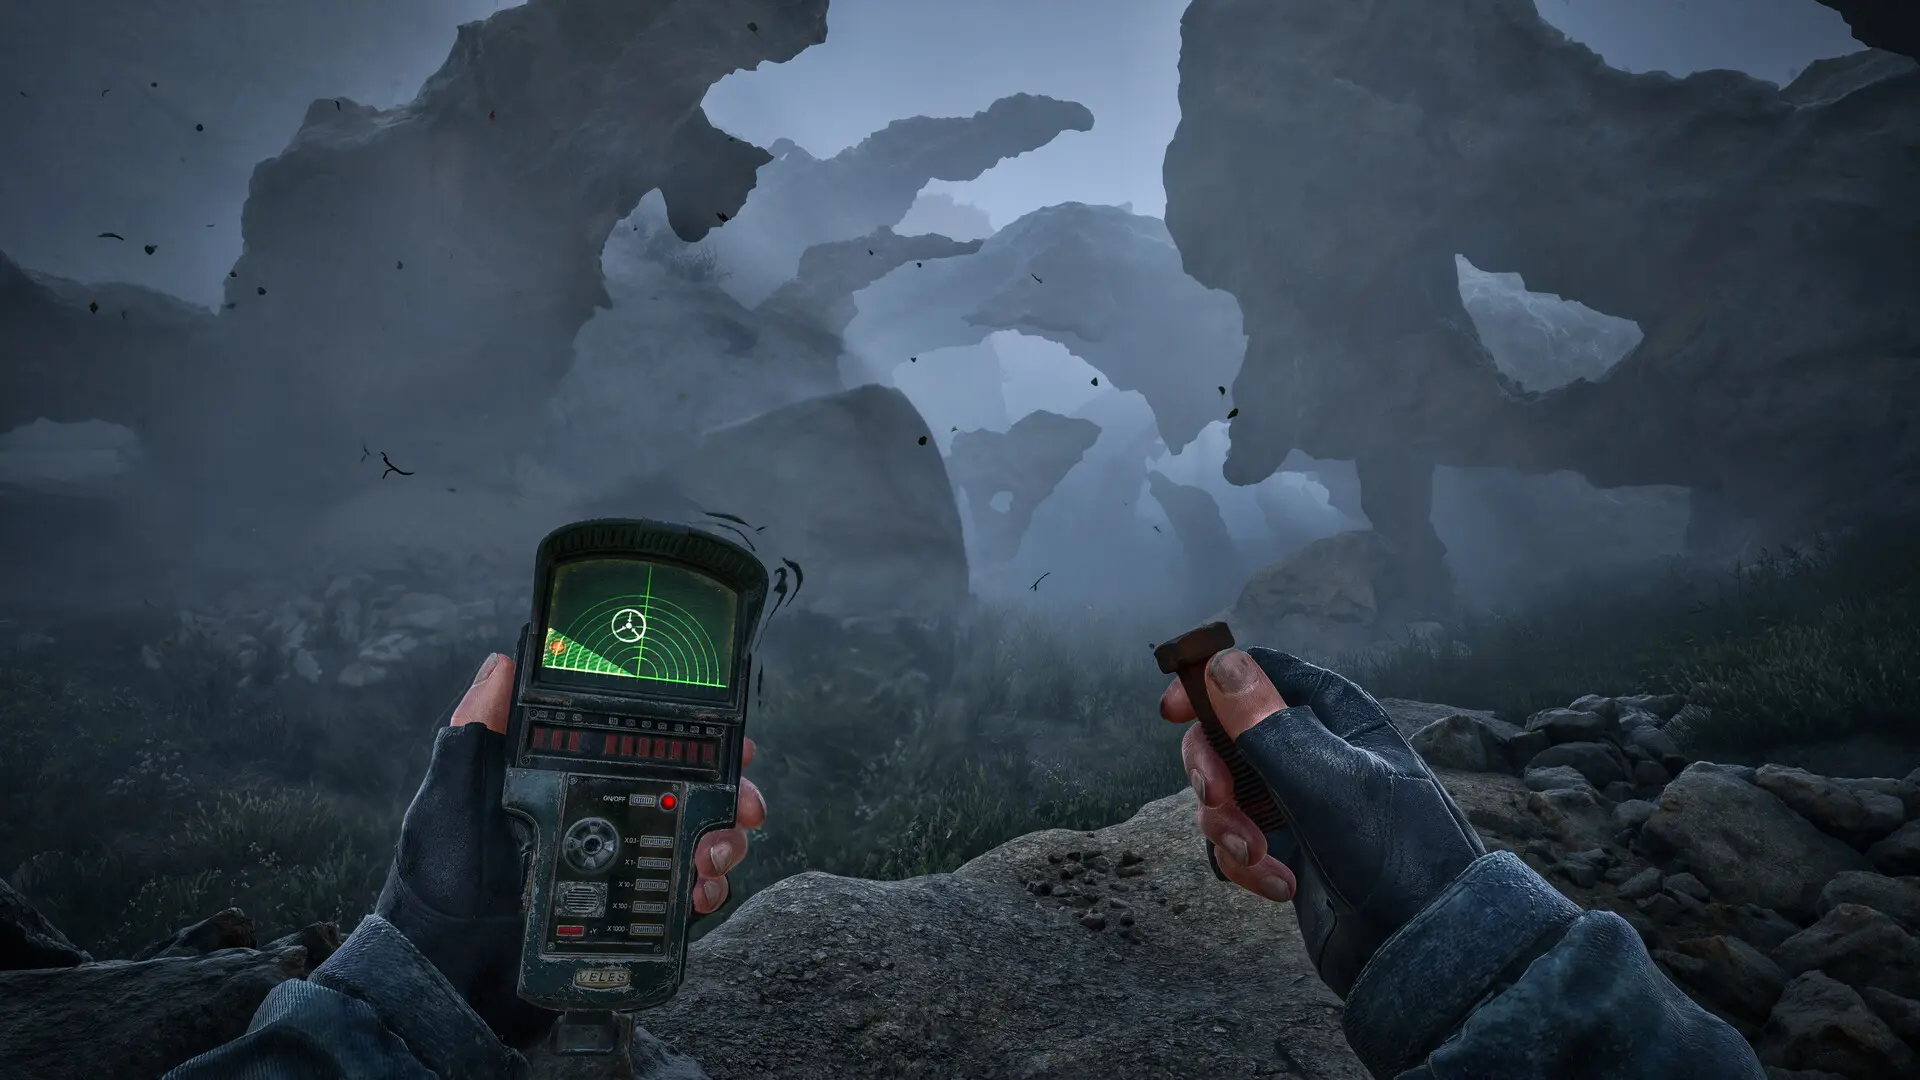
Anomalies require a different response. Listen and watch for warning signs, then throw bolts into suspicious space before walking forward. Bolts reveal an anomaly when they trigger it and become available after the prologue. This article does not cover detector models or the full artifact search procedure.
Save before the next commitment
Use a manual save before a long route, an uncertain area, or a choice you may want to revisit. The game also saves automatically at key moments, but an autosave is not a replacement for a deliberate recovery point.
On keyboard and mouse, press F5 for a quick save. To choose a named slot, press Esc, open the main menu, select Save, and choose the slot. On controller, open the pause menu and press Y for a quick save, or select Save and choose a slot.
GSC says manual saves are normally available almost anywhere except during combat, danger, or a story restriction. If saving is unavailable, finish the immediate danger or reach a safer place before trying again.
The useful routine is short: choose one objective, leave with a manageable pack and four ready supplies, watch the HUD, turn back when the route is no longer covered, and save before the next risky stretch.
For the wider cluster, visit All S.T.A.L.K.E.R. 2 guides. For the current update and expansion context, read STALKER 2 Update 2.0 Is Here — And Cost of Hope Is Finally Out.
For artifact searches, use the S.T.A.L.K.E.R. 2 Artifacts and Detectors Guide. For loadouts, see the S.T.A.L.K.E.R. 2 Weapons and Upgrades Guide.