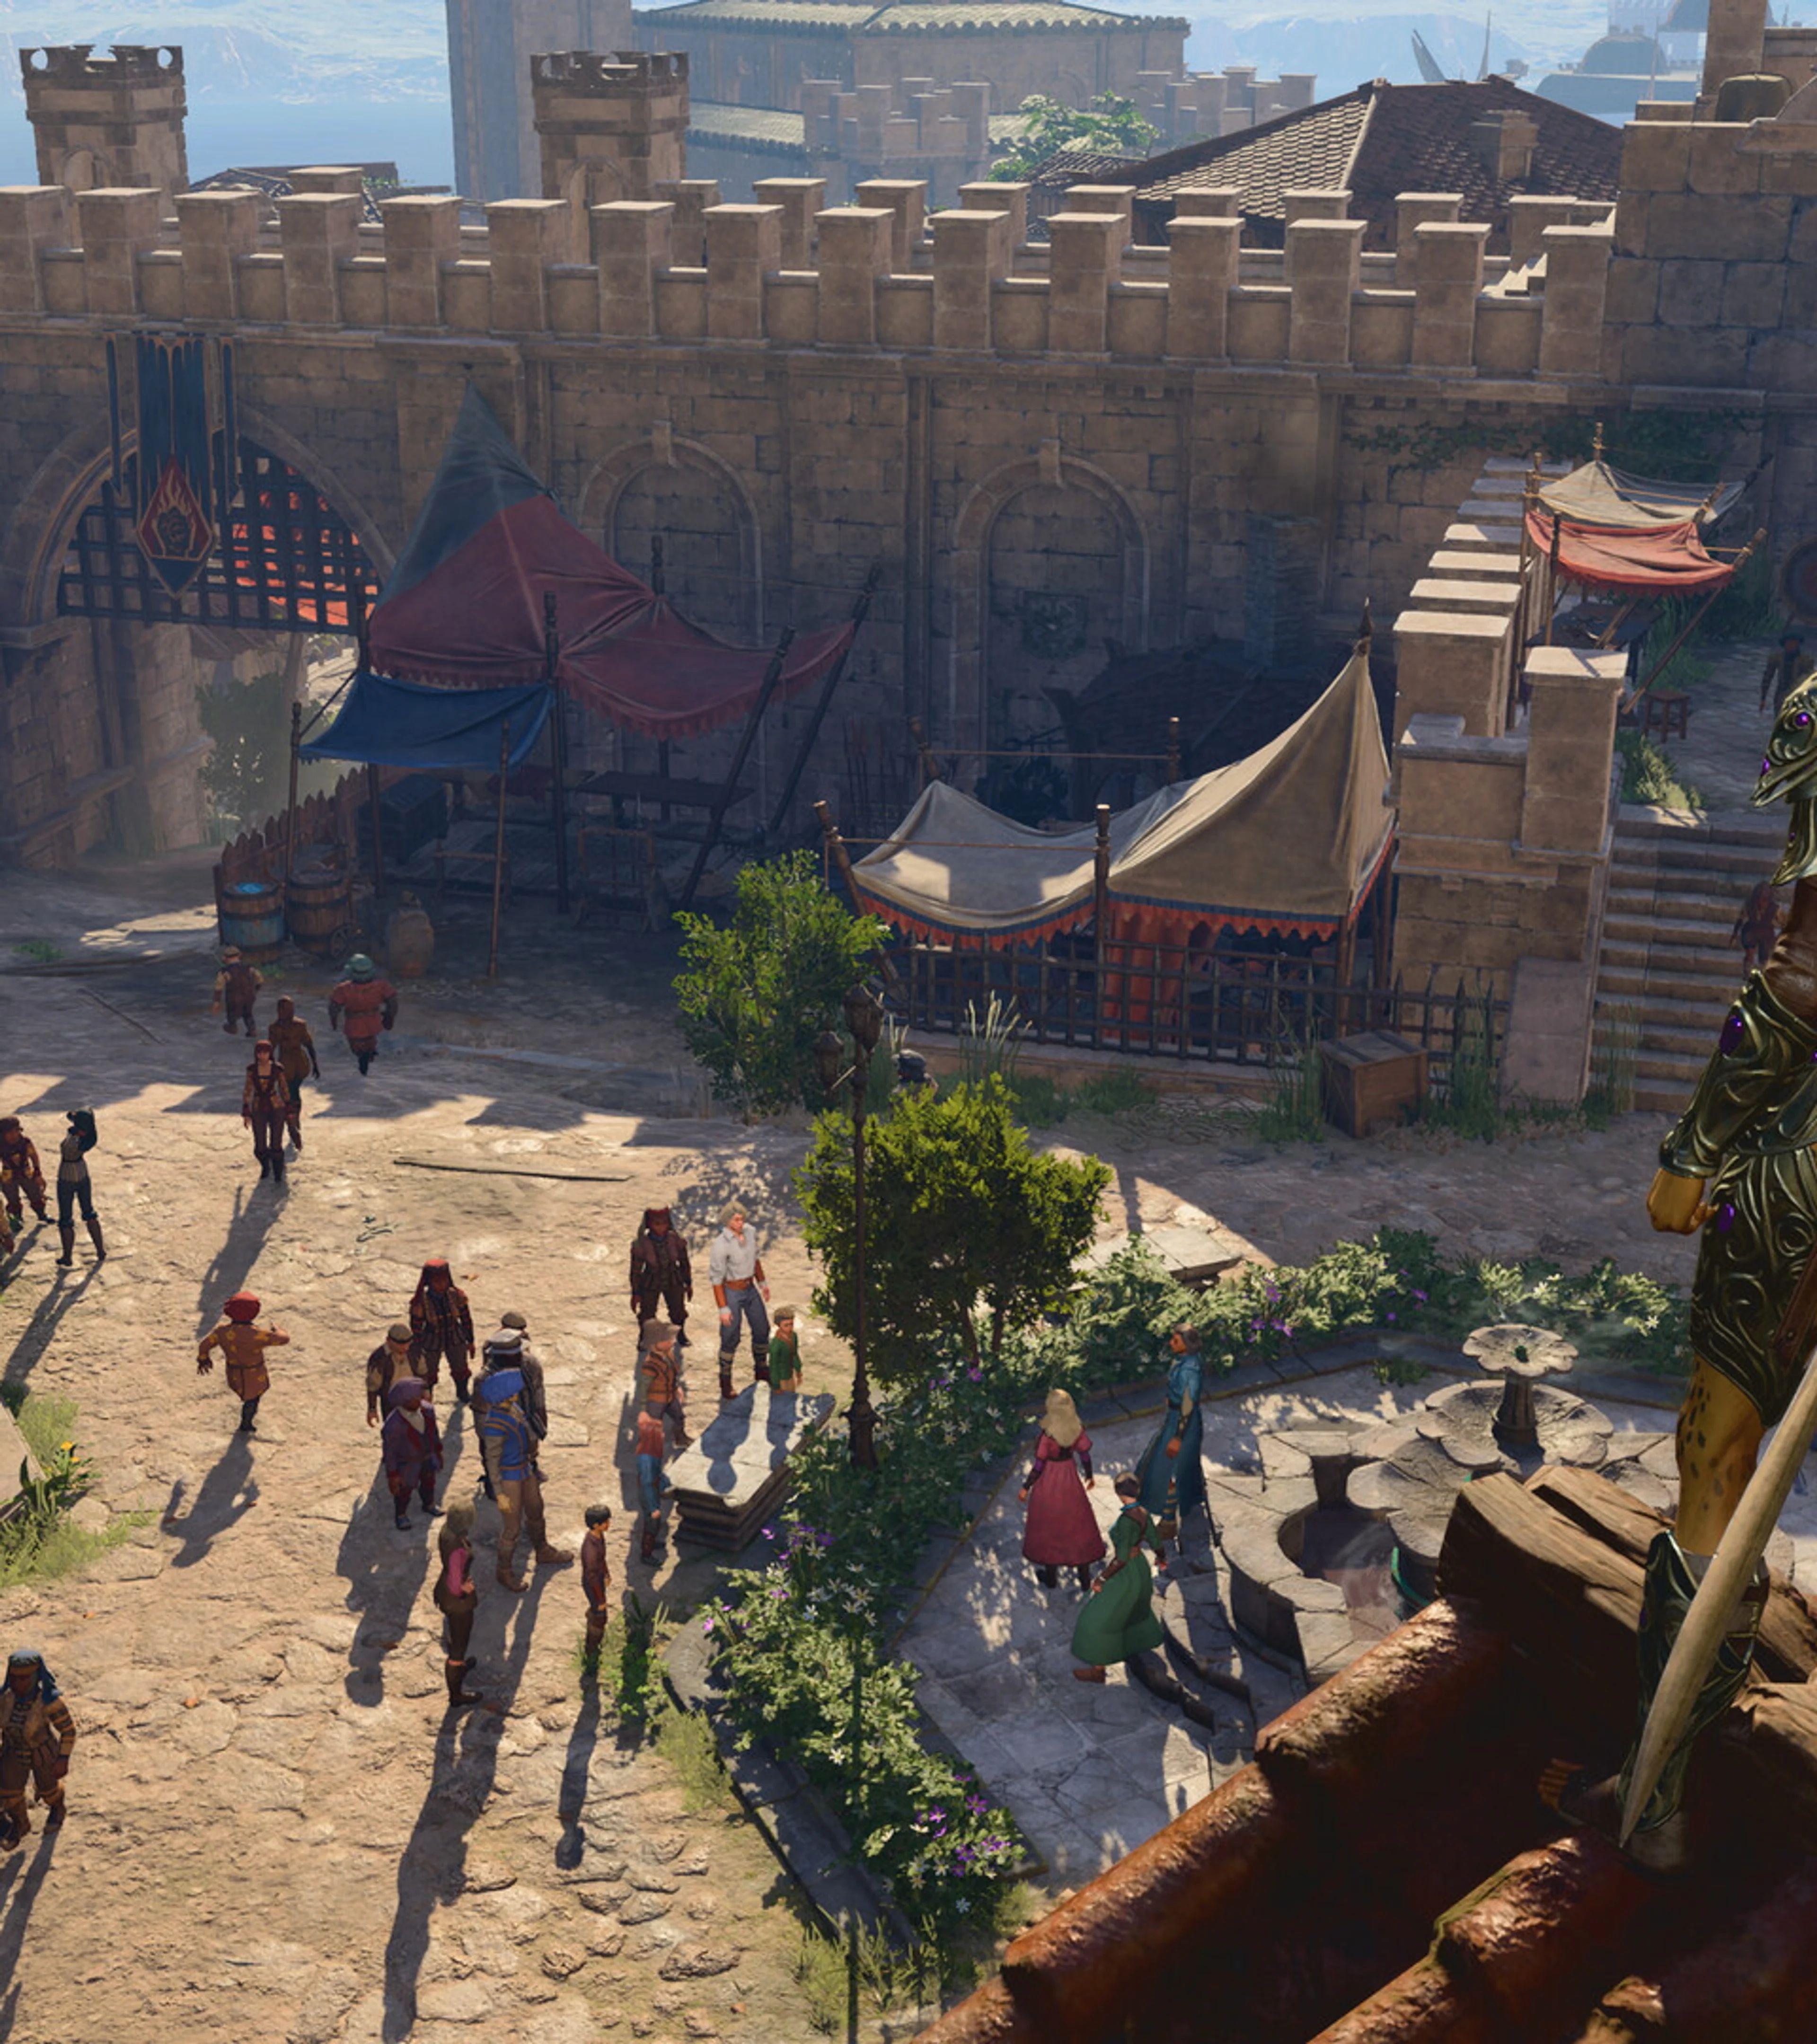




Baldur's Gate 3 gives you enough freedom to solve the same problem with a spell, a shove, a conversation, a stolen key, or a stack of explosive barrels. That freedom is the appeal, but it also makes the opening hours harder to read than a conventional RPG. The most useful first lesson is that a failed roll is not automatically a failed run. It is often the start of a different scene.
This beginner's guide reflects the current Patch 8 version of Baldur's Gate 3. It explains the systems that matter before you worry about optimized builds or perfect quest outcomes.
Pick the difficulty that lets you learn
Balanced is the clearest first-playthrough setting if you have some turn-based RPG experience. Explorer gives the party more durability and makes enemies less punishing, while Tactician changes enemy behavior and adds harder combat rules. Honour is a challenge mode built around a single save and tougher encounters; it is not the place to learn how concentration or spell slots work.
You can change Explorer, Balanced, or Tactician during a campaign. That makes difficulty a tool rather than a permanent commitment. Lower it for an encounter that has stopped being fun, then raise it again when the systems make more sense. Explorer disables multiclassing, but a single-class character is usually stronger and easier to understand during the early game anyway.
Do not restart over the wrong class
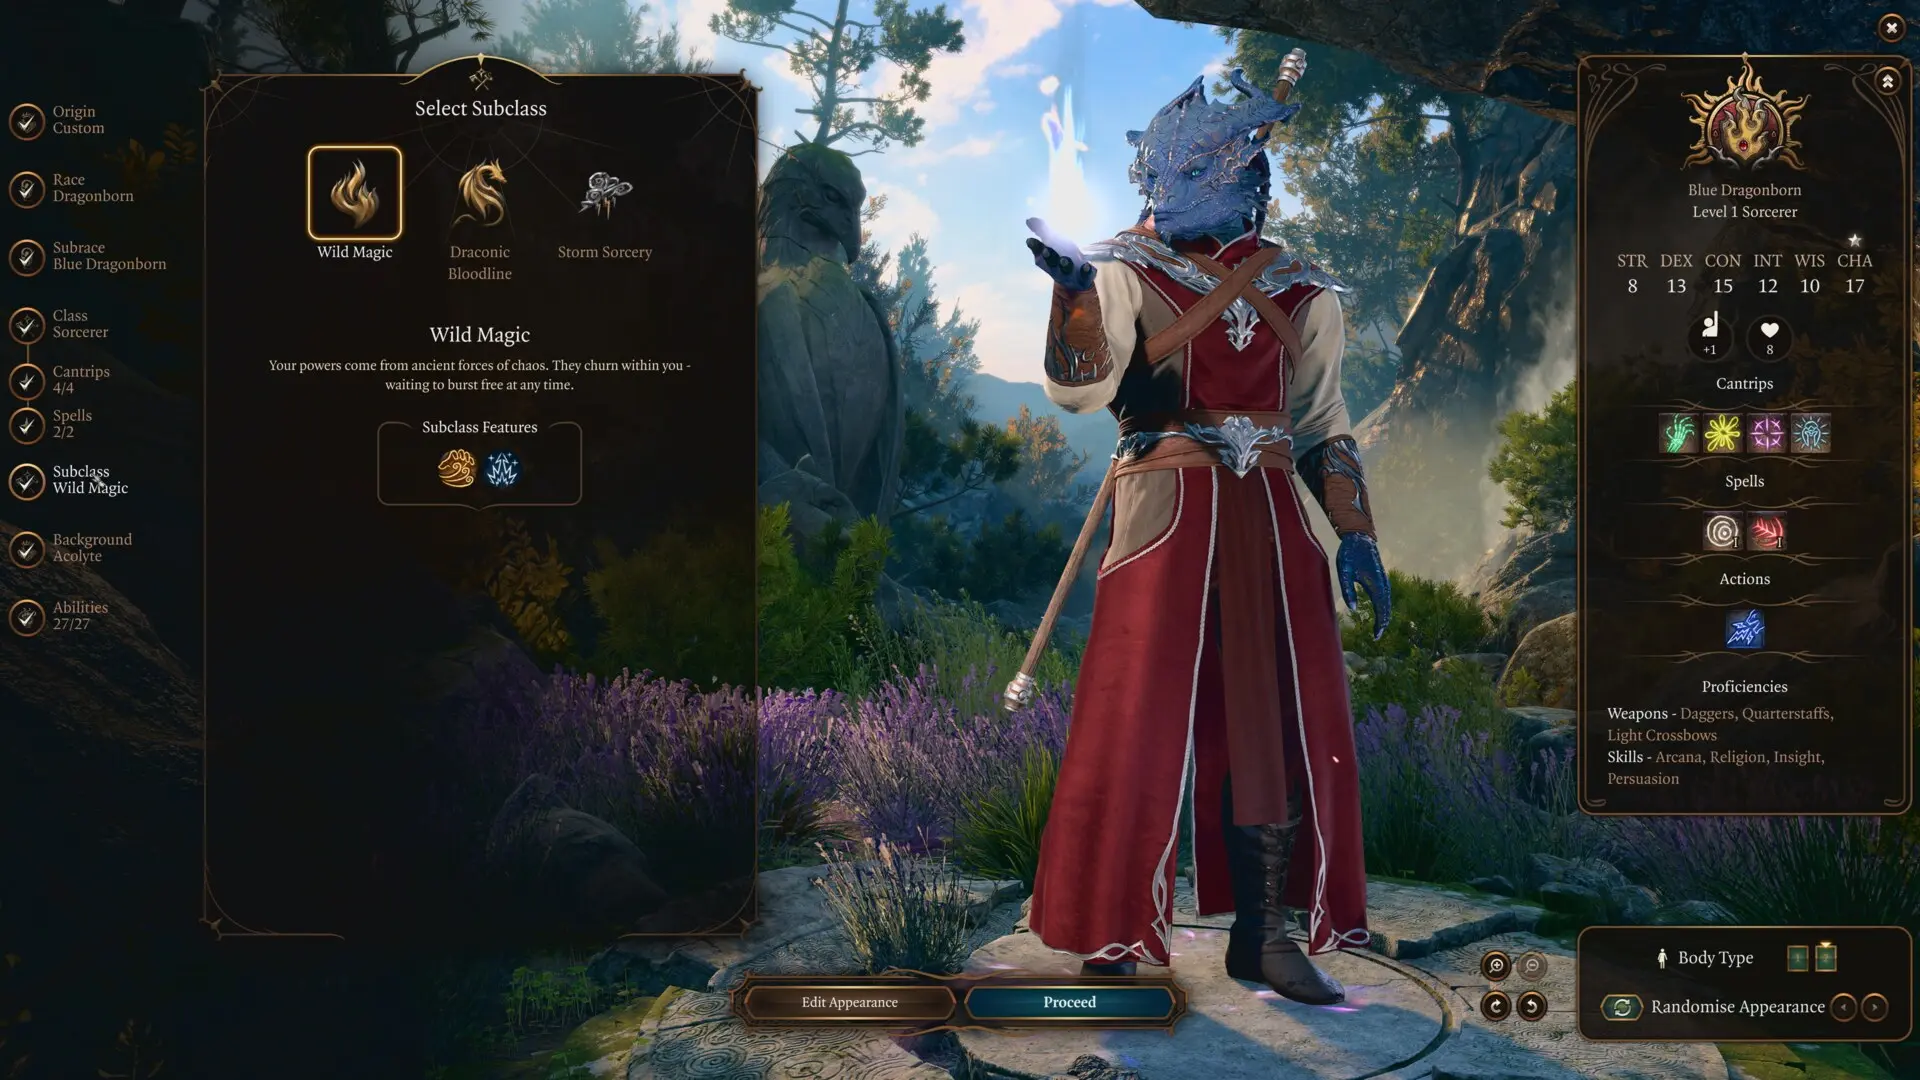
Every class can finish the game, and your first choice is reversible. Withers, an undead camp follower found in the Dank Crypt early in Act 1, can reset a character to level 1 for 100 gold. You then rebuild every class level while keeping the experience already earned.
Respeccing can change class, subclass, class-based skill choices, spells, feats, and ability scores. It cannot change race, origin, or background. If your wizard feels too fragile or your paladin's ability scores make no sense, fix the build instead of abandoning the campaign. Our respec and multiclass guide explains the full process and the choices that do not reset.
For a first character, choose the fantasy you actually want to play. Fighter, Barbarian, and Paladin make the first combat turns easy to understand. Bard, Sorcerer, and Warlock are natural dialogue leads because Charisma supports many social checks. Cleric, Druid, and Wizard ask you to manage more spells, but they also give you more ways around obstacles.
Understand one combat turn
Most characters begin a turn with four resources:
- Movement gets you into range, behind cover, or onto better ground.
- One action usually pays for an attack, spell, Dash, Help, or another major move.
- One bonus action pays for smaller moves such as Jump, Shove, drinking many potions, or certain class abilities.
- One reaction can trigger outside your normal turn, most commonly as an opportunity attack or a prompted spell.
The interface separates actions and bonus actions by color. If a useful ability is unavailable, check which resource it needs before assuming the game is bugged. Jump may cover a gap more efficiently than walking, but it spends a bonus action. Dash doubles your available movement, but normally costs the action you might have used to attack.
Reactions deserve special attention. Open the Reactions menu and set important ones to Ask. That prevents a wizard from automatically spending a spell slot on the first possible Shield or Counterspell trigger and lets a paladin choose when a Divine Smite is worth the resource.
Read hit chance as a diagnosis
The percentage above a target is the game's summary of an attack roll, not a guarantee. When the number is low, inspect the causes before repeating the same attack. Common problems include attacking with a weapon the character is not proficient with, using Strength on a character built for Dexterity, shooting while threatened at close range, attacking in darkness without the right vision, or trying to hit an enemy with unusually high Armor Class.
Examine enemies before committing resources. Their resistances, vulnerabilities, current conditions, and saving throw scores can tell you whether a weapon attack, spell attack, or spell that forces a save is the better choice. The combat log shows the actual roll and modifiers after an action. It is the fastest way to learn why something missed.
Position often matters more than one extra point of damage. Start ranged characters above the enemy when possible, break line of sight after attacking, and avoid grouping the entire party beside a barrel or narrow doorway. A character who cannot reach a target can still Dash, throw an item, coat a weapon, create a surface, or Help an ally.
Use the environment before spending spells
Water, grease, ice, fire, and other surfaces turn ordinary encounters into puzzles. A bottle of water can prepare several enemies for lightning or cold damage. Grease can knock creatures prone and then ignite. A chandelier, suspended stone, or explosive barrel may do more work than a spell slot.
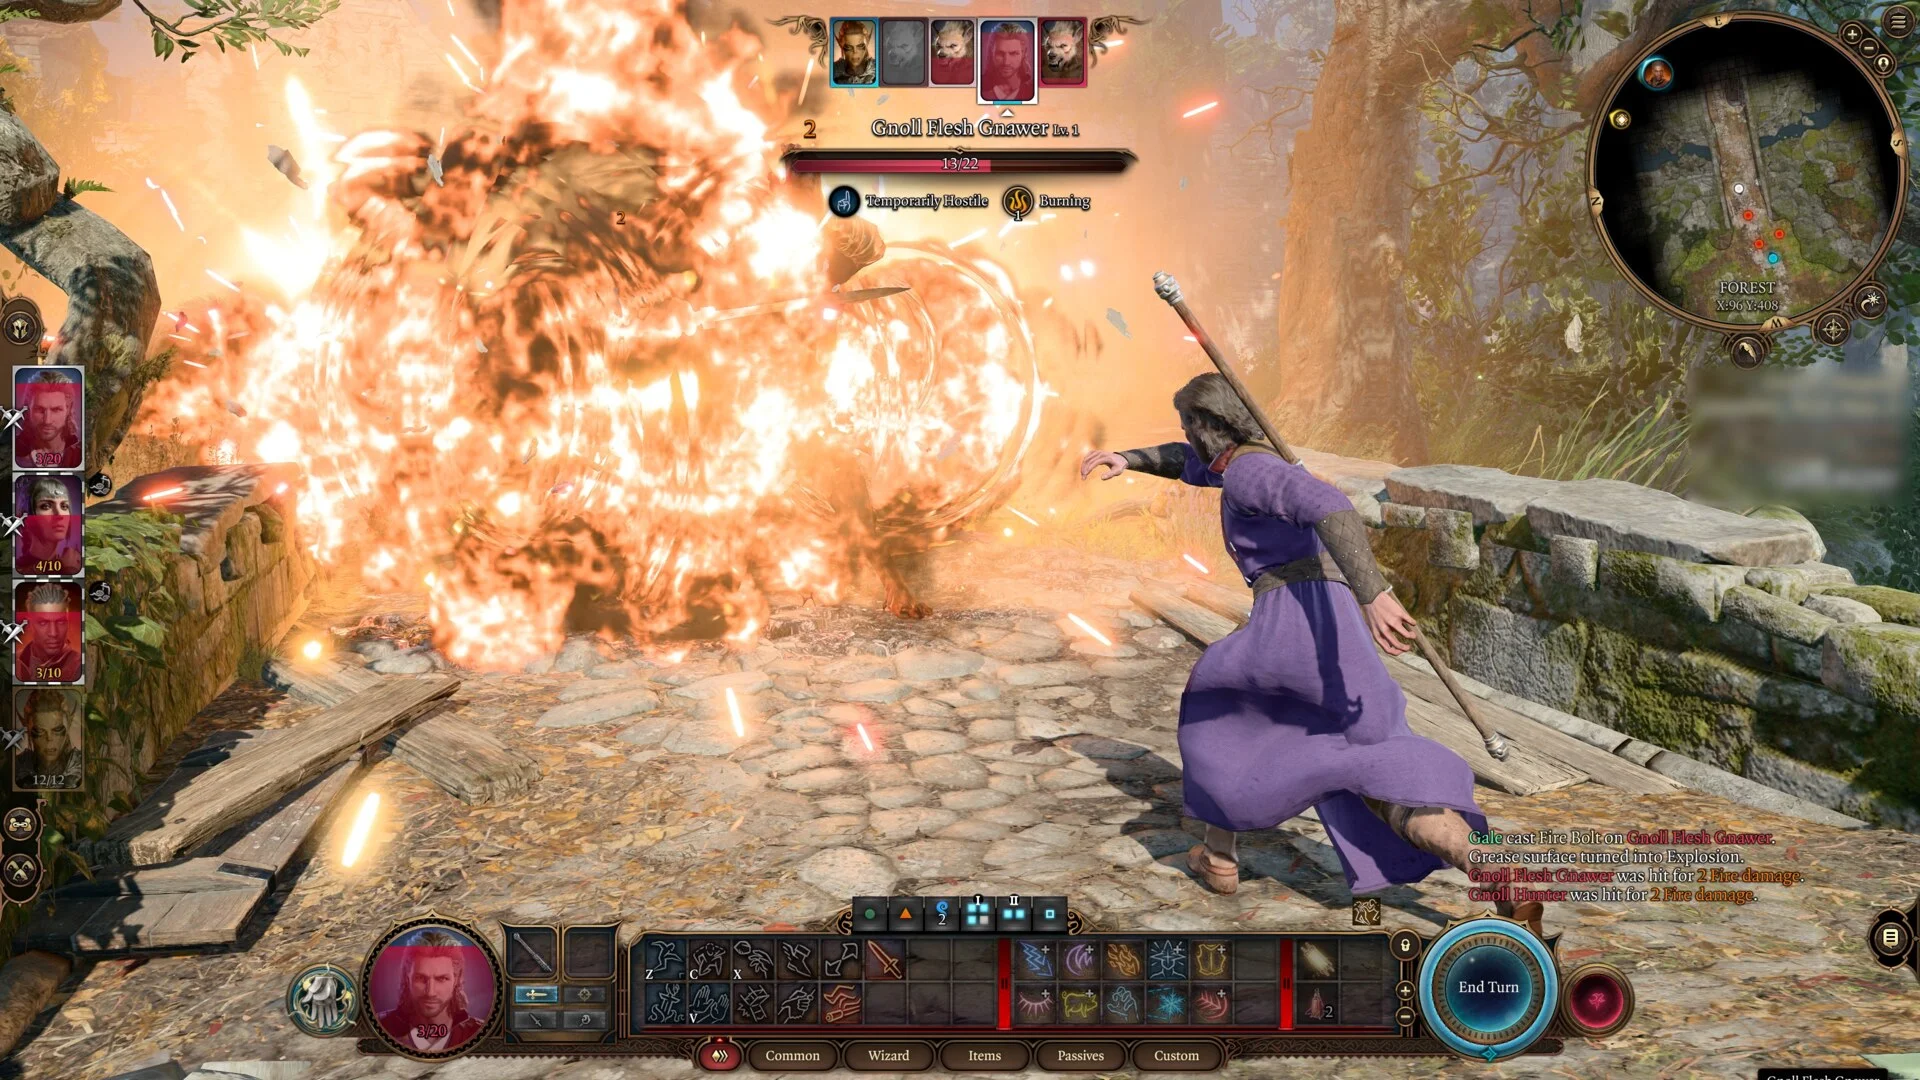
Shove is especially strong near ledges, but consider the loot before sending an enemy into an unreachable chasm. Throw can move potions, bombs, weapons, and even small creatures. A healing potion that lands beside clustered allies can help more than one character when it breaks.
Turn-based mode is useful outside combat as well. Activate it before crossing a trapped room, sneaking past a patrol, pickpocketing, or coordinating several characters. It freezes the wider scene into turns so one party member does not wander into danger while you control another.
Protect concentration
Many of the strongest spells require concentration. A caster can maintain only one concentration spell at a time, so casting a second one ends the first immediately. The spell's tooltip identifies the requirement, and the caster's portrait shows the active effect.
Taking damage can force a Constitution saving throw to keep concentration. Put concentrating casters behind tougher allies, use cover and distance, and avoid sending them into melee unless their build supports it. Magic Missile is excellent for breaking an enemy caster's concentration because its separate hits can force multiple checks.
Do not cancel your own spell by accident. Casting Bless and then immediately casting another concentration spell wastes the first slot even if no enemy touched the cleric.
Rest before the party is empty
Two short rests are available between long rests. A short rest restores part of the party's health and refreshes certain class resources, including a Fighter's Action Surge and a Warlock's spell slots. A long rest restores health and most resources, but normally consumes camp supplies.
The story also uses long rests to deliver companion conversations and camp events. Avoid treating rest as failure. If several scenes appear to be waiting, take a few long rests in succession; a partial rest without supplies can advance camp scenes when you do not need a full recovery.
A small number of situations are genuinely time-sensitive after you discover or trigger them. A burning building, a trapped person, or someone explicitly facing imminent execution should be handled before repeated rests or major travel. Most ordinary quests do not fail because you slept once. Read the immediate situation rather than rushing the entire game.
Build a party that covers decisions
The active party holds four characters. A comfortable first group usually has:
- someone who can survive in melee;
- someone who can open locks and disarm traps;
- someone with healing or defensive support;
- someone with strong ranged damage, control, or area spells.
Those are jobs, not required classes. A Bard can handle locks and dialogue. A Druid can heal, control space, and fight in Wild Shape. A Paladin can lead conversations and hold the front line. Equipment and respecs let companions change roles later.
Recruit broadly even when the active party is full. Companions wait at camp and their personal quests create some of the game's best material. The complete companion recruitment guide lists every permanent party member and the decisions that can lock them out.
Let the right character start the conversation
The character who triggers dialogue usually makes the ability checks. If your Bard is the party's persuasive lead, move that character to the front before approaching an obvious conversation. Guidance, Enhance Ability, Bardic Inspiration, and certain equipment can improve checks, but only if the relevant character or ally can use them at the right time.
Not every check needs the highest number. Class-, race-, background-, and companion-specific responses can avoid a roll entirely or reveal a more interesting path. Detect Thoughts, Speak with Animals, Speak with Dead, and Disguise Self open routes that a high Persuasion score cannot replace.
Save before major conversations if you want control over the outcome, but consider keeping some failures. Baldur's Gate 3 often writes consequences for a bad roll rather than simply closing the quest.
Keep inventory friction under control
Send camp supplies, spare gear, and heavy crafting materials to camp instead of carrying everything. The option works from most locations. Use dedicated bags or pouches for scrolls, potions, arrows, and quest items, then sort by type or weight when the inventory becomes noisy.
Consumables are part of the combat system, not collectibles for a final boss that may never need them. Special arrows, elixirs, weapon coatings, grenades, and scrolls can solve an encounter without draining a caster's prepared spells. Any character can often cast a scroll, which gives martial party members an emergency tool.
Check equipment proficiency before chasing a higher armor number. A character wearing armor they are not proficient with can lose access to spellcasting and suffer other penalties. A smaller Armor Class upgrade is not worth disabling the reason that character is in the party.
Explore both forward and upward
The map marks major objectives, not every route. Look for ladders, broken walls, burrows, cliffs, rooftop paths, and places reachable by Jump or Misty Step. Hold the control that highlights interactable objects in your input scheme, and rotate the camera around rooms before leaving.
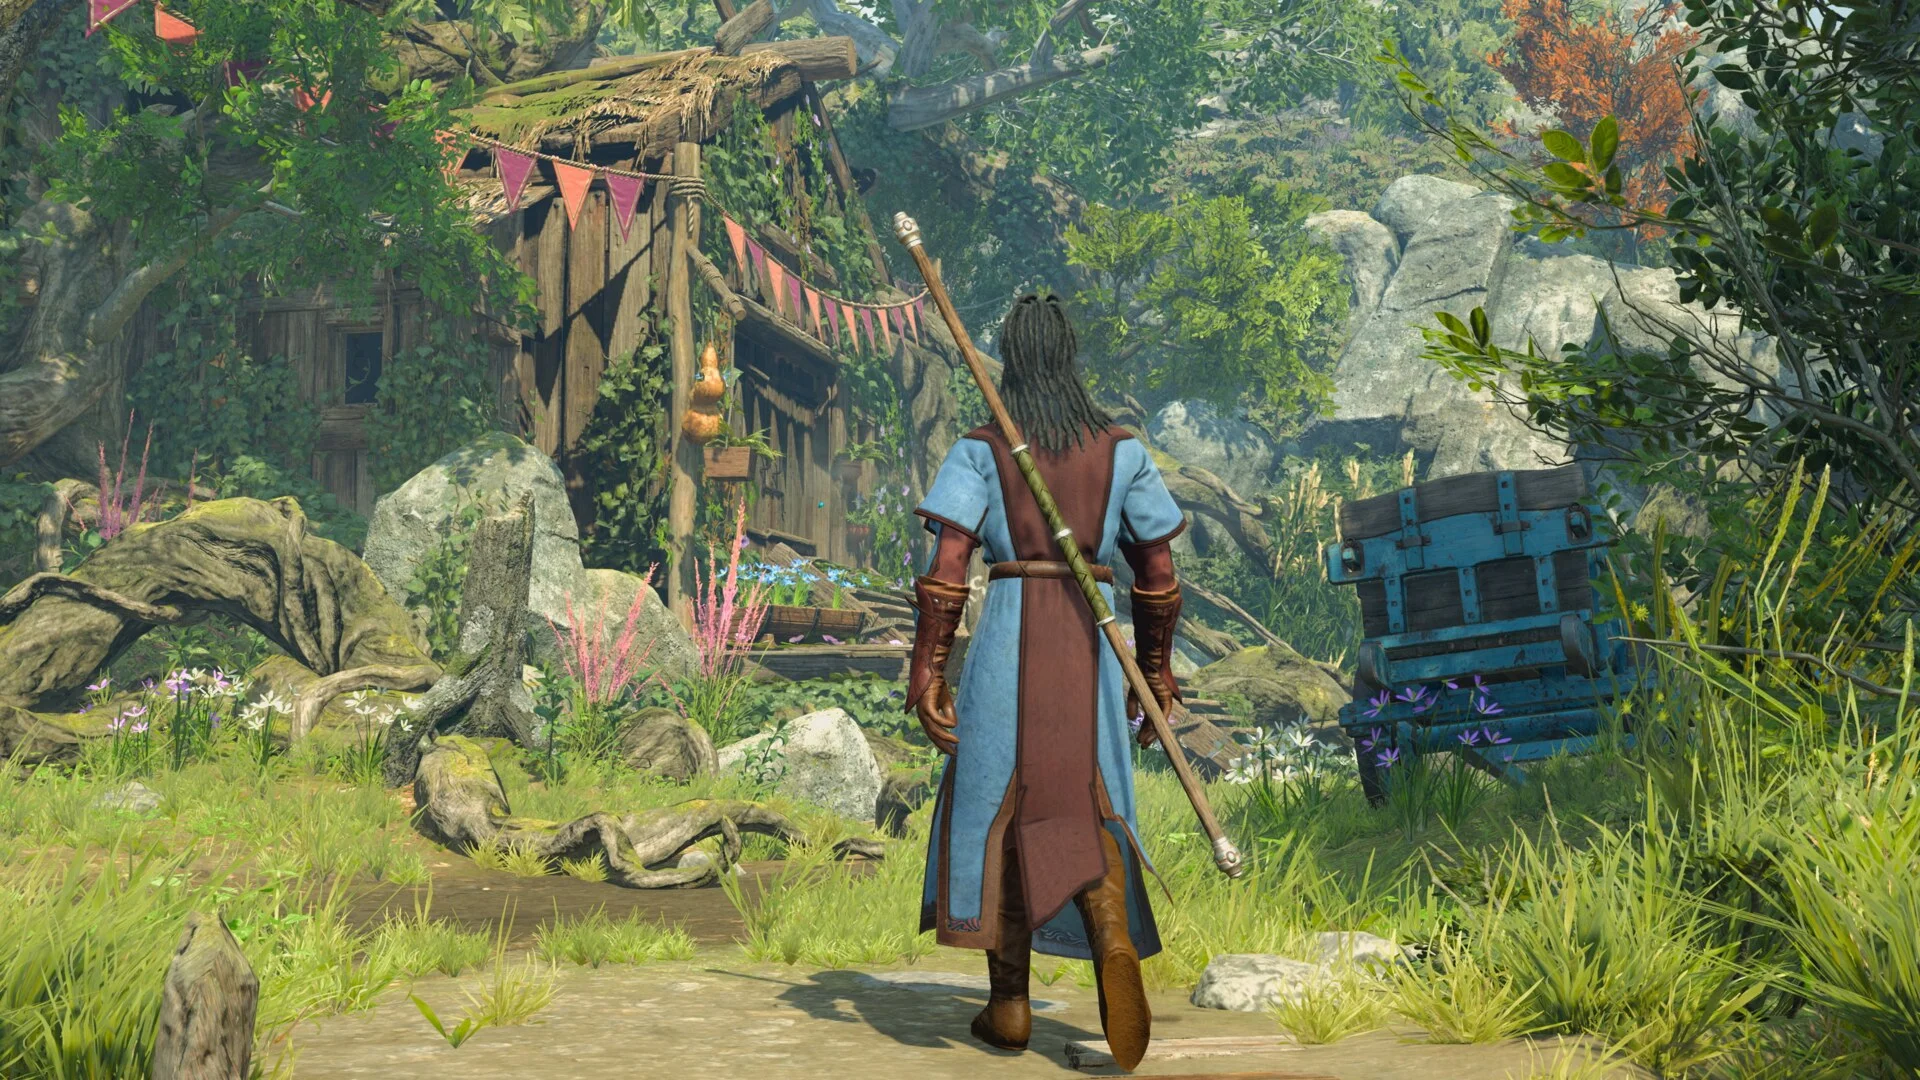
Splitting the party helps when one character needs to scout, sneak, or disarm a trap without three followers walking through it. Remember to regroup afterward. Characters left far behind may enter combat late or spend several turns reaching the fight.
The game warns you before major points of no return. Treat those messages seriously: finish local companion quests, revisit vendors, and make a manual save before crossing. A clear save name such as "Before Mountain Pass" is more useful than a row of indistinguishable autosaves.
A practical first-hour checklist
Before pushing deep into Act 1:
- Recruit several companions rather than committing to the first four characters you see.
- Explore the Dank Crypt and add Withers to camp.
- Set important reactions to Ask.
- Learn what restores on a short rest and what requires a long rest.
- Give each active character a clear combat job.
- Put potions, scrolls, and special arrows on the characters who can use them.
- Make a named manual save before any region-change warning.
That is enough structure to make informed decisions without turning a first playthrough into homework. The Baldur's Gate 3 Guide Hub collects the rest of our focused guides, including the existing third-person camera mod setup for PC players.