
Pixel Twelve
How to Fish Bosses and Islands Walkthrough

Walkthrough

How to Fish Bosses and Islands Walkthrough

A complete How to Fish story walkthrough covering the Spider Crab, Giant Piranha, Pufferfish, Tuna, Albatross, Bowhead Whale, final boss, required bait, trophies, and island unlocks.

Game: How to FishVerified Aug 29, 2026
Guide Type
Walkthrough
Last Verified
Aug 29, 2026

Guide details

Overview

A complete How to Fish story walkthrough covering the Spider Crab, Giant Piranha, Pufferfish, Tuna, Albatross, Bowhead Whale, final boss, required bait, trophies, and island unlocks.

Watch

Official Trailer

Quick answer: the full story boss route

How to Fish has six required creature fights across five island stages. The reliable route is Spider Crab, Giant Piranha, Pufferfish, Tuna and Albatross, Bowhead Whale, then the Mutated Bowhead Whale. Each stage begins with a local quest that supplies the bait or information for the next target. Defeating a boss is only half the objective: keep its shell, trophy, fin, head, or tail and complete the hand-in before leaving.

  • Lighthouse island: Empty Beer Can on the Crab Fishing Rod → Spider Crab → return the shell for the boat keys.
  • Forest island: find three Leeches → Leech Bait → Giant Piranha → return the trophy for coordinates.
  • Tourist island: bring an endangered creature → Carrot → Pufferfish → return the fin.
  • Rocky/casino island: Professional Boss Lure → Tuna → use its body to attract the Albatross → return the head.
  • Volcano island: bring five creatures to the scientist → Fish Bucket → Bowhead Whale → throw the body into the crater → Mutated Bowhead Whale → return the tail and use the escape boat.

Prepare before every large catch

A boss attempt starts before the cast. Save from the menu, clear loose junk from the fighting area, place food on a quick slot, confirm that the required lure is attached to the correct rod, and leave one inventory space for the trophy. In co-op, decide who will carry the quest item before the creature lands. That prevents the most common failure: winning the fight and then losing track of the object that advances the story.

  • Weapons: a firearm makes the later moving bosses safer, but ammunition is only useful if the group can create distance. Keep a melee backup.
  • Healing: cook ordinary catches before a major fight and keep the useful food instead of selling every fish.
  • Difficulty: Easy reduces creature health by 25% and creature damage by 50%. Hard raises both health and damage by 25%. Change it before the attempt if the fight is blocking progression.
  • Save state: the current game autosaves every minute and saves through Save, Main Menu, and Quit, but a manual save gives the group a clear recovery point before spending a boss lure.

Do not stand on the exact landing point while the catch is being reeled in. Large creatures can immediately charge, roll, or push players into props. Open ground makes every boss easier to read.

Spider Crab: get the shell and boat keys

Complete the lighthouse keeper exchange to obtain the Empty Beer Can, attach it to the Crab Fishing Rod, and cast from the first island. The Spider Crab is the opening story boss. It is dangerous when fought face-to-face, but its charge also creates the safest damage window.

  1. Pull the crab onto a clear section of the beach rather than into the shop or lure wall.
  2. Wait for the charge, move sideways, and let it finish the animation.
  3. Attack from the side or rear during recovery, then back away before the next turn.
  4. Pick up the shell immediately after the kill and return it to the lighthouse keeper.

A patient melee weapon is enough, so there is no need to delay the whole game for an expensive gun. In co-op, one player can draw the charge while another attacks from the flank. The boat does not unlock merely because the boss died; the shell hand-in is what produces the keys.

Giant Piranha: manage the smaller fish first

Search the forest island for three Leeches and give them to the quest giver to receive Leech Bait. The Giant Piranha is more dangerous than the Spider Crab because the arena can fill with smaller threats while the main target keeps moving. A firearm helps, but control matters more than raw fire rate.

  1. Cast from open ground with room to circle instead of fighting beside dense trees or props.
  2. Remove nearby smaller piranhas whenever they begin cutting off the escape route.
  3. Keep moving laterally and fire in controlled bursts; do not empty the weapon while the target is outside a clean angle.
  4. Collect the boss trophy and return it to the forest quest giver for the next coordinates.

In a group, assign one player to the boss and one to crowd control. Solo players should prioritize space over damage. A slightly longer fight is safer than getting surrounded while chasing one final shot.

Pufferfish: use the Carrot and respect the poison phase

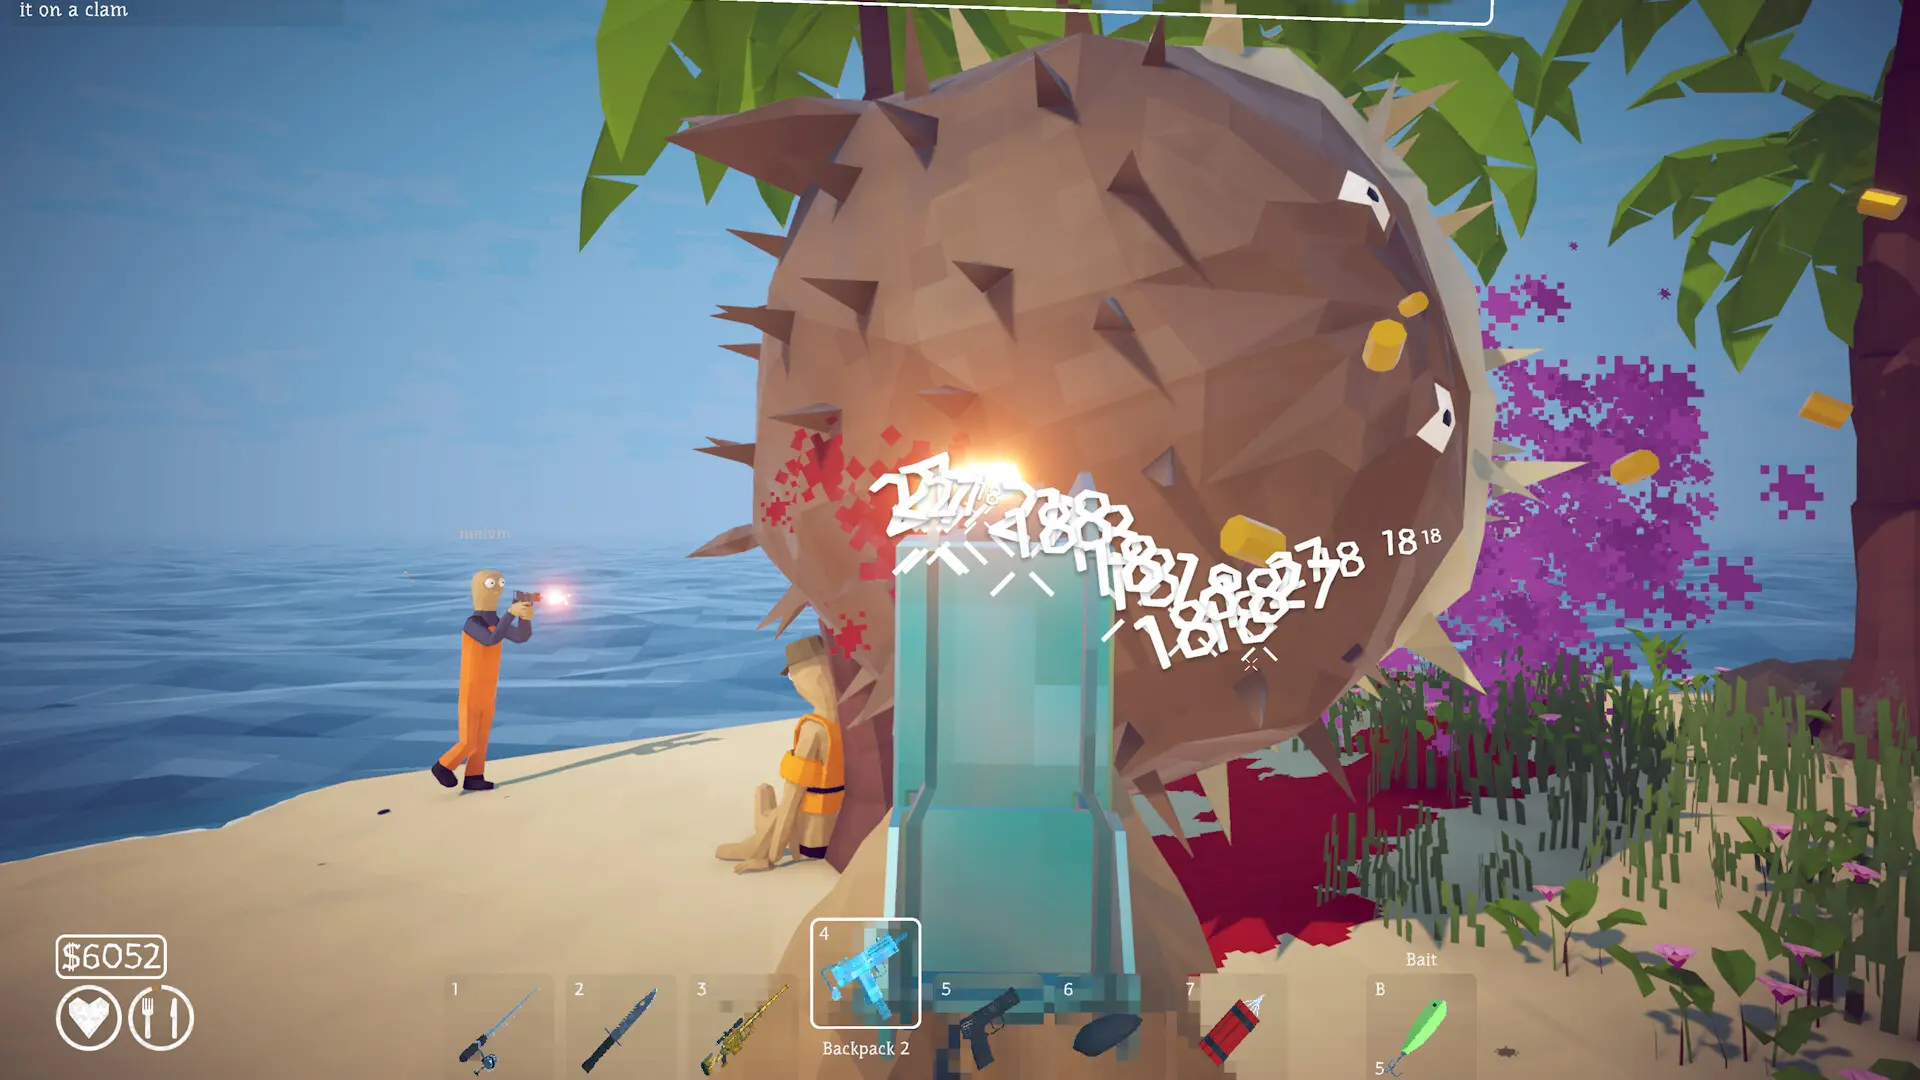
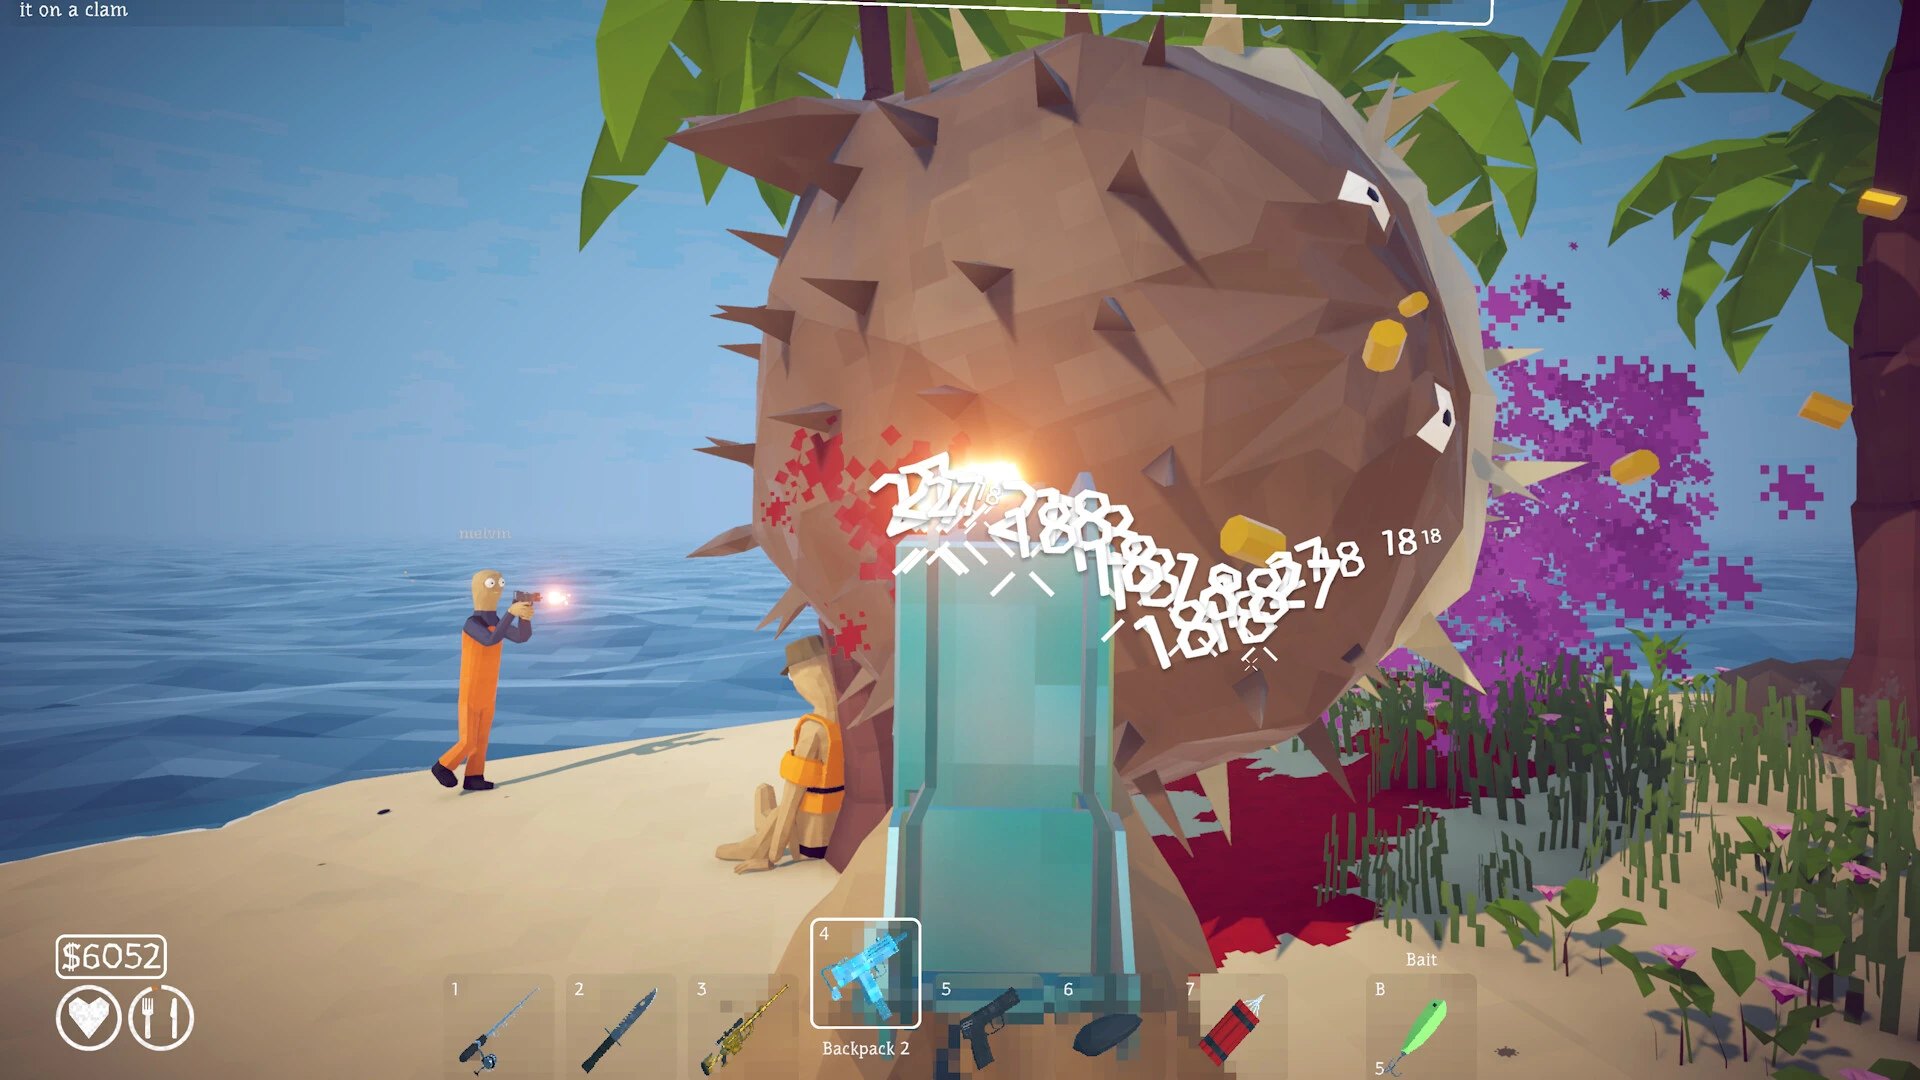
Bring the tourist a creature marked as endangered to receive the Carrot, then use the Carrot as bait for the Pufferfish. The boss grows into a much larger target after landing and becomes especially dangerous once its health drops, when the fight adds a poison-cloud threat. Patch 1.0.4 reduced the Pufferfish because its health and damage were too high, but the second half still punishes players who stay too close.

  1. Land the catch in a wide section of beach and start the fight from range.
  2. Move around the outside of the arena instead of backing into water, rocks, or buildings.
  3. When the poison cloud appears, stop forcing damage and leave the affected area before re-engaging.
  4. Keep the fin after the kill and return it to the tourist.

Automatic weapons make it easier to damage the large target while moving, but any reliable gun can work if ammunition is managed. In co-op, spread out so the poison phase cannot pressure every player at once.

Tuna and Albatross: the boss becomes the bait

Buy or obtain the Professional Boss Lure on the rocky/casino stage and use it to catch the Tuna. Defeat the Tuna, but do not sell, cook, eat, or abandon its body. The body is the bait for the Albatross, which is the real story target on this island.

  1. Save before using the Professional Boss Lure because replacing it can be expensive.
  2. Fight the Tuna on open ground and preserve the body after the kill.
  3. Move or leave the Tuna where the Albatross can take it, then prepare for the bird fight.
  4. Use buildings or solid cover to break the bird's dive line and projectile pressure.
  5. Shoot after a pass rather than tracking the bird while it is directly overhead.
  6. Return the Albatross head to the island quest giver.

This chain is easy to break by treating the Tuna as normal loot. Designate one player as the carrier in co-op. If the Albatross is not appearing, first verify that the defeated Tuna body is present and exposed before spending another lure.

Bowhead Whale: complete the scientist exchange first

On the volcano island, give the scientist five creatures to receive the Fish Bucket. Use that bucket to summon the Bowhead Whale. Patch 1.0.4 reduced the Whale after the developers found its health excessive, but its size and movement can still turn a cluttered area into a trap.

  1. Bring the five requested creatures to the scientist and confirm the Fish Bucket is in the inventory.
  2. Cast from the broad volcano approach rather than a narrow ledge.
  3. Use sustained ranged damage while moving across the target's side, not directly in front of it.
  4. After the kill, move the body to the volcano crater and throw it in.

The Bowhead body is another progression object disguised as loot. Do not leave the island or fill the area with unnecessary dropped objects before the crater trigger. Patch 1.0.10 preserves up to 64 dropped items across sessions, with priority for important item classes, but deliberate inventory control is still safer than relying on the persistence limit.

Mutated Bowhead Whale: survive the arena, then finish the hand-in

Throwing the defeated Bowhead into the volcano triggers the Mutated Bowhead Whale. The final fight layers a huge moving target with lava hazards, falling projectiles, and heavy close-range pressure. The safest plan is to keep circling the widest usable ground and treat every hazard cycle as a movement phase rather than a damage race.

  • Lava: keep a route around the pools and avoid stepping into a narrowing pocket just to maintain fire.
  • Falling hazards: move early when the impact area becomes readable; reload after reaching safety.
  • Stomps and body pressure: stay off the boss's front line and do not cluster the whole co-op group in one lane.
  • Handyman attempt: use bare hands for the final phase and personally land the finishing blow. Do not assume another player's kill will credit the challenge.

Pick up the tail after the fight, return it to the scientist, and use the escape boat to complete the game. If the ending does not advance, check the tail hand-in before repeating the boss.

Optional boss lures and large catches

The story route does not exhaust the boss-lure pool. These optional catches matter for the full creature collection and can also provide valuable loot. Treat them as post-story targets unless one is already needed for an achievement or encyclopedia gap.

  • Beginner Boss Lure: Sunfish and The Old Pike.
  • Standard Boss Lure: Blue Shark.
  • Professional Boss Lure: Tuna. One Tuna is required for the Albatross chain.
  • Scientific Boss Lure: Goblin Shark.

Save before buying a boss lure and confirm the missing target in Tab. Repeating an expensive pool without checking the encyclopedia is an avoidable money sink.

If the next island or boss will not unlock

  • No bait: finish the local NPC exchange and check which rod accepts the reward.
  • Boss died but no travel: find the shell, trophy, fin, head, or tail and complete the hand-in.
  • Wrong target: ordinary lures and Boss Lures can produce related names but different encounter classes.
  • Skipped ahead: Patch 1.0.5 removed an unintended island skip. Return to the unfinished quest instead of trying to reproduce an old route.
  • Multiplayer confusion: ask every player to inspect inventory and nearby dropped items; the progression object may be carried by someone else.
  • Possible stale state: save normally, return to the main menu, reopen the current version, and recheck the last quest giver before modifying any local files.

Get Pixel Twelve's biggest stories first.

Add as a preferred source on Google