Pixel Twelve
How to Fish Beginner Guide: First Island, Progression, and Tips

How To

How to Fish Beginner Guide: First Island, Progression, and Tips

Start How to Fish with the right first-island route, learn what to buy, keep every boss trophy, unlock all five islands, cook safely, and protect your save.

Game: How to FishVerified Aug 29, 2026
Guide Type
How To
Last Verified
Aug 29, 2026

Guide details

Overview

Start How to Fish with the right first-island route, learn what to buy, keep every boss trophy, unlock all five islands, cook safely, and protect your save.

Watch

Official Trailer

Quick answer: what should you do first?

Start with the sailor tutorial, learn how bait attaches to a rod, and sell enough ordinary catches to buy one reliable weapon and a small supply of healing food. Then talk to the lighthouse keeper, turn his beer request into the Empty Beer Can bait, catch the Spider Crab with the Crab Fishing Rod, and return the shell for the boat keys. That sequence teaches the full game: follow the local quest, obtain the correct bait, defeat the target, keep the trophy, and hand it back before sailing on.

  1. Finish the first fishing tutorial instead of guessing at the rod controls.
  2. Catch, defeat, and sell ordinary creatures until you can afford a safer first boss attempt.
  3. Keep quest bait and boss trophies separate from fish you plan to sell or cook.
  4. Use the Empty Beer Can on the Crab Fishing Rod to summon the Spider Crab.
  5. Return the Spider Crab shell to the lighthouse keeper and take the boat keys.
  6. Save from the menu before leaving an island or closing the game.

Understand the catch, fight, use, or sell loop

How to Fish does not end when the hook reaches shore. Most catches still need to be defeated. That is why rods and weapons share the same progression. A better lure changes what can bite; a stronger weapon shortens the dangerous part after the catch lands. Money then turns into improved gear, extra carrying space, ammunition, boat upgrades, or the next lure.

  • Catch: equip the bait or lure that matches the creature pool you need, cast into open water, and bring the catch close enough to land.
  • Fight: create room before attacking. Large creatures can charge, roll, summon adds, or push you into terrain.
  • Use: keep quest items, boss trophies, useful food, and any catch needed as bait for a later encounter.
  • Sell: turn surplus catches into the one upgrade that fixes your current bottleneck instead of buying every item on the wall.

If a fish is not biting, check the lure before changing islands. The current catch pool is driven mainly by bait, and several important creatures are tied to a quest item or boss lure rather than to ordinary fishing.

First island route: from the tutorial to the boat keys

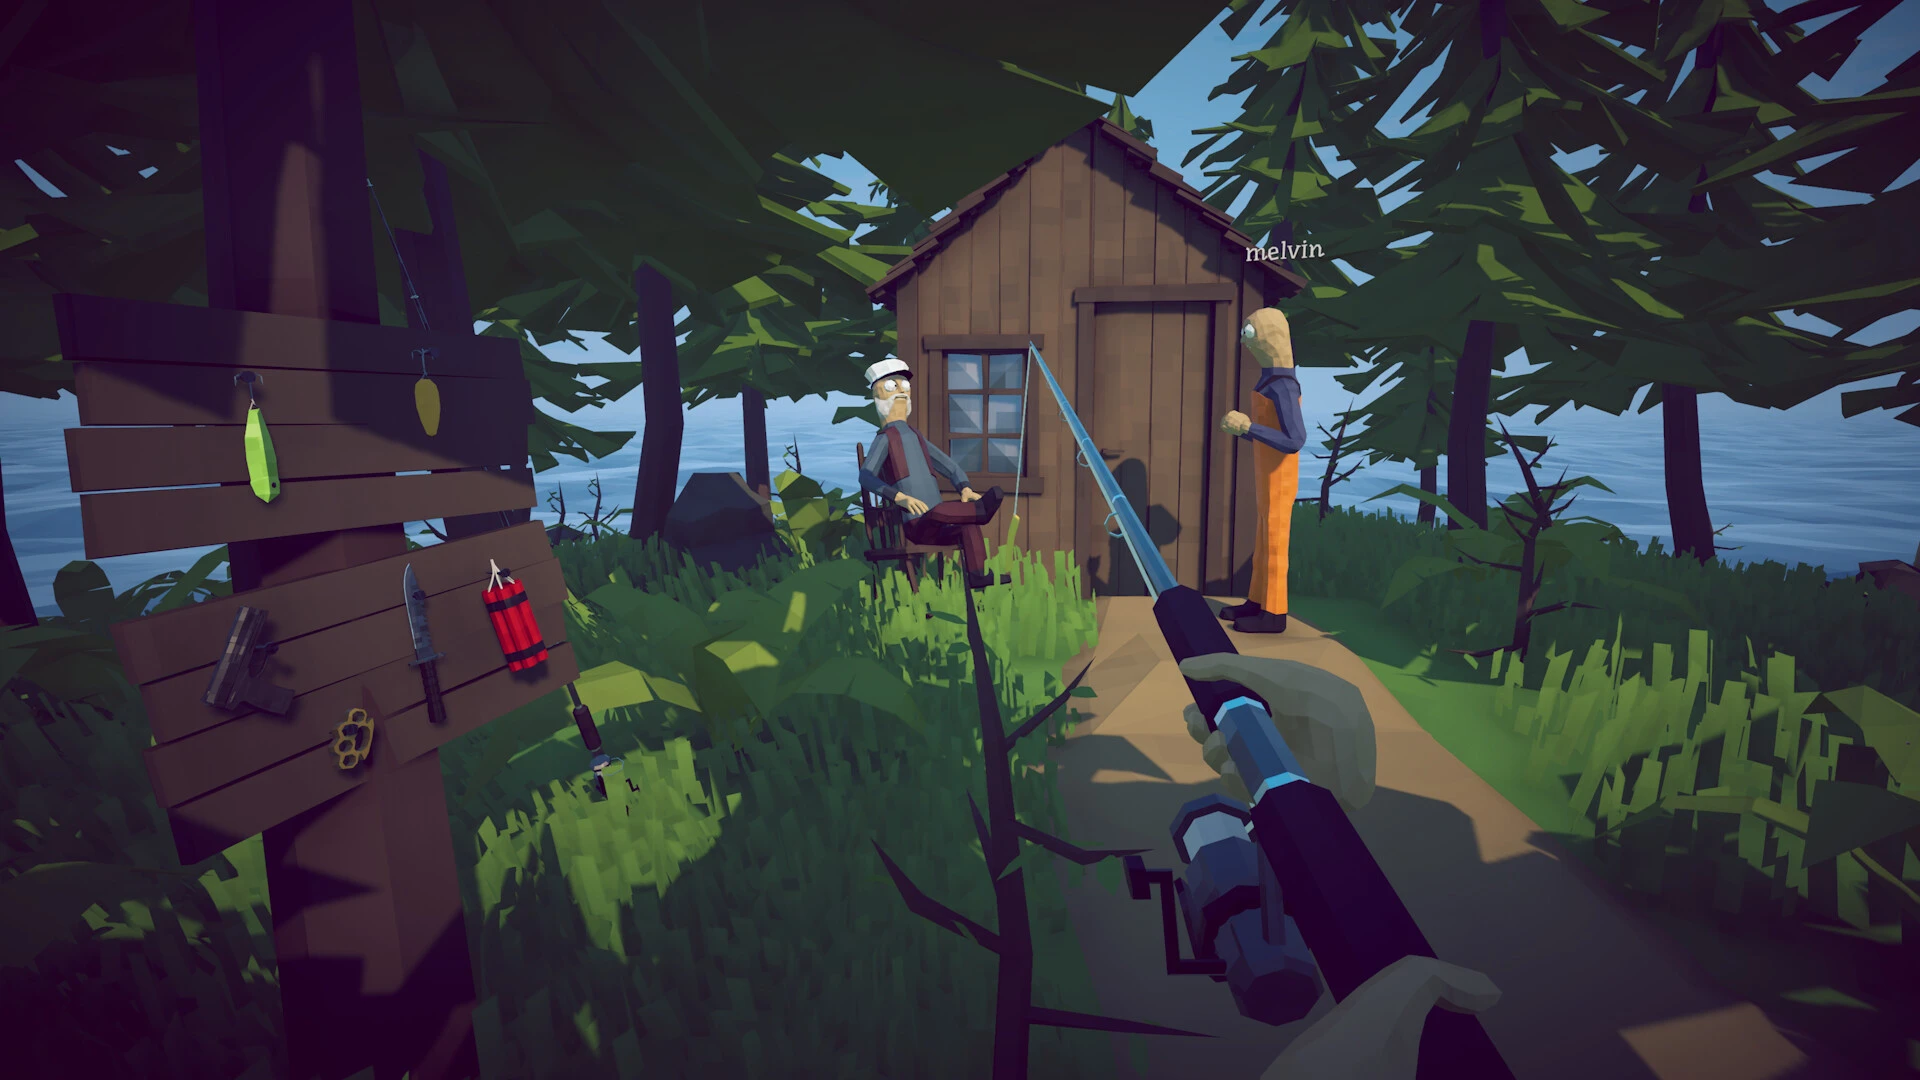
The first island is a compact lesson in every later objective. Talk to the available characters before grinding money. The sailor explains the basic rod flow, while the lighthouse keeper provides the chain that leads to the first real boss. Do not leave a conversation after receiving an item without checking what changed in your inventory and which rod can use it.

  1. Complete the sailor tutorial and make a few ordinary catches.
  2. Buy only the weapon or upgrade you need to survive the Spider Crab; a knife or improved basic melee tool is enough for a patient attempt.
  3. Complete the lighthouse keeper exchange and keep the Empty Beer Can.
  4. Attach the can to the Crab Fishing Rod, cast, and pull the Spider Crab onto land.
  5. Let the crab charge, move sideways, and attack during the short recovery instead of trading hits in front of it.
  6. Pick up the shell, return it to the lighthouse keeper, and collect the boat keys.

The shell is the important item. Defeating the boss does not unlock travel by itself. If the route will not advance, check whether the correct trophy is still on the ground, in a pile of dropped objects, or mixed with items you intended to sell.

What should you buy first?

There is no universal shopping list because solo and co-op groups divide work differently. The useful rule is to buy against the next problem. If a boss is taking too long, improve damage. If you keep running out of food or dropping quest items, add carrying capacity. If travel is slow, save for the engine upgrade attached to normal progression instead of buying another side-grade weapon.

  • First weapon: choose a dependable melee option before the Spider Crab. The opening boss rewards patience more than expensive gear.
  • First firearm: buy when the Giant Piranha and its smaller adds make safe melee damage difficult.
  • Inventory and hotbar space: valuable once you need food, bait, a trophy, ammunition, and more than one weapon at the same time.
  • Boat engine: a story-friendly quality-of-life upgrade and the requirement for the Getting an upgrade achievement.
  • Attachments: save them for a firearm you plan to carry forward; Fully equipped eventually asks for every attachment slot on one weapon.

Avoid spending the full wallet immediately after reaching a new island. New shops can change the available weapon, lure, engine, and attachment pool, so arriving with no money often creates an unnecessary fishing grind before the next quest can begin.

The five-island progression route at a glance

  • Island 1 — Lighthouse: Empty Beer Can, Spider Crab, shell, and boat keys.
  • Island 2 — Forest: find three Leeches, receive Leech Bait, defeat the Giant Piranha, and return its trophy for the next coordinates.
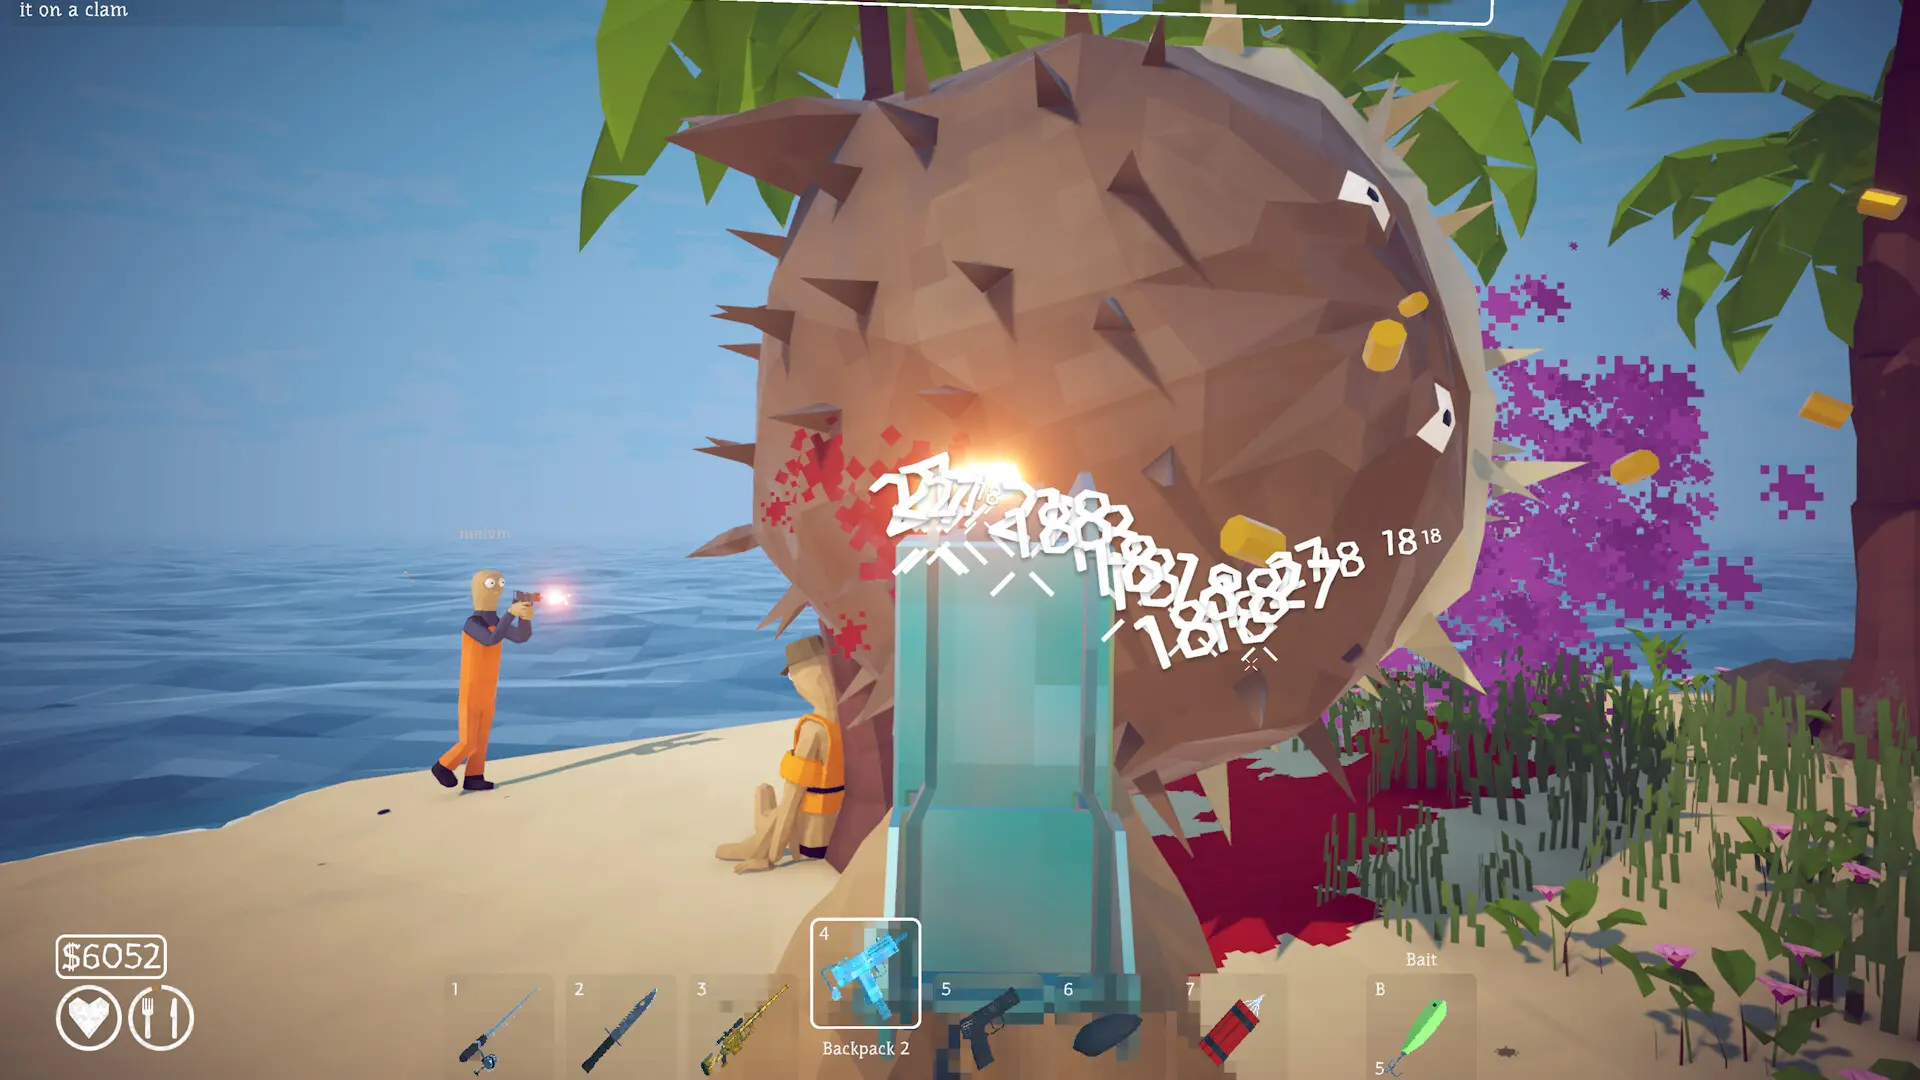
  • Island 3 — Tropical/Desert: help the tourist with an endangered creature, receive the Carrot, defeat the Pufferfish, and return its fin.
  • Island 4 — Rocky/Casino: catch the Tuna with the Professional Boss Lure, use the body to attract the Albatross, and return the head.
  • Island 5 — Volcano: give the scientist five creatures, use the Fish Bucket for the Bowhead Whale, throw the body into the crater, defeat the mutated final boss, and return its tail before starting the escape boat.

The game does not need formal island names to make the structure readable. Follow the quest giver, preserve the special item, and use the radar route only after the current hand-in is complete. Patch 1.0.4 made the intended path toward the final island clearer, and Patch 1.0.5 removed an unintended skip that had allowed players to travel ahead without unlocking islands.

Cooking, healing, and the first stable money routine

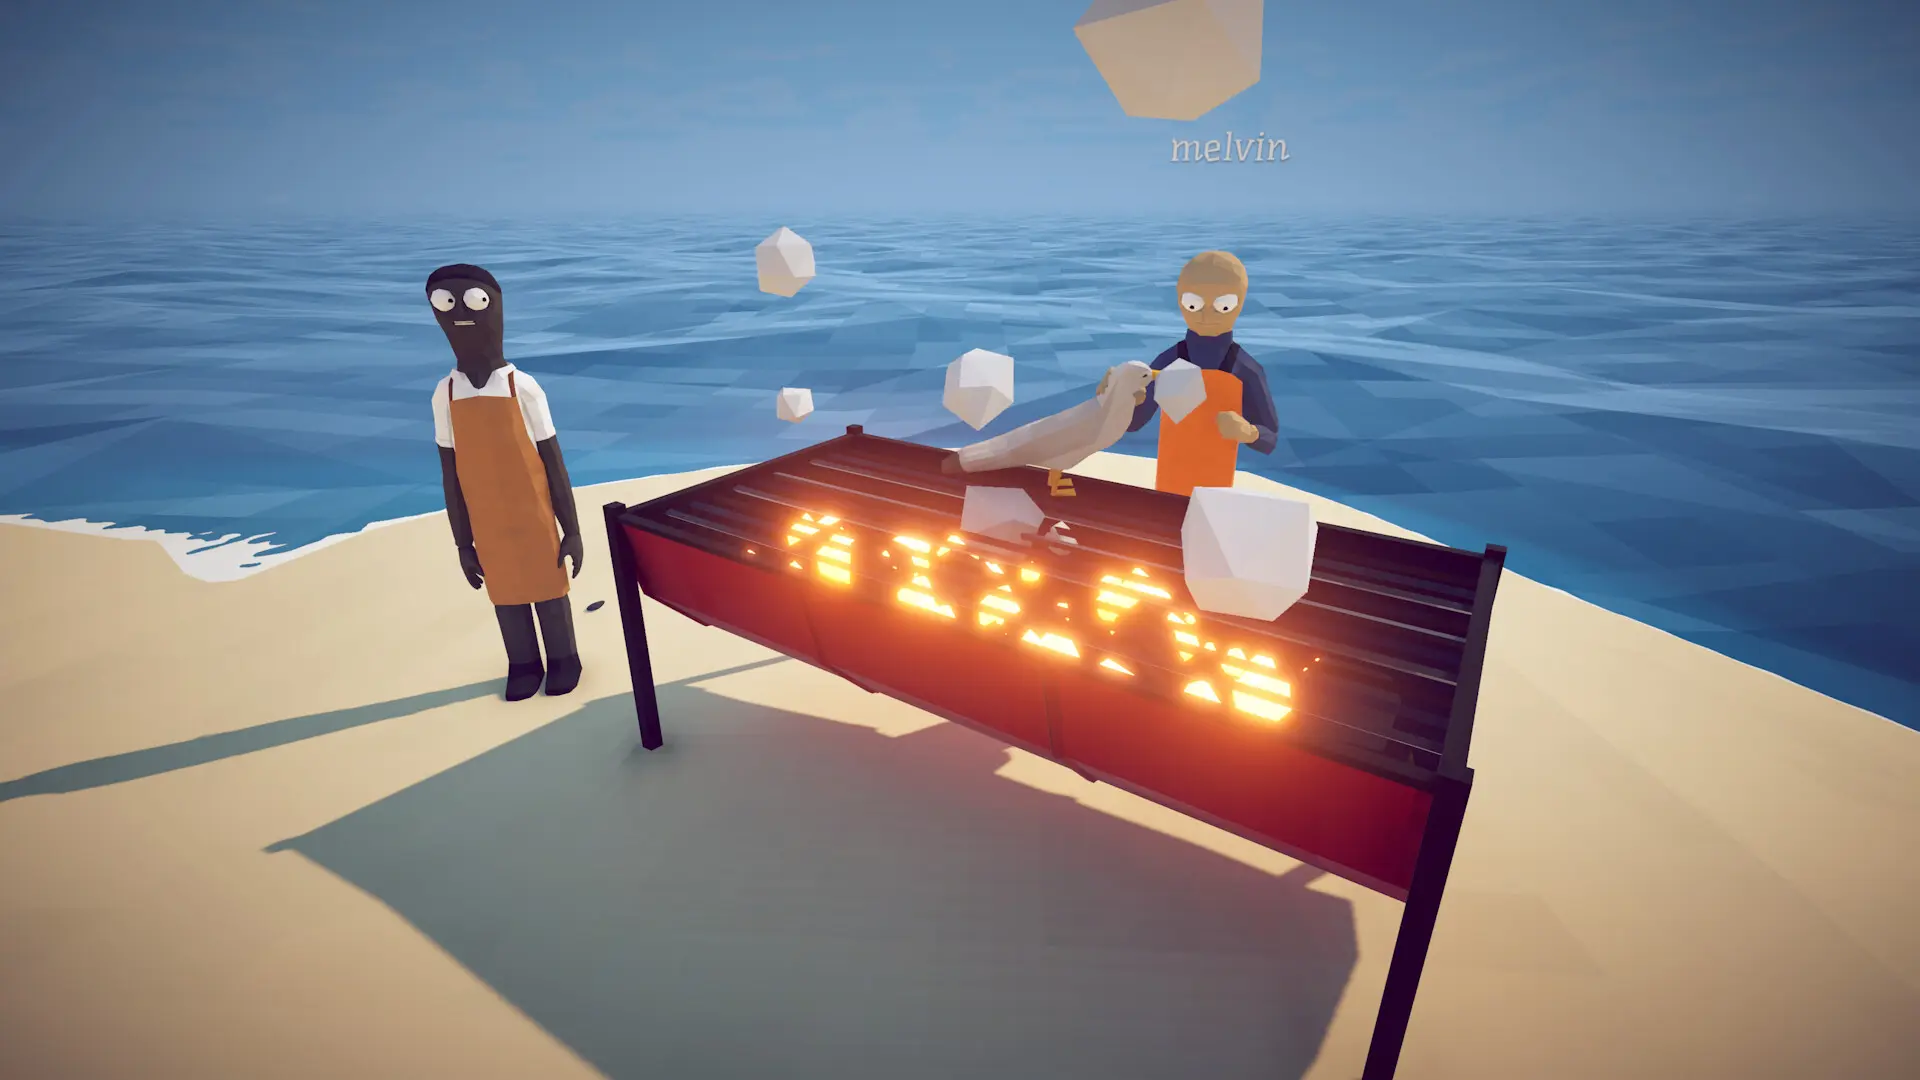
Food is both a safety net and part of the economy. Carry a few cooked creatures into long fights so that one bad dodge does not end the attempt. Once the grill is available, inspect the cooking multiplier and remove an item before it burns. Community testing on the current route places the useful cooked value at 1.5x; a fully blackened item falls to zero value and is only worth making deliberately for the Yummy in my tummy achievement.

  • Keep healing food in a predictable hotbar slot before a boss starts.
  • Cook surplus catches you plan to sell, but watch the multiplier instead of leaving them unattended.
  • Do not cook a quest trophy, boss bait, or the one creature needed for the next hand-in.
  • The volcano can cook sellable items without the same timing pressure, making Island 5 the best place for late-game money and achievement cleanup.

Patch 1.0.10 added a recovery rule for mistakes: cooked weapons and tools can now be cleaned by dipping them in water. That does not replace careful inventory management, but it prevents an accidental trip over the grill from permanently ruining an important tool.

Which difficulty should a beginner choose?

Normal is the original balance and the best baseline if you want the default experience. Easy and Hard were added in Patch 1.0.9 and can be changed from the main menu or in-game. Easy gives every creature 25% less health and 50% less damage. Hard gives creatures 25% more health and 25% more damage.

  • Choose Easy when: you are playing solo, learning the physics, or want the story and collection loop without repeating boss grinds.
  • Choose Normal when: you want the launch balance and a straightforward first playthrough.
  • Choose Hard when: the group already understands lures, healing, and boss movement and wants fights to demand more preparation.

Changing difficulty is not a substitute for carrying the correct bait or returning the correct trophy. It changes creature health and damage, not the quest logic.

How saving works after Patch 1.0.10

The current game autosaves every minute and also saves when the player uses Save, Main Menu, or Quit. Patch 1.0.6 stopped writing a save when the application crashes, because a crash-time write could produce misleading or damaged state. The safe habit is to use the menu before closing the game instead of relying on the operating system or forcing the process to stop.

  • Use Save before a major purchase, boss trigger, or long boat trip.
  • Use Main Menu or Quit when ending the session; do not force-close if the menu is responsive.
  • Dropped items can persist between sessions after Patch 1.0.10, but the save keeps up to 64 and prioritizes weapons, tools, quest items, and creatures.
  • Keep important items in inventory when possible. Ground persistence is protection, not unlimited storage.

If a save or lobby does not load, stop before deleting anything. Restart Steam, confirm the current game version, try a private lobby or solo load, and use Steam file verification before considering any change to local save data.

Beginner mistakes that waste the most time

  • Selling the trophy: boss bodies and trophies are often the actual quest completion item. Hand them in before using the shop.
  • Using the wrong rod or lure: the correct bait can still fail if it is attached to the wrong fishing tool.
  • Buying every new gun: upgrades and attachments on one dependable weapon are usually more useful than a backpack full of weak side-grades.
  • Standing still against bosses: large creatures are designed around charges, rolling attacks, adds, poison, projectiles, or stomps. Keep an escape lane.
  • Forgetting food: late fights are long enough that a small healing reserve matters more than one extra fish for sale.
  • Ignoring the encyclopedia: Tab shows which normal and Drip creatures are still missing for Collector and Fishipedia.
  • Relying on an old island skip: Patch 1.0.5 removed travel to islands that have not been unlocked through the story.

What to do after your first clear

After the ending, the save returns to the broader island route with late-game equipment and access that makes cleanup easier. That is the right time to finish lure gaps, hunt Drip variants, improve weapon attachments, practice trick-shot achievements, and prepare a separate one-hour Bean run. Do not force every optional objective into the first story playthrough.

  • Use the fish and bait guide to close encyclopedia gaps by lure.
  • Use the bosses and islands walkthrough when a quest item or hand-in is blocking progression.
  • Use the achievements guide for the post-game cleanup route and current Patch 1.0.10 cautions.
  • Use the co-op and save guide before moving an established run into a larger or private lobby.

Get Pixel Twelve's biggest stories first.

Add as a preferred source on Google