If Arsenal feels too fast to aim, start with Roblox’s camera sensitivity instead of copying a pro’s entire setup. Then check your crosshair against the map and reduce graphics only when the game is actually stuttering. This guide is for a mouse-and-keyboard setup; the numbers are not a touch-screen preset.
Start here: change one setting at a time
Write down your current camera sensitivity, mouse DPI and field of view before changing anything. DPI is the mouse’s movement setting, usually controlled through its own software or a button on the mouse. Keep that value unchanged while you tune the in-game sensitivity, so you know which adjustment caused the difference.
Use this order: camera sensitivity first, field of view second, crosshair visibility third, then performance. If the picture is already choppy before you begin, deal with performance first. Testing aim while the game repeatedly freezes makes it harder to judge whether the sensitivity itself is the problem.
Where to change camera sensitivity on PC
While inside Arsenal, press Esc to open the Roblox menu, then select Settings. Look for the camera sensitivity control there. This is separate from Arsenal’s own settings menu, which contains game-specific display options such as the crosshair and field of view.
If the slider steps still feel too fast, use the numeric sensitivity field to enter a smaller positive decimal. Do not enter zero. For example, changing 0.10 to 0.08 is a small reduction you can compare; those are sample values, not a required preset. Keep your previous number so you can restore it if the change feels worse.
Test turning and small corrections separately
First, choose a fixed point in the map and move your aim away from it, then back again. Repeat several times. If you consistently sweep past the point, reduce sensitivity slightly. If you repeatedly stop short and need another movement, try a small increase. Test the same motion after each change.
Next, check whether you can comfortably turn to face behind you without running out of mouse-pad space. A setting that makes tiny corrections easy can still be too slow for a close-range turn. Find a compromise between the two tests instead of judging by one lucky shot or a single match result.
Arsenal’s Standard mode gives you new weapons as you earn eliminations or assists. Give your setup time with different weapons; one weapon’s handling is not a reason to rebuild the entire configuration. None of these settings changes a weapon’s actual accuracy or guarantees headshots.
Choose a field of view you can read
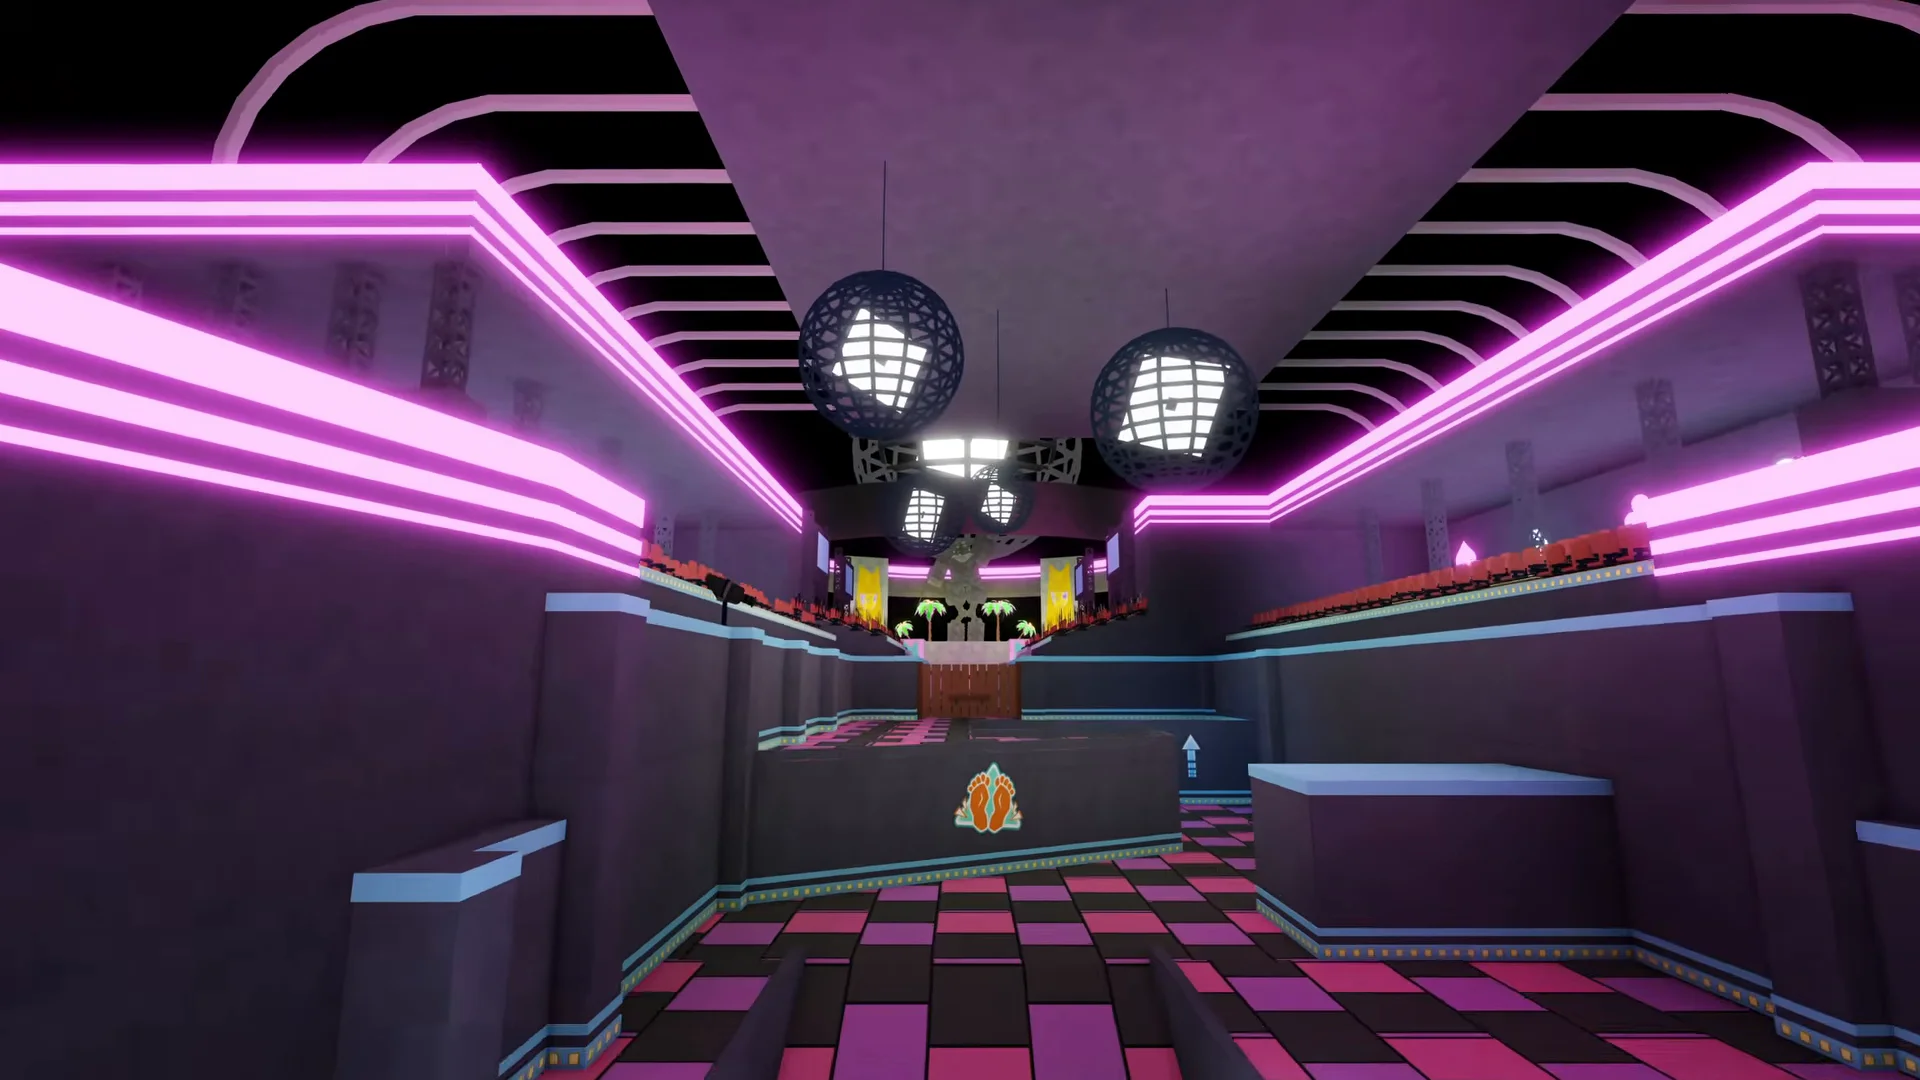
In Arsenal’s settings, look for Change FOV. FOV means field of view: how much of the scene fits on screen. A wider view reveals more to the sides but makes a distant target occupy less of the image. A narrower view makes that target larger while showing less around it.
Change FOV in small steps and compare a distant object with a nearby doorway. Keep a value that lets you read both. Do not automatically choose the maximum just because another player uses it. Once you settle on a view, repeat the turning test; a different view can change how fast camera movement feels.
Make the crosshair visible, not enormous
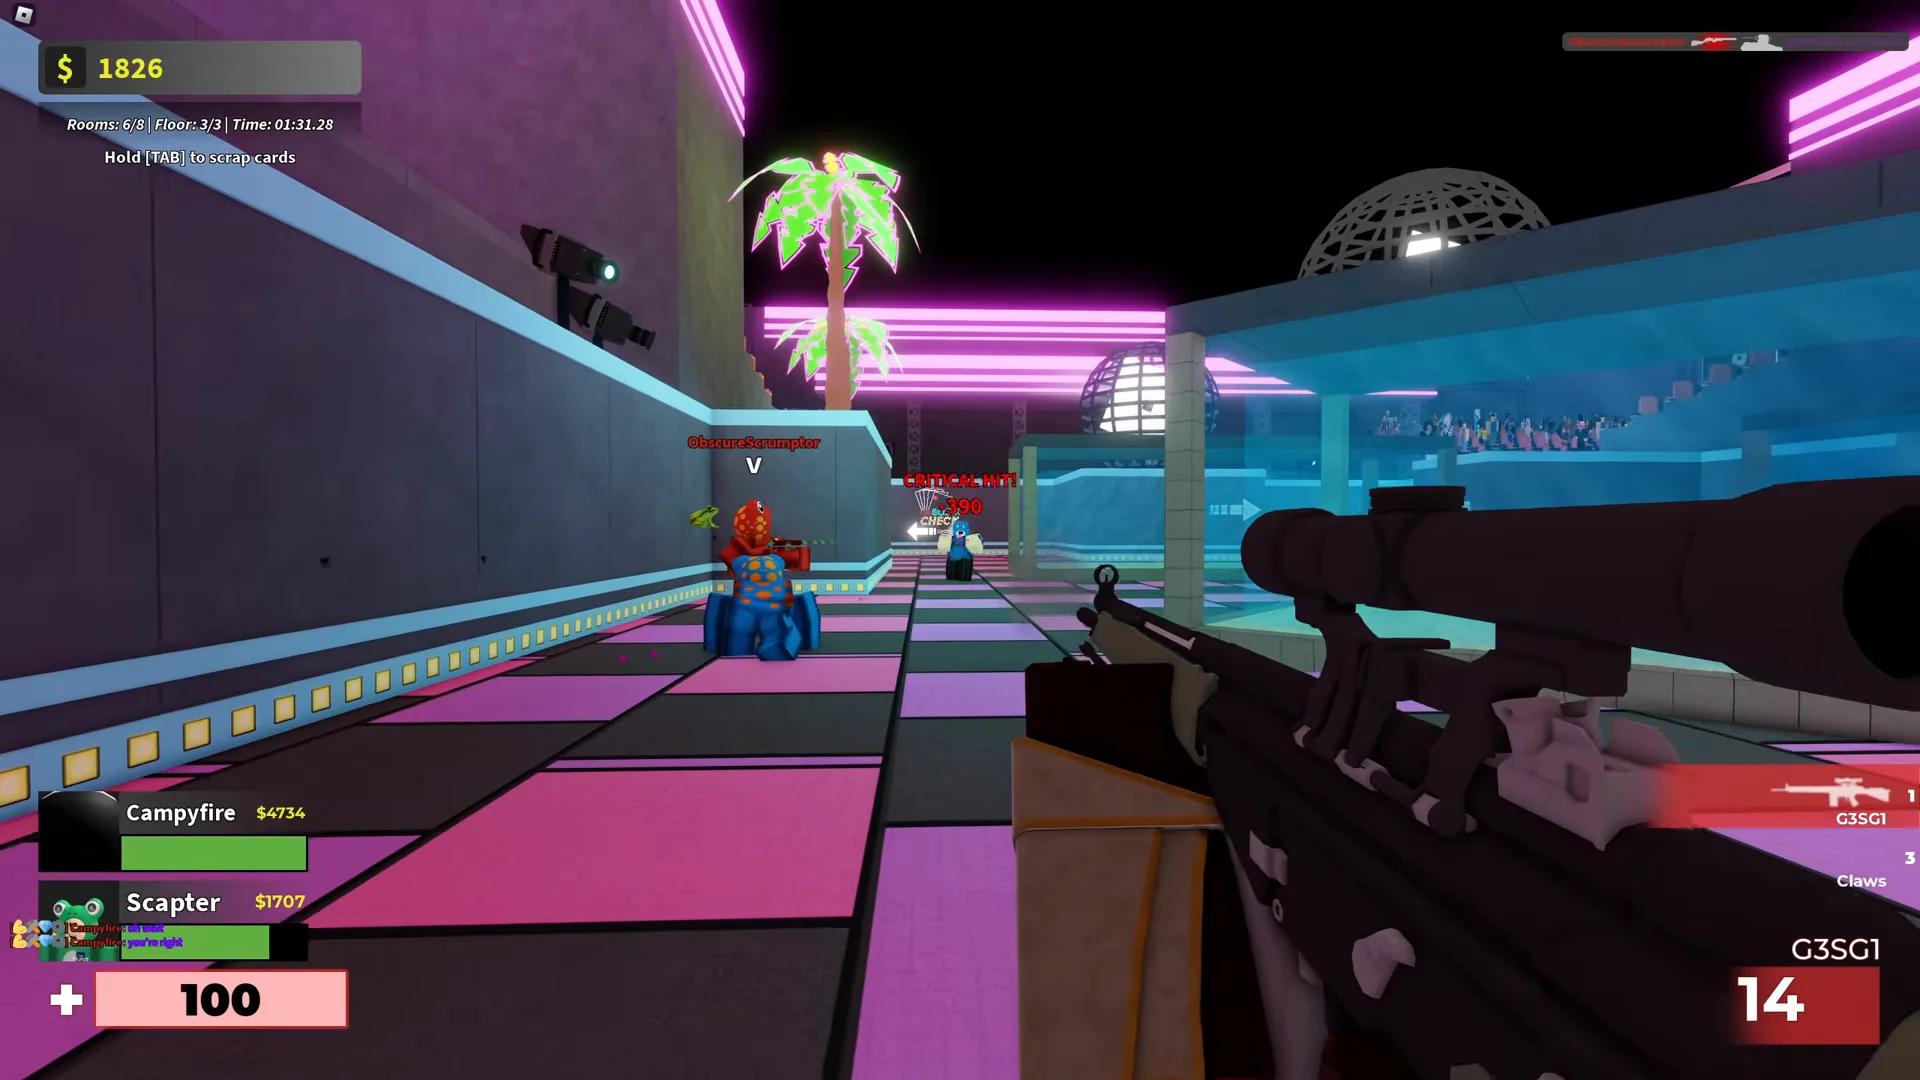
Use Change Crosshair in Arsenal’s display settings to adjust its appearance. Pick a color you can distinguish from the surfaces you regularly aim across, then test it against a bright wall and a dark corner. A tiny dot that disappears is not useful, and an oversized crosshair can cover the target you are trying to see.
Enemy Outlines and their color setting can also help separate an opponent from the background. Choose an outline color that is distinct from your crosshair, so the two do not merge visually when you aim at a character. These are visibility choices, not a way to change hitboxes.
Lower graphics for stutter, not network delay
Open the Roblox menu and select Settings. Switch Graphics Mode from Automatic to Manual, then move Graphics Quality lower. Resume play and compare the result before lowering it again. You trade some visual detail for a lighter workload; there is no single level that guarantees a particular frame rate on every computer.
If turning the camera looks choppy, graphics or other demanding applications may be involved. If your view stays smooth but other players jump around or actions arrive late, investigate the connection instead. Lower graphics do not repair an unstable network. Close only background applications you do not need, and save your work before closing them.
Keep a setup only if it solves your problem
After a few rounds, ask what changed: fewer overshoots, comfortable turns, an easier-to-see crosshair or smoother motion? Keep improvements you can identify. Restore a setting that made things worse. Record the final values so an accidental mouse-DPI change or a later reset does not send you back to guessing.
Playing RIVALS too? Use its separate sensitivity and crosshair guide