Pixel Twelve
Spelunky HD Beginner Guide: Bombs, Ropes and Shops on Your First Run

How To

Spelunky HD Beginner Guide: Bombs, Ropes and Shops on Your First Run

A visual Spelunky HD beginner guide to HUD counters, bomb and rope decisions, shop prices, dark rooms and the journal.

By Nova RainesGame: SpelunkyVerified Sep 30, 2026
Guide Type
How To
Last Verified
Sep 30, 2026

Guide details

Overview

A visual Spelunky HD beginner guide to HUD counters, bomb and rope decisions, shop prices, dark rooms and the journal.

First, read the counters before you move

These are real screenshots from the HD version of Spelunky; each is an example from a different run, not one route to copy. In the first image, the top-left display shows 2 hearts, 3 bombs and 4 ropes. Money is below it at $1,500. Your own numbers will change. Look at them before using a tool, because a bomb or rope is a limited resource.
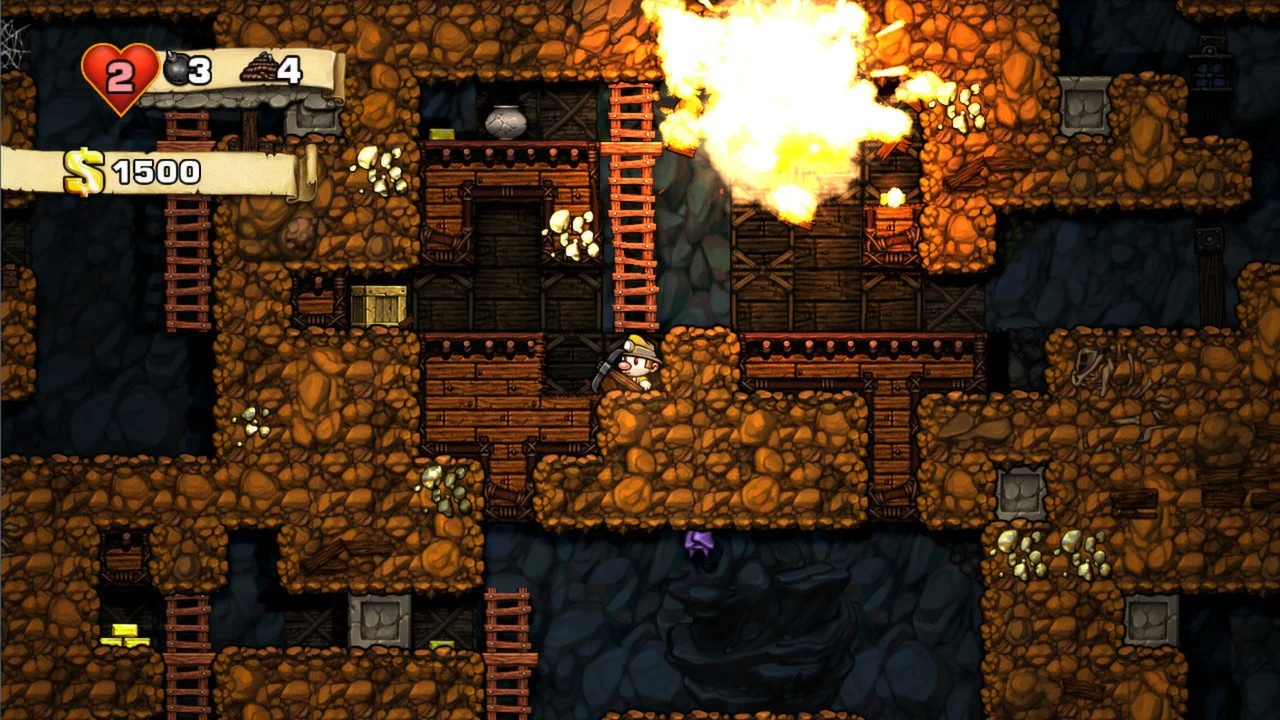
Full Spelunky HD screen with hearts, bombs, ropes and money at top left; a bomb explodes above the explorer.
Read the top-left HUD first: hearts, bomb icon, rope icon, then the money counter.

Now find the explorer near the middle and the exit route you want. The image shows the result, not a controller. On the original Xbox 360 layout, B throws a bomb and Y throws a rope. On PC or after remapping, open the game’s Controls screen and find the actions named Bomb and Rope before spending either item.
1. Spend a bomb to open rock, not to rush through a blast

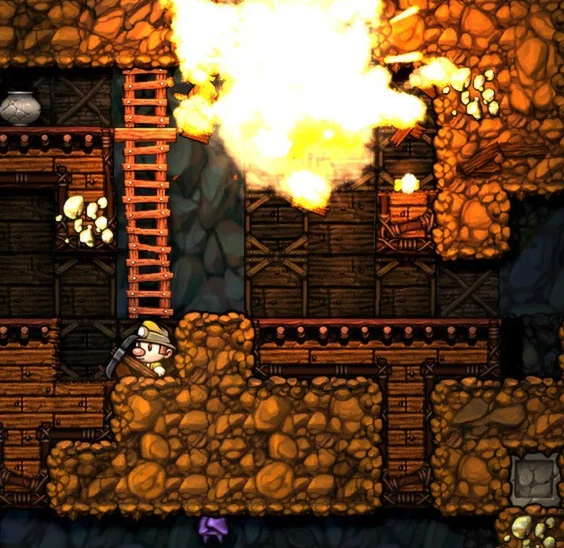
The bright explosion in this close view is breaking terrain above and to the right of the explorer. A bomb can make a new opening when solid rock blocks the route, but it also harms anything near the blast. Before placing one, decide which blocks you need removed and where you can wait away from the explosion.

Closer view of a Spelunky explorer below a bomb explosion that breaks rocky blocks.
Blast above, explorer below: choose the rock to open and leave space before it detonates.

On the original Xbox 360 layout, face the rock you chose, press B to throw a bomb, then move away from its flashing fuse. Check that you have a safe place to wait before pressing. If a ladder, drop or walkable passage already reaches the exit, keep the bomb. After the blast, look for a safe landing and enemies before stepping into the opening; the cave changes between runs.

2. Use a rope when height is the real obstacle

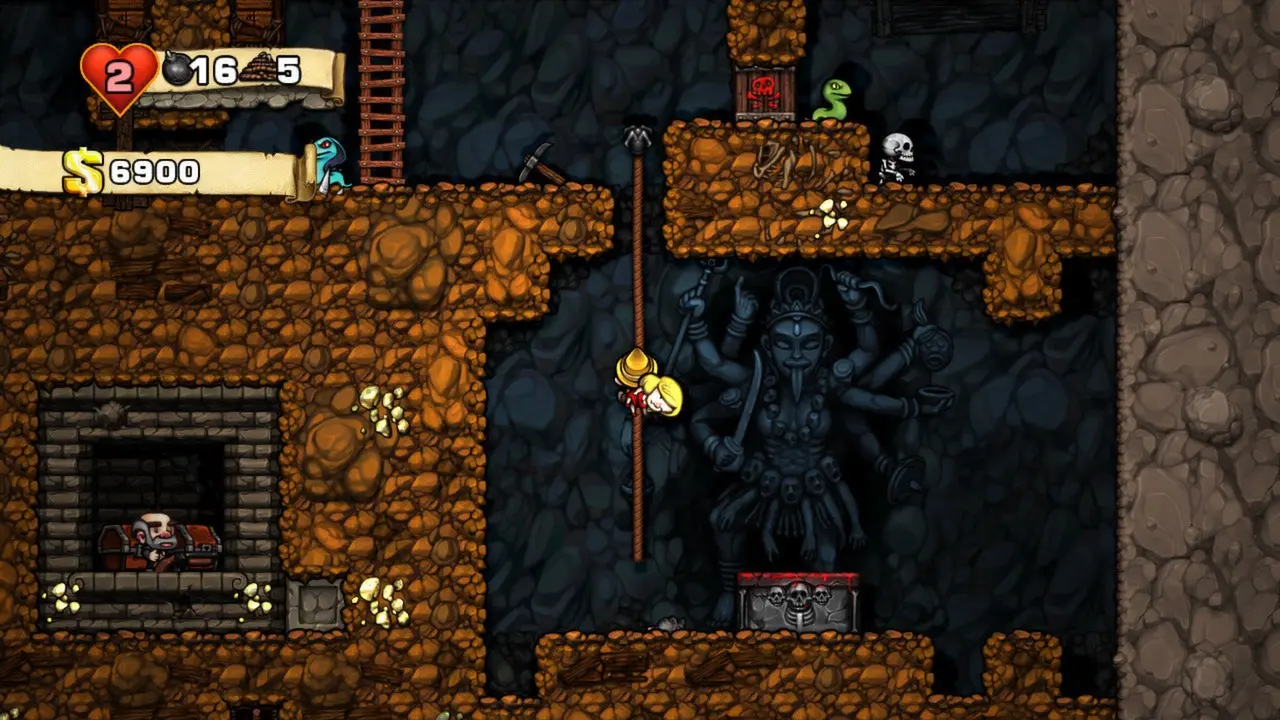
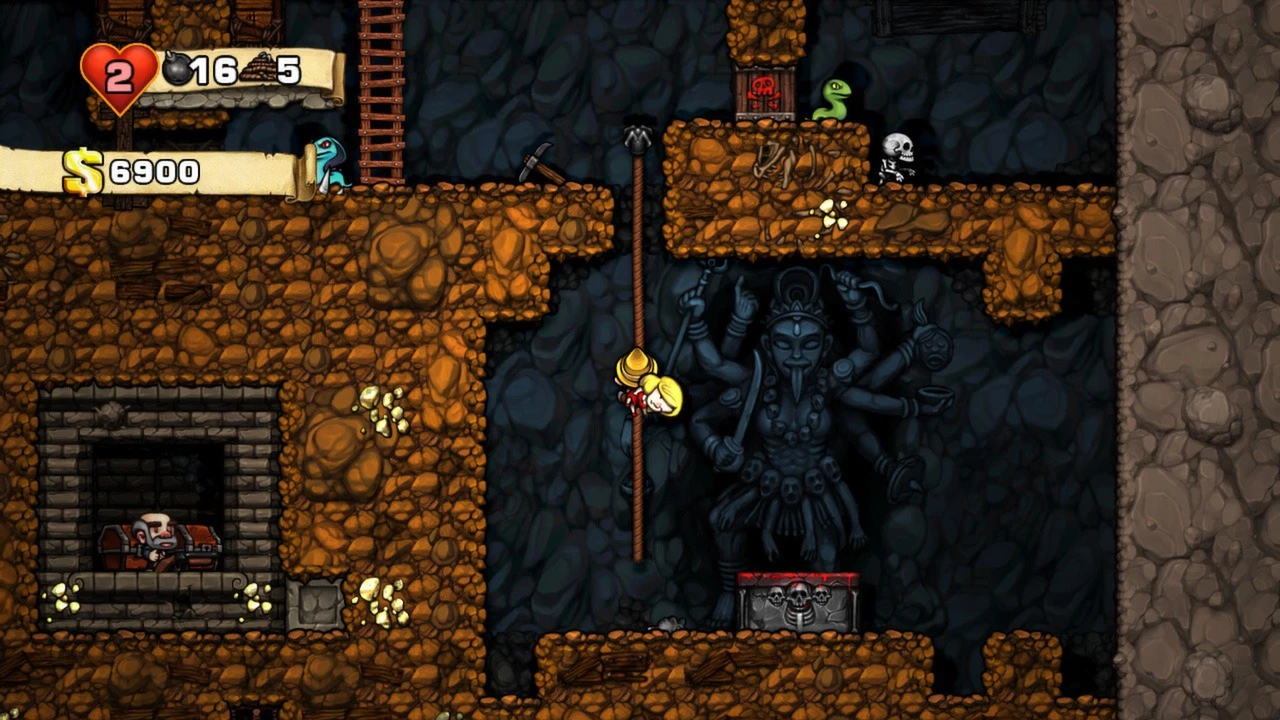
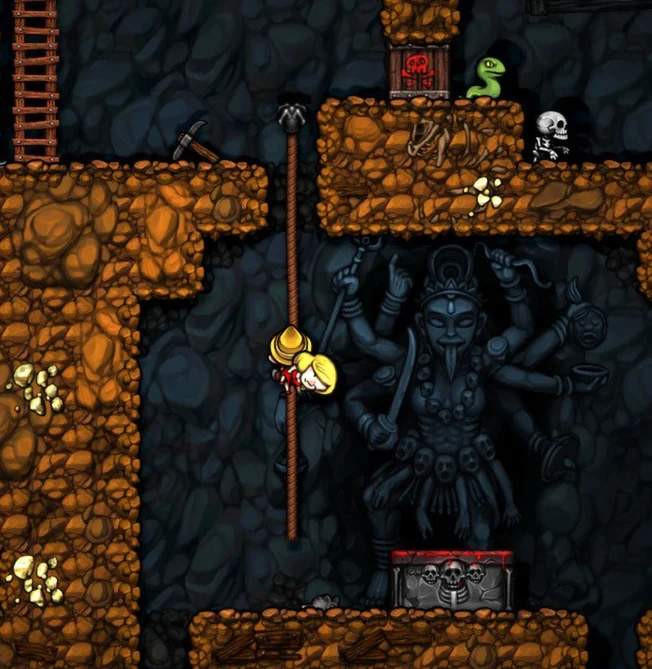
In the next image, the explorer is holding a vertical rope in the middle of the cave. The rope reaches a higher ledge, while a snake and skeleton are visible above. A rope helps you climb to a platform you cannot safely jump to; it does not clear the enemies waiting at the top.

Close view of a Spelunky explorer climbing a rope with stone ledges and enemies above.
Find the hanging rope and the ledge it reaches; inspect the top before climbing out.

On the original Xbox 360 layout, stand below the ledge you want, press Y to throw a rope upward, then hold Up to climb it. Pause near the top and look for enemies before climbing off. A rope can also help you descend a ledge, but do not spend one just because it is available in the HUD. On a remapped layout, use the Rope action shown in your Controls screen.

3. At a shop, compare the displayed price with your money

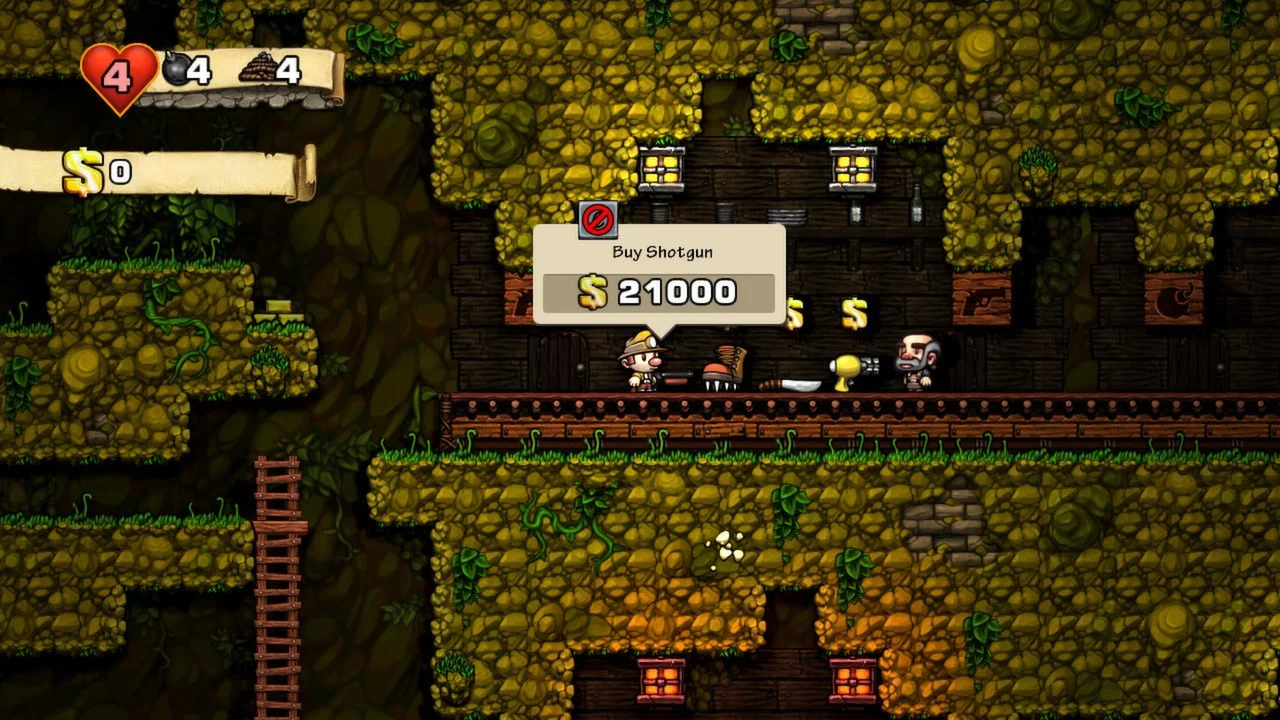
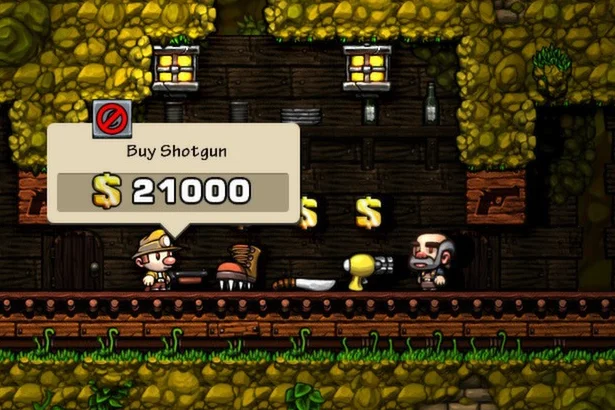
The full image shows the money counter at $0 on the left. Inside the shop, the highlighted shotgun has a Buy Shotgun $21,000 prompt. The explorer cannot pay that price in this example. Shops show items and prices in the world, so pause and check both numbers before touching an item.

Full Spelunky HD shop scene with $0 money at left and a Buy Shotgun $21,000 prompt over an item.
Full view: $0 at upper left; $21,000 above the shop item.
Closer view of the Spelunky shopkeeper, shotgun and Buy Shotgun $21,000 prompt.
Close view of the highlighted item and its purchase prompt.

The red barred symbol over the shotgun in this image means the $21,000 purchase is unavailable while you have $0. In the original Xbox 360 layout, stand over an item until its Buy prompt appears; if your money covers the price, press RB to purchase. Do not carry merchandise out unpaid: that makes the shopkeeper hostile. On a different layout, check the Buy control before touching the item; stock and prices can change between runs.

4. Slow down when a level is dark

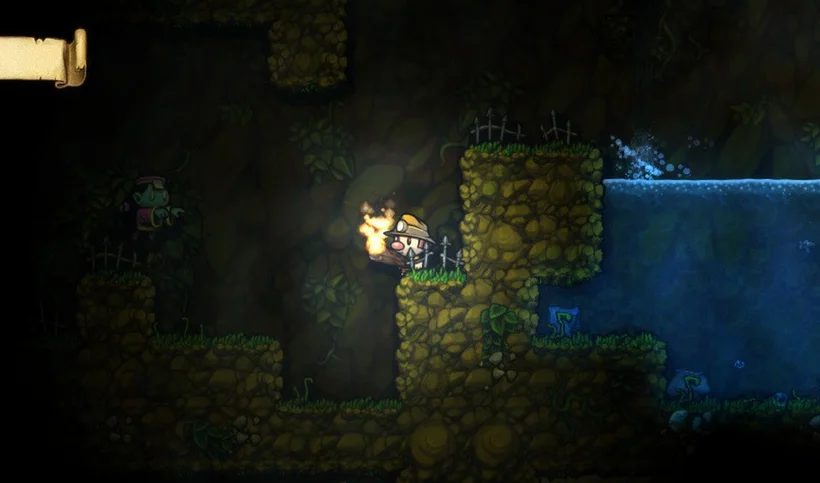
The torch around the explorer lights a small area near the pool, while the passage farther left stays nearly black. You cannot safely plan a long jump using only what is visible at the edge of the light. Stop at the ledge, identify the next solid platform and move far enough to reveal what is beyond it before committing.

Closer view of a torch-bearing Spelunky explorer beside a blue pool in a mostly dark cave.
The torch reveals the nearby ledge and water, but not the whole route.

The visible torch is not a guarantee of a safe path. A changing cave can hide traps or enemies beyond this lit circle. If you cannot see a landing point, take a shorter move, then look again.

After a run, use the journal to learn what stopped you

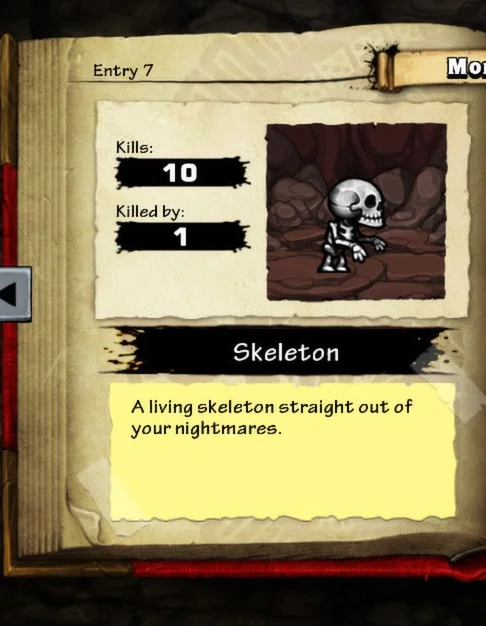
The HD journal has entries for places, monsters, items and traps. This close view shows a Skeleton entry with Kills: 10 and Killed by: 1. Those numbers are from the captured playthrough, not a target for your first run. If a skeleton or scorpion ended your attempt, the journal lets you recognize it next time.

Readable close view of the Spelunky HD journal Skeleton entry, its picture and kills counters.
Skeleton entry: picture, name, Kills and Killed by counters.

On the original Xbox 360 layout, press Back to open the journal; on the PC version, use Tab unless you remapped it. Find the Monsters pages, then look for the Skeleton picture and name shown here. Read Kills and Killed by as a record of your own runs, not a score to match. Try another cave, using what you learned about bombs, rope landings and shop prices.

Get Pixel Twelve's biggest stories first.

Add as a preferred source on Google