
Pixel Twelve
Prey (2017) Beginner Guide: First Day, Wrench and Apartment Escape

How To

Prey (2017) Beginner Guide: First Day, Wrench and Apartment Escape

A visual guide to the opening of Arkane’s 2017 Prey. Thirteen official gameplay images show where to look, what each prompt means and how to escape the apartment without guessing.

By Ethan WalkerGame: Prey (2017)Verified Sep 26, 2026
Guide Type
How To
Last Verified
Sep 26, 2026

Guide details

Overview

A visual guide to the opening of Arkane’s 2017 Prey. Thirteen official gameplay images show where to look, what each prompt means and how to escape the apartment without guessing.

Before you start: which Prey and what gets revealed here?

This is the 2017 game by Arkane Studios, not the different 2006 game also called Prey. You play as Morgan Yu in first person. This guide covers the opening, including the first big reveal about Morgan’s apartment. If you want that surprise completely untouched, play until you are out of the apartment before reading further.

The screenshots come from Bethesda’s official PlayStation gameplay recording. On PC or Xbox, follow the interaction label shown by your game rather than copying a PlayStation button from a picture. The exact minutes can change if you explore, so use room names and visible objects to find your place.
1. Find the red TranStar suit in Morgan’s apartment

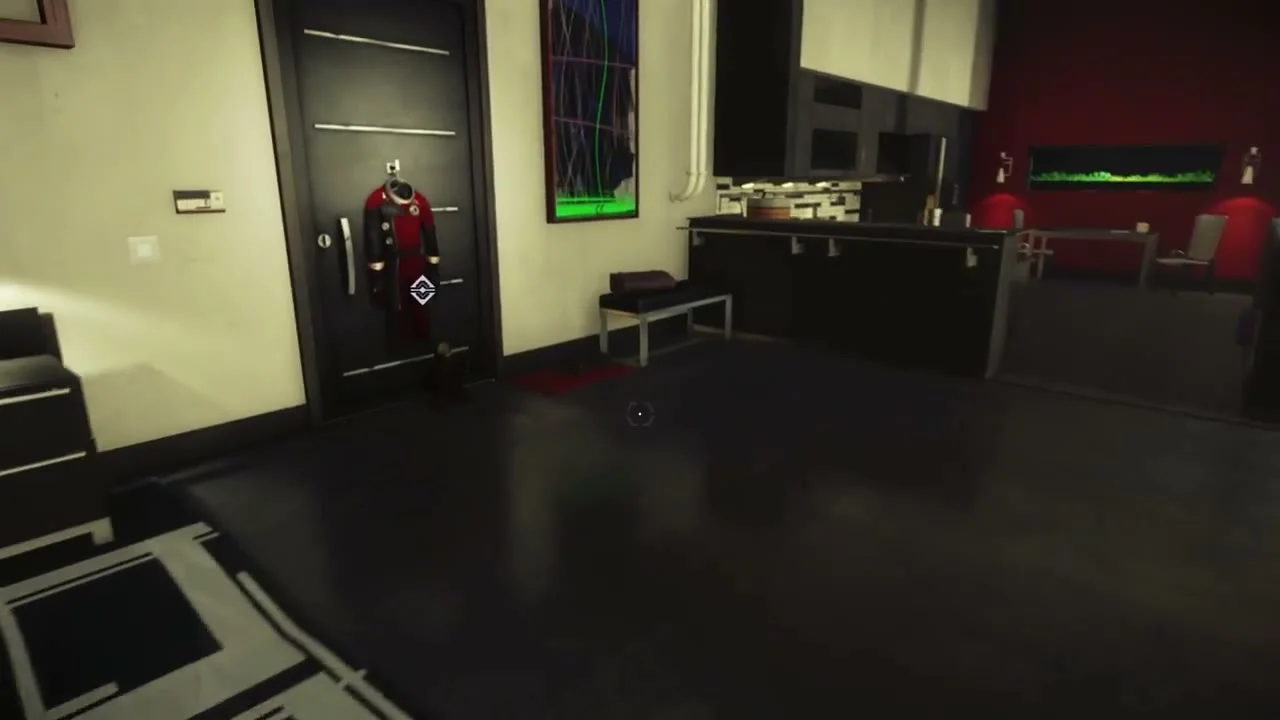
Morgan’s apartment with the red TranStar suit hanging on the dark door at left.
The **red suit hangs on the dark door at the left** of this apartment view. Put it on before looking for the roof exit.
  1. When Morgan wakes, look at the objective text on screen. It points you toward getting dressed and going to work. Turn around inside the apartment until you see a red uniform hanging on a dark door. The picture shows it on the left, across from the counter and sofa.
  2. Move the centre cursor over the suit and use the on-screen Put On or interaction prompt. Do not search the inventory for the uniform; it is an object in the room. If the objective has not advanced, look directly at the suit rather than the door frame.

2. Read the computer once so you recognise Prey’s email screen

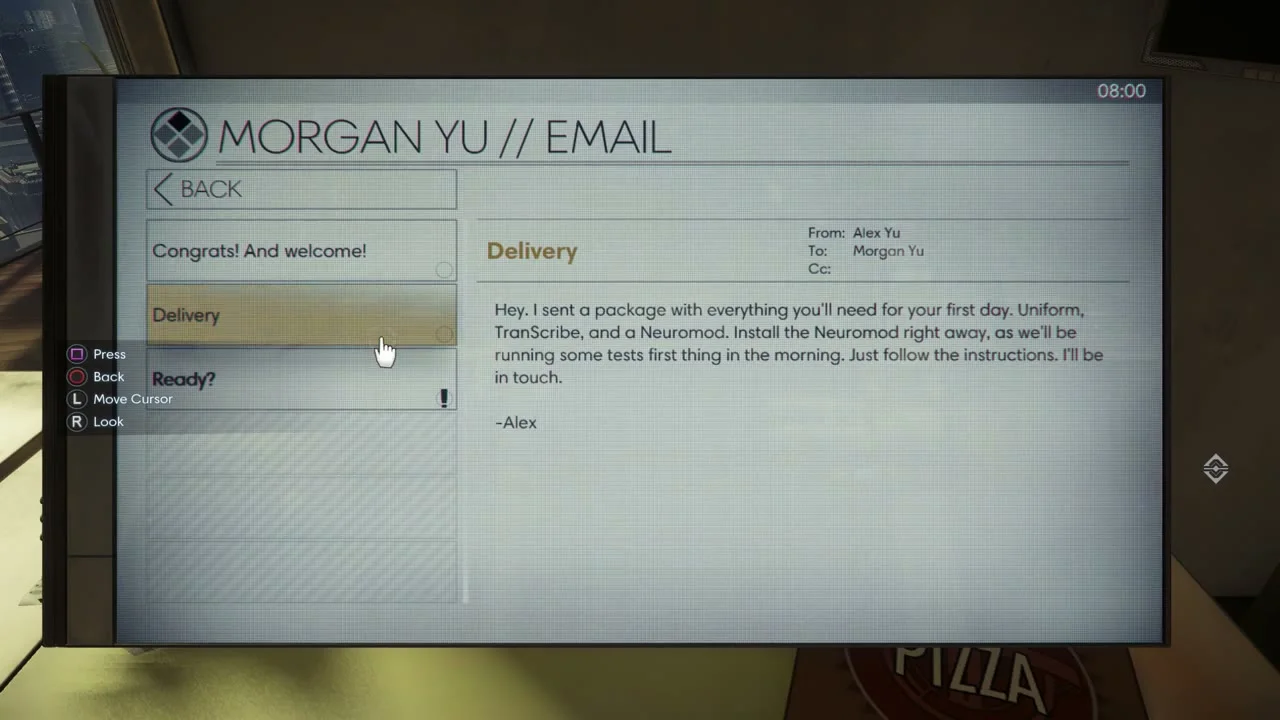
Morgan Yu computer email window open in the apartment.
The computer opens a large **MORGAN YU // EMAIL** window; select a message on the left to read it on the right.
  1. The apartment computer sits at Morgan’s desk. Face the screen and use its interaction prompt. In the screenshot, the window has a message list on the left and the selected message on the right. These emails add context; the game does not require you to solve a code here before leaving.
  2. Later, other people’s computers use the same layout and can contain useful clues. For now, close the screen after reading and return to the apartment door. You can check the objective again if you forget where to go.

3. Follow the hallway to the roof, not to a hidden elevator

Bright apartment hallway with a door at the far end and a wall screen on the left.
The first route is simple: leave Morgan’s apartment and follow the **bright hallway toward the far door**.
A small helicopter waits on the bright rooftop platform.
On the roof, look for the **helicopter beside the short steps**. Walk up to it and use its boarding prompt.
  1. Open Morgan’s front door. In the hallway, the clear walking path leads toward the far end. You may meet a neighbour, but you do not need an item from them. Follow the objective marker through the roof access door.
  2. Outside, the helicopter is large and easy to recognise beside a few low steps. Move to its passenger side and use the visible Board prompt. The ride and credits are part of the opening, so wait for the game to give control back before looking for another button.

4. At TranStar, recognise the Operator and follow the green wall

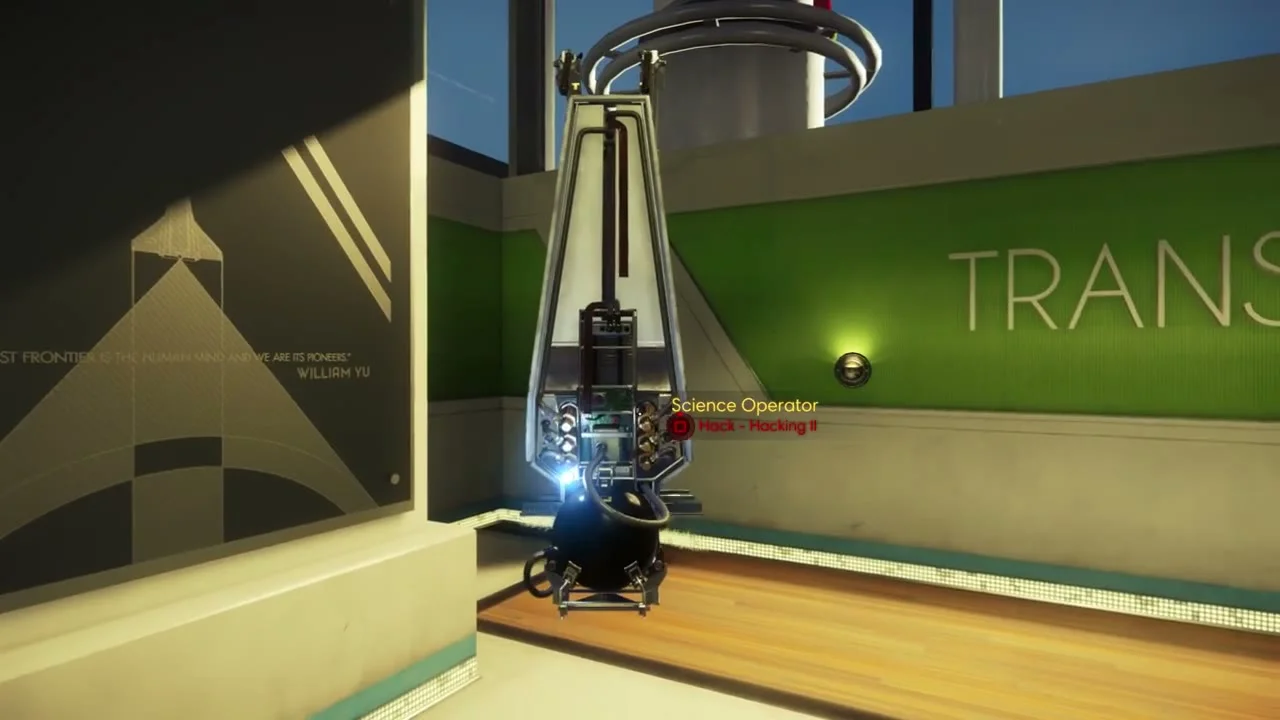
Small hovering Science Operator in front of a green TRANSTAR wall.
The floating machine is a **Science Operator**. It is not an enemy here; the green TranStar wall and doorway identify the route into the test area.
  1. After the helicopter, enter the building. A small floating machine with lights greets you near a green wall marked TRANSTAR. That machine is called an Operator. At this point, just listen or interact if the prompt appears; you do not need to attack it.
  2. Continue through the bright green-and-white corridors toward the test rooms. If you lose the route, look for the objective marker and doorways that open normally. The early rooms are controlled, not a free-roaming space station yet.

5. In each physical test room, look for the labelled button

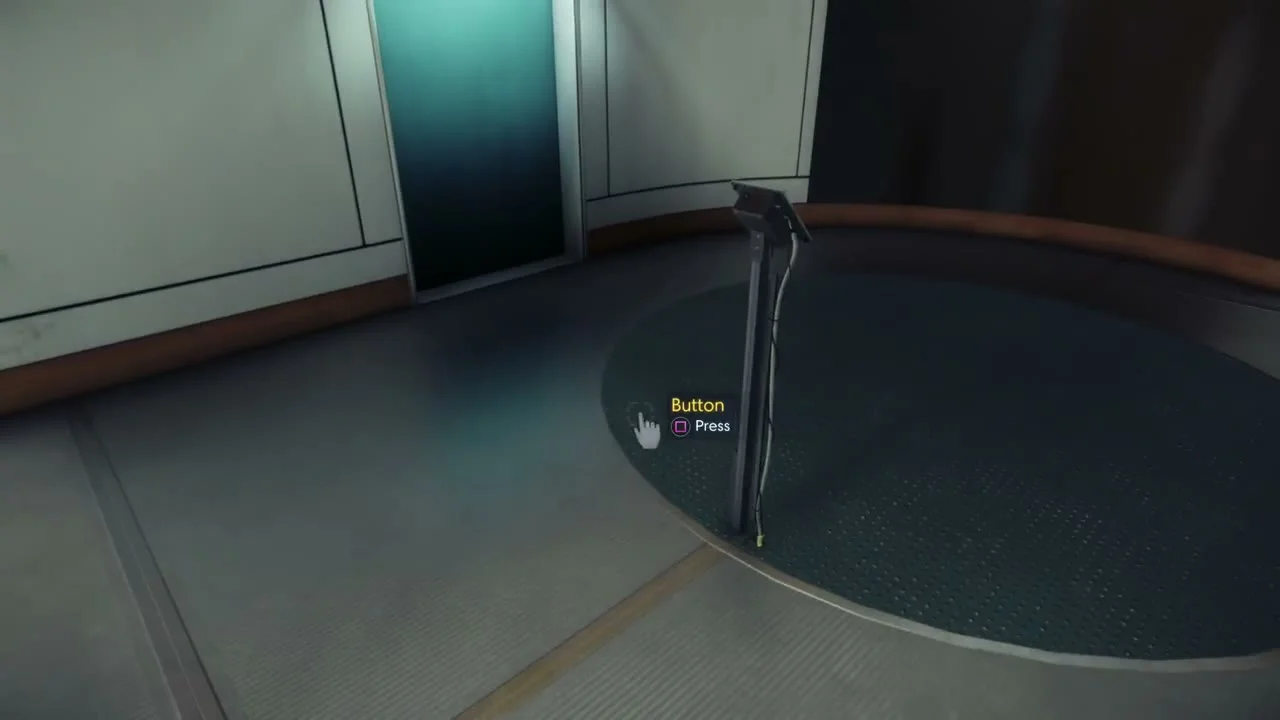
A slim test-room button post with a yellow Button label and PlayStation Square Press prompt.
The **thin post at the edge of the circular floor** has the yellow **Button** label. Walk close and press the interaction key shown beside it.
  1. In the first test chamber, a scientist speaks through the glass. The room has a circular floor and a slim metal post. Centre your view on that post until the label Button appears, then press the button using the displayed interaction key.
  2. Follow the scientist’s next instruction for each short test. You are being introduced to moving, jumping and interacting, not asked to find an invisible switch. When a test seems stalled, look for the next labelled object or wait for the door to unlock.

6. The personality screen is a questionnaire, not a password puzzle

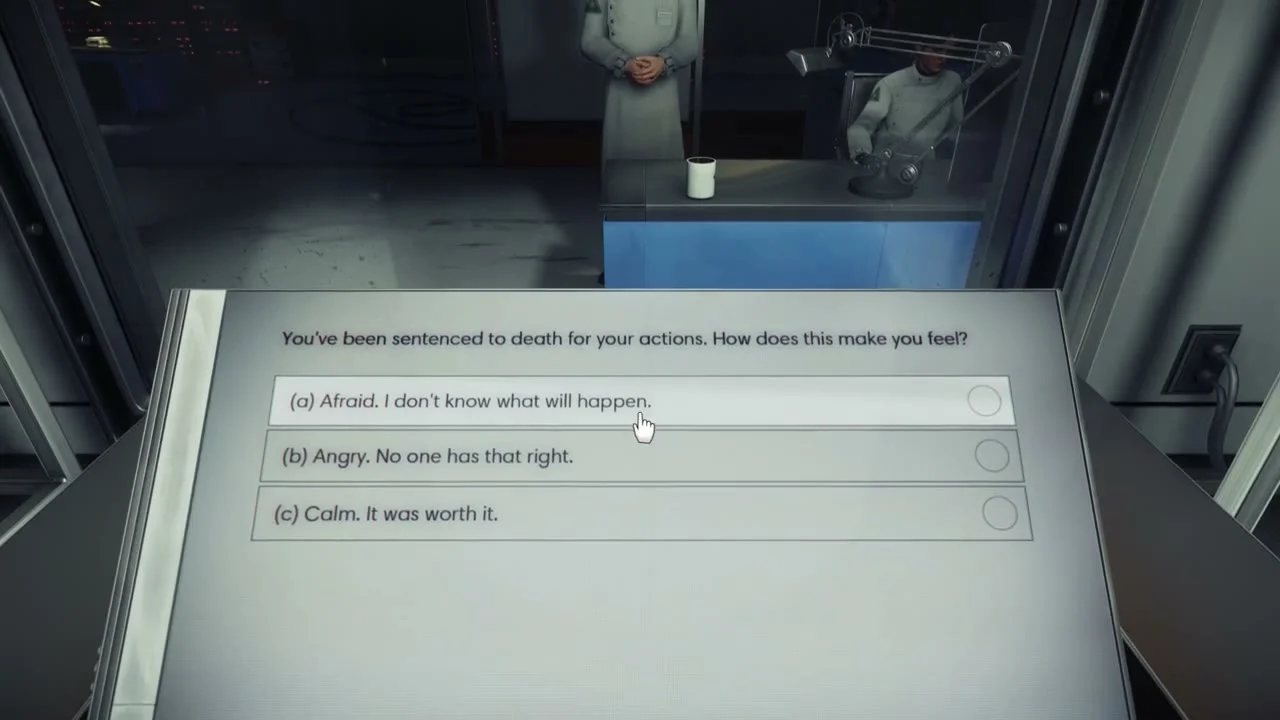
Questionnaire screen with three answers and circles at the right of each row.
At the last test, read a question and choose **one of the answer rows**. The circles on the right show where your selection goes.
  1. After the physical tests, move to the console in front of the observation window. The screenshot shows a question at the top and three answer rows below. Select an answer with the on-screen control and continue through the questions.
  2. You do not have to guess a secret “correct” answer. The scene continues after the questionnaire. Something strange happens beyond the glass, and then the opening changes; let the sequence play out rather than searching the test room for an exit in the middle of it.

7. You wake in the apartment again: read January’s message

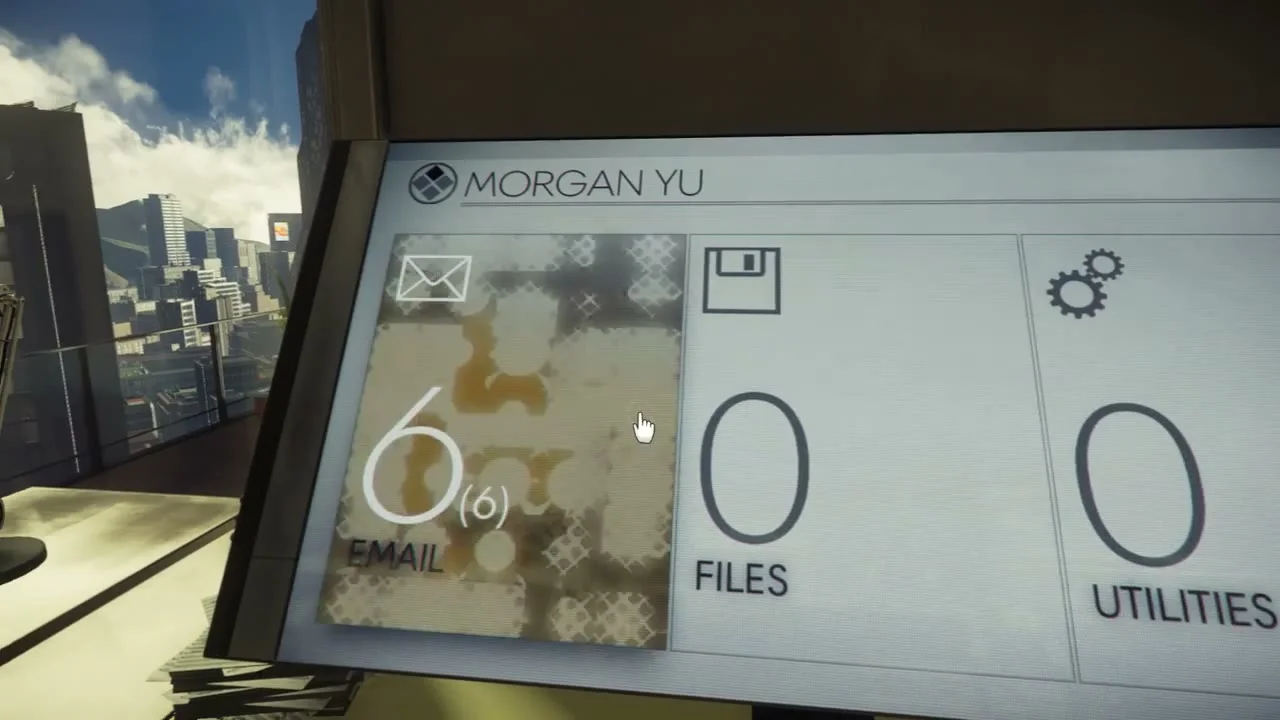
TranScribe screen with EMAIL, FILES and UTILITIES panels after Morgan wakes again.
The **EMAIL panel is on the left** of the TranScribe screen. Read January’s message to learn why the next objective is to leave.
  1. When control returns, the apartment looks familiar, but the situation is different. Find the apartment computer or open Morgan’s TranScribe when the game prompts you. Its screen has large EMAIL, FILES and UTILITIES sections; the picture makes EMAIL the leftmost panel.
  2. Read the new message from January and watch the on-screen objective change. Do not spend time repeating the first morning’s helicopter route. You now need a safe way out, and the next useful object is in the hall.

8. Find the wrench beside the body outside the door

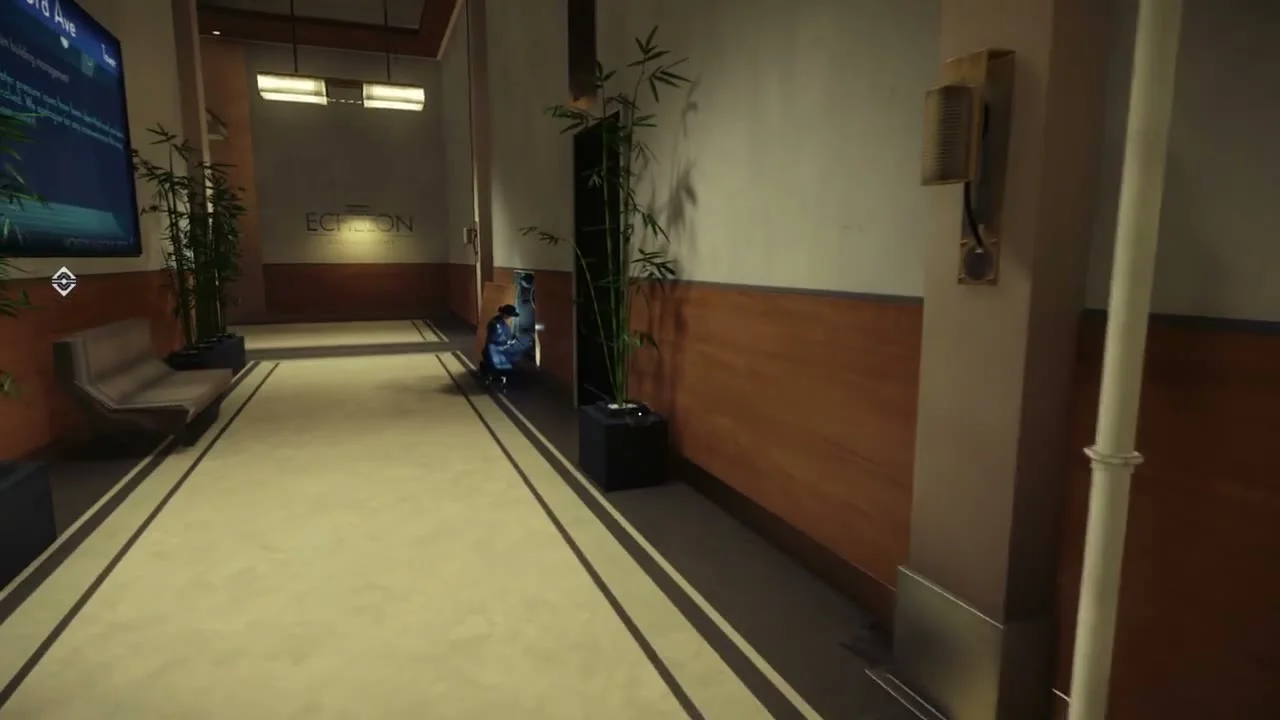
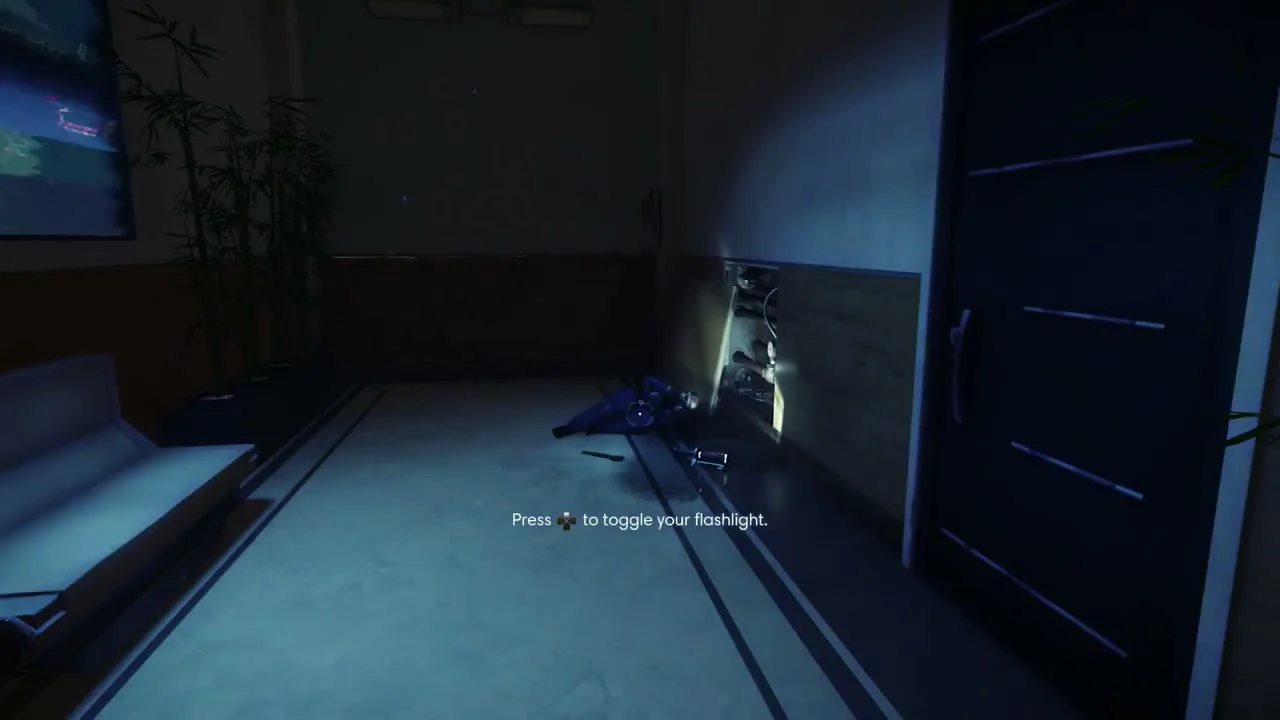
Dark hallway outside Morgan’s apartment, with a body on the floor by the right wall.
The body lies **on the right side of the dark hallway**. Approach it and look at the floor for the wrench.
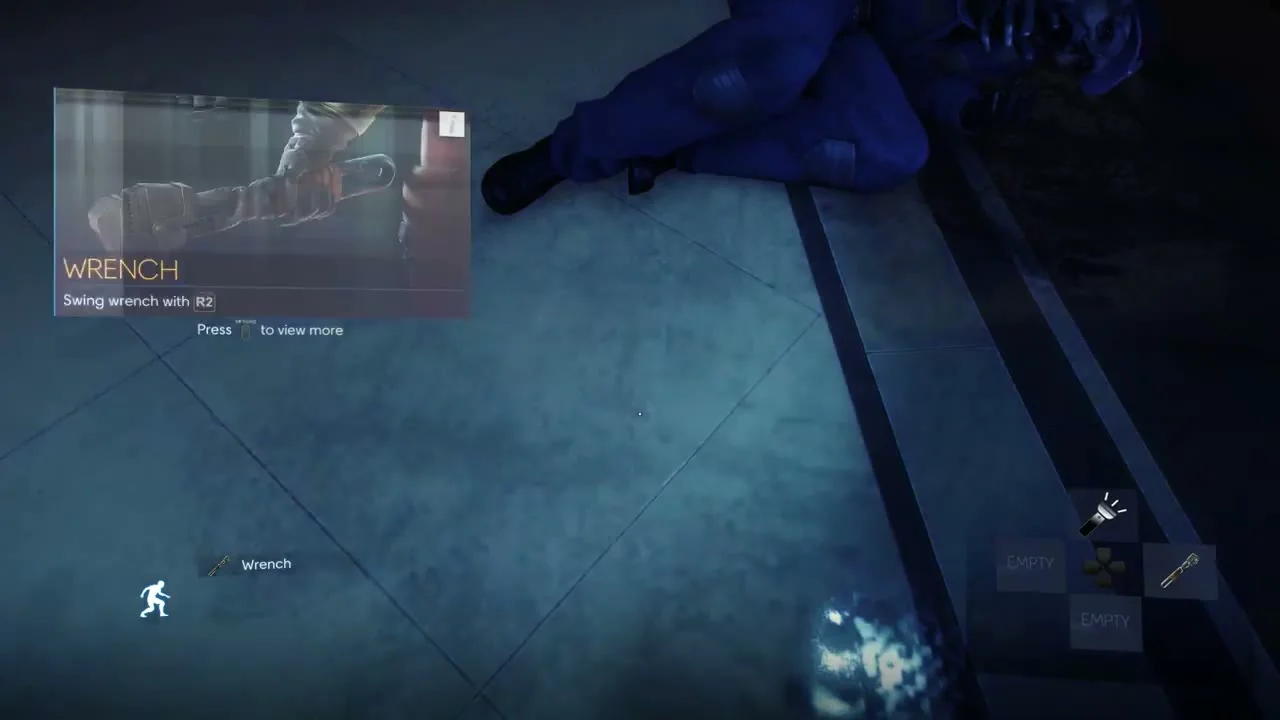
Wrench tutorial card showing the R2 swing prompt on PlayStation.
After pickup, a **WRENCH** card explains the attack control. This is the game’s first weapon; watch the prompt for your platform.
  1. Leave the apartment and turn toward the person on the floor by the right wall, near a damaged panel. Get close enough for the interaction label to appear on the wrench next to the body; pick it up. If the hall is too dark, follow the flashlight hint shown by your game.
  2. The wrench tutorial card appears after pickup. It shows R2 to swing in the PlayStation footage, but PC and Xbox use their own prompts. The wrench can break some glass and help with close threats. You do not have to find a gun to leave this area.

9. The ordinary exit is blocked; return to the apartment

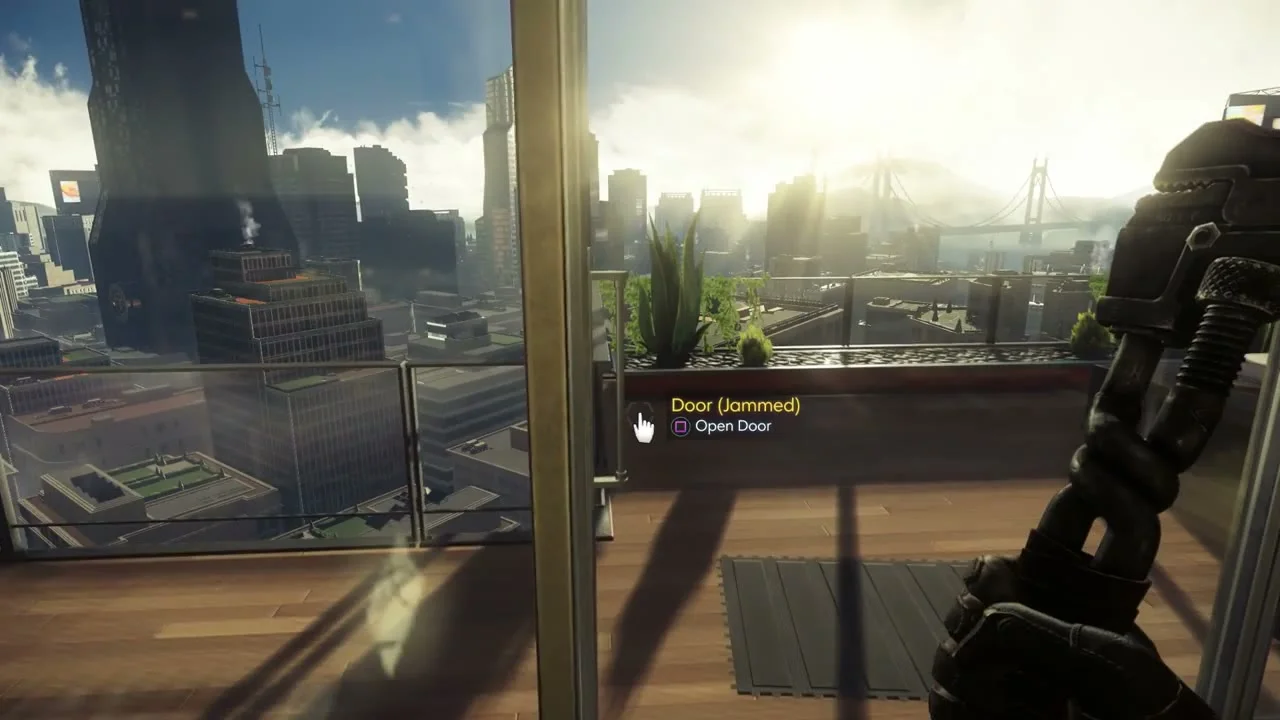
Balcony door shows Door (Jammed) while Morgan holds the wrench.
The **balcony door says Door (Jammed)**. The nearby glass is the important clue; a locked door is not the only way out.
  1. Look down the hallway: the normal route has changed and will not take you back to the roof. January’s call and the Break Out objective point you away from repeating the morning route. Return through Morgan’s apartment door.
  2. Cross the room to the large balcony window. The door itself reports Door (Jammed), as shown in the picture. Do not waste time hunting for a key to that door. Stand back from the glass panel, aim the centre cursor at it and swing the wrench using the attack control just taught by the game.

10. Walk through the broken glass into the simulation lab

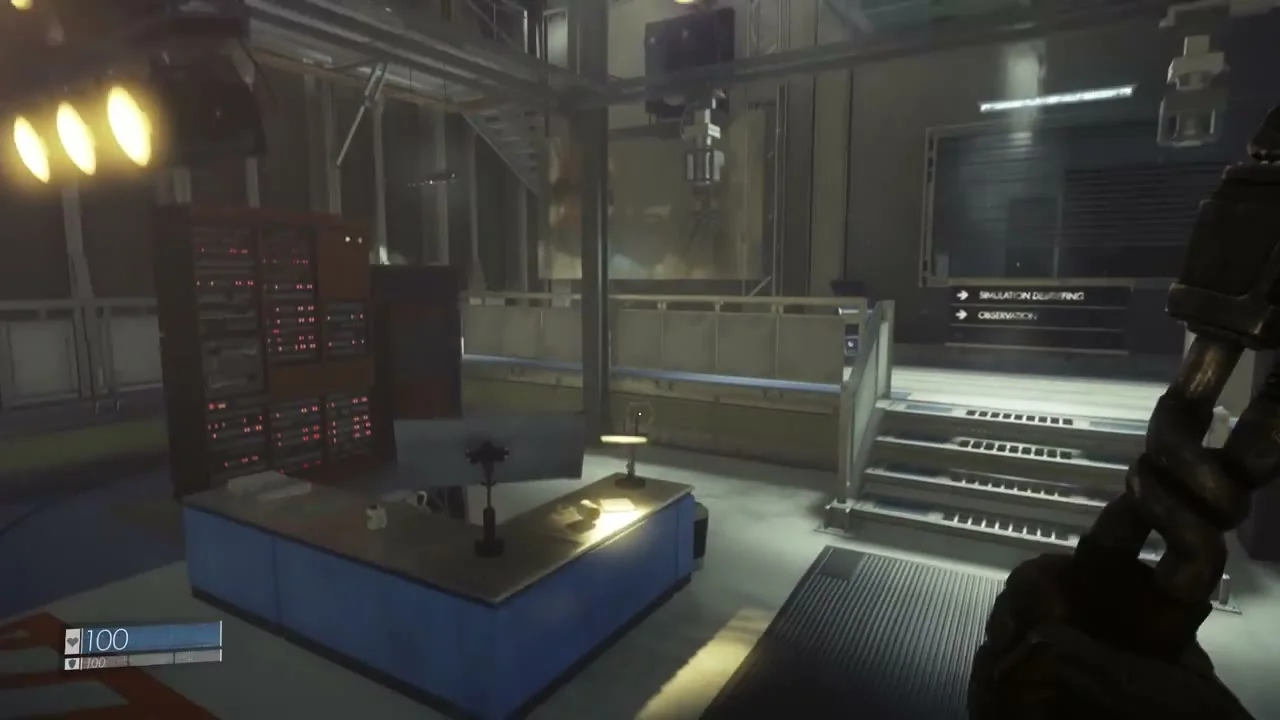
Industrial simulation lab behind the apartment set, with stairs and directional signs.
Behind the broken window is a **working lab**, not an outdoor balcony. Look for the short stairs and the signs ahead.
  1. When the glass breaks, the apparent city view disappears. Step through the opening into the industrial space behind the apartment. This reveal is why the window mattered. A different breakable panel in the hall can also lead out, but the apartment window is the easy landmark used here.
  2. Inside the lab, take a second to read the signs by the short stairs. In Bethesda’s video, signs point toward Simulation Debriefing and Observation. Walk toward the objective marker rather than returning to the fake apartment set. It is fine to inspect nearby desks for notes, but you do not need a secret item to cross the lab.

11. Know what can wait: a locked safe is optional

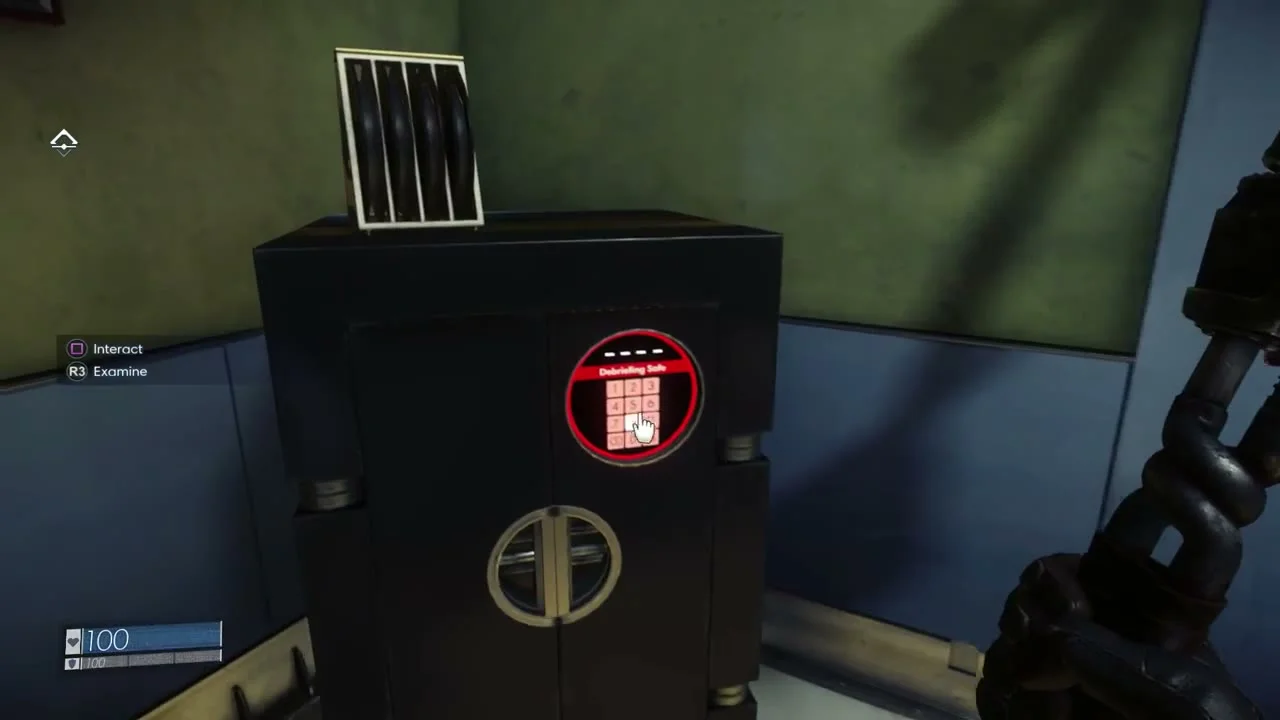
A dark safe with a red keypad and the label Debriefing Safe.
This **Debriefing Safe** can be inspected, but its red keypad means it is locked. You do **not** need it to finish the apartment escape.
  1. You may spot a black safe with a red keypad in the lab. If the interaction prompt says it is locked, leave it for later rather than guessing numbers. Prey often places optional supplies behind codes, skills or alternate routes.
  2. Stay with the current objective. The important early habit is to notice the difference between a required route and an optional locked container. You can revisit the latter after finding clues or gaining abilities.

Quick checks if you are stuck

  • “I cannot leave the first apartment.” Look for the red suit on the dark door, interact with it, then use the front door and follow the bright hallway to the roof.
  • “Nothing happens in the test chamber.” Move close to the thin metal post beside the circular floor and wait for the yellow Button label. Use the interaction control shown next to the label.
  • “I woke up in the same room again.” That is part of the story. Read January’s email, open the front door, then look to the right for the body and wrench.
  • “The balcony door says jammed.” Do not try to open the handle again. Aim the wrench at the glass panel next to it, swing, then walk through the opening.
  • “The safe wants a code.” The early exit does not require that safe. Follow the current objective into the simulation lab and return to locked containers when you have a reason.

Get Pixel Twelve's biggest stories first.

Add as a preferred source on Google