Pixel Twelve
Metroid Dread Beginner Guide: Map, Doors and E.M.M.I. Zones

How To

Metroid Dread Beginner Guide: Map, Doors and E.M.M.I. Zones

Visual first-steps guide to Metroid Dread’s map controls, door types, Map Stations, E.M.M.I. alerts and the Omega Cannon.

Game: Metroid DreadVerified Sep 23, 2026
Guide Type
How To
Last Verified
Sep 23, 2026

Guide details

Overview

Visual first-steps guide to Metroid Dread’s map controls, door types, Map Stations, E.M.M.I. alerts and the Omega Cannon.

Start here: what to do when you feel lost

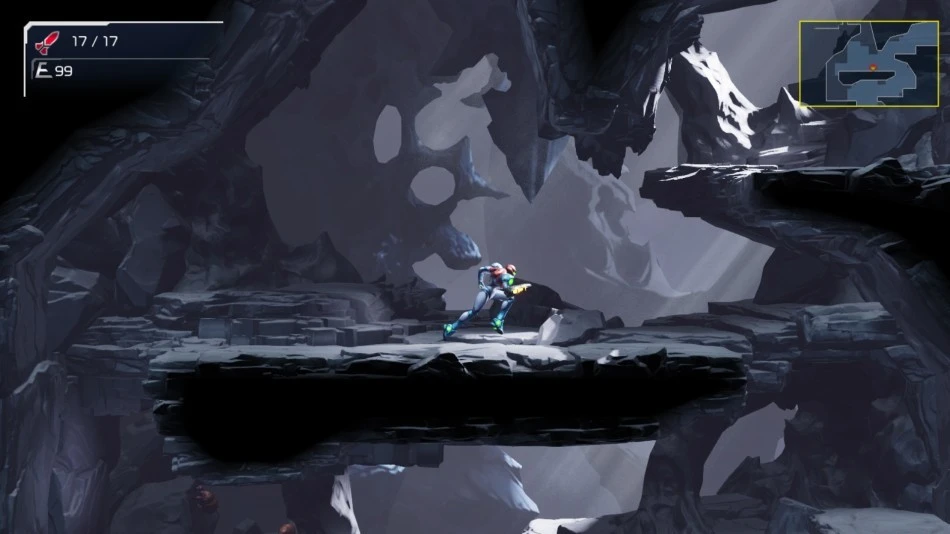
Press + on the Nintendo Switch controller to open the full map. Look for a door or passage you have not reached, then check the icon on it before walking there. If an E.M.M.I. robot sees you, run and hide until the zone doors unlock; ordinary Beam and Missile shots will not hurt it. The screenshots below show the map, two door types and the robot’s danger states.

You play Samus Aran, the armoured character on the screen. Metroid Dread is built around returning to old rooms after you gain a new ability. A blocked route is often a note for later, not proof that you missed a secret button.
1. Open the map and identify your room

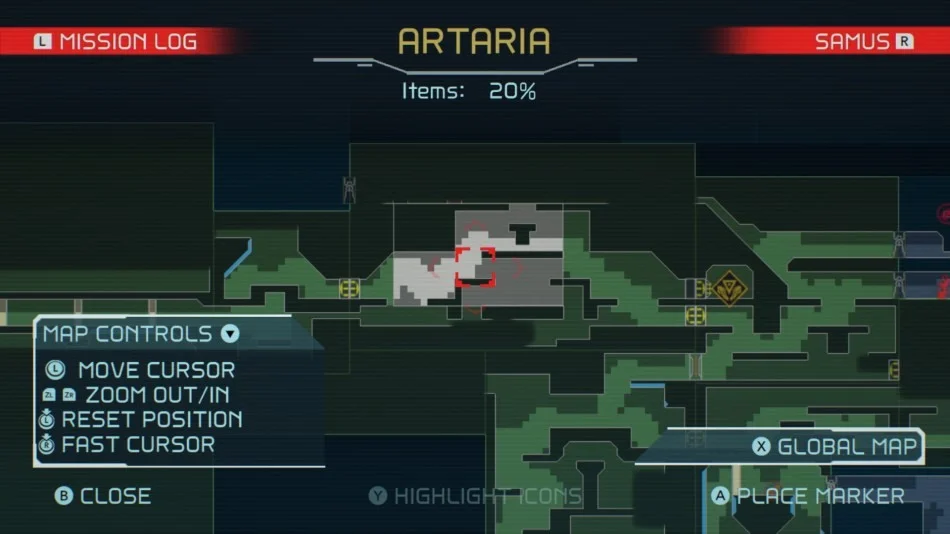
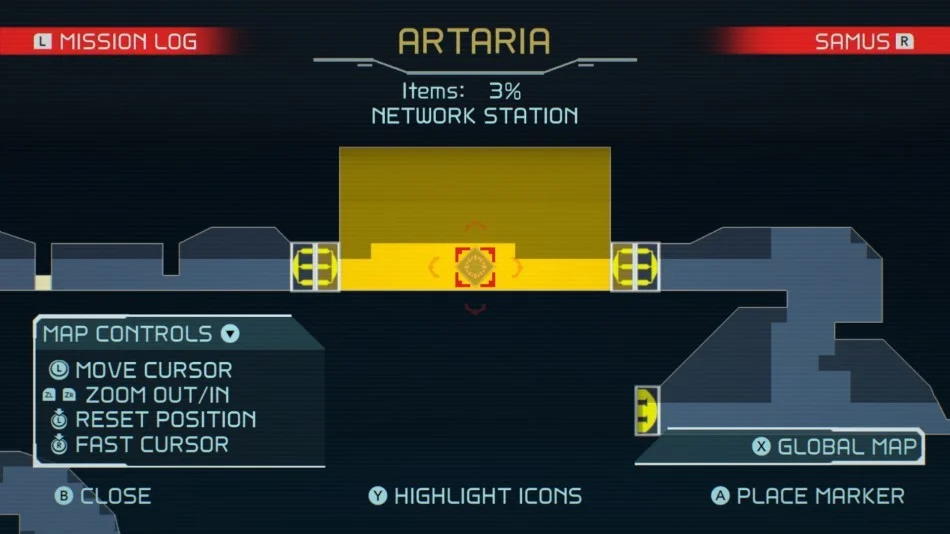
Metroid Dread map of Artaria with the current room, map controls and a named icon.
Press + to open this view. The room around Samus is marked on the map; move the cursor onto an icon to read its name at the top.
  1. Press +. The full map fills the screen. Its connected shapes are rooms and passages, while small symbols mark doors and other points of interest.
  2. Move the cursor over a nearby symbol. Read the name that appears at the top of the map instead of guessing from its shape. The controls box in the lower-left of the image shows the map commands.
  3. Choose one reachable exit from your current cluster of rooms. Close the map and follow that route one room at a time. Open it again after a new door, lift or ability changes what you can reach.

The map records where you have explored. It does not require you to clear every room before moving forward.

2. Highlight the doors your new ability can open

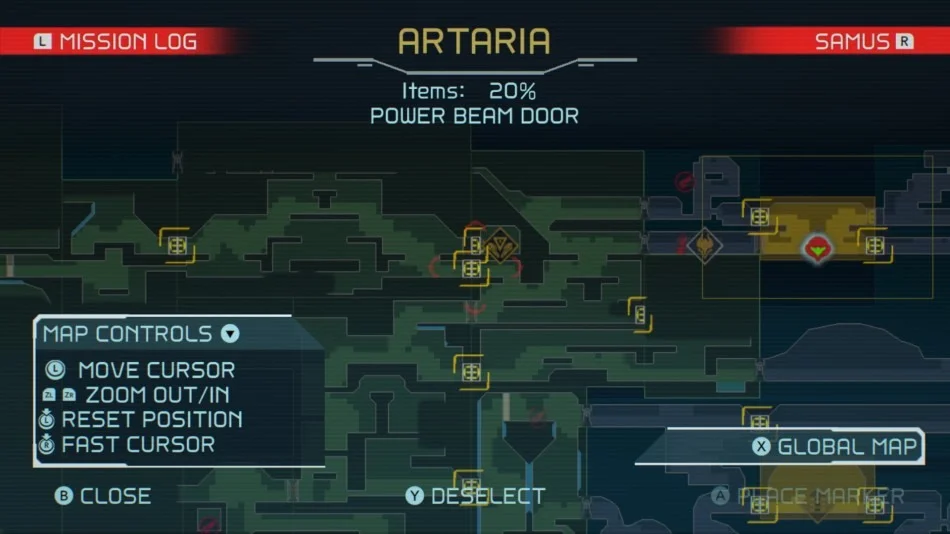
Artaria map with Power Beam Door shown at the top and matching door icons highlighted.
Put the map cursor on a door icon and press Y for Highlight Icon. Matching icons light up so you can spot other doors of that type.
  1. On the map, move the cursor over the icon for a door or feature you want to find again.
  2. Press Y to turn on Highlight Icon. Look for the other matching symbols that now stand out across the map.
  3. After gaining a new weapon or movement ability, use this filter again. A previously blocked door may now be your next useful route.

This is more reliable than running through the same corridor repeatedly. If nothing highlights nearby, try a different icon or explore the next open passage.

3. Spot a room that still hides an item

Artaria map with a small room glowing white to show an item remains there.
A white glow over a room means an item is still hidden in that area; it does not mark the exact square where the item sits.

When a mapped area glows white, it still contains an item such as a Missile Tank. First check the doors into that area. If you can enter, scan the room for a ledge or suspicious section of terrain and test reachable spots. If a door requires an ability you do not have, leave the area marked and return later.

A glow is a search hint, not a direction arrow. Do not assume the item is directly behind the point where the glow appears.

4. Use a Map Station before crossing an unfamiliar area

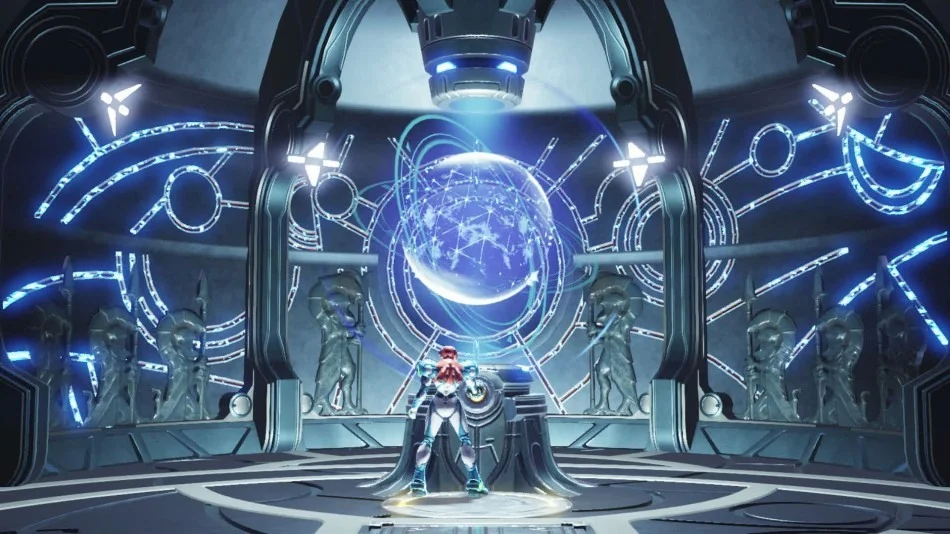
Samus stands at a round blue Map Station terminal in Metroid Dread.
Look for the large blue-lit terminal and stand in front of it. Using a Map Station downloads the region map and lets you save there.
  1. Look for a room centred on a large glowing blue terminal, like the one pictured. It is a Map Station, not an E.M.M.I. robot.
  2. Move Samus to the terminal and follow the interaction shown on screen. After the station activates, open the map with + to see the region you downloaded.
  3. Check the new corridors and the nearest exit before leaving. The same station can be used again to save your progress.

Network Stations are a different type of room: they deliver information from ADAM and also save. A Map Station is the one that downloads the surrounding map.

5. Recognise an ordinary Beam Door and a Charge Beam Door

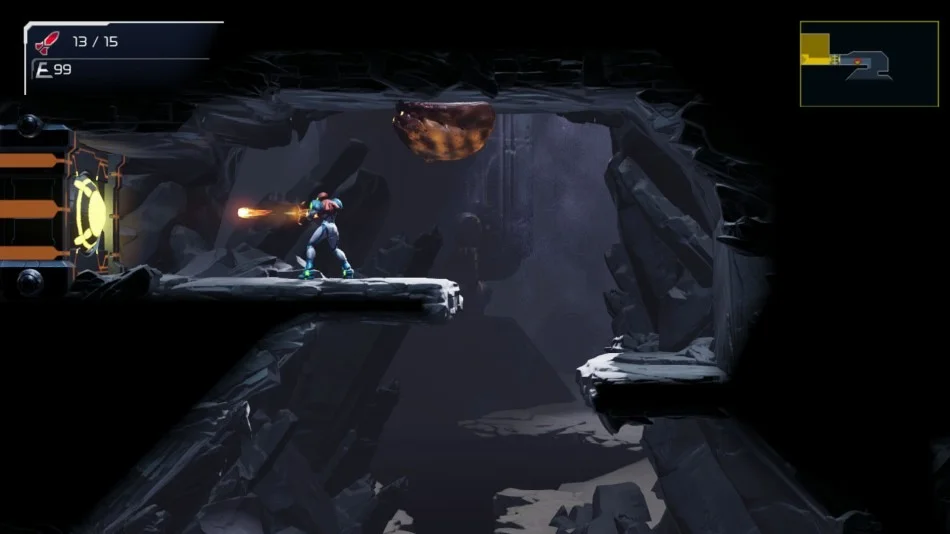
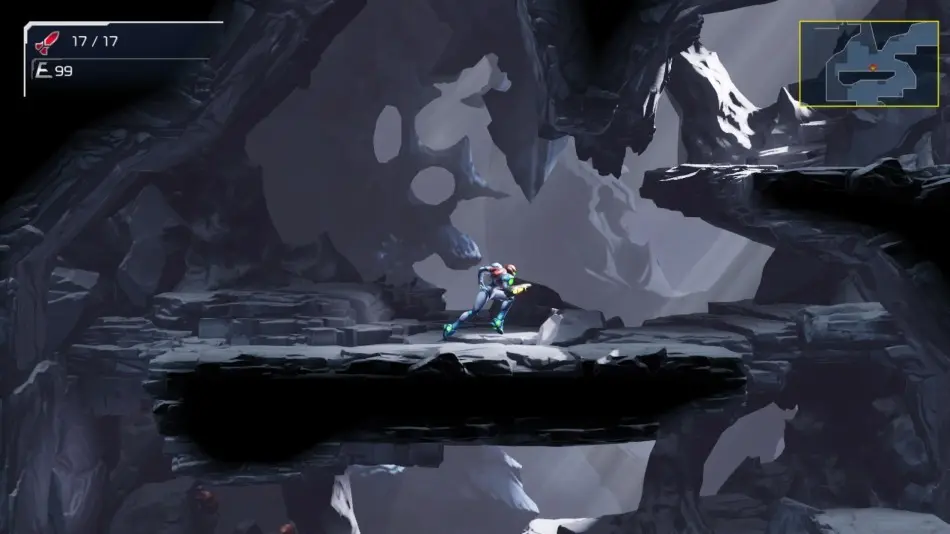
Samus fires at a yellow-lit Beam Door on the left edge of a rocky corridor.
The glowing yellow door at the left opens when you face it and fire Samus’s normal Beam with Y.
  1. Stand facing the yellow-lit door, like the one on the left of the screenshot. Press Y to fire a normal Beam shot. If it opens, move through.
Samus fires a bright charged Beam toward a blinking yellow Charge Beam Door.
A blinking yellow light marks a Charge Beam Door. It needs the Charge Beam ability; a normal shot will not open it.
  1. If the door blinks yellow and ordinary shots do nothing, check whether you have the Charge Beam ability. Once you have it, charge the Beam as the game taught you and fire at the blinking light.

Do not spend Missiles on a door just because it is closed. On the map, hover over its icon to read the door type. If you do not yet have the named ability, note the location and continue along another available route.

6. Read an E.M.M.I. zone before you move

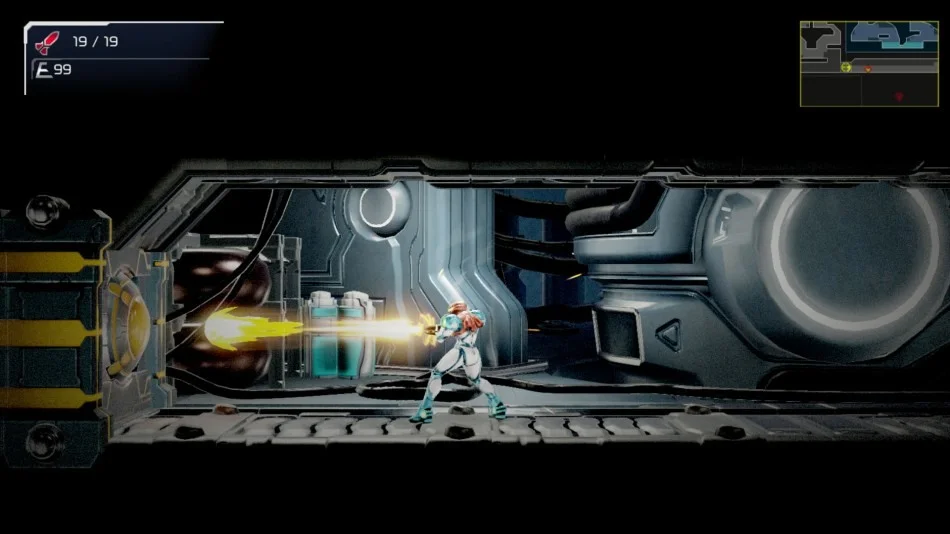
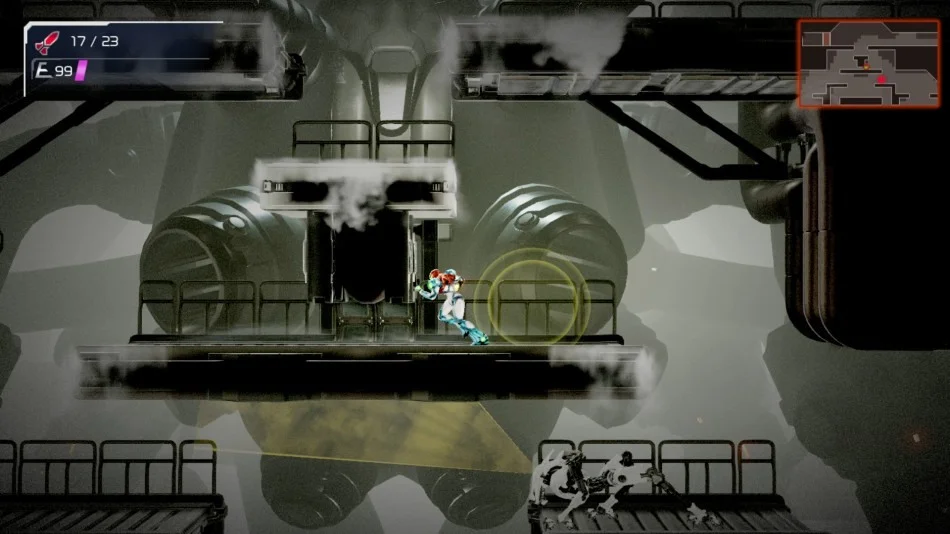
Samus moves through a grey E.M.M.I. zone with the robot nearby and a small map in the upper-right.
The grey industrial rooms and the small map at the upper-right help you track an E.M.M.I. route. Ordinary Beam and Missiles cannot damage this robot.
  1. When you enter an E.M.M.I. zone, pause to check the small map at the upper-right and identify the zone doors. E.M.M.I. stay inside these designated areas.
  2. Watch the robot’s light: blue means patrol, yellow means it heard something, and red means it is chasing you. It can detect both sound and sight.
  3. If it approaches, move through the available platforms and doors instead of standing still to shoot. If you have already unlocked Phantom Cloak, it can hide Samus, but it uses Aeion energy and moving drains that energy faster.

Getting caught leaves only a very narrow Melee Counter chance. Do not plan your route around landing that counter.

7. What to do when the zone doors lock

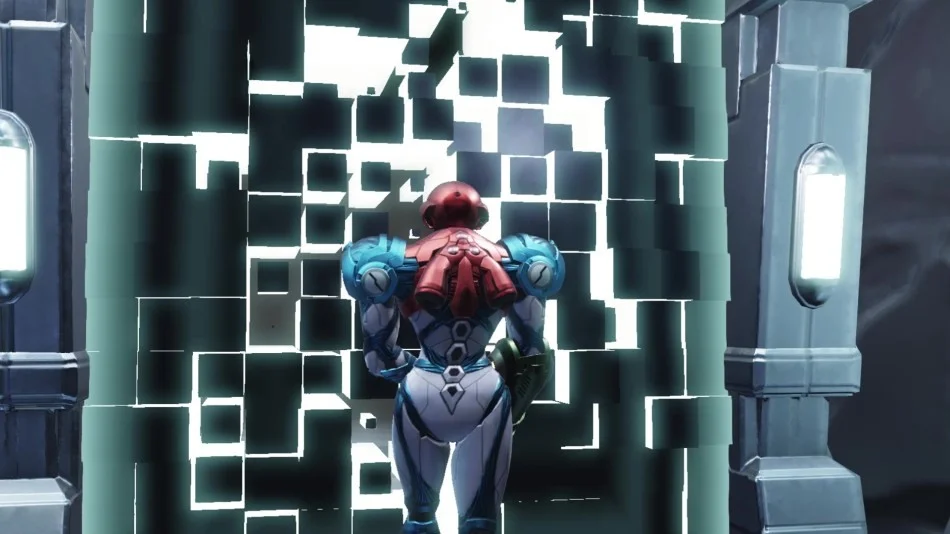
Samus faces a bright locked E.M.M.I. zone door while the room is in alert state.
A locked zone door means the robot is still pursuing or detecting Samus. Break its line of sight and wait for the alert to end before trying to leave.
  1. Turn away from the locked exit and put rooms or platforms between Samus and the robot. Watch its position on the small map as you move.
  2. Once the E.M.M.I. loses you and the alert ends, return to a zone door and leave. Recheck the full map with + if you are no longer sure which exit is closest.

Shooting the sealed door will not cancel the lockdown. The door reopens after you shake the robot off your trail.

8. When you receive the Omega Cannon

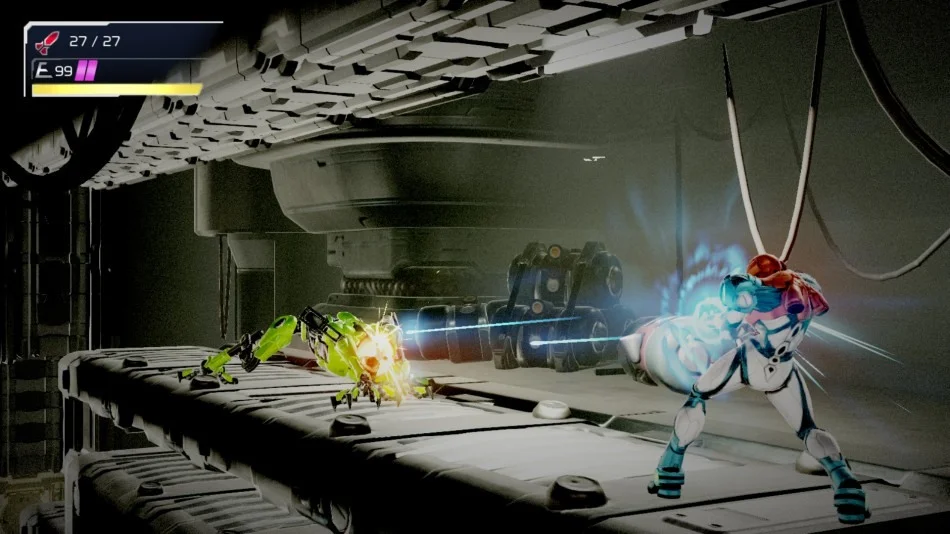
Samus uses the blue Omega Cannon against an E.M.M.I. in a long corridor.
The blue Omega attack is the exception to the normal rule that an E.M.M.I. cannot be hurt. The corridor gives Samus room to aim while it approaches.

Later, a Central Unit in an E.M.M.I. area can give Samus a temporary Omega Cannon. First destroy the Central Unit and absorb its energy. The Arm Cannon then changes, so you can recognise that the special weapon is ready. It lasts only for this confrontation and becomes normal again after the robot is destroyed.

  1. Find enough straight space to keep the robot in view. Hold L to aim, then hold Y for the rapid Omega Stream. Keep the shots on its head until the protective face plating breaks and the core appears.
  2. While still aiming, hold R to charge the Omega Blaster. When fully charged, press Y at the exposed core. Samus cannot move while charging, so begin with space between her and the robot.

If the normal Beam seems to do nothing, that is expected. The Omega Cannon is available only after the Central Unit step; look for a route around the E.M.M.I. until you reach it.

Quick fixes for common problems

  • I cannot find where to go: press +, read the name of nearby map icons, and try Highlight Icon with Y after a new ability. A blocked door may need a later upgrade.
  • The map shows a white room but no item: search the reachable parts of that room; the white glow marks the area, not the exact pickup. Come back after an upgrade if a route remains shut.
  • A yellow door ignores my shots: check whether its light is steady or blinking. A blinking Charge Beam Door needs the Charge Beam ability.
  • An E.M.M.I. door will not open: the robot is still alerted. Hide or run until it loses you, then return to the exit.
  • My shots do not hurt the E.M.M.I.: ordinary Beam and Missiles cannot break its armour. Escape for now, or use the temporary Omega Cannon after defeating the Central Unit.

Get Pixel Twelve's biggest stories first.

Add as a preferred source on Google