
Pixel Twelve
Ghost of Tsushima Beginner Guide: Map, Wind, Stances and First Upgrades

How To

Ghost of Tsushima Beginner Guide: Map, Wind, Stances and First Upgrades

A visual first-hours guide to Ghost of Tsushima, with official screenshots of the map, foxes, Stone stance, Gear, Technique Points, gift altar, Bamboo Strikes and shrines.

By Chloe BennettGame: Ghost of TsushimaVerified Sep 24, 2026
Guide Type
How To
Last Verified
Sep 24, 2026

Guide details

Overview

A visual first-hours guide to Ghost of Tsushima, with official screenshots of the map, foxes, Stone stance, Gear, Technique Points, gift altar, Bamboo Strikes and shrines.

First, know what kind of game this is

You play Jin Sakai, a samurai trying to protect Tsushima during a Mongol invasion. You can follow the main story or stop to explore. You do not need to clear every symbol on the island before doing the next mission. This guide starts with the PS4-style controller prompts shown in the official screenshots. On PC or with changed controls, follow the action names in your own on-screen prompts.

If you are lost, open the map first. If a fight feels unfair, check which enemy is carrying a sword, shield or spear. If you have a point to spend, open Techniques rather than Gear. Those three checks solve many early-game problems.
1. Pick a destination on the map, then follow the wind

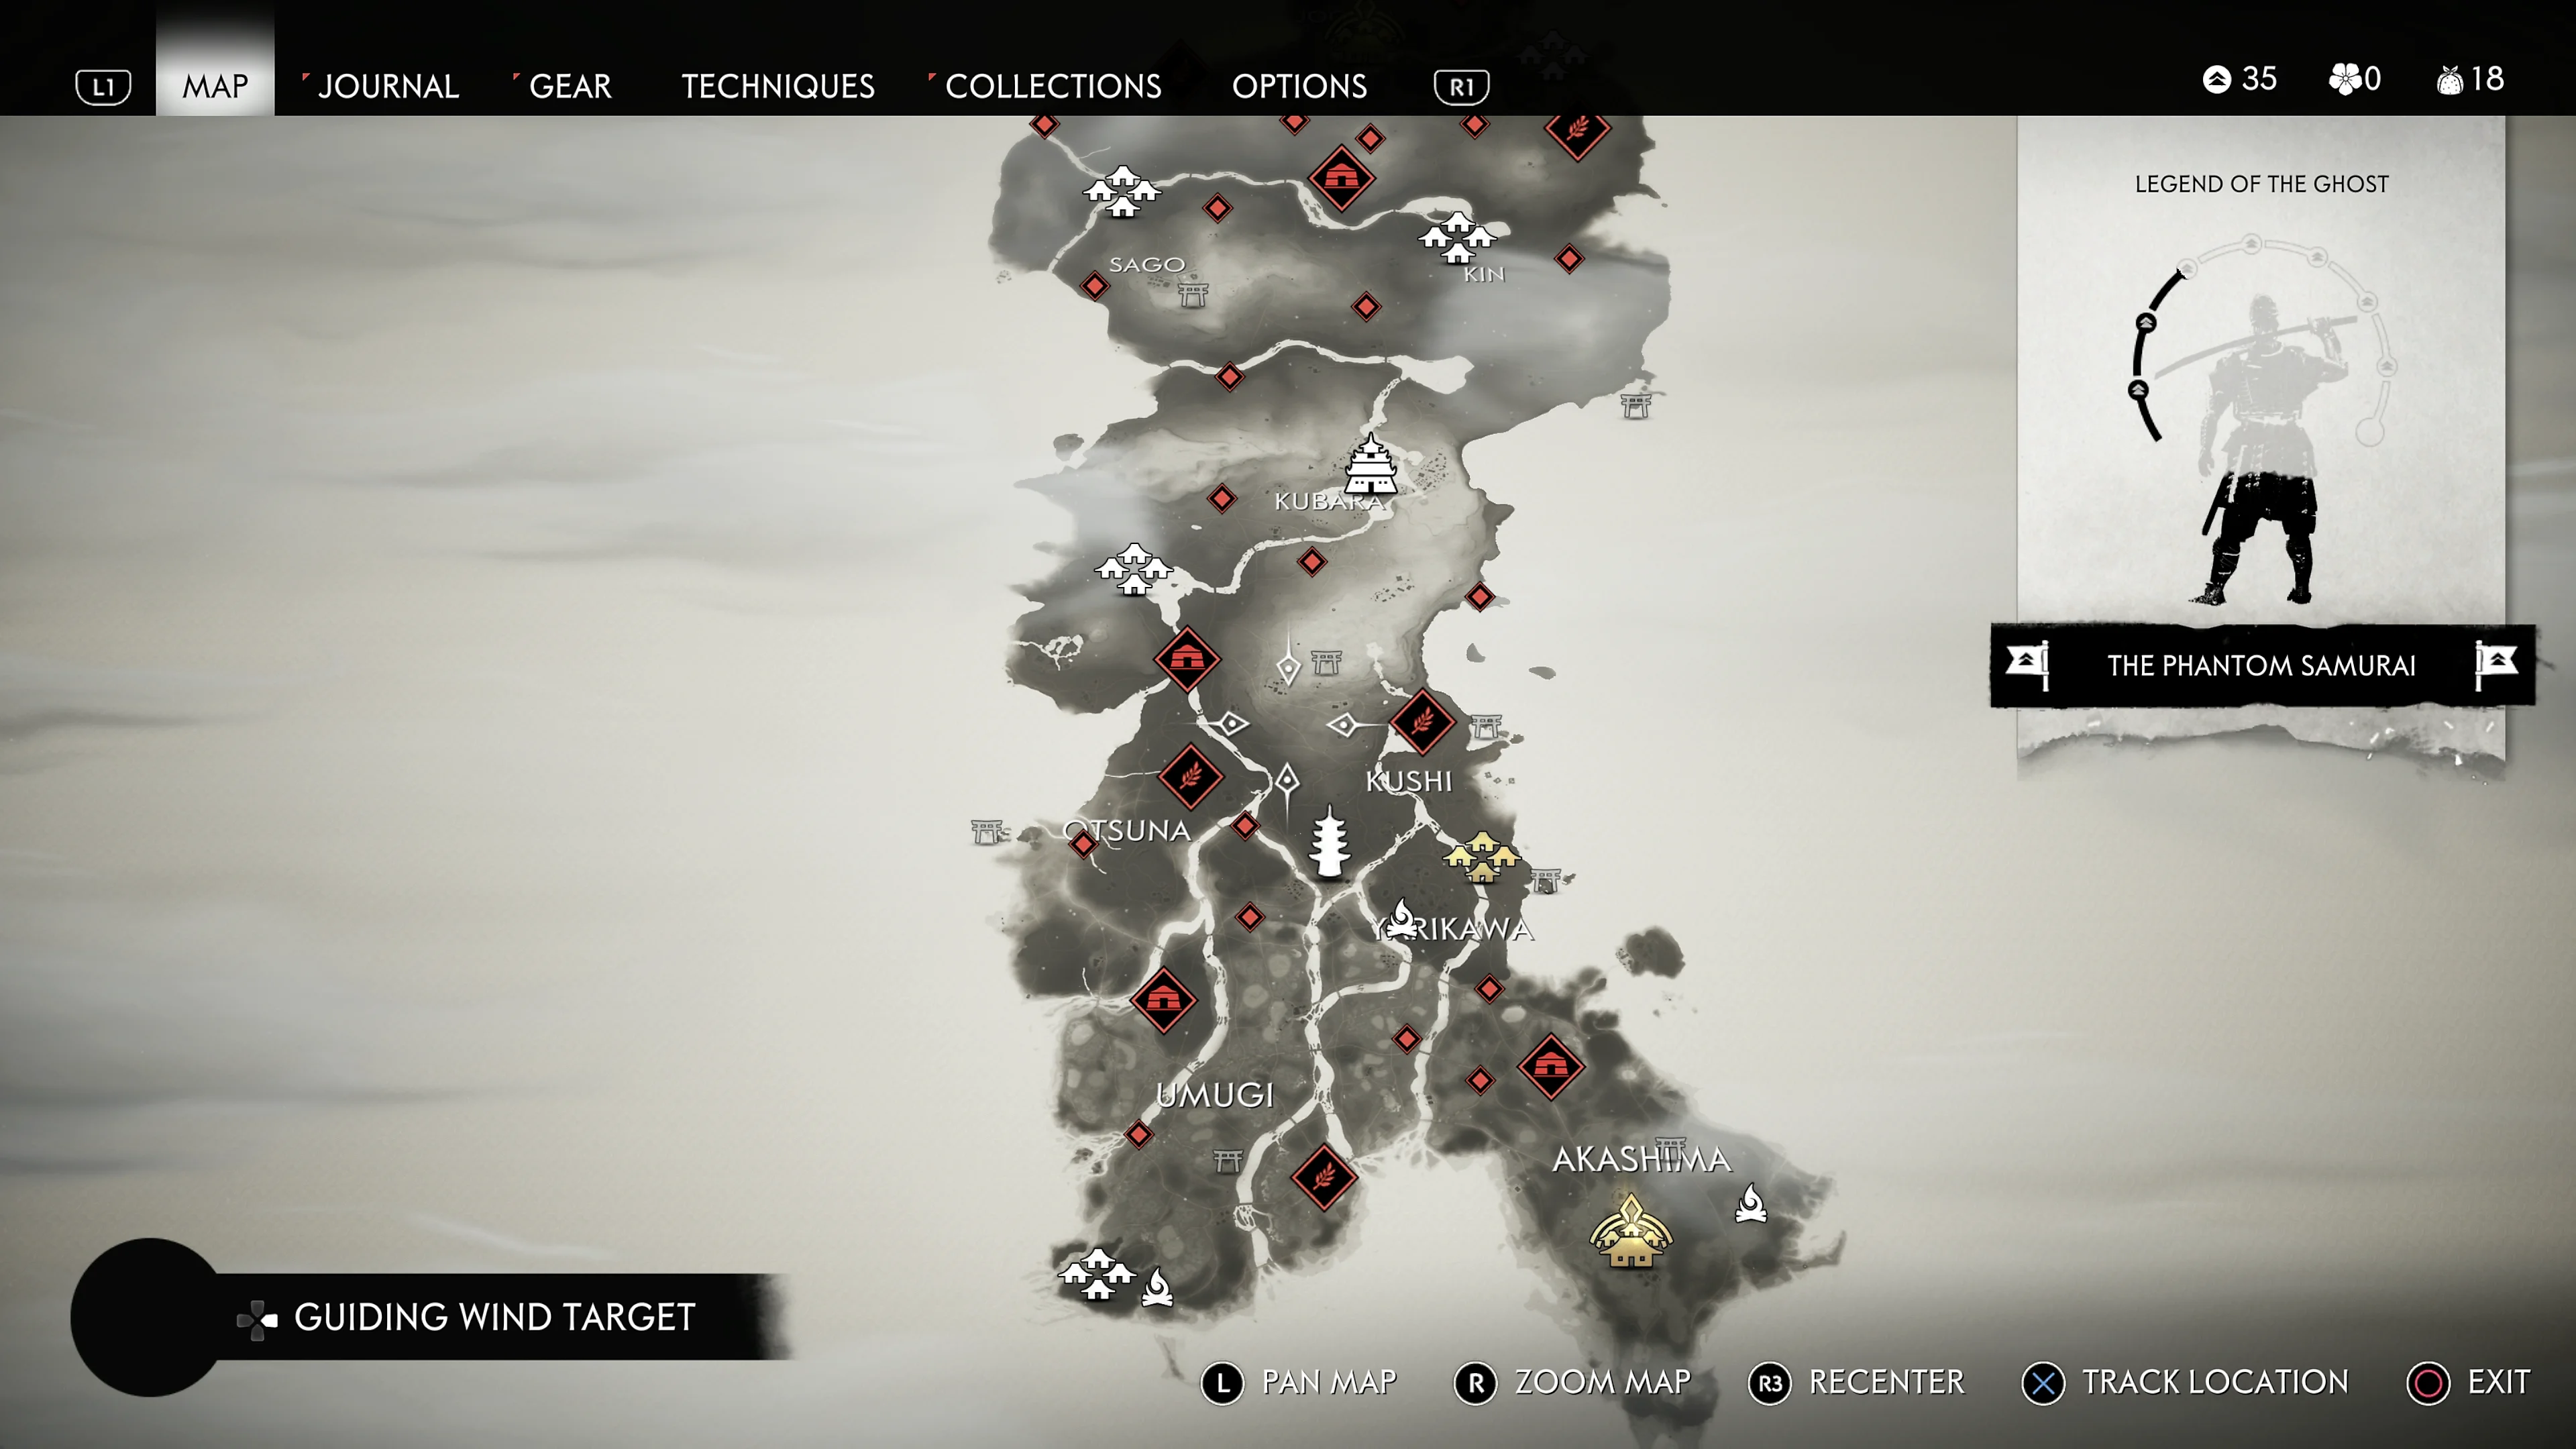
Official Ghost of Tsushima map with MAP highlighted at the top, red enemy-site symbols, a Guiding Wind Target prompt at lower left and Track Location at lower right.
Find MAP at the top, choose a point of interest, then use the bottom-right Track Location prompt. The bottom-left label says GUIDING WIND TARGET. This capture has optional black-and-white Kurosawa Mode on; your map may be in color.
  1. Pause and open MAP, the leftmost tab at the top of the screenshot. Use the left stick to move the cursor over a known place or story marker. Red symbols mark Mongol-held locations; they are not all required to continue the main story.
  2. With the cursor on the place you want, use the on-screen TRACK LOCATION prompt at the lower-right. In this PS4 capture it is X. The words GUIDING WIND TARGET at the lower-left tell you the map can now point toward the selected place.
  3. Leave the map. On the default PlayStation controller, swipe up on the touchpad to call a strong gust. Watch the grass, leaves and white wind streaks; travel in the direction they move. Repeat the swipe whenever you are unsure at a fork.

The picture is black and white because its player enabled Kurosawa Mode. You do not have to turn that mode on; it changes the look, not the basic map steps.

2. Let a fox show you something the map may not explain

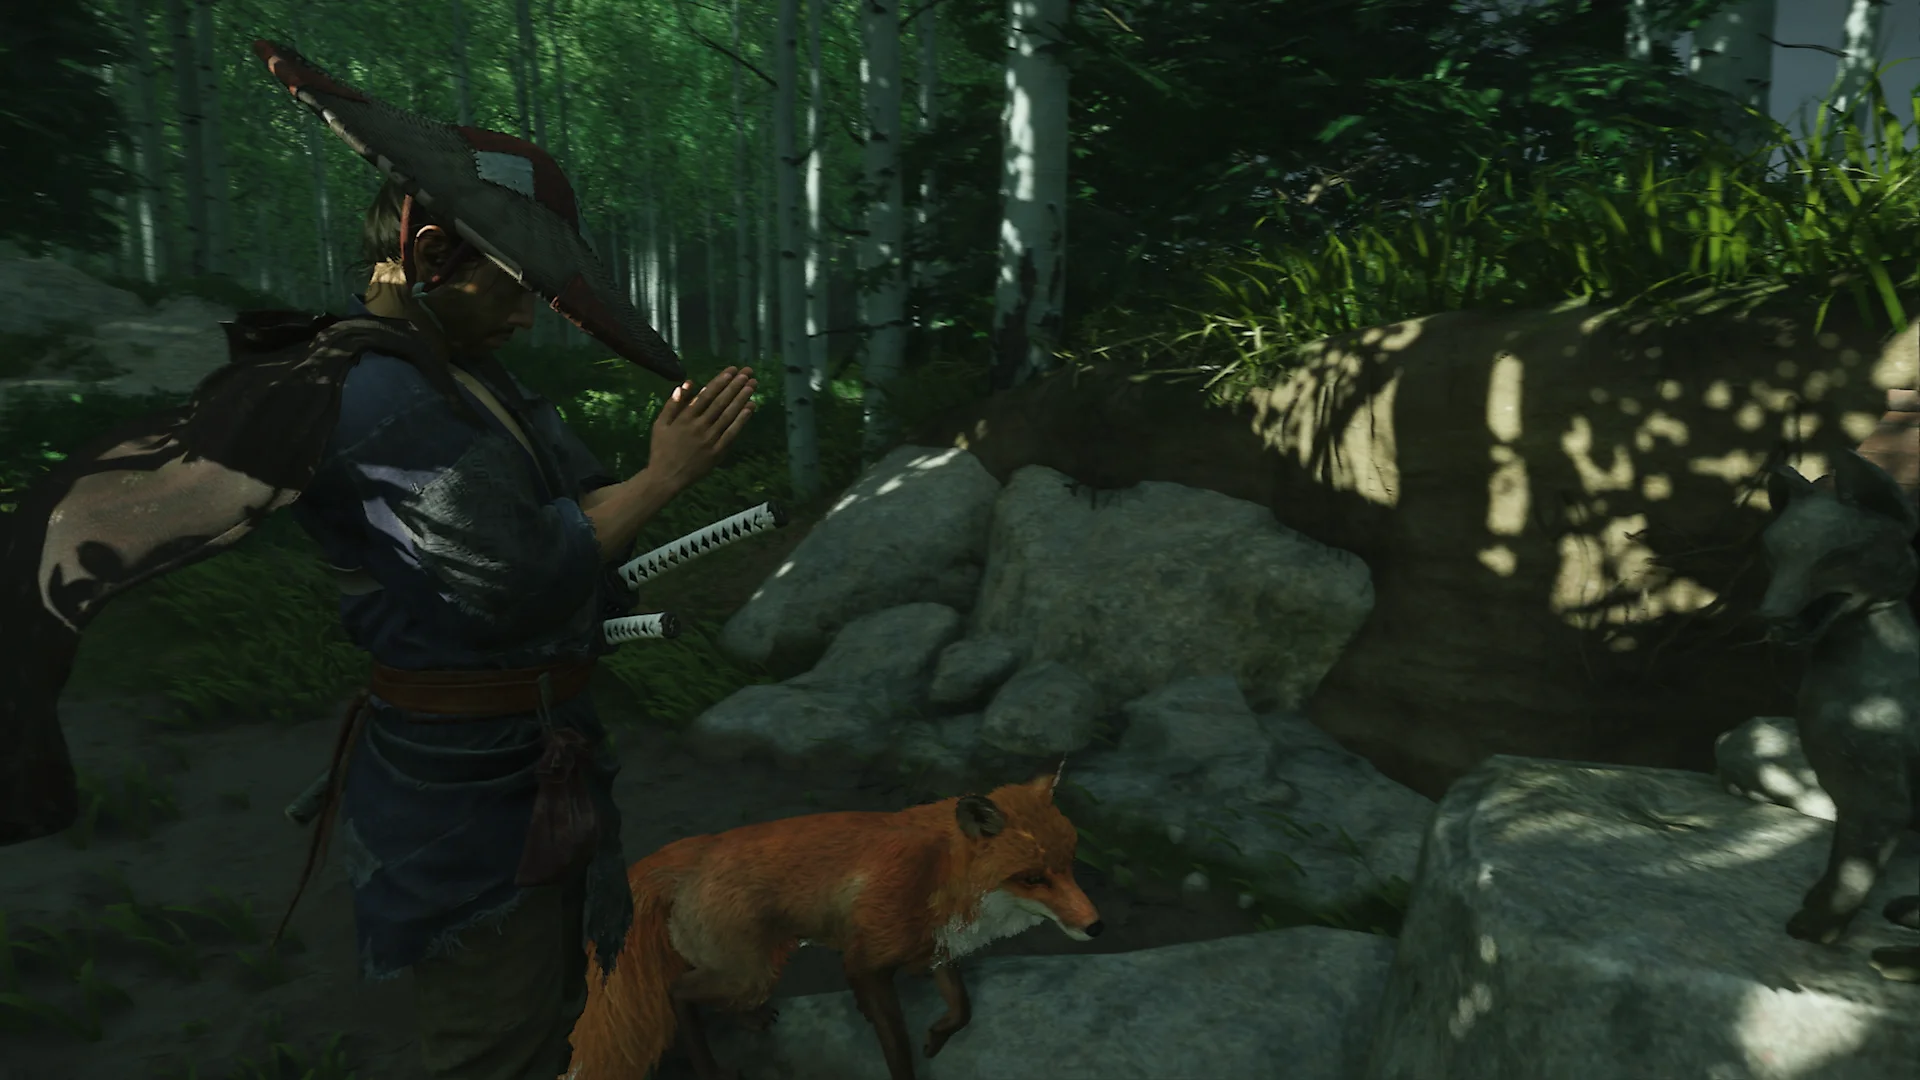
Jin stands on a wooded path behind a red fox that is visible beside the rocks ahead.
The small reddish fox is just ahead of Jin near the center-right of the path. Follow it instead of riding past; it leads to an Inari Shrine.
  1. While travelling, watch for a small red fox near a path or rocks. In the screenshot, it is a little ahead of Jin, not an enemy marker or an item lying on the ground.
  2. If it runs away, follow at a comfortable pace. The fox leads you to an Inari Shrine. Interact with the shrine when the prompt appears; the reward helps with charm slots or charms as you find more shrines.

Golden birds can also lead to discoveries, but they are not the same as foxes. A bird flies ahead through the air; a fox runs on the ground toward its shrine. You can return to the main mission after the detour.

3. Survive the first sword fights before chasing extra moves

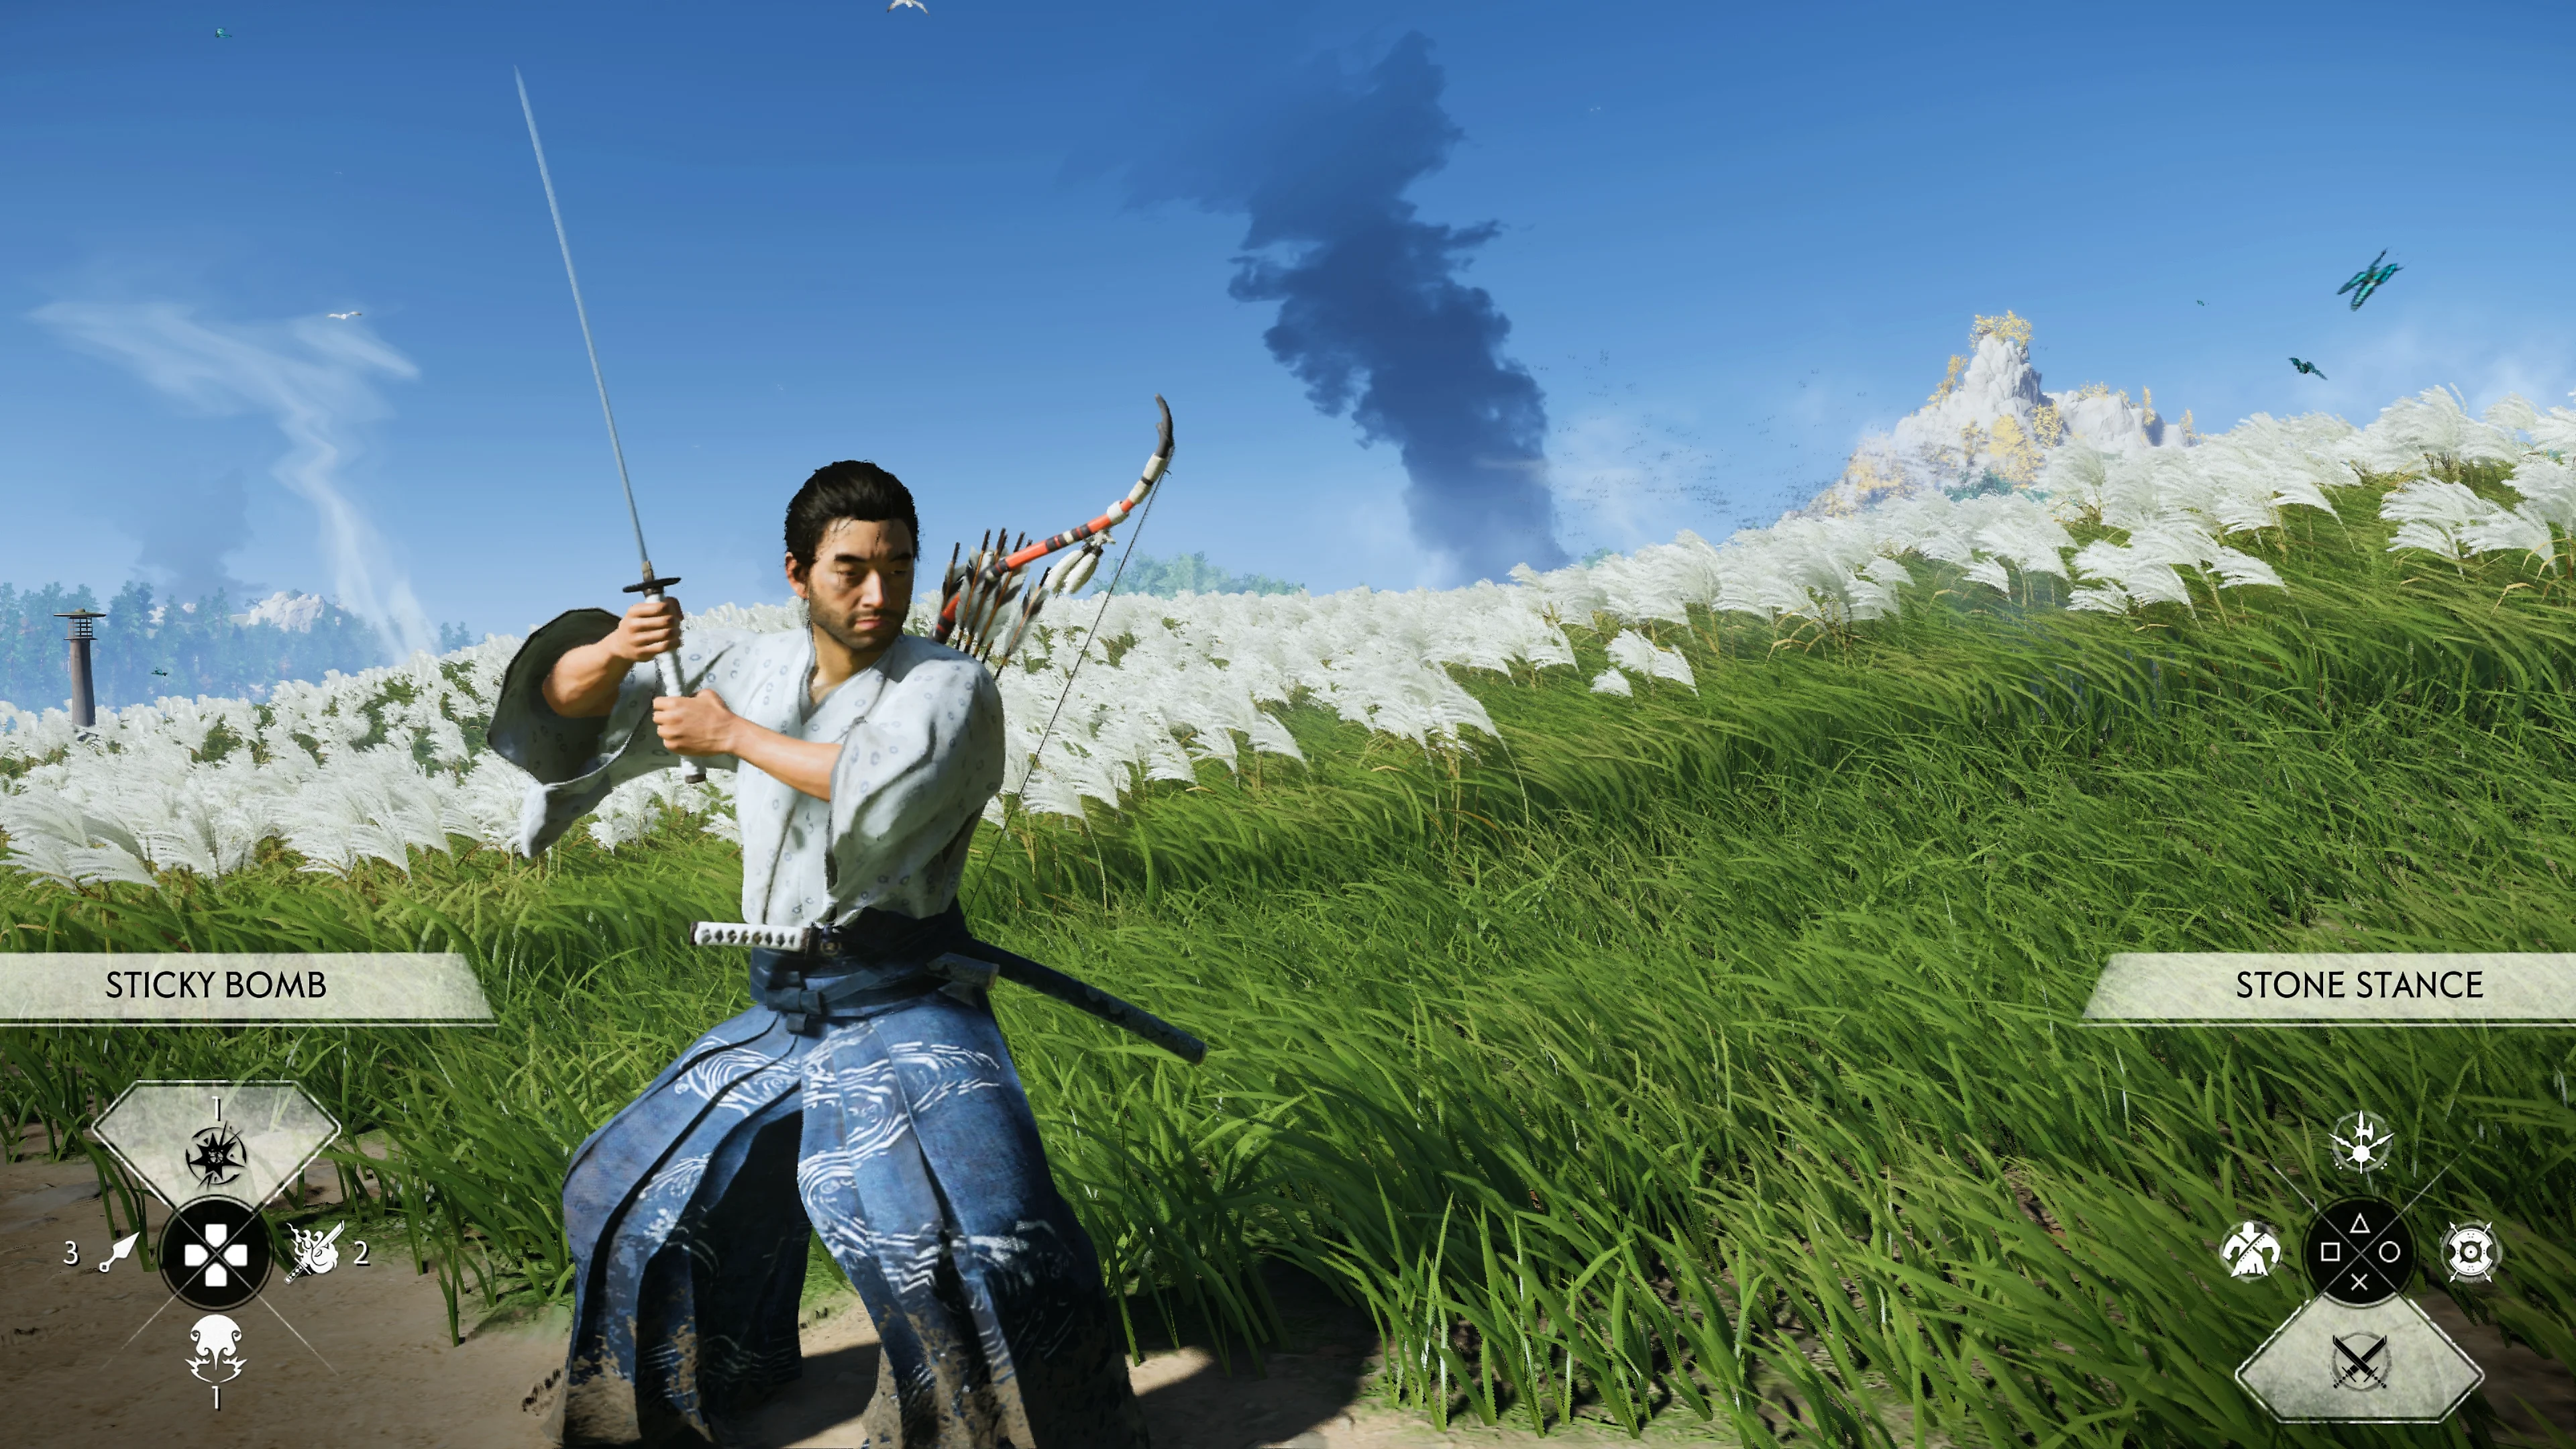
Jin holds his sword while STONE STANCE appears at the lower-right of the combat screen.
Look at the lower-right label STONE STANCE. That is the stance Jin starts with, and it is useful against enemies holding a sword. The image shows Jin preparing, not an enemy being struck.
  1. Before attacking, look at the enemy’s weapon. A swordsman holds a blade; a shield carrier has a large shield in front; a spearman uses a long pole. Jin begins with Stone stance, shown by the label at the lower-right of the image.
  2. On the default PlayStation layout, hold L1 to guard against a normal strike. Tap L1 just as a strike arrives to parry; if the timing is difficult, guard first. Press Circle to dodge an attack you cannot comfortably block. Watch the enemy wind up rather than mashing attack.
  3. Once other stances unlock, hold R2 to show the stance choices. Press X for Stone against swordsmen, Circle for Water against shields or Triangle for Wind against spears. A locked choice cannot be selected yet; keep using the moves you have.

The screenshot also shows STICKY BOMB on the other side of the display. That is a different tool, not the name of the sword stance. If you keep selecting the wrong thing, read the STONE STANCE label on the lower-right before returning to the fight.

4. Find your first Technique Point and spend it in the right tab

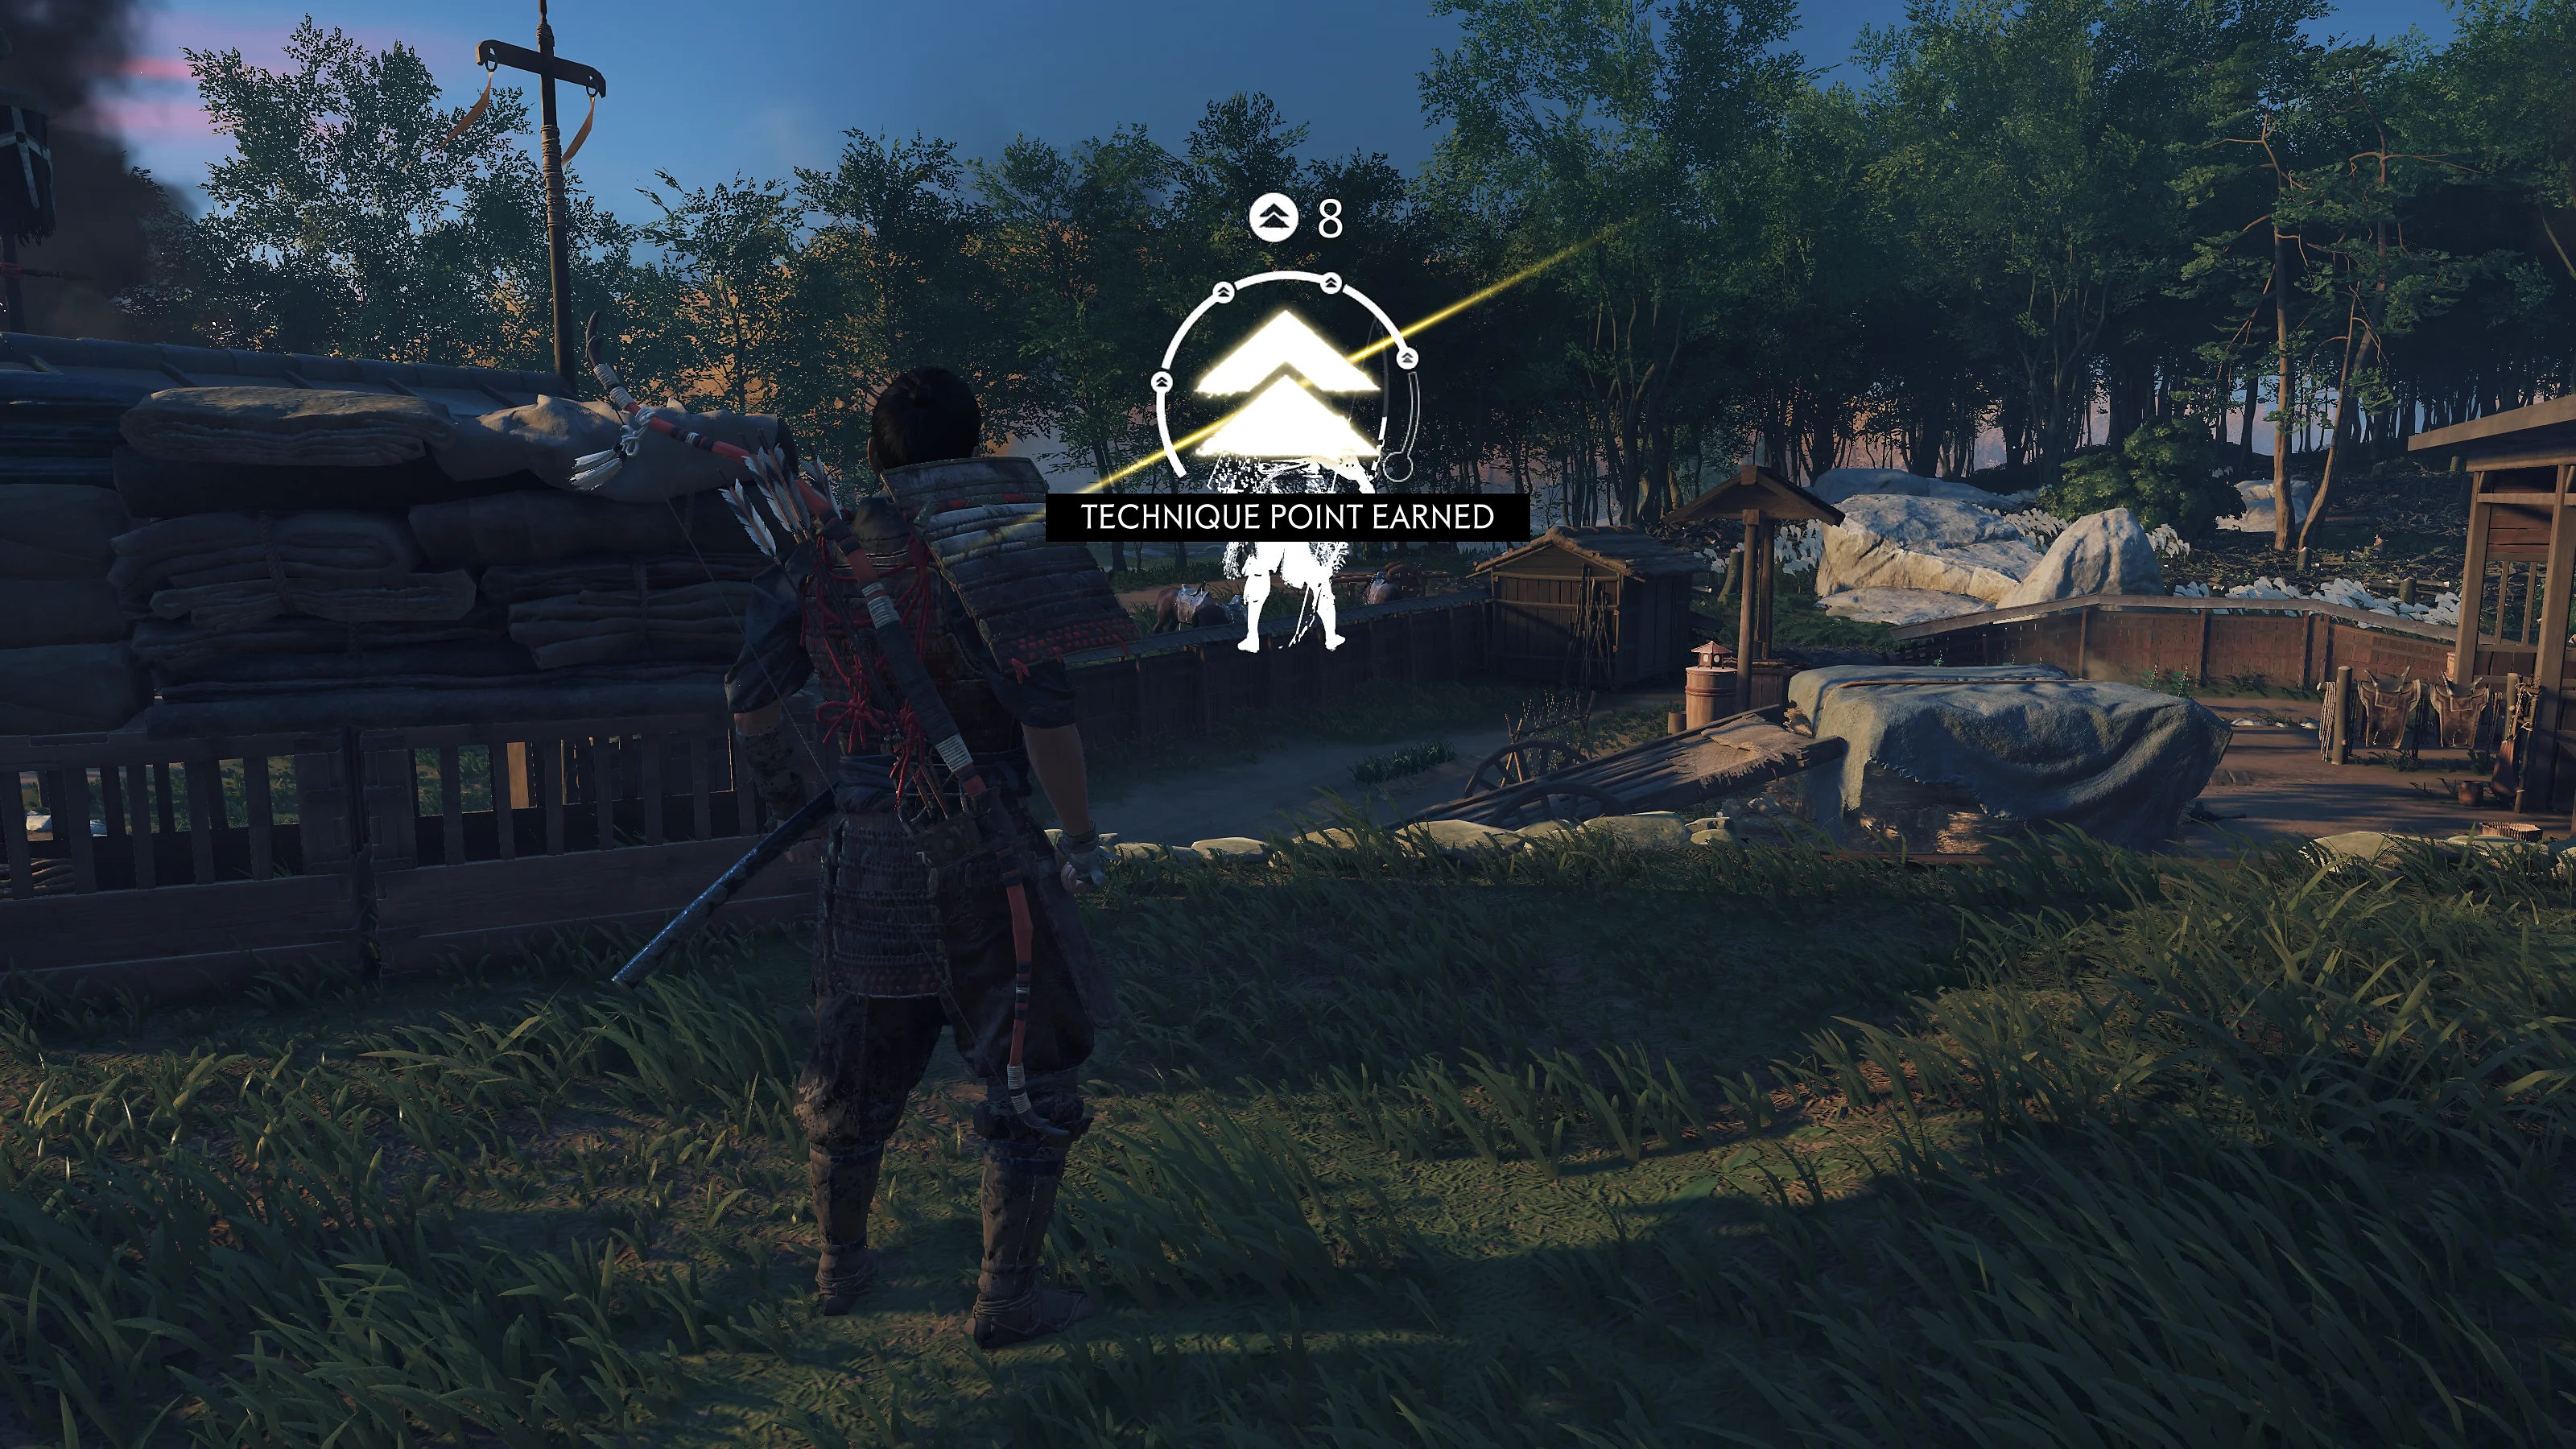
Jin in a village with a large TECHNIQUE POINT EARNED notification and Legend progress ring in the center.
The white TECHNIQUE POINT EARNED message is the sign that you have a point to spend. It appears in the middle of the game screen after enough Legend progress.
  1. Follow a gold main-story Tale on the map or complete nearby activities until the game shows TECHNIQUE POINT EARNED, as in this screenshot. You do not buy these points at a shop.
  2. Open the pause menu and move along its top row to TECHNIQUES. It is to the right of GEAR in the map screenshot above. Look through the available abilities and read what each does before spending the point.

If you are struggling with timing, a defensive ability is more useful than a move you cannot yet recognise. PlayStation suggests early options that support parrying or arrow defense. The exact menu contents change as Jin learns more, so choose the description that addresses the problem you are actually having.

5. Check Gear to understand your sword and armor

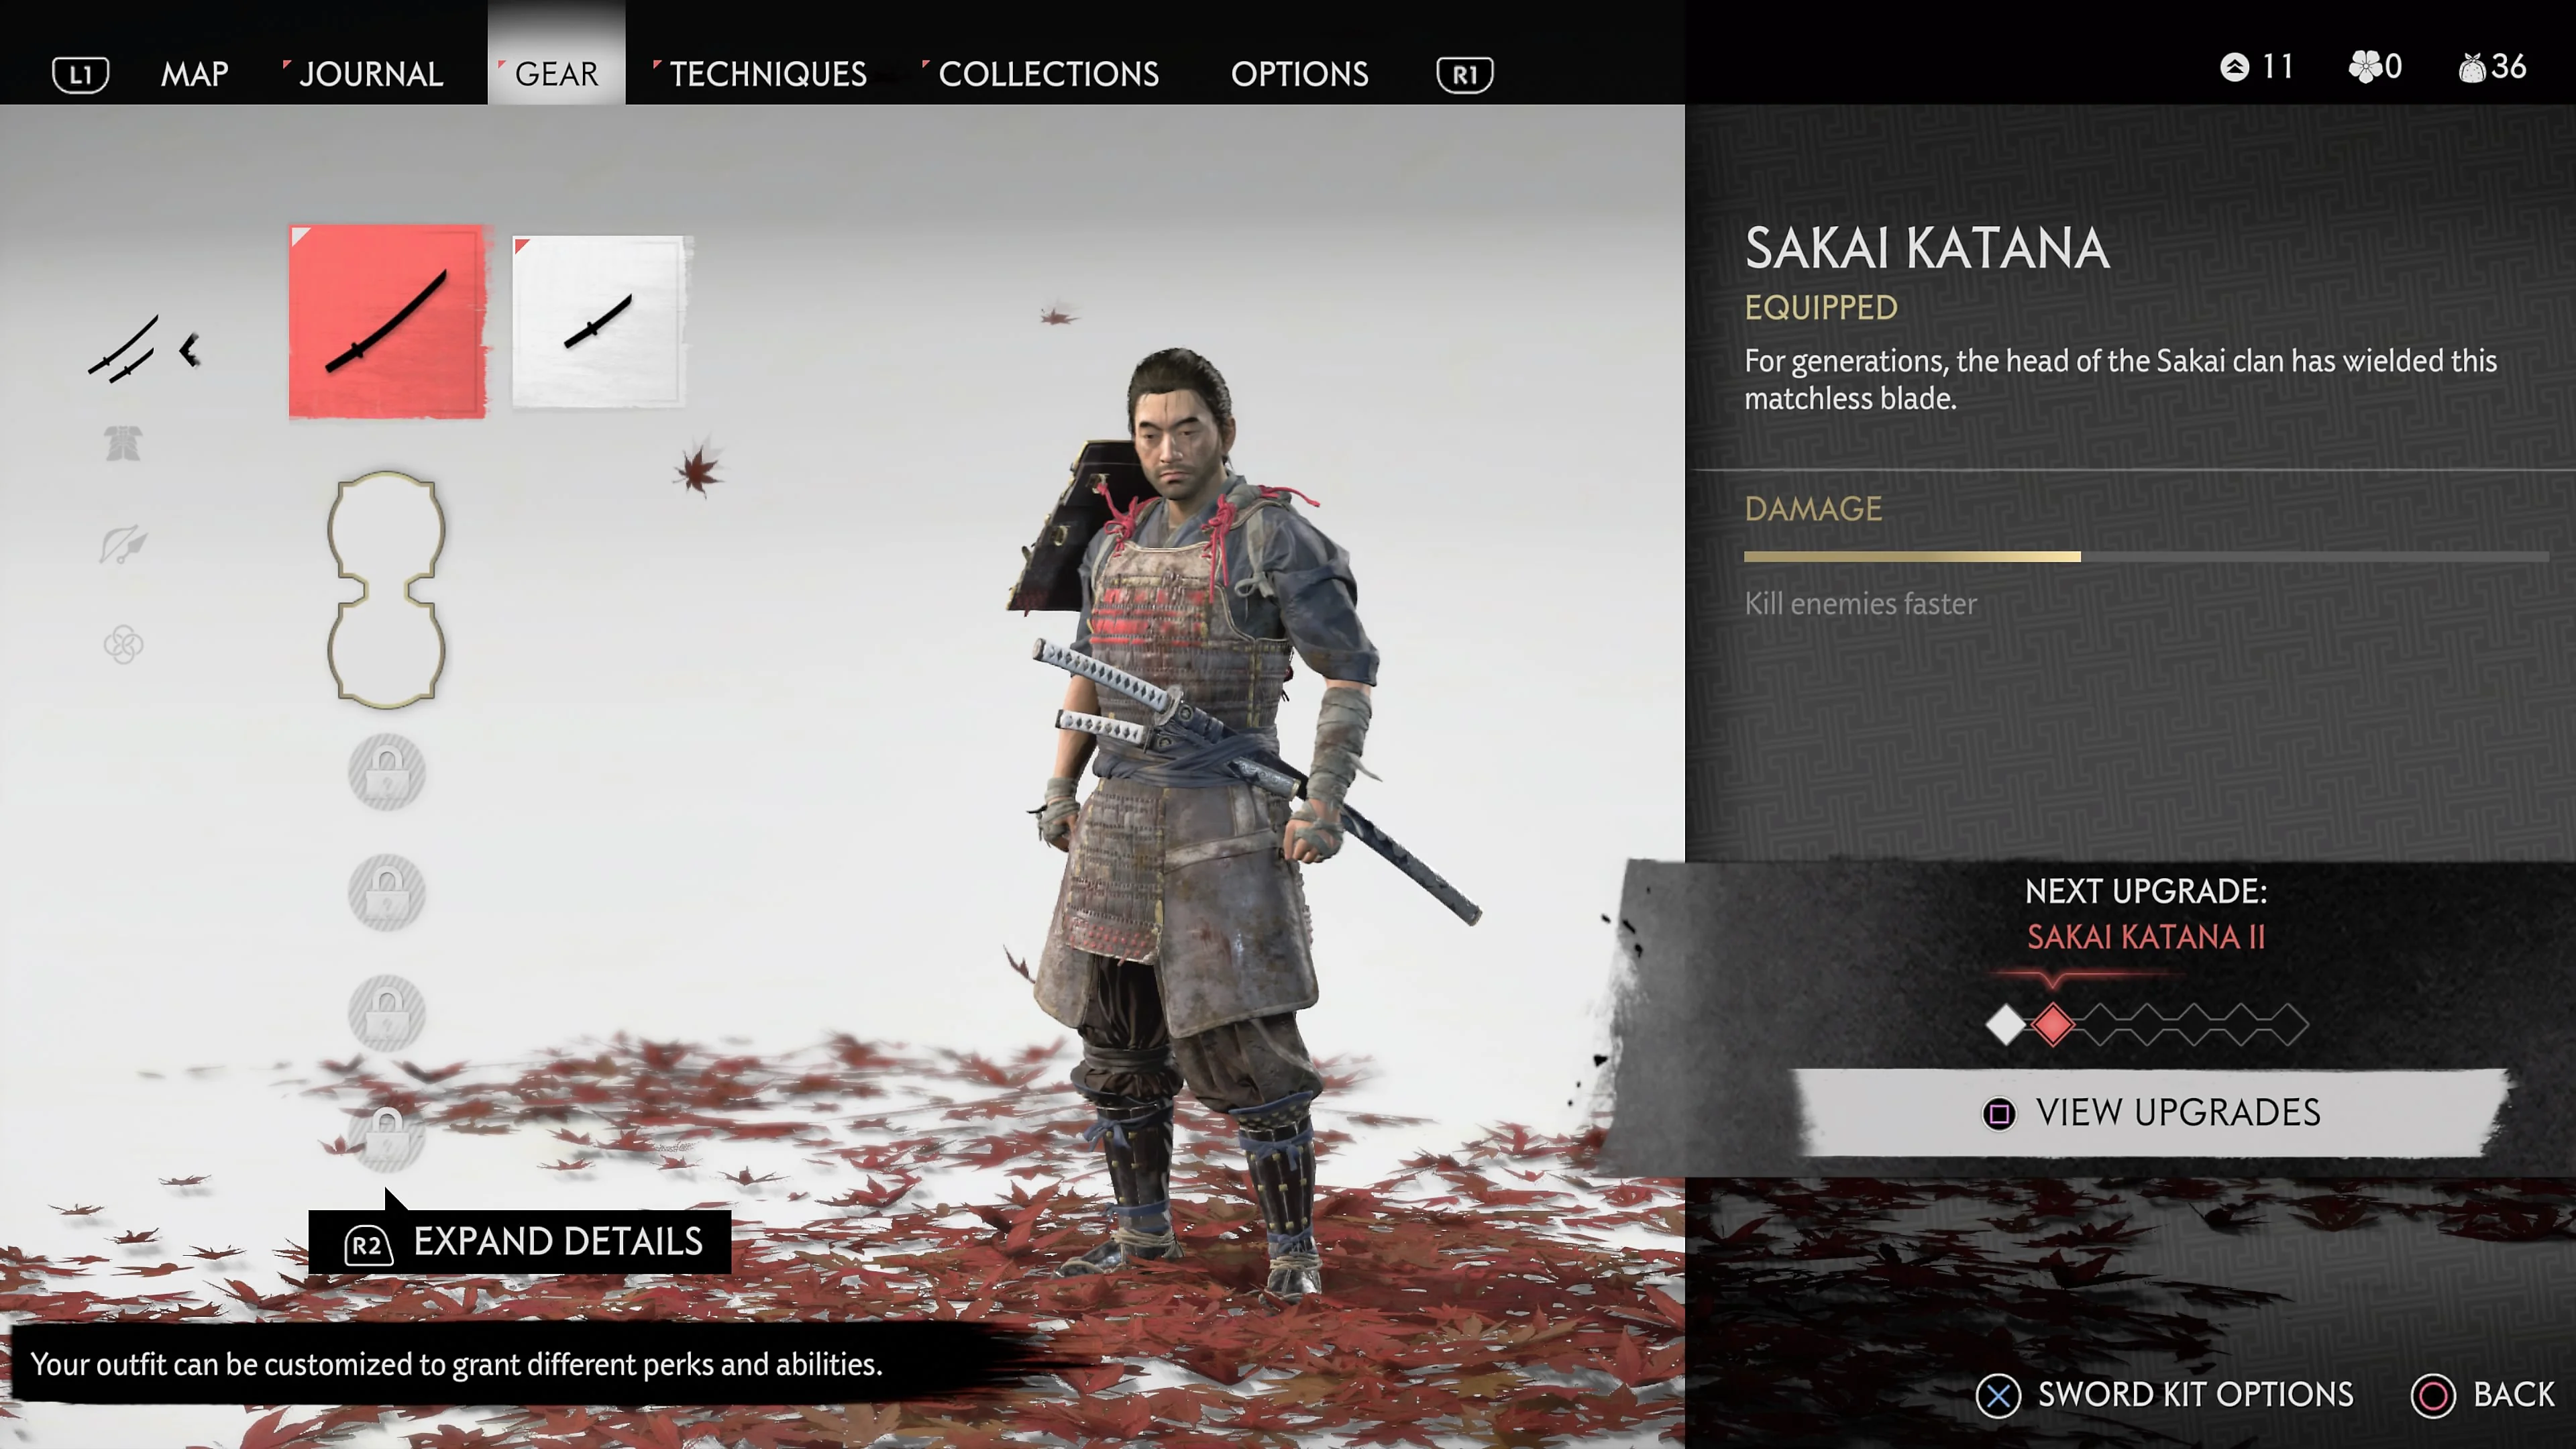
The Gear menu with GEAR highlighted along the top, a sword icon selected on the left, SAKAI KATANA details on the right and VIEW UPGRADES near the bottom.
Use GEAR at the top to see what Jin has equipped. The sword icon is selected on the left; SAKAI KATANA and its damage bar appear on the right. VIEW UPGRADES is near the bottom, but actual improvements need a vendor and materials.
  1. Pause and choose GEAR at the top. On the left edge, the sword symbol opens weapons; the armor symbol below it opens outfits. Select one, then read the name and effect on the right side before changing it.
  2. For the katana shown here, VIEW UPGRADES is near the bottom-right with a Square prompt. Press it to inspect the next upgrade. This screen lets you see the upgrade path; it does not mean you can buy every improvement from anywhere.
  3. Collect supplies and materials during travel, then speak to the relevant merchant in a safe settlement to purchase an available improvement. The upgrade screen tells you what is missing if you cannot pay yet.

Armor is not just fashion: outfits have different effects. Check the effect text on the right and switch when the new task calls for it. A dye changes the look, while an upgrade changes the benefit.

6. Visit the Golden Temple and notice the gift altar

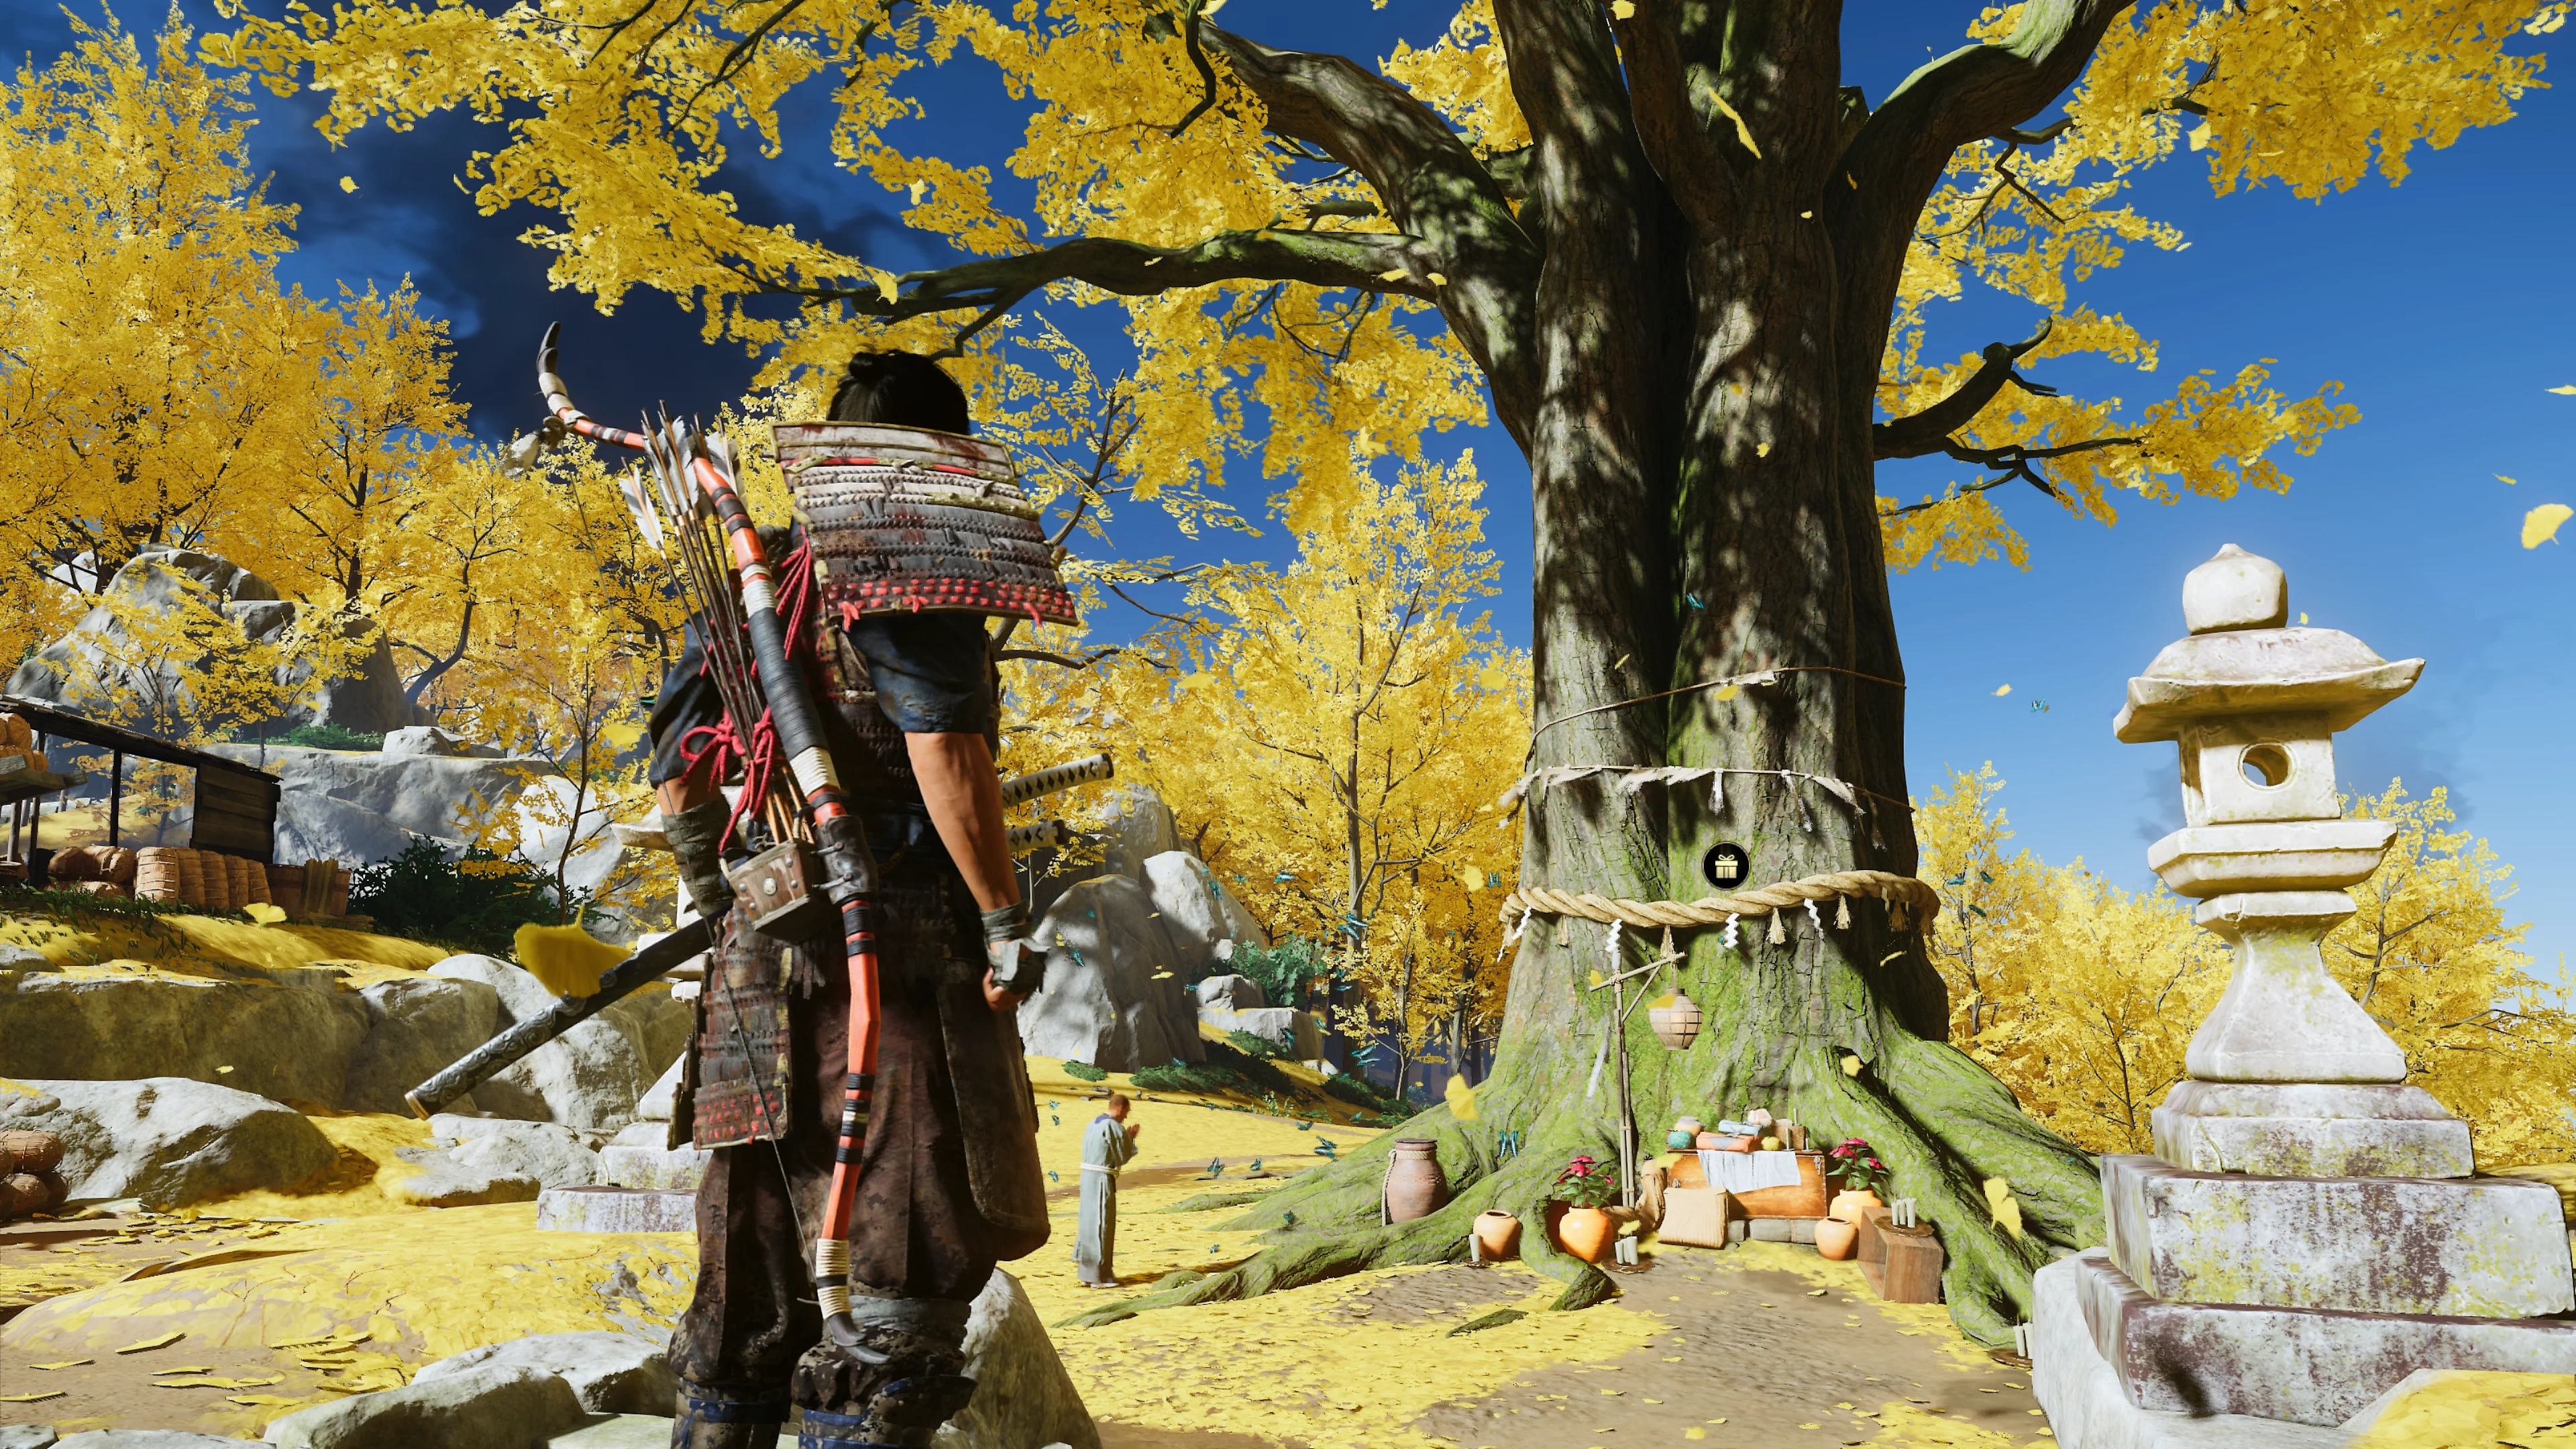
Jin stands before a large yellow-leaved tree with a small gift icon hanging on its trunk.
At the Golden Temple, look for the huge yellow tree and the small gift symbol on its trunk. Approach the offerings at its base when a gift is available.
  1. When the story brings you to Golden Temple, slow down in the central safe area. Look for the broad tree with yellow leaves, a rope around the trunk, offerings below and a small gift icon above them.
  2. Walk to the trunk and use the interact prompt if a gift is ready. Also speak to the nearby merchants; they handle weapon, armor and other improvements when you have the materials.

No gift icon? That is not a reason to leave the story and grind. The altar gives rewards when they become available. You can return later with fast travel after the place has been discovered.

7. Recognise a Bamboo Strike and finish its button sequence

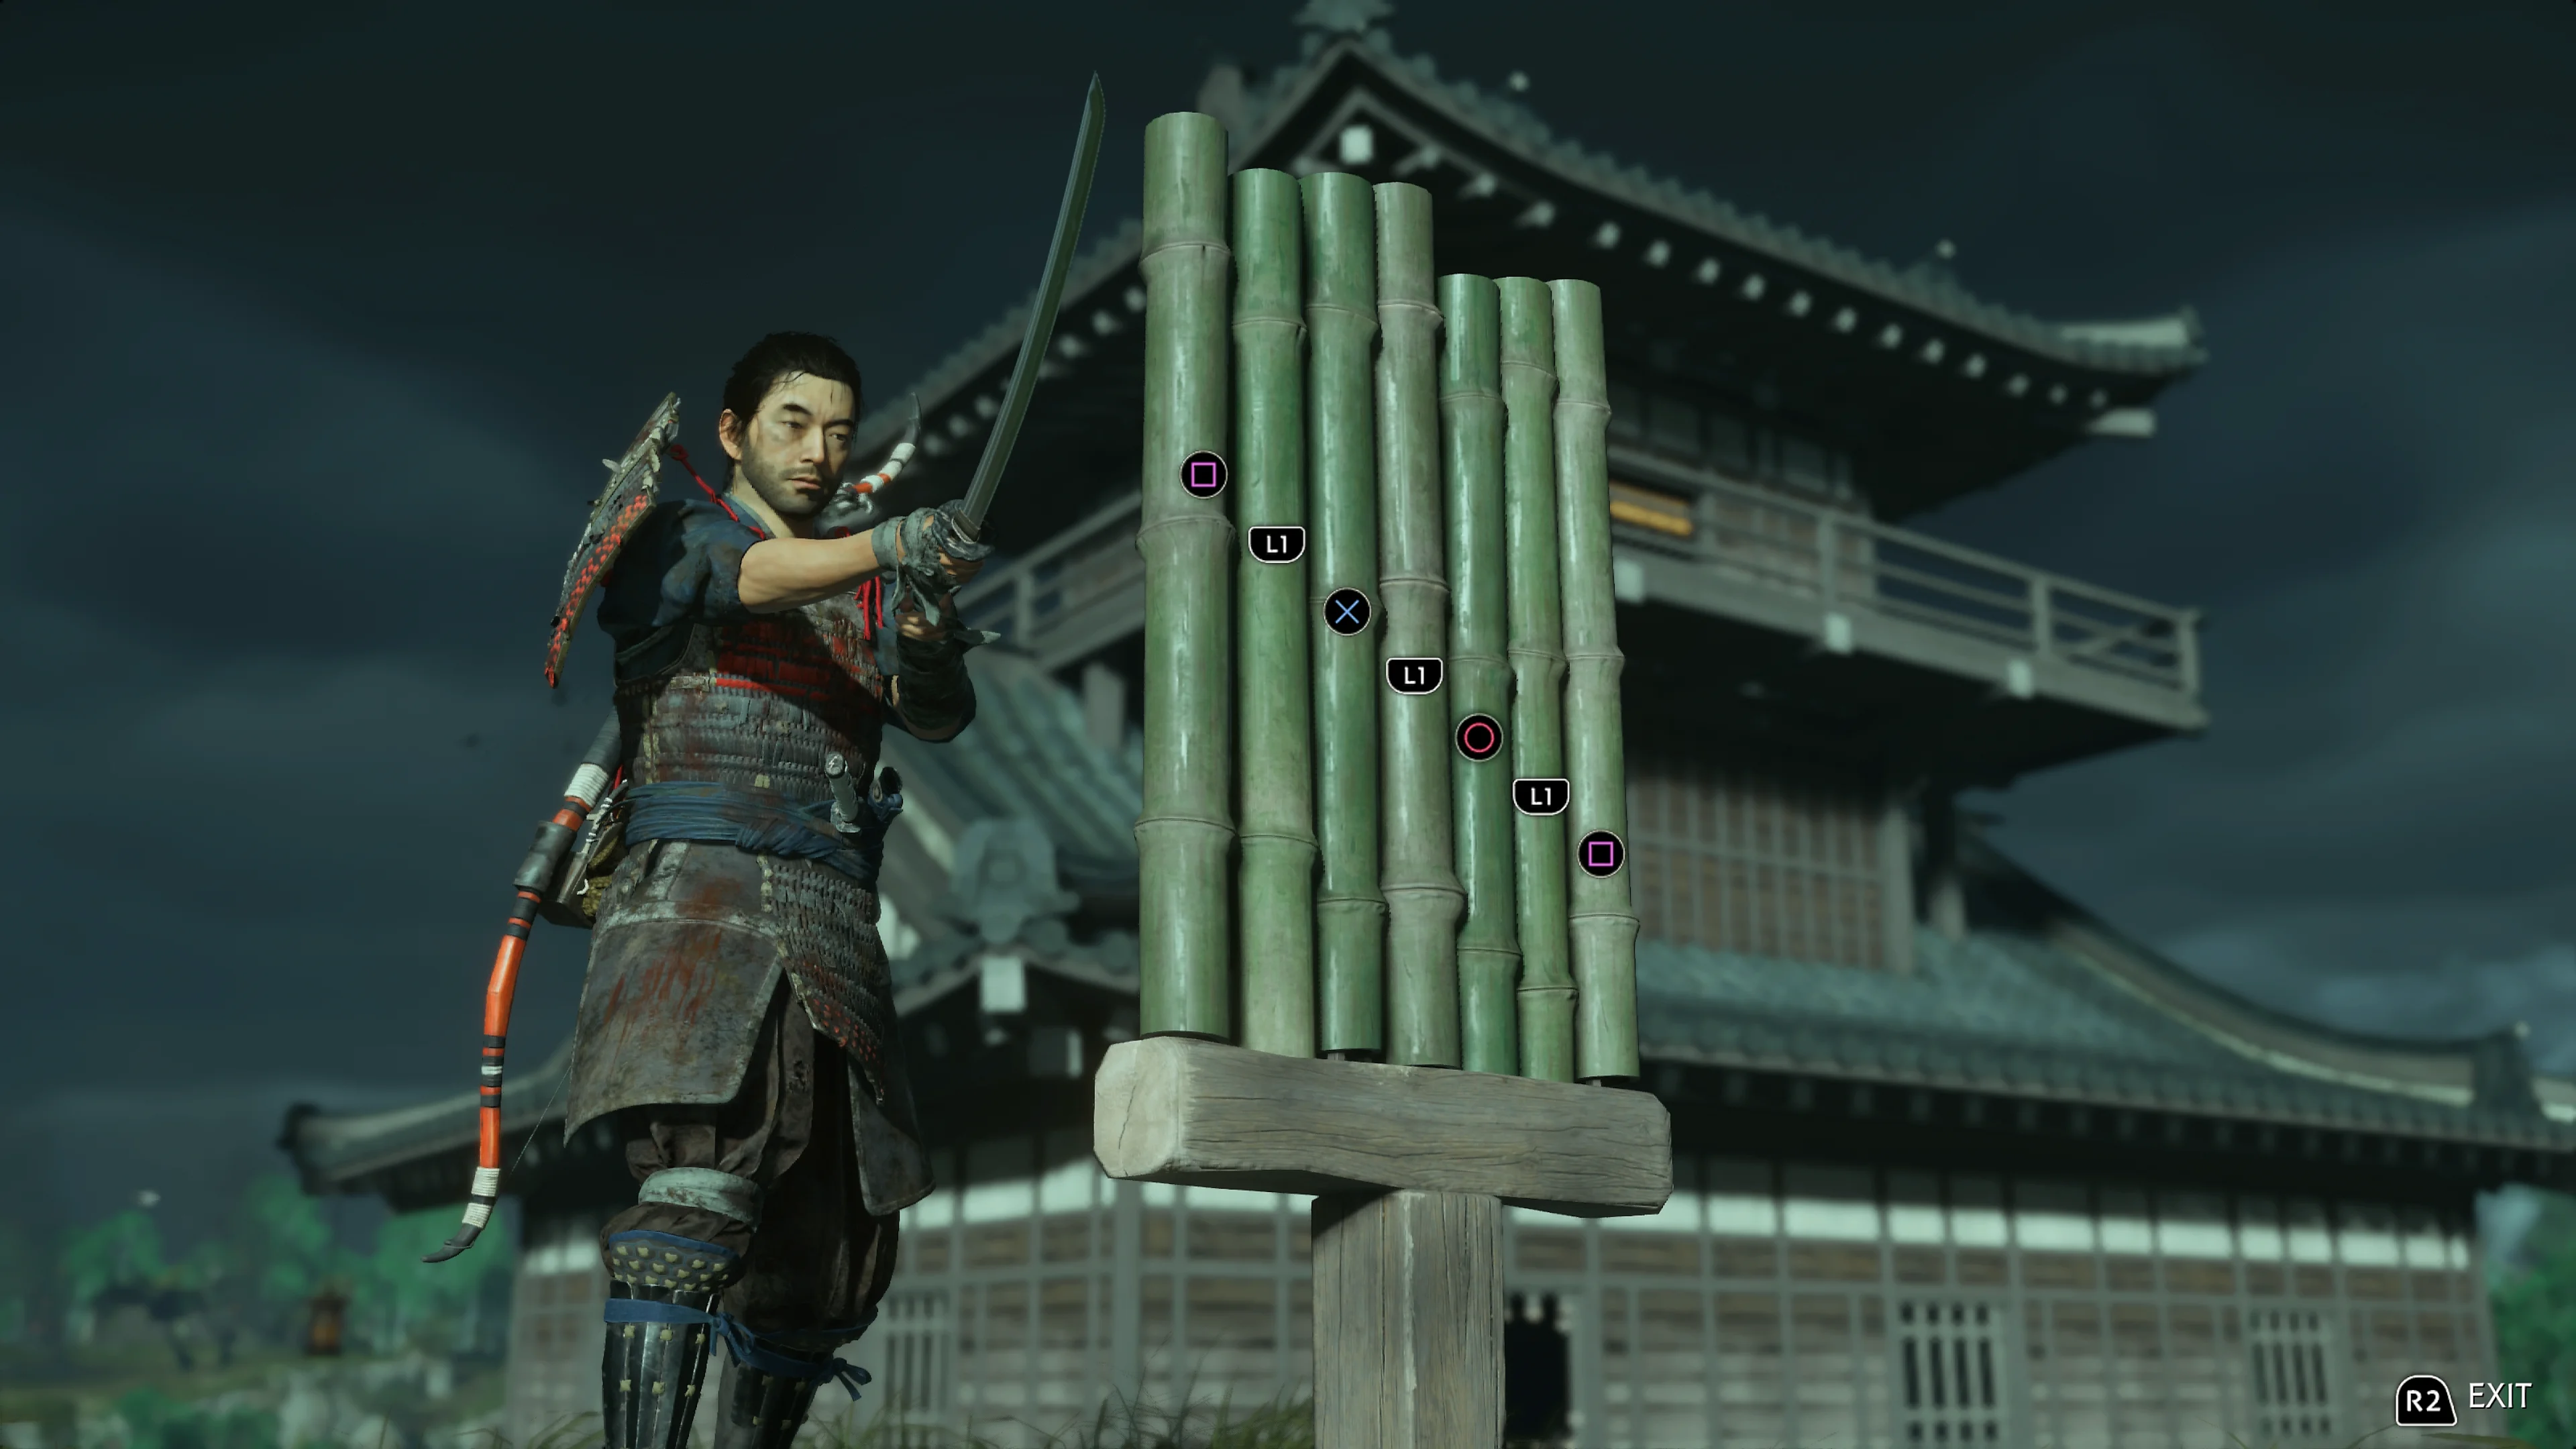
Jin stands by a bundle of vertical green bamboo poles while a sequence of PlayStation button prompts appears on the stalks.
The tall bundle of green poles is a Bamboo Strike. Read the button sequence shown directly over the stalks before pressing it; a mistake restarts that attempt.
  1. Look for a tight upright bundle of green bamboo poles, not loose bamboo lying among supplies. Interact when the prompt appears. The view shifts to Jin facing the bundle, as in the image.
  2. The game shows a short series of controller symbols on the stalks. Read the whole order first, then press it smoothly. In this screenshot the symbols include Square, L1, X, L1, Circle, L1 and Square; a different attempt or later stage may show another sequence.
  3. Keep trying until the sequence is accepted. Bamboo Strikes build toward a permanent Resolve increase. Resolve is the set of circles used for healing and certain moves, so this detour can make later fights easier.

8. Climb to a shrine for a reward, but return later if needed

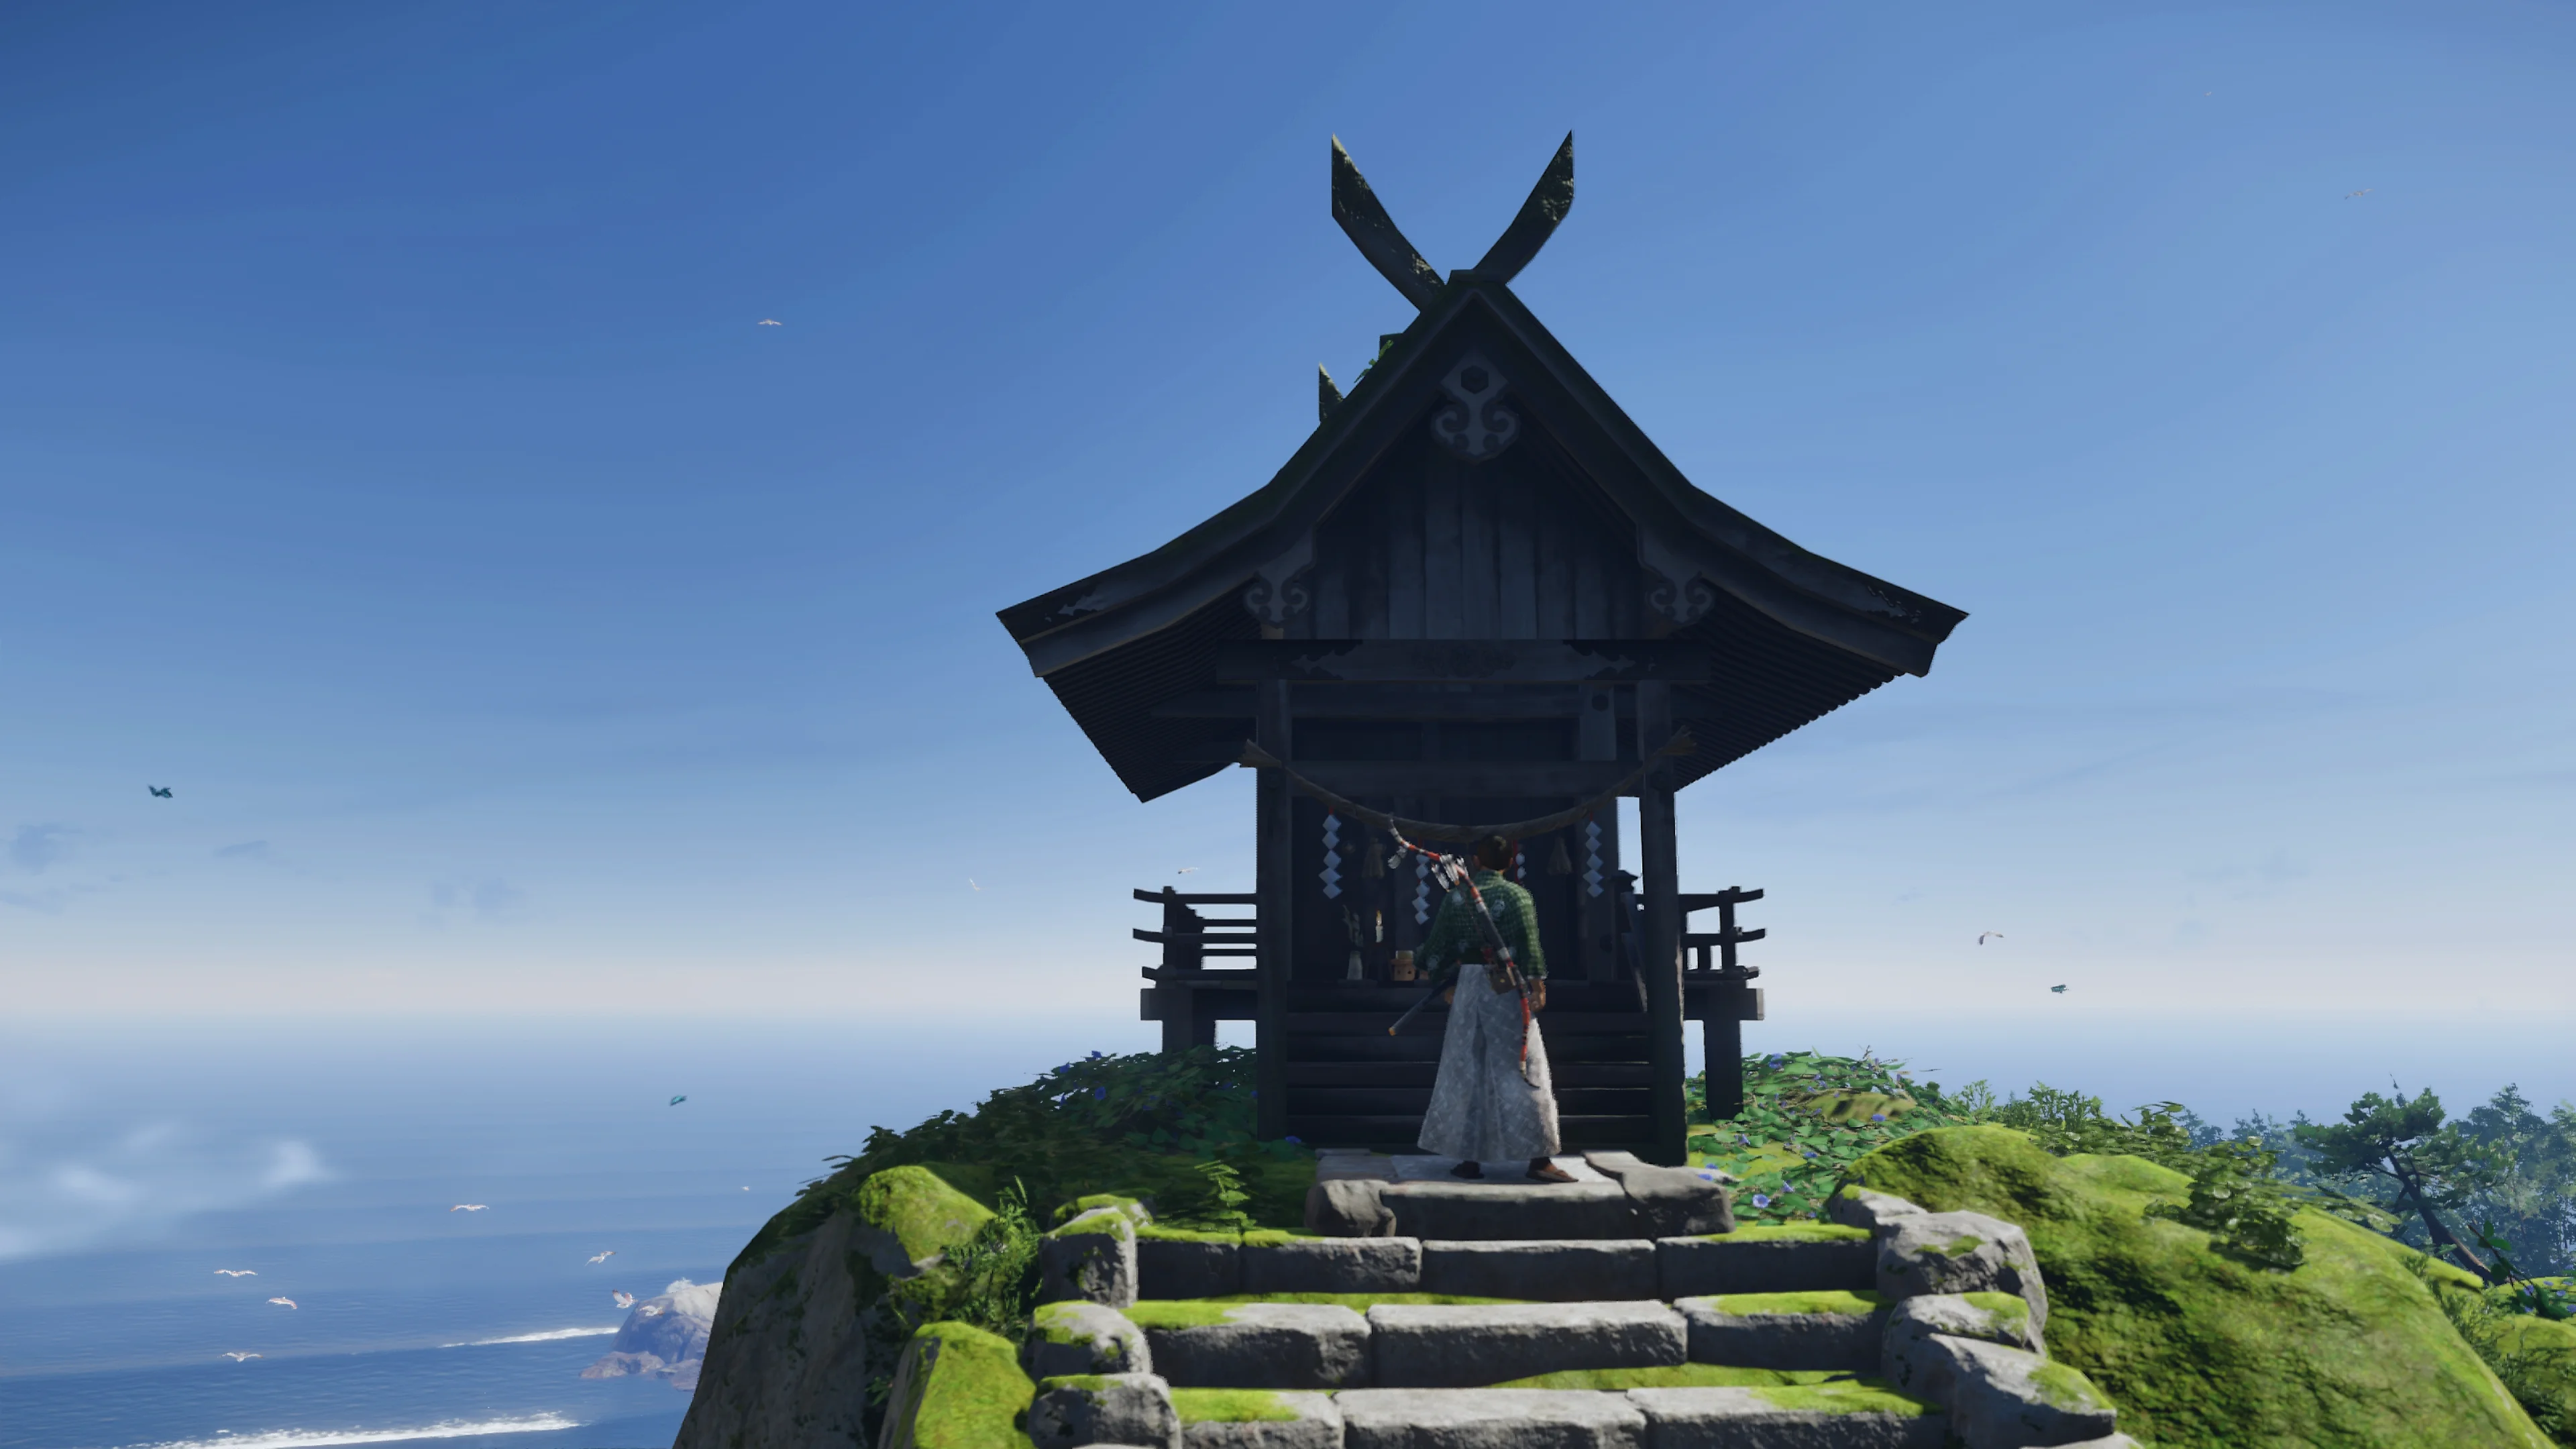
A small wooden shrine stands at the top of a hill with sea and sky beyond it.
A shrine can be a tiny building like this one at the end of a climb. Reach the structure and use its interaction prompt to finish the visit; the path up may involve ledges and jumps.
  1. If a route points up a cliff or hillside, look for climbable ledges and safe landing spots rather than riding straight at the marker. The destination may be a small shrine building, as pictured, not a large temple.
  2. Follow the ledges, take one jump at a time and use the prompt at the shrine itself when you arrive. Shinto Shrines can grant major charms and wax wood used for bow upgrades.

If a gap seems impossible, do not keep repeating the same blind jump. Some paths make more sense after Jin gains another traversal tool. Mark the place, continue another Tale and return when the route is clearer.

A simple route through the first hours

  • Open MAP and track one gold main-story Tale. Swipe up on the PlayStation touchpad when you need the Guiding Wind; if you use PC, check the on-screen binding for that action.
  • Stop for a nearby fox if you see one on the ground. Visit its shrine, then get back on the route you marked. You do not need to clear every red camp before continuing.
  • In fights, identify the weapon the enemy is holding. Start with Stone stance against swordsmen, guard with L1, and dodge with Circle. Spend a new Technique Point after the on-screen message appears.
  • At a safe settlement, check GEAR for your current sword and armor, then ask a merchant about upgrades. Gather materials during ordinary travel rather than roaming without a clear goal.
  • Try a Bamboo Strike or shrine when one lies near your route. Each has a recognisable object and a useful reward, but neither must interrupt the story for hours.

If something still seems missing

  • The wind is not giving you a clear direction: open MAP, confirm a location is tracked, leave the map and call the wind again. The screenshot’s TRACK LOCATION prompt is the key check.
  • You cannot choose Water stance: it must be unlocked by learning from Mongol leaders first. Look for a shield carrier, but do not expect that choice in the menu before it is earned.
  • Your Technique Point is not in Gear: TECHNIQUES is a separate top tab. Gear shows what you wear or carry; Techniques holds learned abilities.
  • The Bamboo Strike keeps failing: look at the symbols over the poles and press them in the shown order. A different symbol or slow press restarts that attempt.

Get Pixel Twelve's biggest stories first.

Add as a preferred source on Google